
I bleached my own hair last winter thinking I could save money and ended up with a crinkled patch at the back that had to be cut out. After that I learned which simple hairstyles actually hide grown-out layers, which make layers sing, and which ones make a layered cut look like a mullet. Below are things I use on my own long layered hair, with time and cost notes, so you can pick looks that fit your morning.
These ideas work best on long hair with layers, roughly shoulder length to mid-back. Most are beginner friendly and take five to twenty minutes. Budget ranges from $8 for a claw clip to a $30 weekly bond builder splurge. Most are DIY friendly, but color or major restructures are salon jobs.
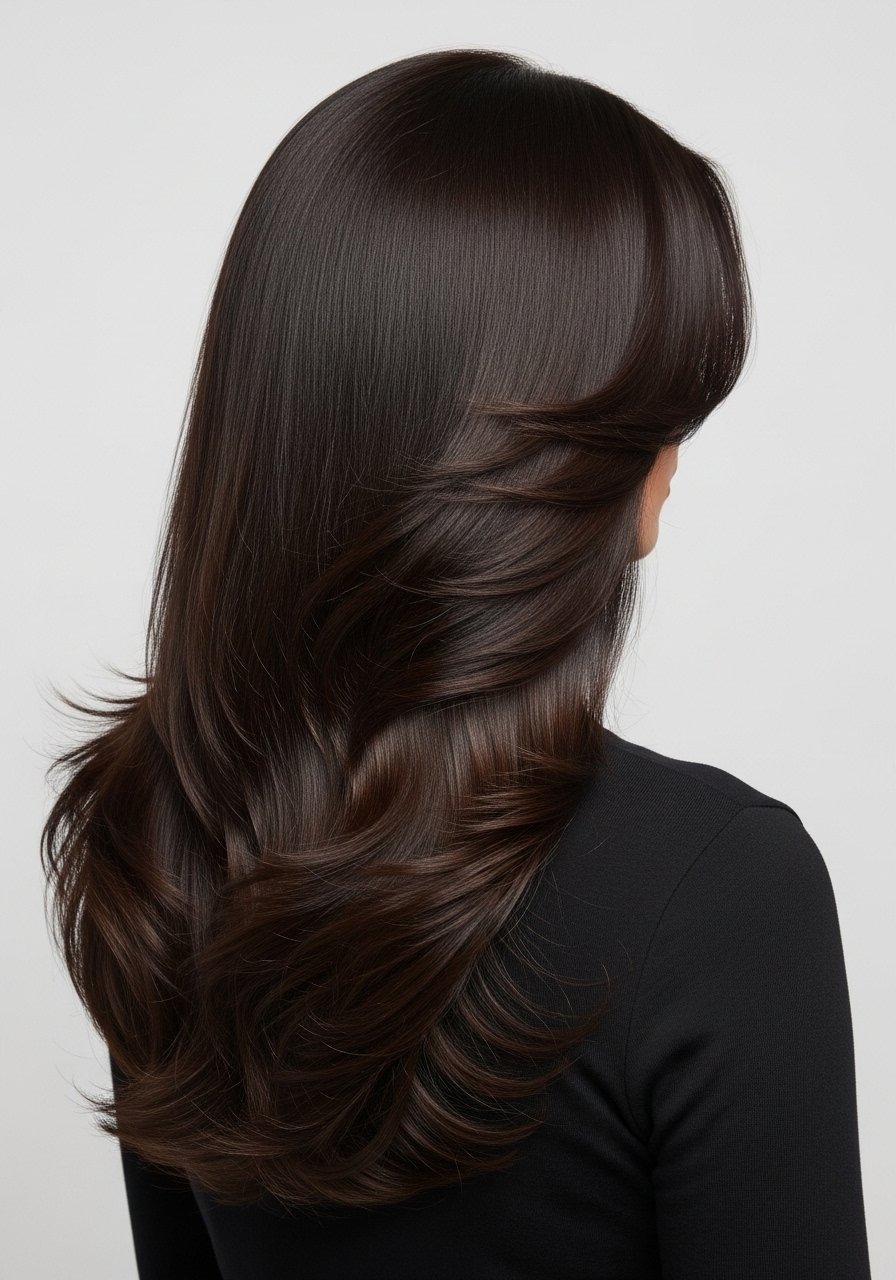
Loose Layered Face-Framing Waves
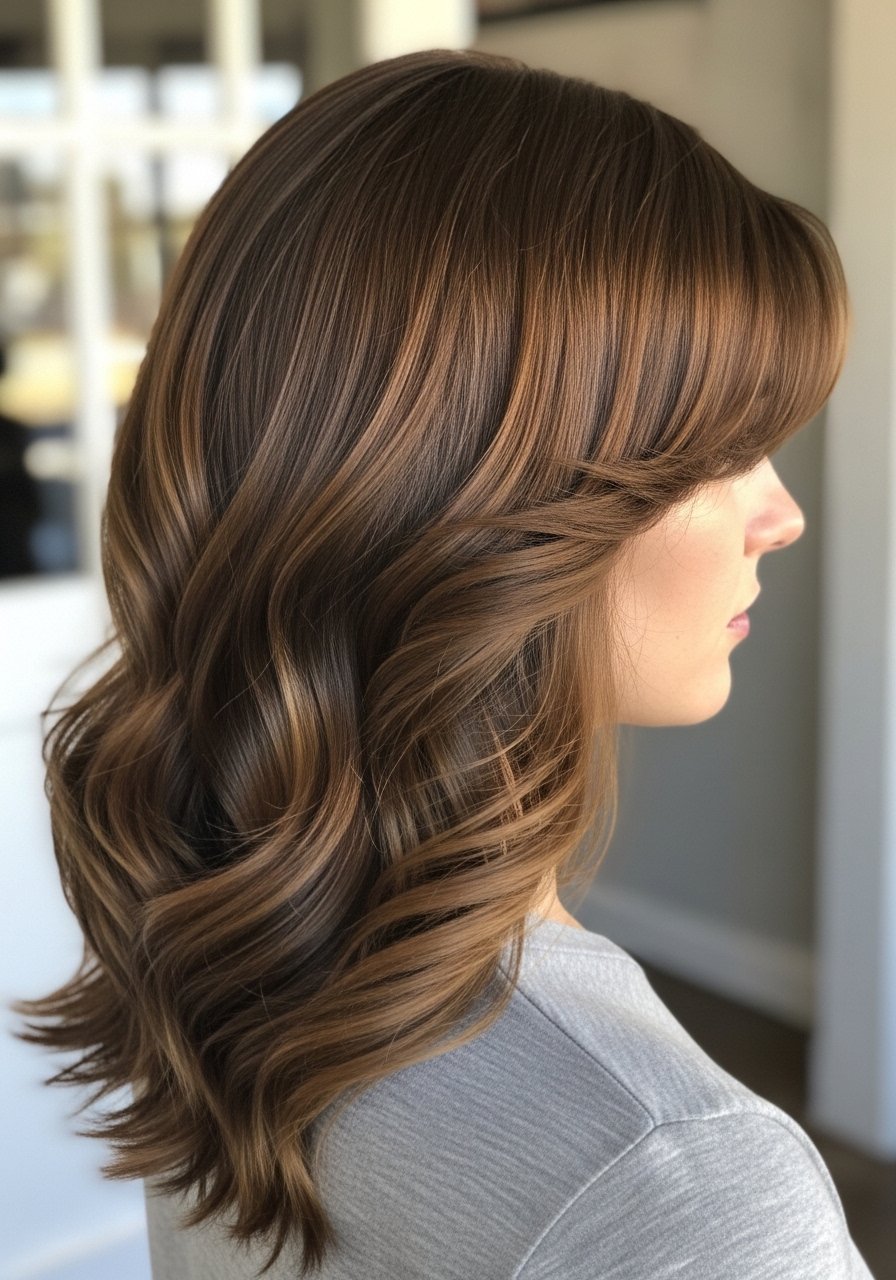
The easiest way to make layers look intentional is soft waves that start below the face, not at the roots. I wrap 1.5-inch sections around a 1.25-inch barrel leaving the very ends out, heat set at 330F, and alternate direction so layers do not stack. Always put a heat protectant on damp or just-dried hair because heat protectant before any iron over 300F actually matters. Two quick spritzes of a sea salt spray while hair is 70 percent dry gives grit and hold without crunch. Fine to medium 2A to 3B waves love this, thick hair needs larger sections and 30 to 60 extra seconds for the curl to set. Common mistake, curling too small sections which makes layers look choppy. This takes about 12 minutes on long hair and costs nothing beyond the iron and a bottle of spray.
Low Messy Layered Bun
For days when layers keep poking out of a ponytail, a low messy bun hides uneven lengths beautifully. I split hair into two low ponytails, twist each, wrap them around the base and secure with pins, pulling a few thin face-framing layers free to soften the look. It works on medium to thick layered hair and on long fine hair if you tease the base a touch first. The trick is two to three strategically placed pins, not a tangle of bobby pins that pulls at the scalp. Takes five to seven minutes and looks less "pulled back" than a slick bun. If your scalp is sensitive, avoid pinning directly over sore spots.
Half-Up Braided Crown For Layered Hair
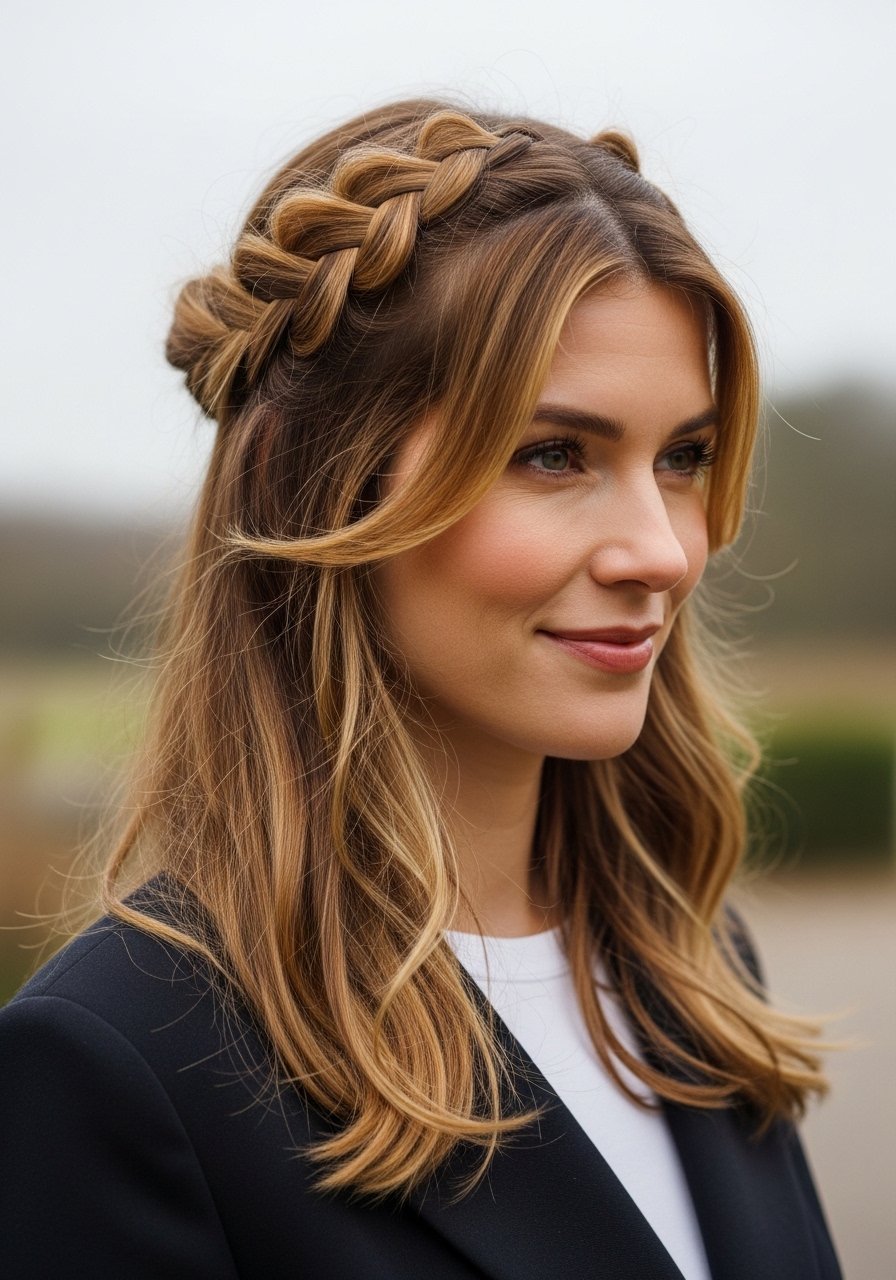
If you want long hair with layers to look curated, braid two one-inch sections from the temples and pin them over the crown. I braid slightly loose and pull the braid tails to fan out the texture, which works especially well on shoulder-length to mid-back layered hair. Fine hair gets more volume if you backcomb the braid base once before pinning. A few sprays of a light texturizing spray on dry hair helps the braid hold, and leave two to three face-framing slices out to show the cut. This takes eight to 10 minutes and is very DIY friendly. The mistake I used to make was braiding too tight and flattening the layers against the head. If you want a longer hold for humid days, set with a medium-hold hairspray.
Heatless Robe-Tie Curls For Layers
If you dread blow-drying and want curl without heat, wrap eight 1-inch sections around a robe tie laid across the top of your head, knot it, sleep, and unravel in the morning. For layered long hair this is magic because shorter layers near the face get a natural bounce while longer layers fall into softer spirals. I split hair into eight sections for mid-back length, coil each around the tie twice for mid-density hold, and mist with a light setting spray before wrapping. It takes five minutes to set and you sleep on it. The realistic snag people hit is using a robe tie that is too thick which makes the coils sit oddly. A soft satin tie is my preference.
Sleek Straight Finish With Layered Ends
When I want a polished look I straighten in large sections and then flip the iron vertically at the ends to give layers that soft, feathered finish. Use a heat protectant first because heat protectant before any iron over 300F is the rule. I set the iron to 330F for medium-thickness hair and do four to six large 1.5-inch sections, one pass each. Finish with one light spritz of an anti-humidity coating on mid-lengths, not at the roots. This is great for Type 1 straight to 2A wavy with layers. The most common mistake is overdoing shine oil at the roots which makes long layered hair look flat. Keep oil or serum to pea-size and focus on ends only.
Loose High Pony With Layered Bounce
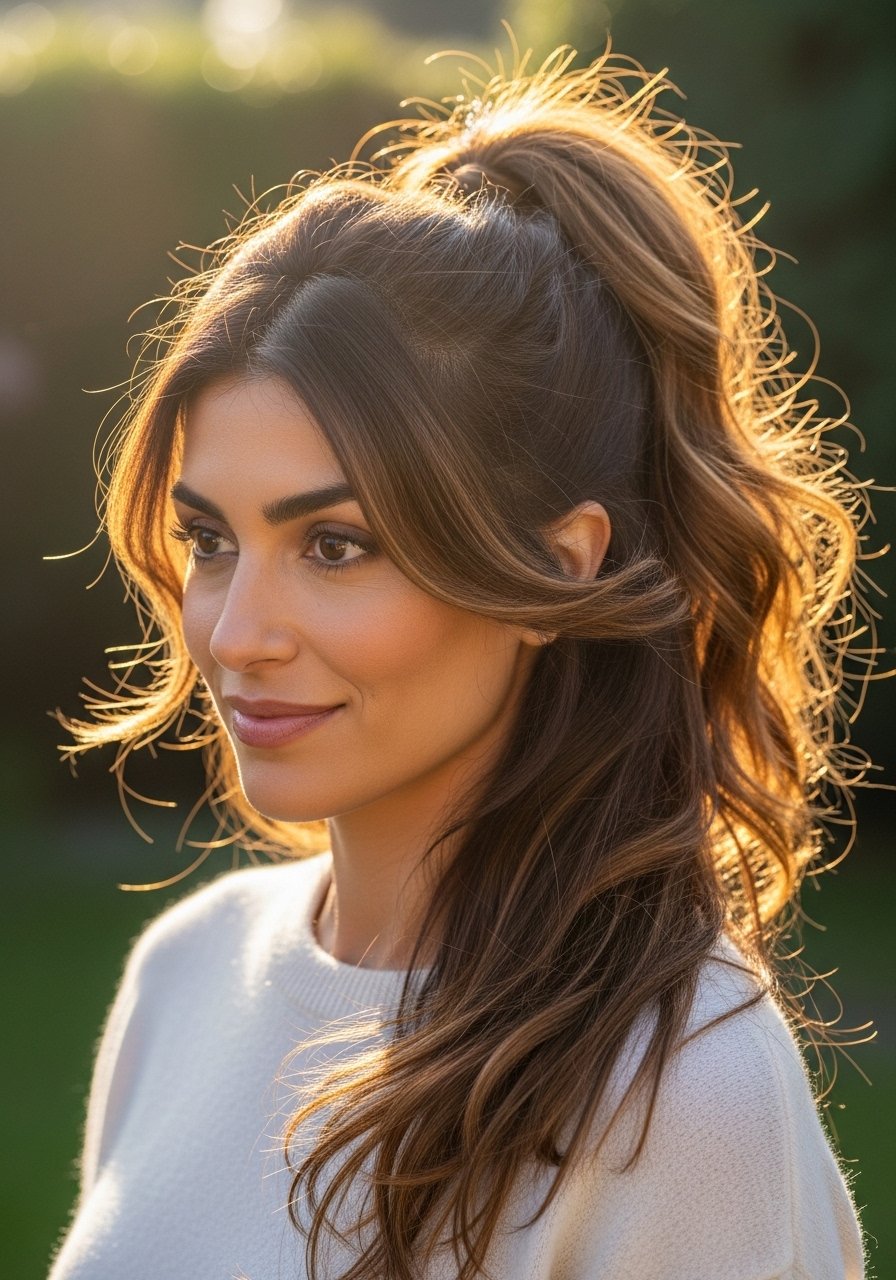
A high pony can look modern rather than severe if you leave layered face pieces and mid-lengths loose. I place the pony at the crown, backcomb the base two quick strokes for lift, and wrap a 1-inch section of hair around the elastic. For extra bounce I curl the bottom two-inch of the longer layers with a 1-inch iron at 300F for a soft flick. Works on all densities, though super thick hair needs a stronger elastic. This is a five-minute look that upgrades workout hair or casual brunch hair. The mistake is making the pony too tight which pulls shorter layers out; a slightly loose base keeps layers blended and soft.
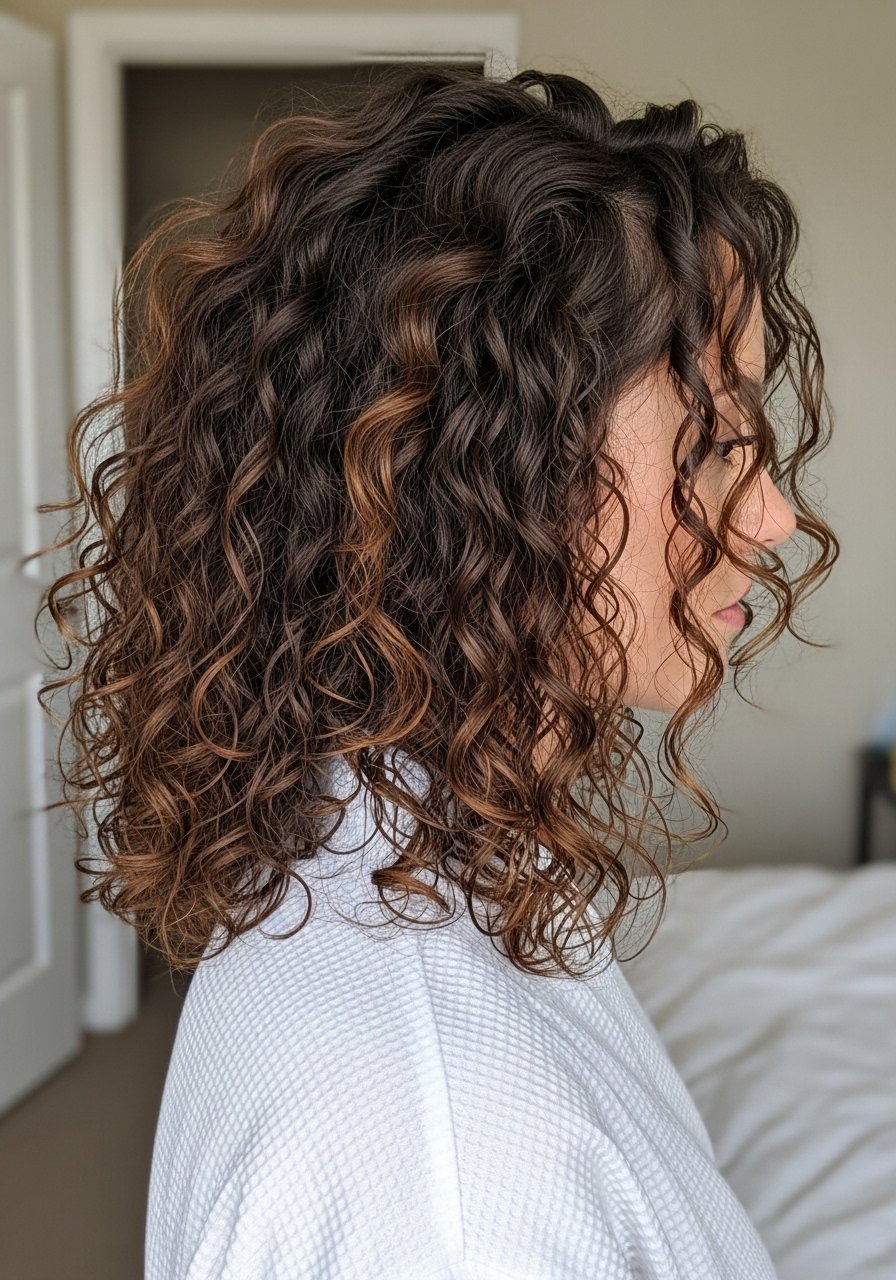
Beachy Textured Layers With Sea Salt Spray
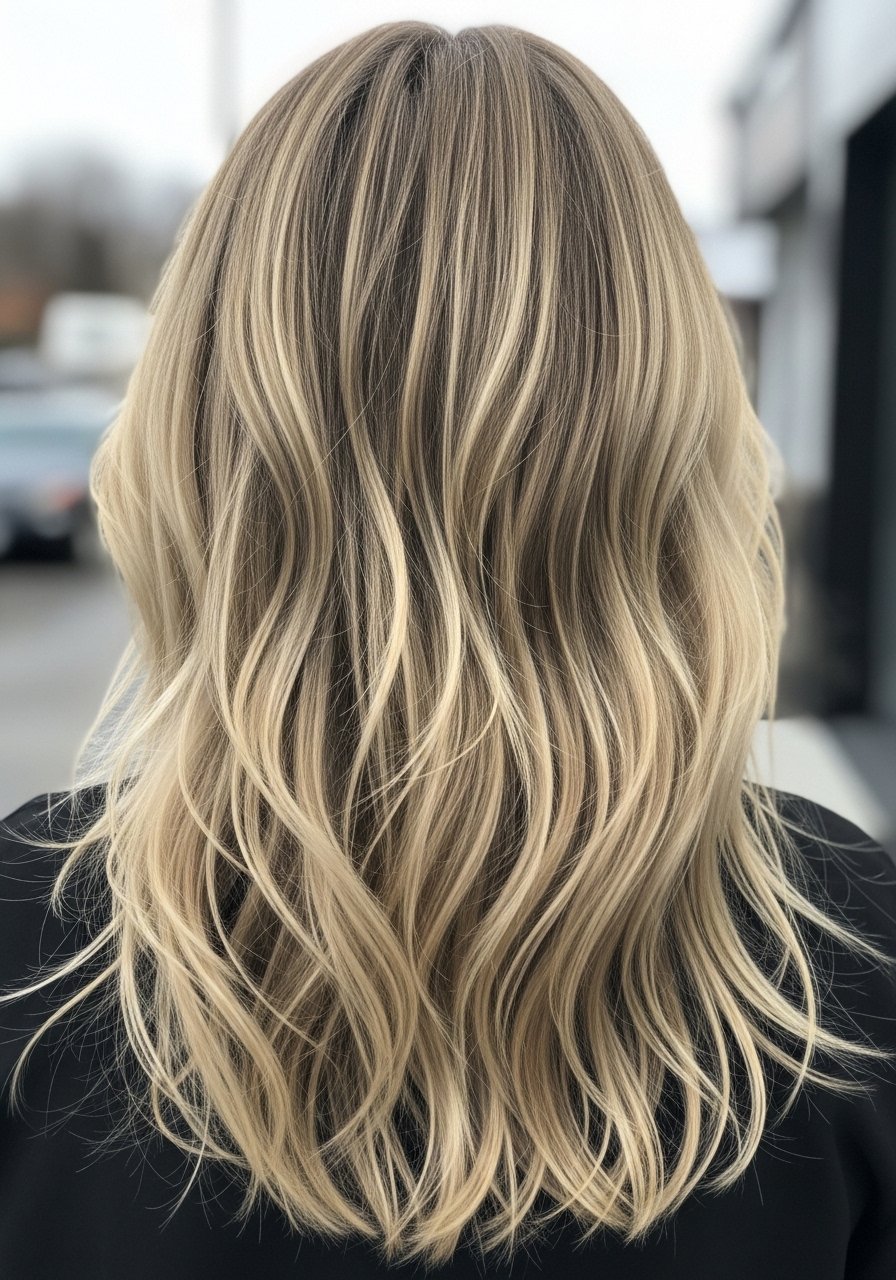
For days I want texture without heat, two spritzes of sea salt spray into damp hair and scrunch while diffusing on low heat gives that lived-in look. For long layered hair I concentrate product on mid-lengths and ends to avoid weighing down the crown. If your hair is fine, dilute the spray with a finger of water in your palms to avoid crunch. I usually use 3 to 4 pumps of leave-in across the lengths before the spray for softness and follow the LOC method on tighter textures. The common problem is over-spraying which turns layered ends straw-like. This routine is cheap and about a 10-minute job with a blow-dryer or air-dry option.
What I Keep In My Long Layered Hair Kit
[An affordable silk pillowcase and a bond builder are the two things I will not travel without. Below are the essentials I actually buy again and again.]
Honestly the best $30 I spend in any year is a weekly bond treatment. Olaplex No. 3 Hair Perfector 3.3 oz, used once a week, smoothed my ends after one month. Buy from the official store on Amazon or pick it up at Sephora because counterfeits exist.
For styling and day-to-day
- A silk pillowcase queen size under $25. Cuts morning frizz and helps layers stay defined.
- A microfiber hair towel wrap about $12. Cuts blow-dry time and is gentler on layered ends.
- A boar bristle paddle brush $15-25. Distributes scalp oil down the shaft so layers look less dry.
For styling hold and texture
- Color Wow Dream Coat anti-humidity spray 4 oz. One light pass before blow dry keeps straight styles smooth.
- Bumble and bumble Surf Spray 2.5 oz for beachy texture.
- A set of medium bobby pins and long elastic bands for quick buns and braids.
For tools
- 1.25-inch curling iron with temperature control if you use heat regularly.
- A large claw clip for second-day hair.
Braided Side Sweep For Thick Layered Hair

A loose Dutch braid that starts near the temple and sweeps to the opposite neck hides heavy layers and keeps hair controlled. For thick layered hair I pick up wide 1.5-inch sections to keep the braid readable instead of frizzing. After braiding, tug each segment outward to show layers and create width. Use a small amount of texturizing spray before you start so the braid holds without looking crunchy. This takes about ten minutes and makes braids wearable with layers that would otherwise poke out. If your hair is chemically fragile, avoid very tight braids because they stress the shorter layers at the hairline.
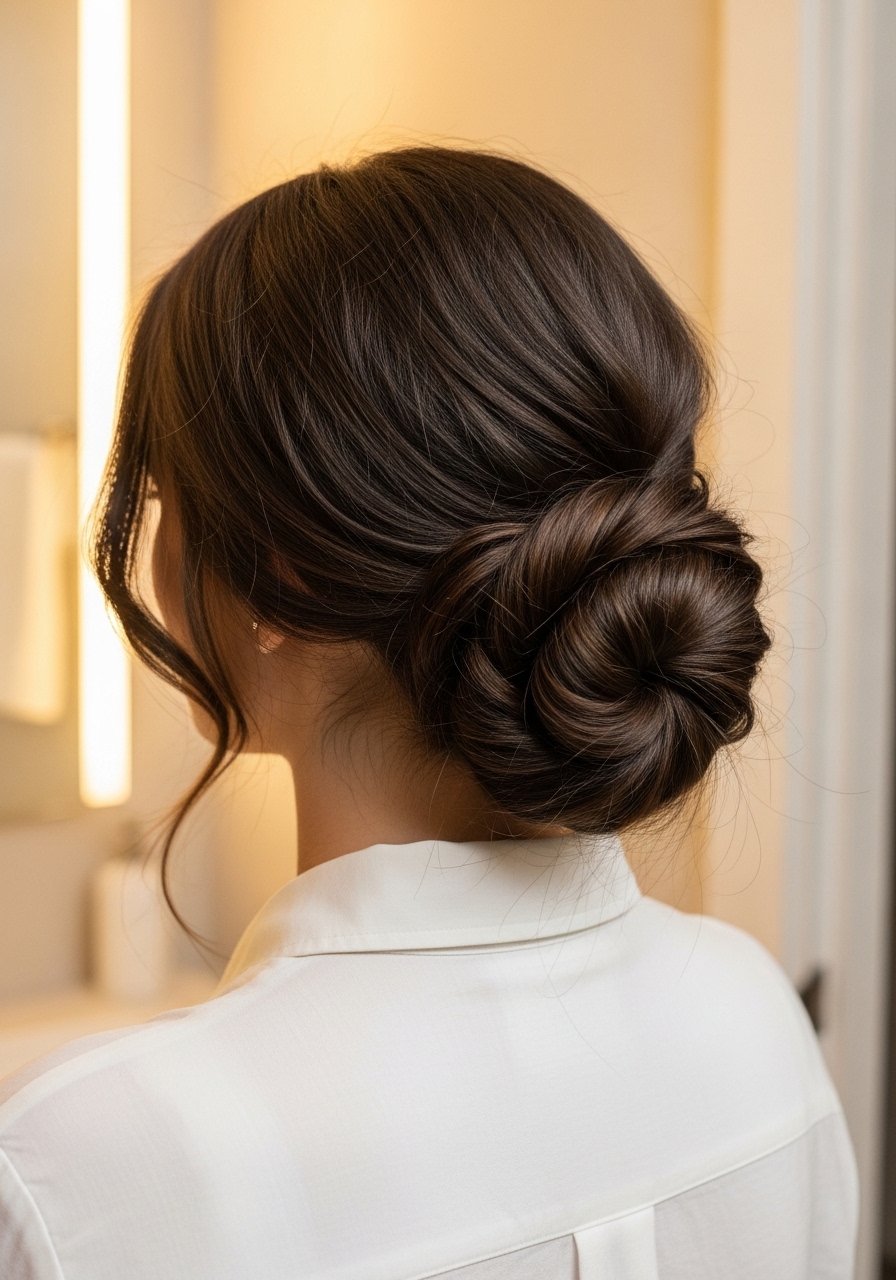
Twisted Low Chignon For Events
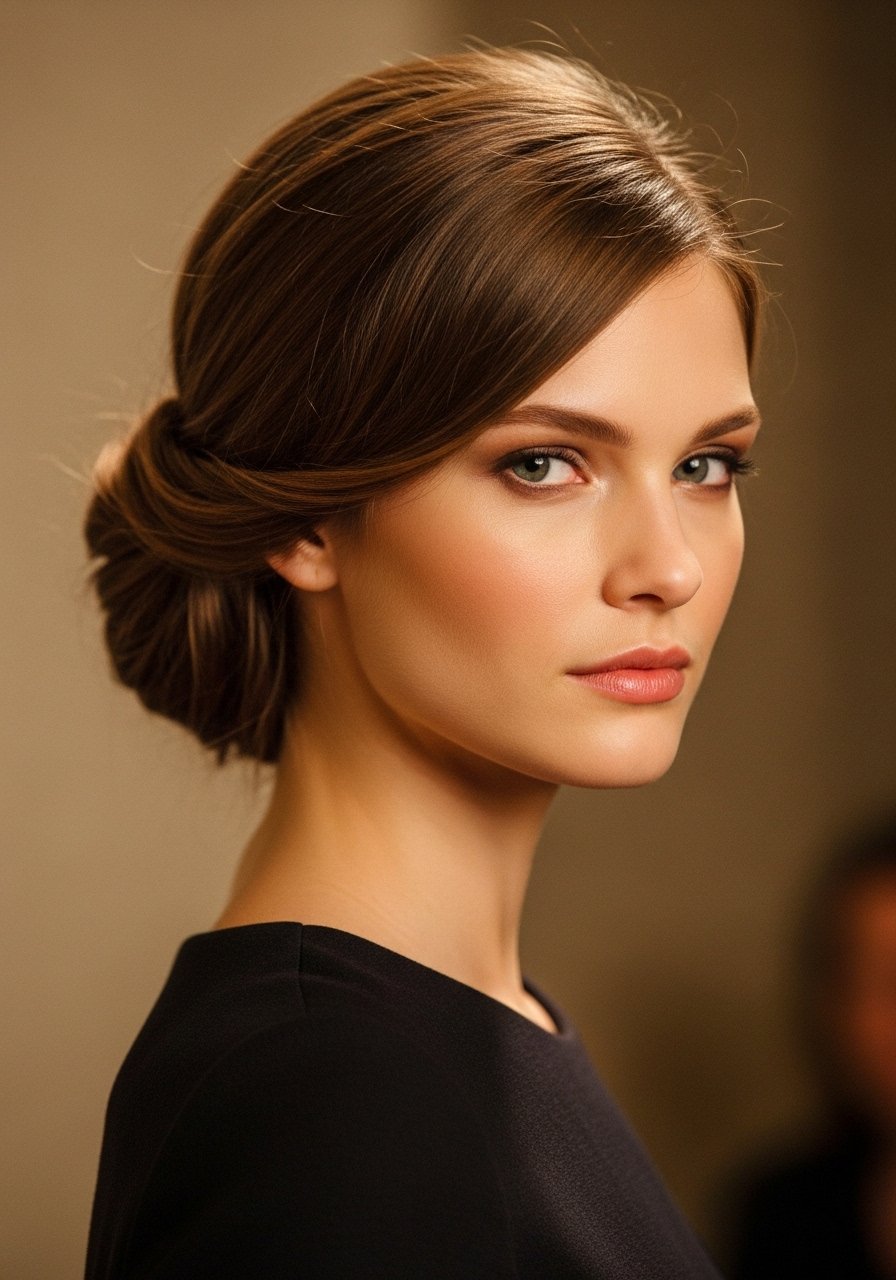
For weddings or a polished meeting I do a low twisted chignon, smoothing sides with a boar bristle brush then coaxing shorter layers loose for a soft frame. Take two 2-inch vertical sections at the nape, twist them toward each other, and pin into a low knot. Use a small drop of serum on ends only to reduce flyaways. Works great on medium to thick layered hair. Avoid piling too much product at the roots which dulls the shape. This is a salon-looking style that you can do at home in 12 to 15 minutes once you practice the twist.
Half-Up Claw Clip Tuck For Second-Day Layers
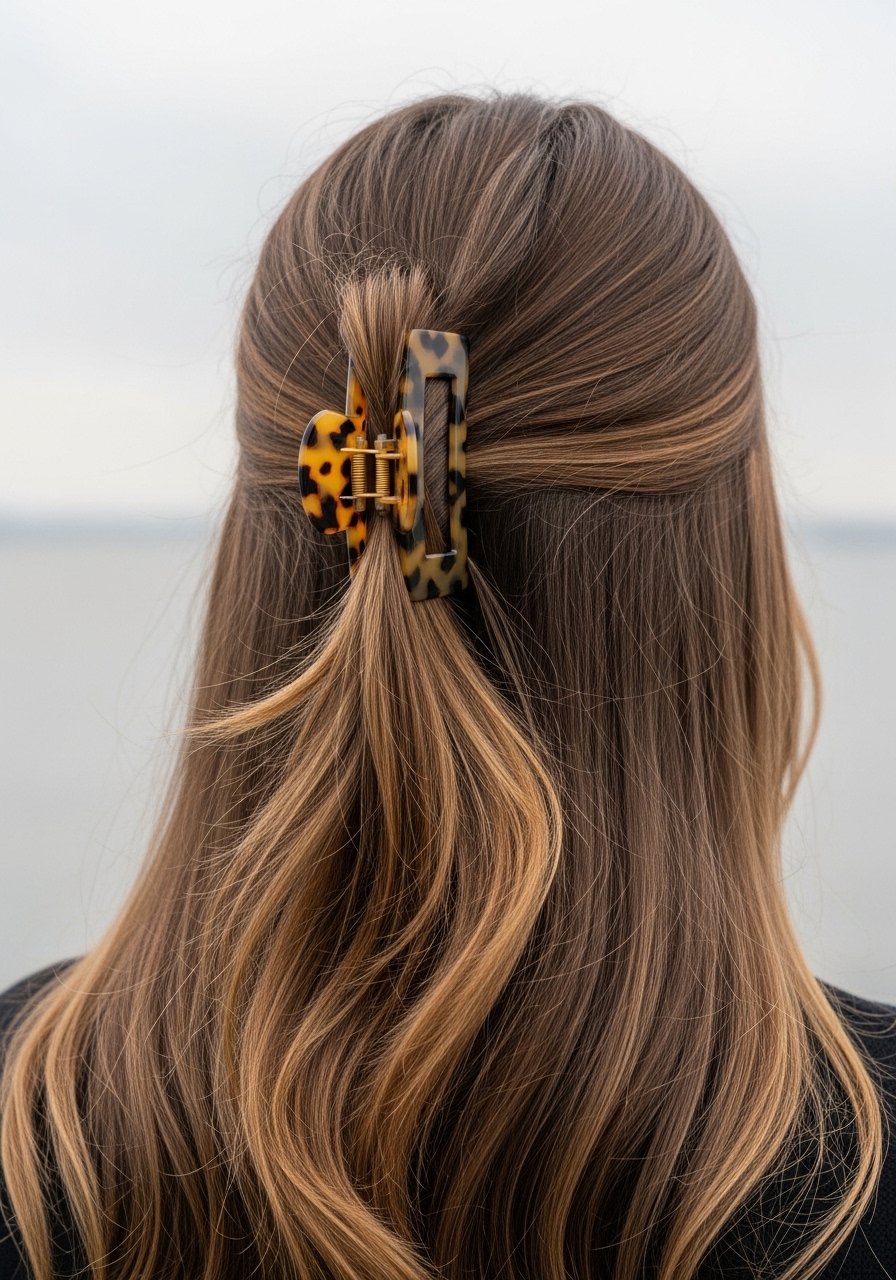
If you sleep on waves or go one day between washes, a claw clip half-up tuck hides greasy roots and flaring layers. Gather hair at the mid-back, twist once, and clip so shorter top layers fall over the clip, creating a natural cascade. Use a dab of dry shampoo at the roots if there is oil, then arrange layers to cover any flat spots. This takes under a minute and is perfect for fine to medium textured long hair. The frequent error is pinching too much at the crown which creates a hard ridge. Keep it loose for softness.
Curtain Bangs Pinned Back For Quick Change
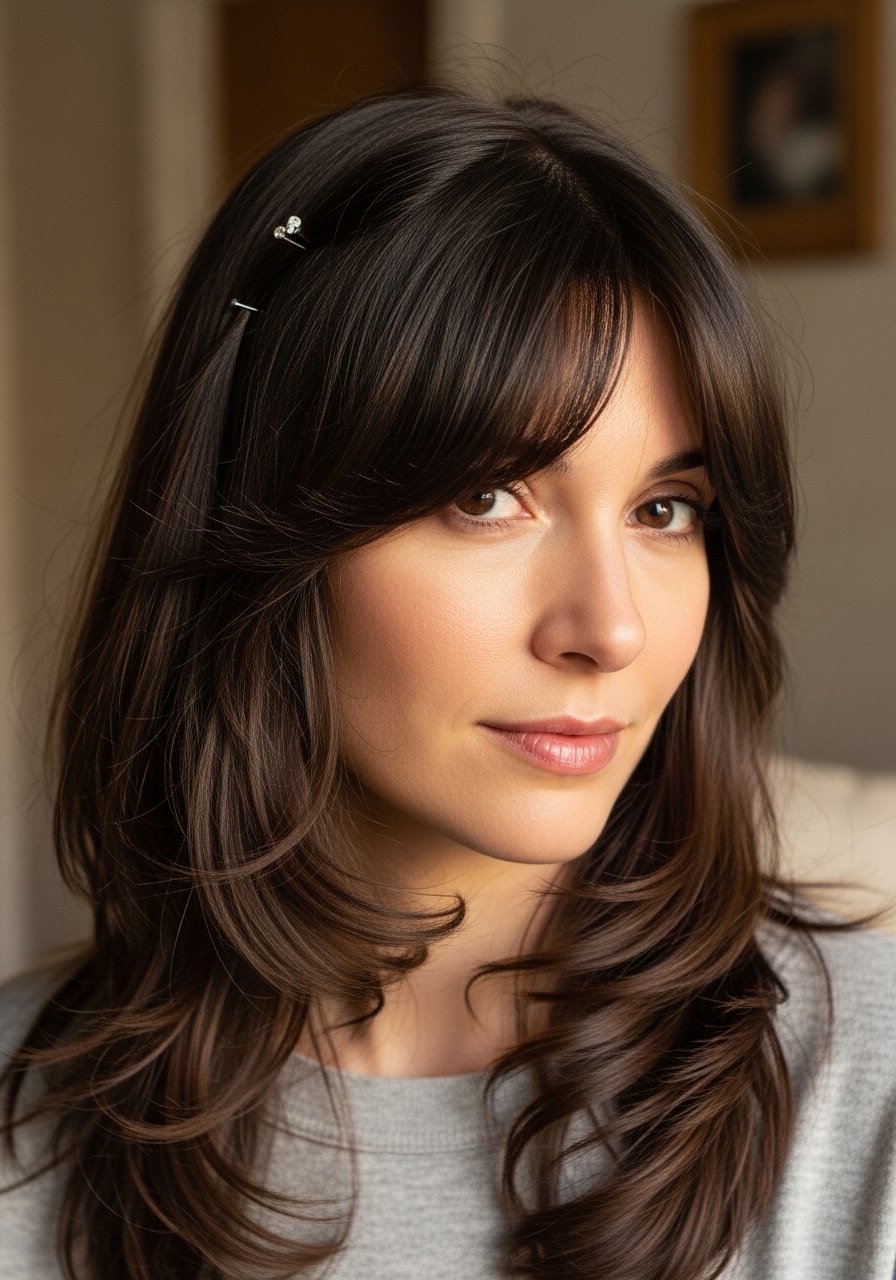
Layered curtain bangs can be annoying on humid days. Pin them back into a soft twist with two small bobby pins, then spritz the piece where the pins sit with a light-hold spray so they stay without looking hard. For long layered hair this keeps the face open while the layered sides keep the style from looking flat. It takes about a minute and rescues bangs that were cut too short. If you have scalp sensitivity to aerosol sprays, patch test or use a styling cream instead.
Small Habits That Keep Long Layers From Looking Ragged
- Hair grows about half an inch a month at most, regardless of what biotin gummies promise you. Trim every 10 to 12 weeks if you want blunt ends to stay neat. A good salon shears kit is fine for quick dusting, but major reshaping is a salon job.
- Heat protectant goes on damp hair, not dry. Most heat protectants you spray on dry hair before flat ironing barely work. They need to absorb into damp or just-dried hair to actually shield the cuticle. Color Wow heat protectant spray is one I often reach for.
- Sleep on silk. A silk pillowcase and a loose top-knot or pineapple for curls keeps layers from knotting and reduces breakage. Silk pillowcases under $30 do more than a conditioner rinse on split ends.
- Skip daily shampoo when you can. For most people, washing every other day keeps natural oils that protect layered ends. If you need a midday refresh, use 1 to 2 pumps of dry shampoo, not a dusting that matts hair down.
- The mistakes I made so you do not: My curls looked great on TikTok and like wet noodles by 11am. The fix was layering a leave-in cream under a light gel. The combo gives hold without flakes.
Frequently Asked Questions
Q: Can I use Olaplex No. 3 on hair that is not damaged?
A: Yes, but once a week is enough. It will not make healthy hair worse, it mostly reduces breakage during styling. If you buy Olaplex, get it from the official Amazon store or Sephora to avoid counterfeits.
Q: How hot should I set my iron for layered long hair?
A: Start at 300F for fine hair, 330F for medium, and no higher than 370F for thick or coarse hair. Remember heat protectant before any iron over 300F so the product can absorb on damp or just-dried hair.
Q: My layers keep flipping out of a ponytail. What am I doing wrong?
A: Short layers slice out because the ponytail is too tight or sits too low. Make the pony slightly looser, place it a little higher, and add a 1-inch wrap around the elastic to hide shorter pieces. A light evening of hairspray at the ends helps them blend.
Q: How often should I trim layered long hair to keep shape?
A: Every 10 to 12 weeks for blunt or precise layers, 12 to 16 weeks for softer lived-in layers. If you are growing layers out, ask the stylist to dust ends and preserve length.
Q: Is a claw clip okay for thick layered hair?
A: Yes. Use a larger clip and twist loosely rather than pulling everything tight. Clips are a quick low-heat alternative when you want to hide layers without styling tools.
Q: My curtain bangs get oily fast. How do I make them last?
A: Dry shampoo applied at the roots once the bangs are styled, then a quick respray of light-hold mist will push the style through an extra day. If you have sensitive skin, patch-test any new aerosol product first.

