
I learned the hard way that leaving braids in without a plan is how edges get thin and scalp flares up. I paid for a rushed install once and spent a month babying my hair back to calm. These are the braid styles I actually put in, sleep in, and maintain myself, with the small product swaps and tension fixes that stop breakage before it starts.
These braid ideas are written for natural hair textures, mainly 3B through 4C, and for anyone with medium to thick density. Most styles take one to four hours to install at home, unless I note a salon-only method. Budget runs from under $30 for DIY twist packs to $150 for pro-install with premium synthetic hair. I call out when you should see a pro.
Box Braids With A Warm Oil Finish
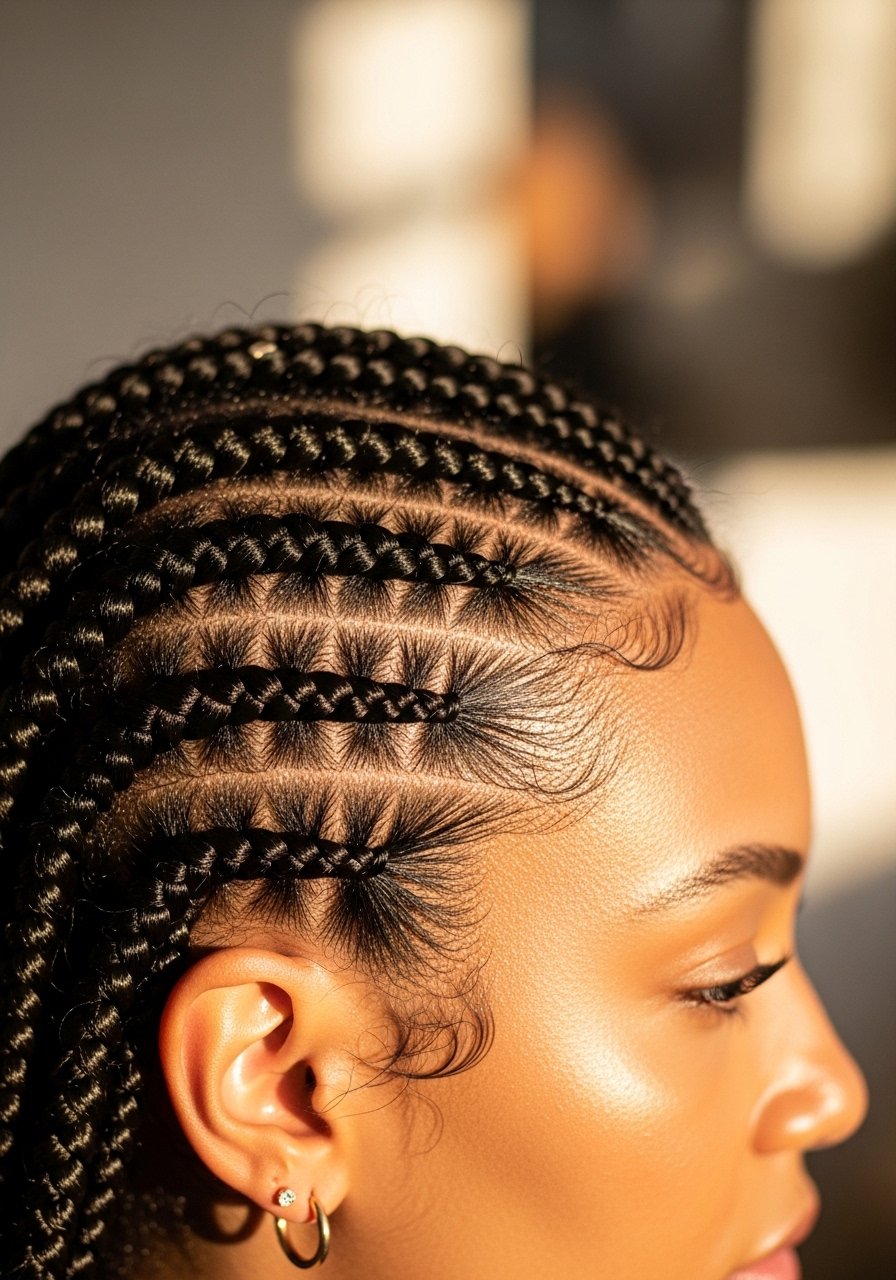
Box braids are the classic because they separate hair into clean sections, which reduces daily friction. For Type 4 hair I divide into roughly 100 sections for medium braids, which balances wear time and scalp breathing. I usually add two spritzes of a water-based leave-in, then smooth a nickel-sized amount of shea butter on the ends before braiding to lock moisture. If you use Kanekalon hair, soak the bundles in cool water for five minutes to remove factory stiffness. A common mistake is braiding too tight at the hairline, which gives instant crisp parts and later causes soreness. DIY is fine with practice, but if you want perfect parting, a pro install is worth the extra cost.
Knotless Box Braids For Less Tension
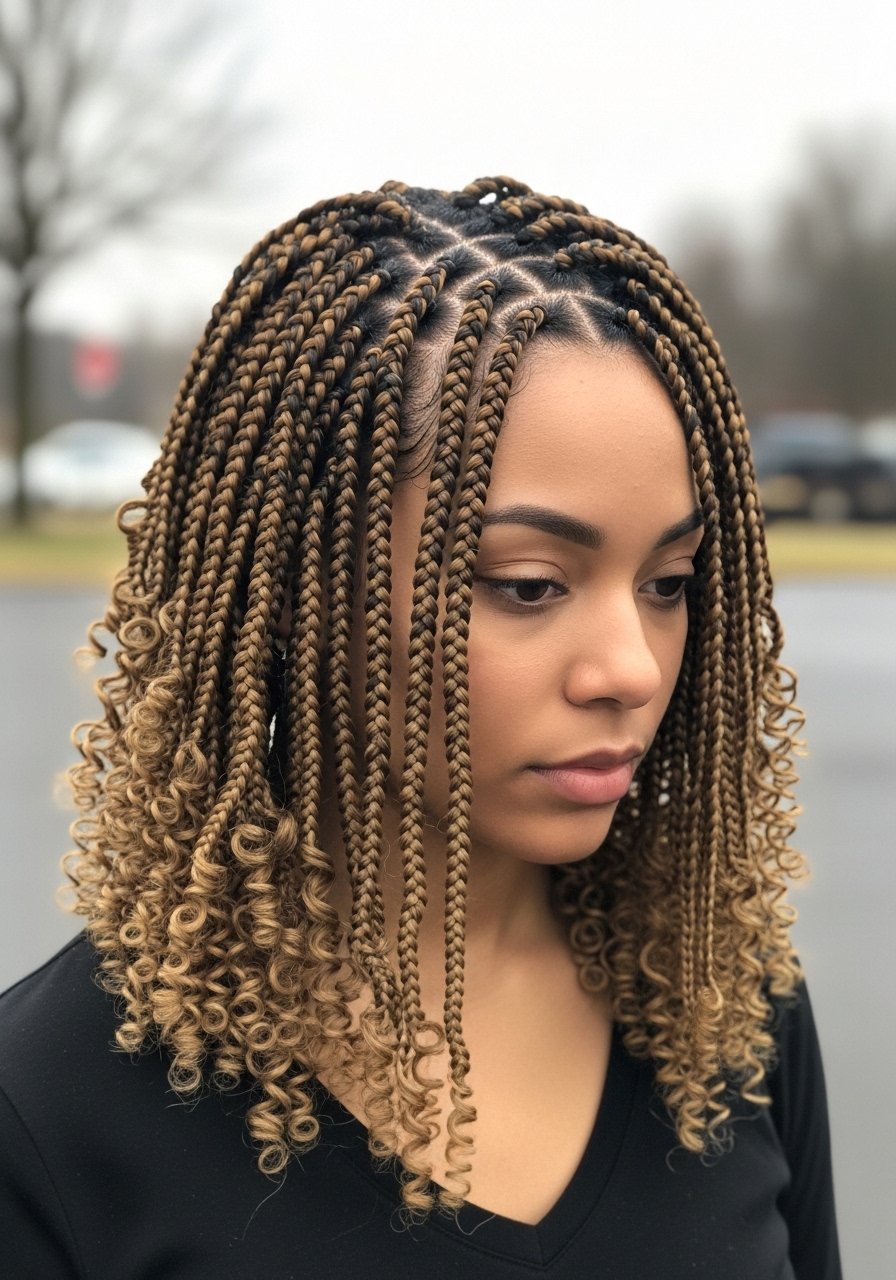
Knotless braids feel like the smarter version of box braids because the feed-in start spreads tension across more of your hair, which helps edges. I partition with a tail comb into 80 to 120 sections depending on density. For knotless, I feed in hair in small increments, adding one to two inches of synthetic at a time. It costs a little more in time but my scalp thanked me. If the method sounds fiddly, try a single row as practice before committing to a full head. For product, two drops of lightweight argan oil on the scalp once a week keeps flaking down. Avoid heavy gels at the root because buildup shortens the safe wear time.
Micro Braids For Long-Term Styling Options
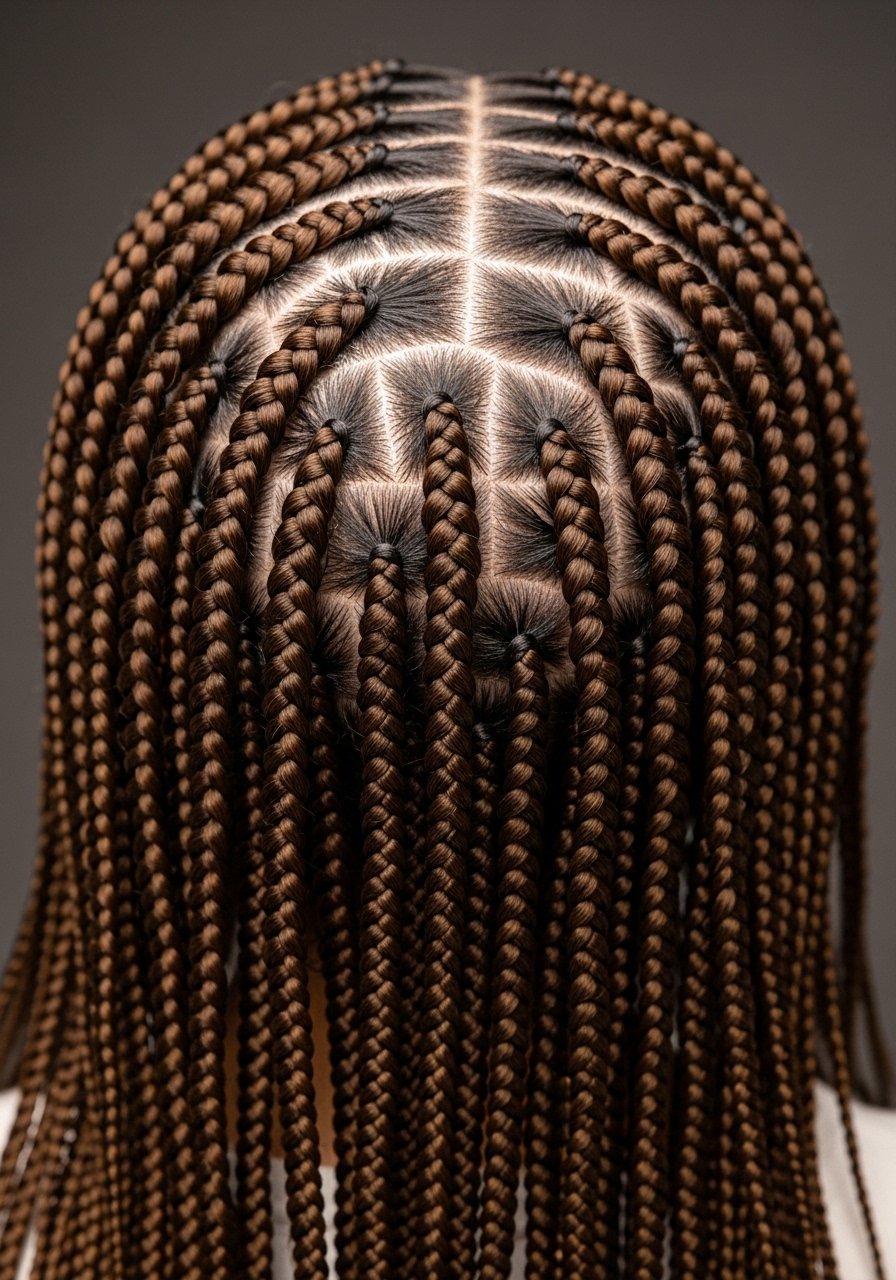
Micro braids give the most styling flexibility but they are time intensive and can weigh hair down. I count on 4 to 8 hours for a full head, and I recommend micro braids only if your hair is healthy and you can tolerate longer installs. A trick I learned is to keep sections no smaller than a fingernail width to avoid single-strand stress. I run a weekly steam session for 10 minutes to let deep conditioner penetrate the little pockets, then rinse thoroughly. If you sleep on them without protection, frizz becomes impossible to manage. Salon installs can reduce single-braid slippage, but if you do them yourself, use a light edge control and a boar bristle brush to smooth roots gently.
Cornrows Laid For Scalp Protection
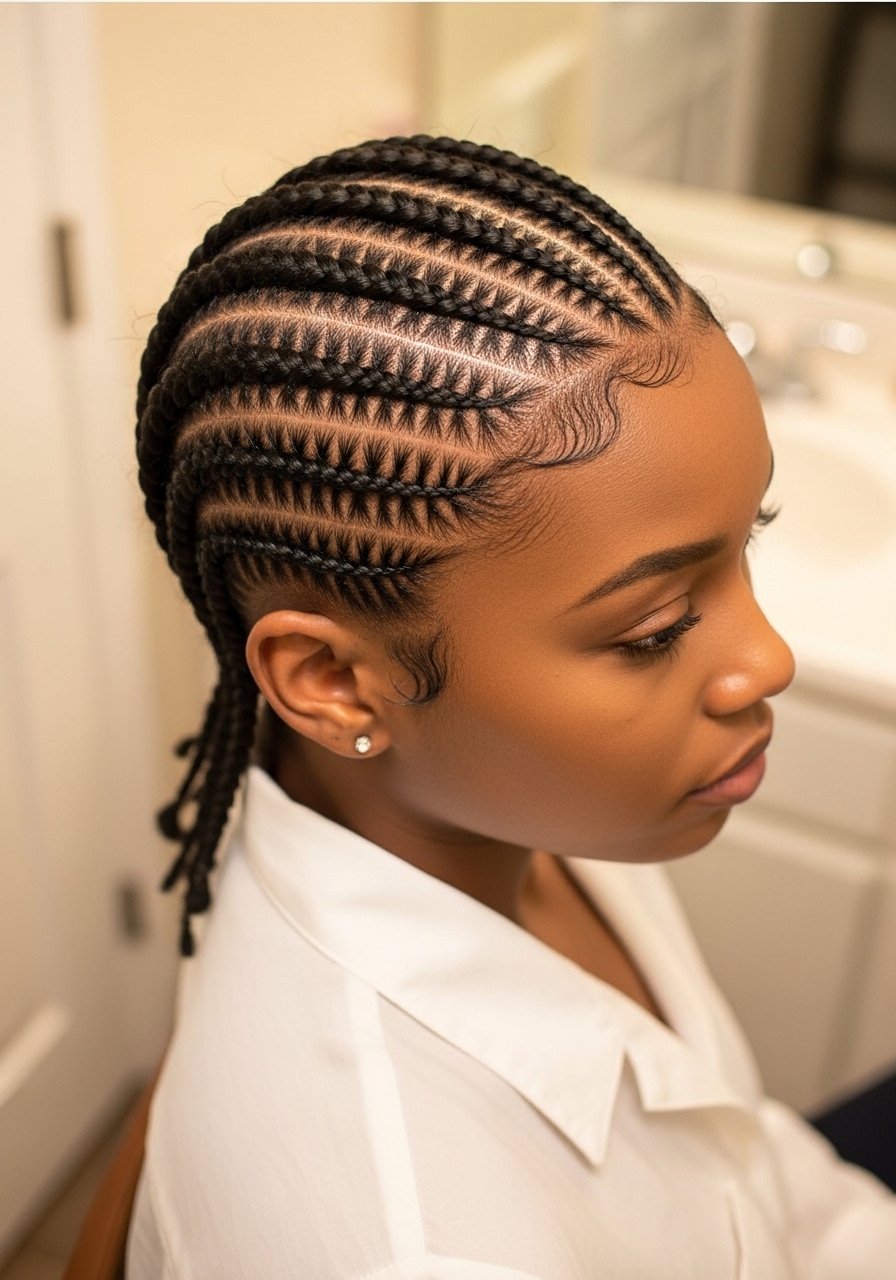
Cornrows are the go-to when I want a low-manage time frame and scalp access for oiling. For Type 4 hair I keep rows about 6 to 10 across the crown so the scalp can breathe and I can reach every section with oil between washes. A mistake is braiding against the natural growth pattern to get a slick look, which stresses edges. I use a water-based spray and pea-sized amounts of edge balm along the hairline, not a thick glob. If your scalp is sensitive, avoid daily manipulation and oil with a cotton ball instead of fingers to reduce tugging. Cornrows are an easy salon or DIY job, depending on row complexity.
Ghana Feed-In Braids For Blended Growth
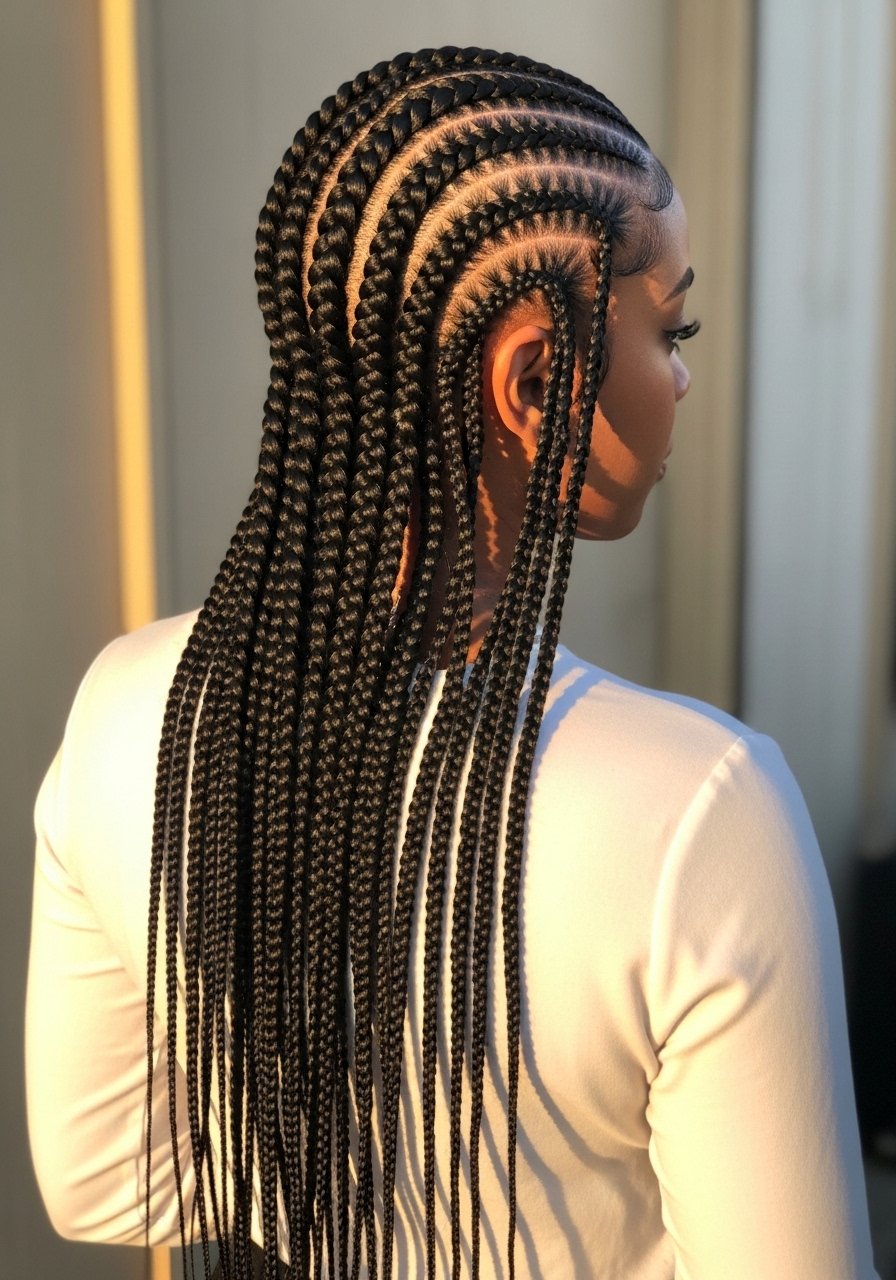
Ghana or feed-in braids create a textured, blended look because the added hair is integrated gradually. I use this when I want length without the bulky root knot. Start with three flat cornrow stitches and add a thin strip of synthetic hair every 1 to 1.5 inches. If you add too much hair too fast, the braid looks lumpy and kneads strain into the same spot. I keep the braid base thicker near the scalp and taper toward the ends for a natural fall. This is a pro-level trick for neatness, but a patient DIYer can do it with practice and a good mirror.
Two-Strand Twists That Double As Braids
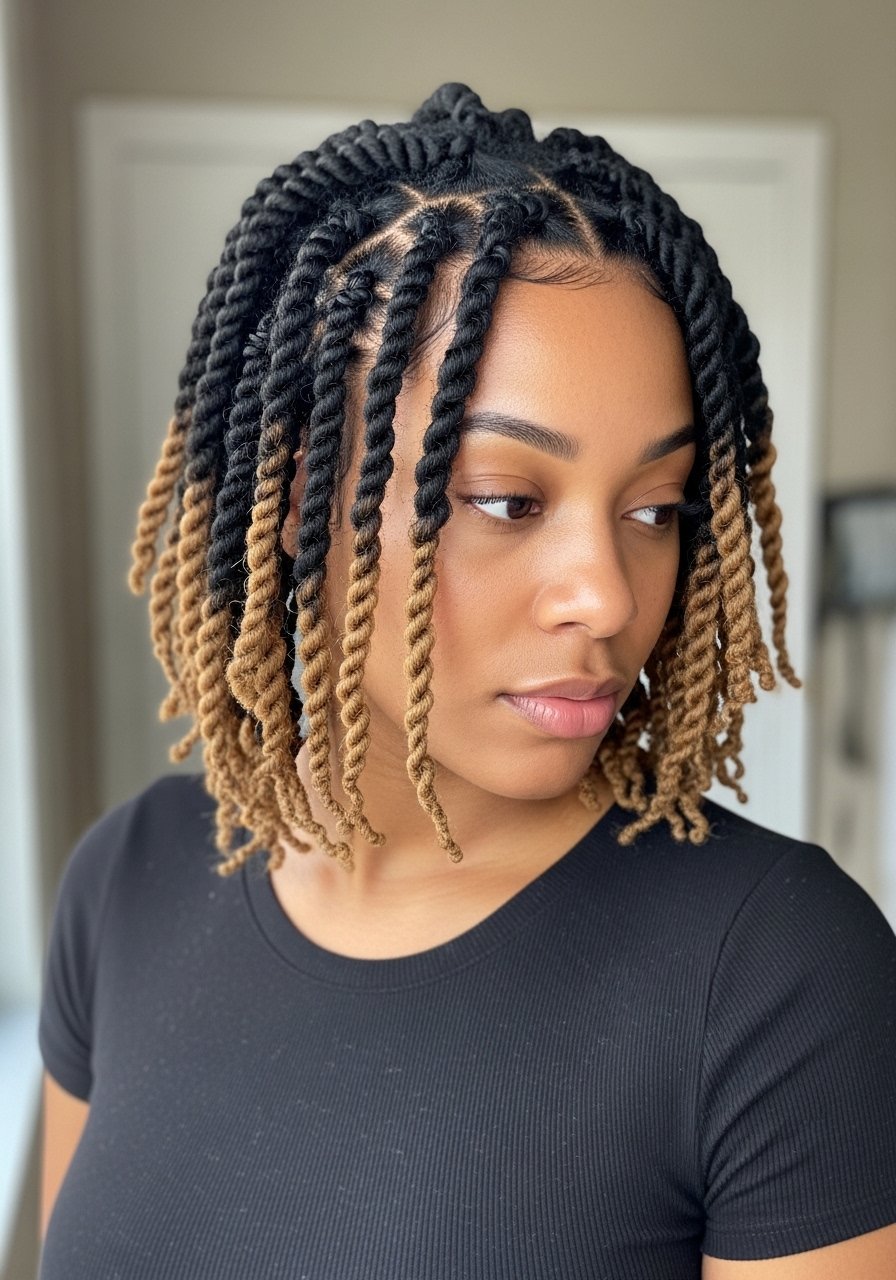
Two-strand twists are a low-tech protective option and they count as a braid when you want something gentle. For Type 4 hair I do medium-sized twists, about 50 to 70 sections, and twist away from the face. I start on damp, detangled hair with a quarter-size of cream-based leave-in plus one pump of styling butter to avoid puffing out. A frequent mistake is over-twisting at the root, which causes breakage when you undo them. Twists are the friendliest option for DIY and can be worn for two to six weeks with weekly scalp oiling. If your hair is color-treated, avoid high-acid cleansers under twists to prevent dryness.
Halo Crown Braid For Low-Slip Nights
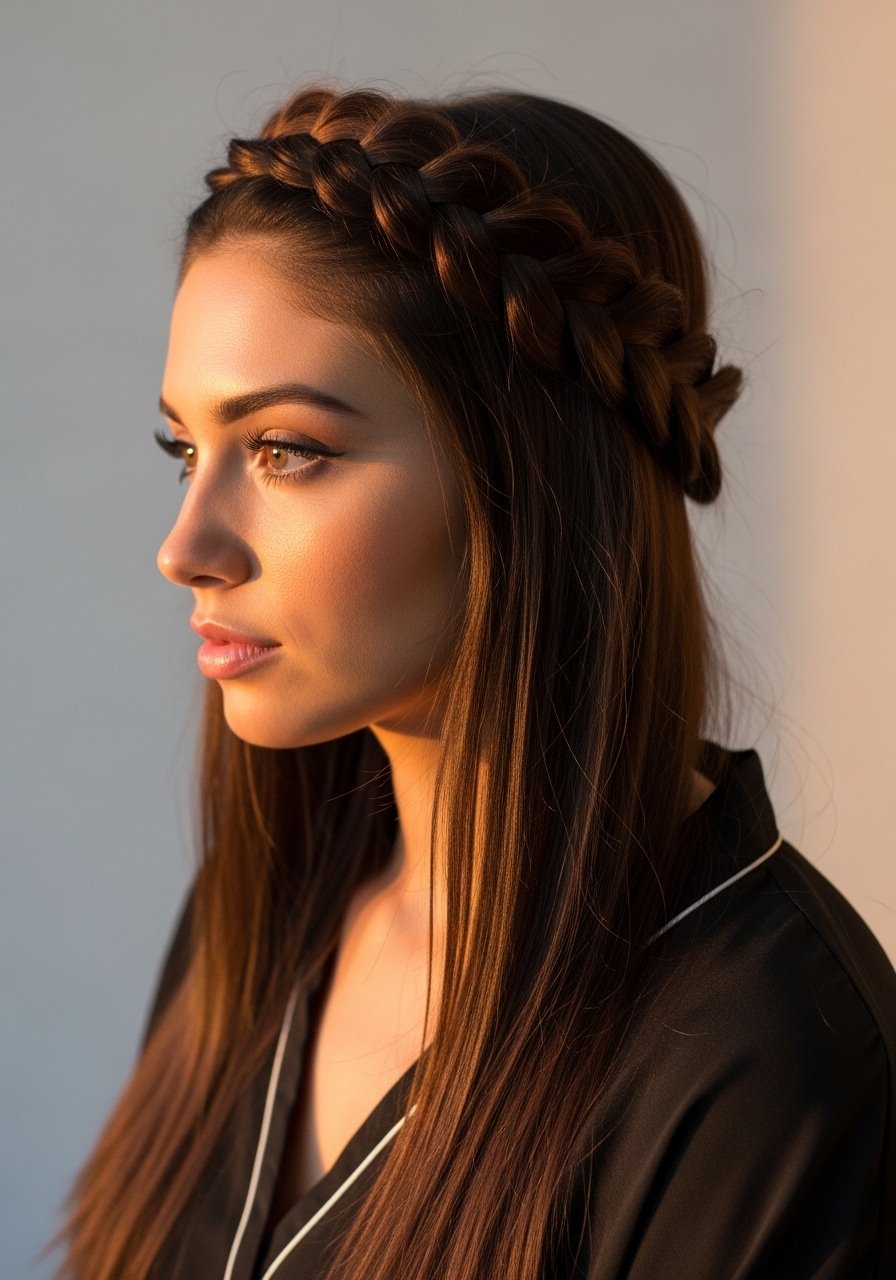
The halo braid sits up high and tucks ends, which makes it ideal for sleep and short-term protection. For thicker hair I split into four large sections and braid each to the back, then pin them into a ring. This reduces single-point tension and my pillowtime friction. Use a satin scrunchie at the base to avoid denting. A mistake is leaving the pins too tight, which creates flat pressure points. This is easy to DIY and fast, typically under 30 minutes, and I sometimes pair it with a nightly satin scarf to extend the life of the style.
Fishtail Braid With Edge-Safe Parting
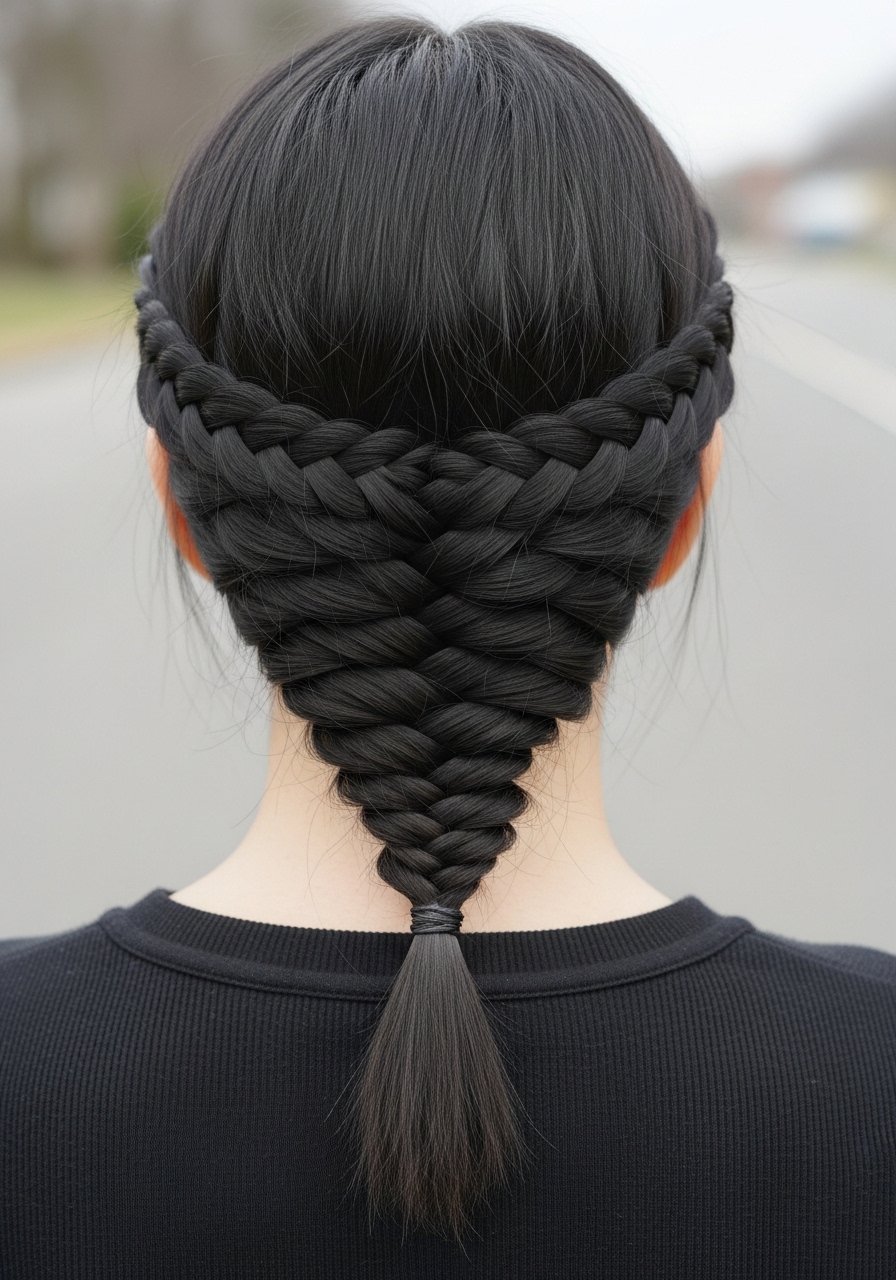
Fishtail braids look intricate but protect well if you do them loosely. I start by dividing hair into two large sections and take thin slices from the outer edge every 3 to 4 passes. For Type 3 hair this pattern stays intact longer when not pulled tight at the roots. A tight fishtail creates an attractive line but it also concentrates stress. If you want the look for several days, spray a light mist of holding spray and sleep on a silk pillowcase. This braid is great for people who like one-braid maintenance and want a less obvious protective style.
Fulani Braids With A Bead-Free Finish
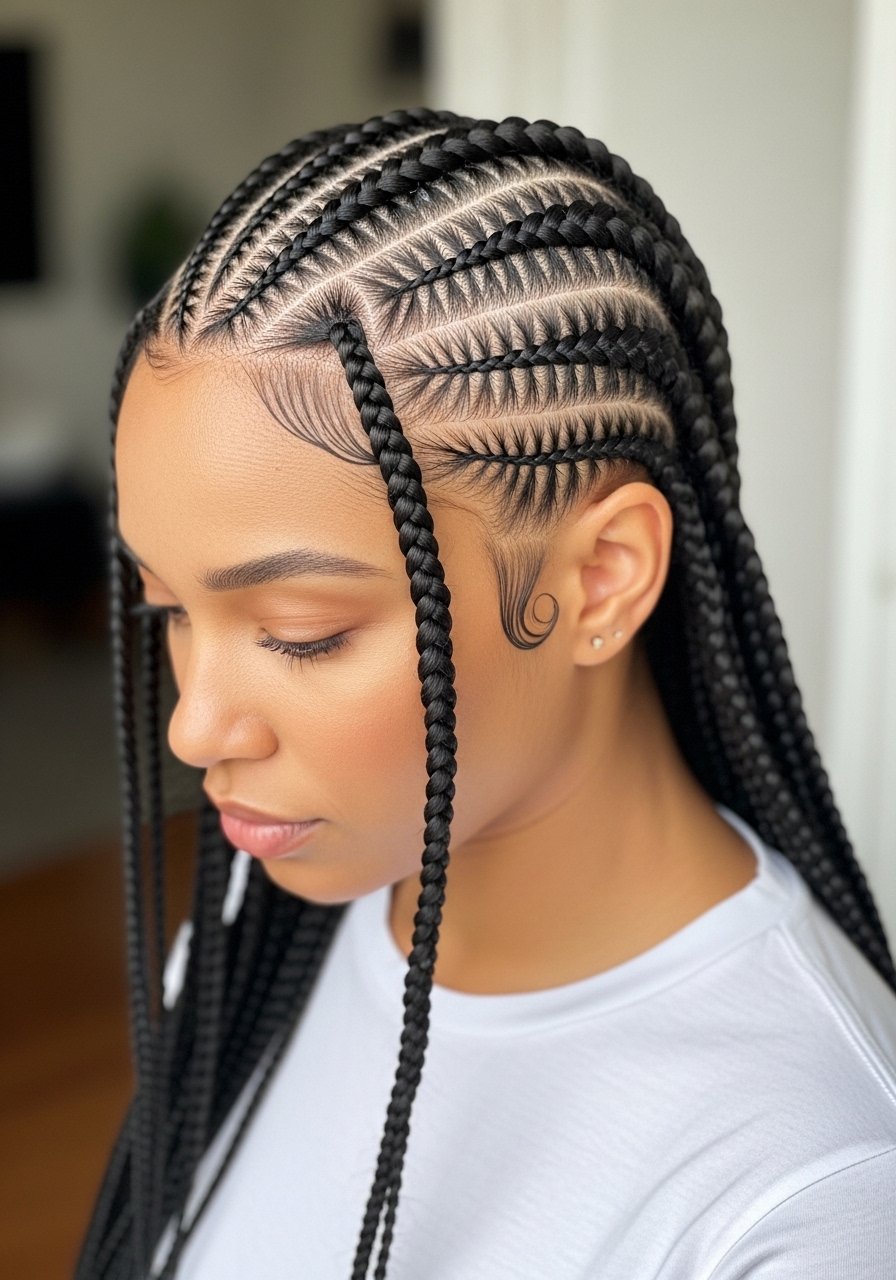
Fulani braids give the protective benefit plus face-framing detail. I stick to three to five cornrow stems along the parting and add thinner side braids for contrast. A lot of people add beads, but beads can snag and stress individual strands. I prefer small satin-wrapped ends or tucked loose hair so the style is snag-free. Fulani is perfect for someone who wants both a neat scalp and decorative patterning that does not compromise edges. If you have high porosity hair, oil the scalp lightly after the first week to avoid dryness.
Flat Twist Braids For Type 4 Hair
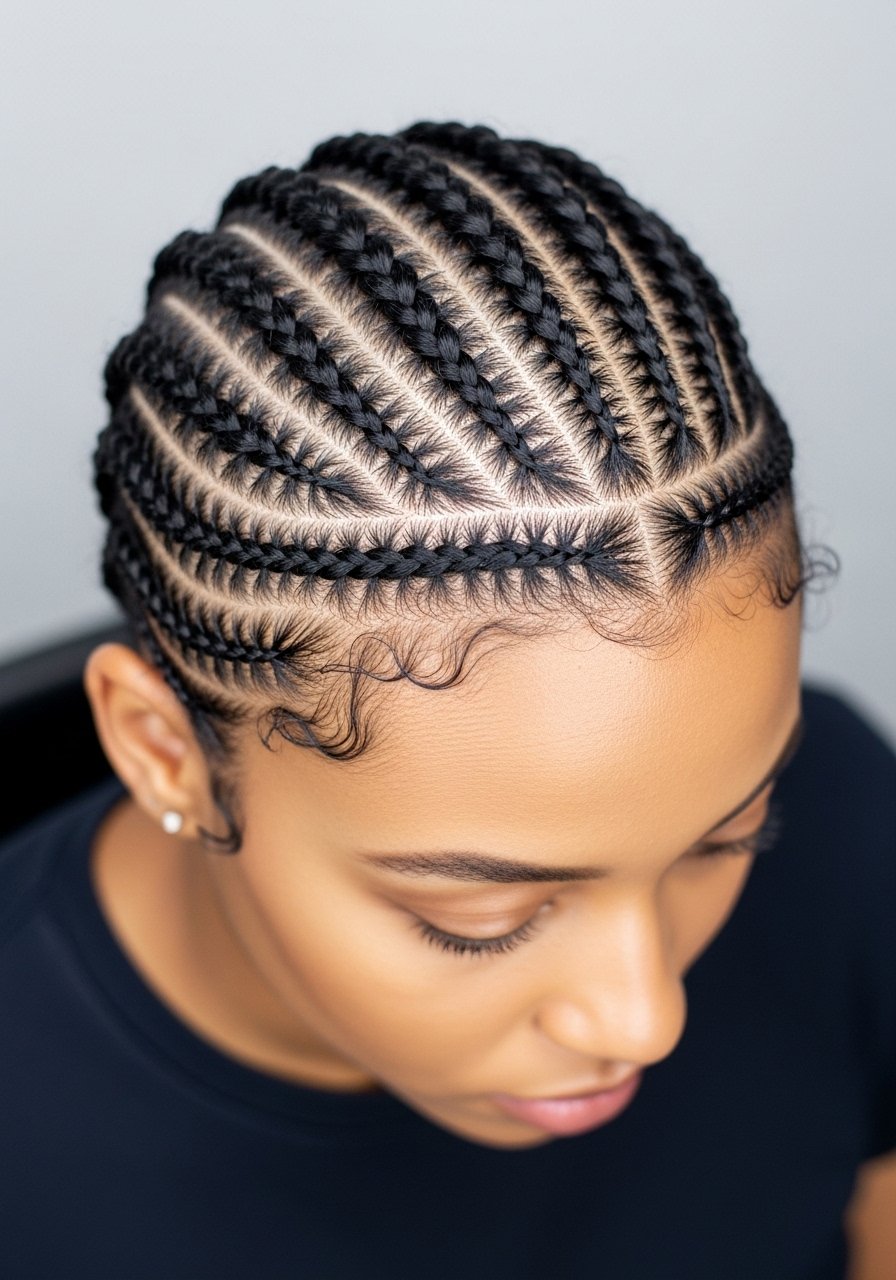
Flat twists are a gentler alternative to cornrows because the twisting motion distributes tension differently. For tight coils I section hair into finger-width parts and twist with a medium hold cream to keep definition without hardening. I leave the twists in for one to three weeks and refresh the roots with a water-based spray to avoid buildup. People often mistake a hard, waxy finish for longevity, and then wonder why the scalp itches. Use lightweight products at the root and a heavier cream only at the ends. This is a great DIY option and quick to install if you work row by row.
Faux Locs With Curled Ends For A Low-Heat Look
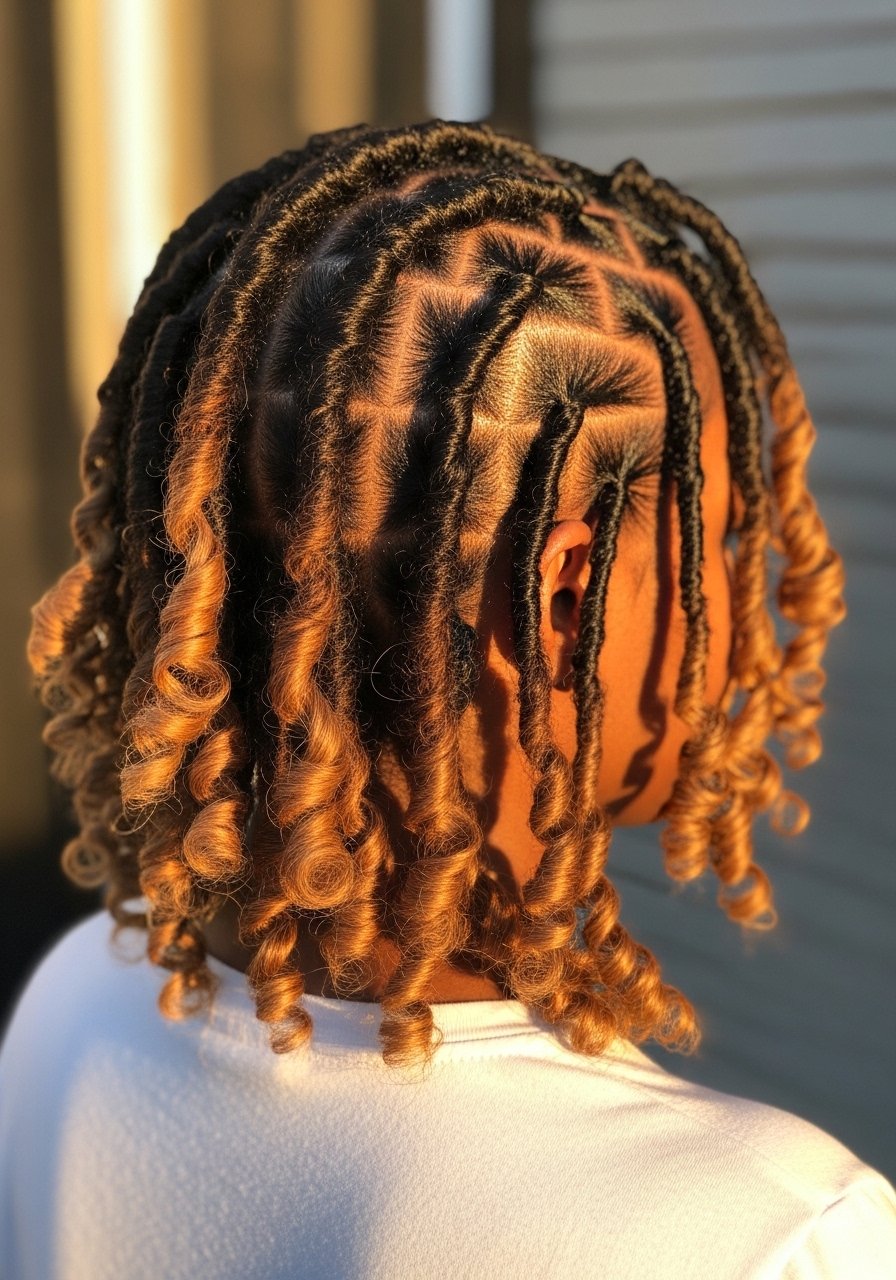
Faux locs give the vibe of locs while protecting natural hair underneath. I prefer pre-stretched soft Marley hair because it wraps smoothly and looks less bulky. Start with two-strand twists then wrap the loc hair, leaving the final 1.5 to 2 inches curled for movement. The mistake I see is using too much heat on the ends to tame flyaways. If you do curl the ends, always apply a heat protectant if the iron exceeds 300F. Faux locs can last six to eight weeks if you clean the scalp carefully with dilution and avoid oil-saturated buildup.
What I Actually Keep On Hand For Braid Sets
- Honestly the best $30 I spend sometimes is Olaplex No. 3 hair perfector, used weekly on pre-braid trims to strengthen ends. Buy from the official seller on Amazon or grab it at Sephora to avoid counterfeits
- For daily scalp care, pure jojoba oil 4oz in a dropper bottle, two drops per application keeps flakes down without clogging
- A wide-tooth detangling comb for sectioning before braids saves time and prevents breakage
- A satin bonnet pack of two under $20, better than collars at stopping friction overnight
- Edge control brush and jar for smoothing edges without heavy product smears
- Lightweight leave-in conditioner 8oz that you can mist into parts before braiding
- Marley hair bundles for faux locs, pick heat-resistant synthetic hair if you plan to style ends with low heat
- Wide satin scrunchies to secure styles without dents, also useful during installs
What I Wish Someone Told Me Before My First Full Head
- Heat protectant goes on damp hair, not dry. The cuticle is more open and the product actually absorbs. A lightweight heat protectant spray is worth using before any hot tool that goes above 300F
- Grab a microfiber hair towel for $12. It cuts your prep time and reduces frizz before braiding
- Hair grows about half an inch a month at most, regardless of what biotin gummies promise you. Reducing breakage by using gentle parts and night protection is how you keep length
- Drugstore shampoo is fine. Where you actually need to spend money is the conditioner and bond builder. Olaplex No. 5 conditioner does more for damaged hair than a pricey shampoo
Frequently Asked Questions
Q: How long can I safely keep box braids in?
A: For most people with natural hair, four to six weeks is a sensible maximum. Keep the scalp clean with diluted shampoo every two weeks and oil lightly. Leaving them in past eight weeks increases the risk of matting and breakage at the roots.
Q: Can I do my own knotless braids at home?
A: Yes, a patient DIYer can, but expect a learning curve. Practice on one row first and use small increments of added hair. If your hairline is fragile, book a pro for your first full head to learn tension control.
Q: How do I tell if a braid style is causing too much tension?
A: If your scalp feels sore the day after install, or if your edges are tender when you touch them, that is a sign to loosen the next rows or remove the style early. Persistent pain is not normal. If you see bleeding or major scabbing, stop and seek a stylist or medical advice.
Q: How do I clean my scalp under micro braids?
A: Use a diluted shampoo in a spray bottle, part the braids, spray directly on the scalp, massage lightly, and rinse with a gentle stream. Finish with a light leave-in spray. Micro braids trap product, so cleaning every 10 to 14 days is important.
Q: Will faux locs damage my hair more than box braids?
A: Faux locs can be gentle if you build them on two-strand twists and avoid heavy products. The biggest risk is weight. Use lightweight Marley or pre-stretched hair and avoid extra-long sets if your natural strands are fragile.
Q: Can I color hair that is already in braids?
A: Coloring over synthetic hair is not recommended. If you want color, do it on your natural hair before installing braids or take out a small section and consult a colorist. Lifting over previously dyed hair can cause severe breakage and should be done by a professional.