
I woke up once after a long day of braids and my edges looked like I had slept in rope. I learned the hard way that tension and product choice matter more than how many braids you do. These are the natural hair braids easy enough to try at home, and I included the small fixes that actually keep braids from slipping or breaking.
These braid ideas work for a range of textures, from looser 2A waves through 4C coils, with notes for shorter cuts. Most styles take 5 to 40 minutes, they cost under $30 in tools unless you want a splurge brush, and everything here can be done at home except the tight feed-in rows, which I recommend booking if you want extensions added safely.
Classic French Braid For Shoulder-Length Hair
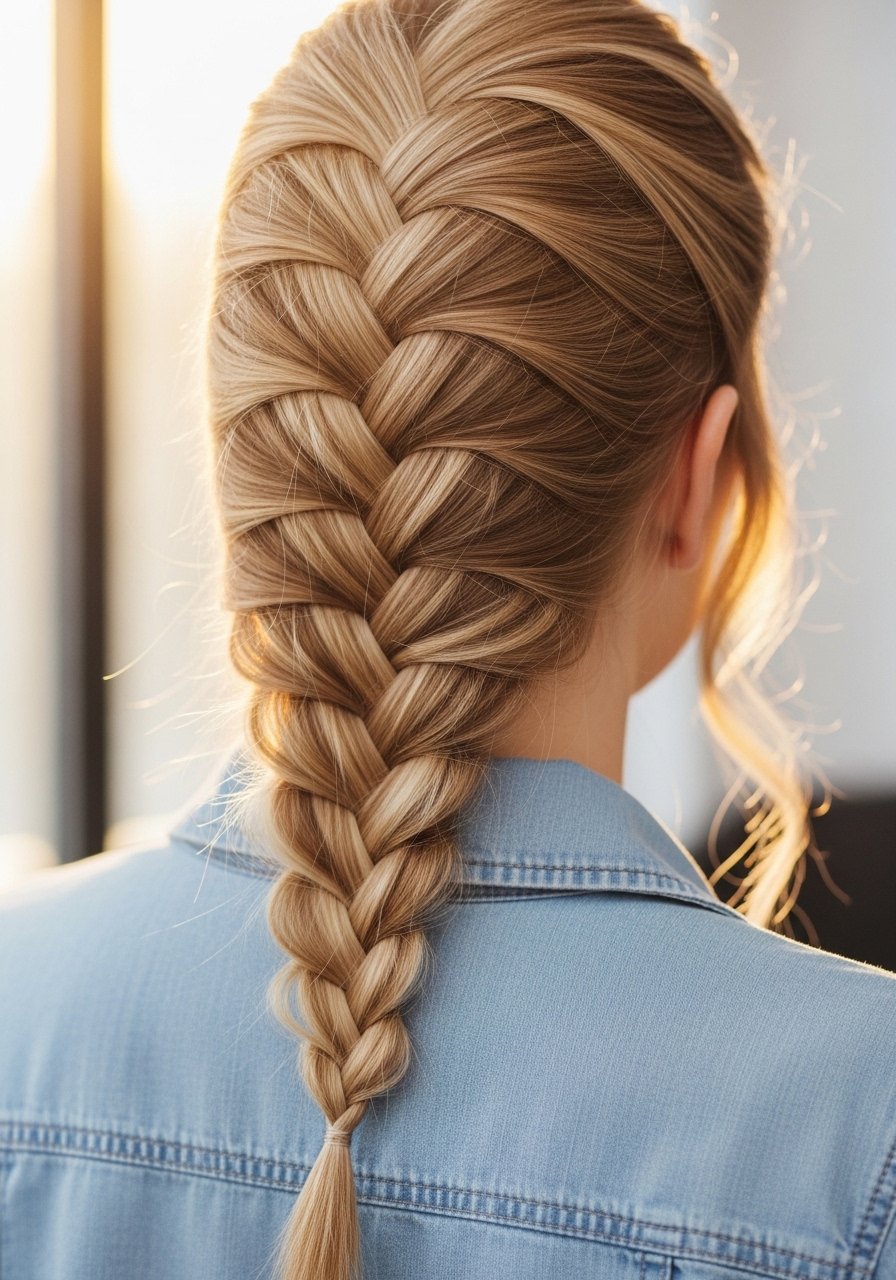
The French braid is where I start when I need something that looks polished but actually stays put. For shoulder-length hair I split into three even sections, add hair from each side twice per inch of braid, and then finish with a small elastic. Two mistakes I see are braiding too loosely at the crown, which makes the braid fall apart by lunch, and using heavy pomades that attract dirt. Spritzing damp hair with a light sea salt spray for grip and smoothing flyaways with a pea-sized amount of edge gel keeps it tidy for the whole day. If your hair is thin, pancake the braid gently to create width.
Dutch Braid With Textured Ends For Fine Hair
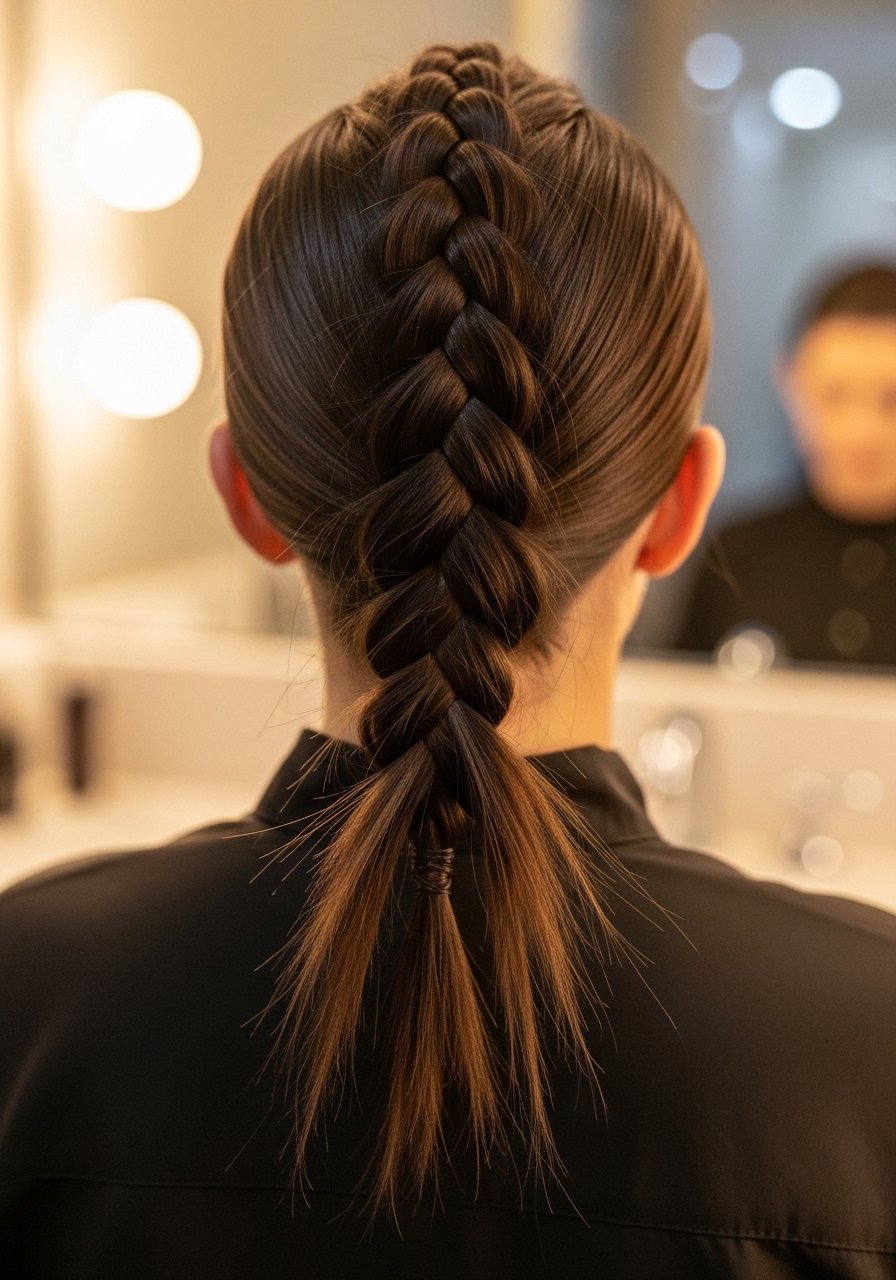
If your hair is fine, the Dutch braid gives the illusion of volume by sitting on top of the hair. I braid tight at the roots for lift and then switch to a looser braid about three inches from the end so the textured tips sit fuller. Use one to two spritzes of a lightweight texturizer, like a texturizing spray, before drying on low to avoid weighing hair down. Common mistake is using the same tight tension down the whole braid, which can cause breakage at the base. This is DIY-friendly and takes 10 to 15 minutes once you practice.
Fishtail Braid For Long Thick Hair
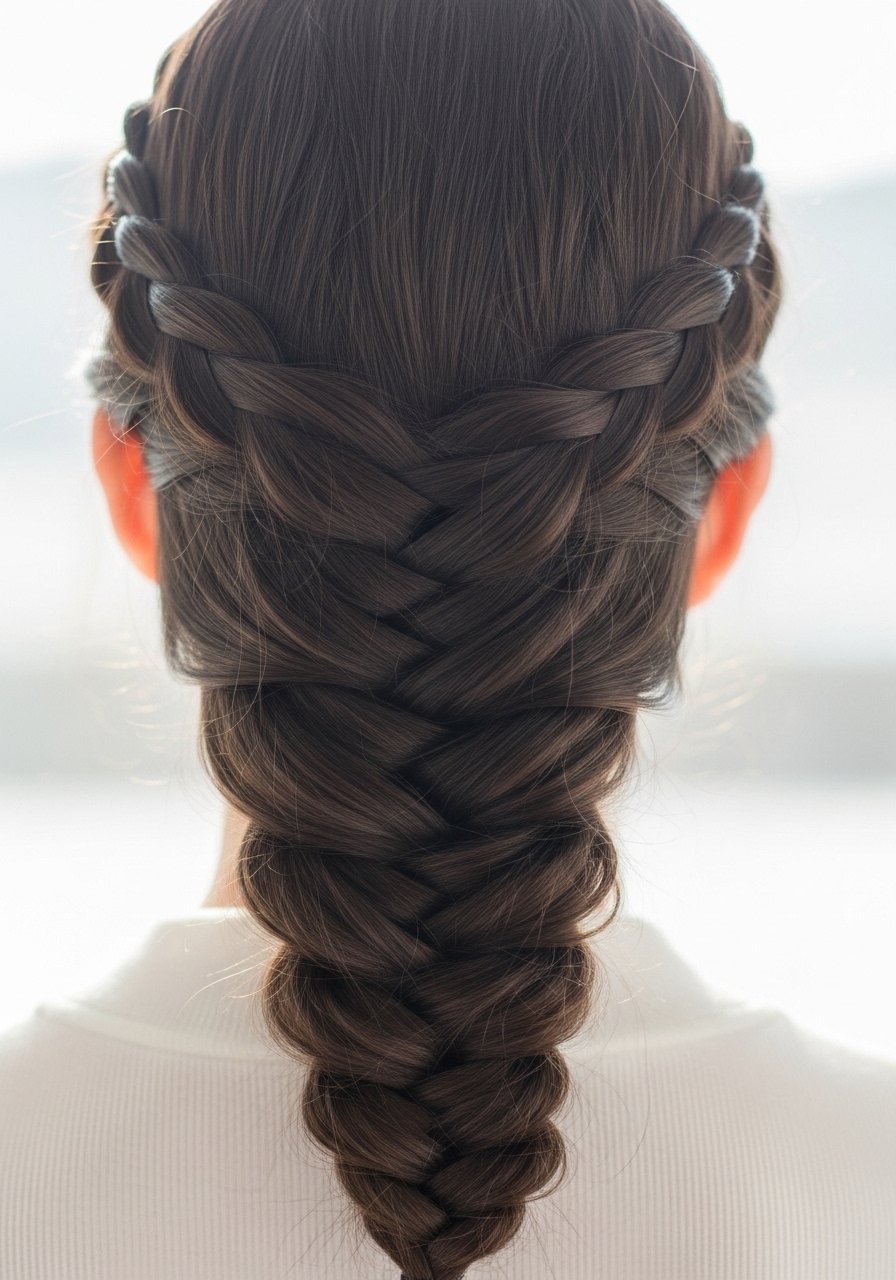
Fishtail braids look intricate but are essentially two-section braids with small outer strands swapped across. For long, thick hair I split the main sections into smaller pieces, about six per side, and cross them with a steady rhythm. If you want the chunky look, pancake by pulling gently at the edges starting three inches from the top. The thing most people miss is using too much product at the roots. A light oil on the ends, and a spray of flexible-hold hairspray over the finished braid keeps frizz down without crunchy stiffness. It takes 12 to 20 minutes depending on thickness.
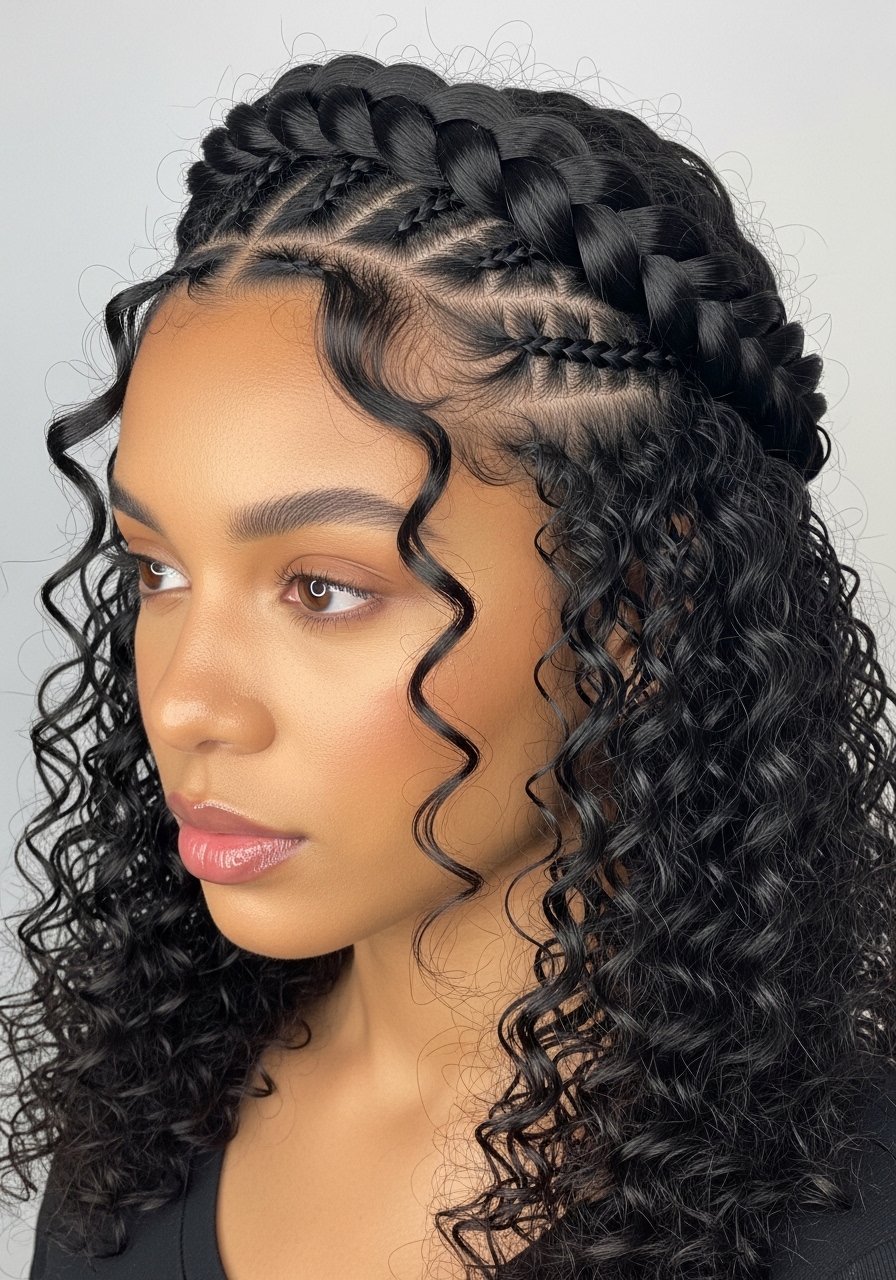
Two-Strand Rope Braid For Coily Hair
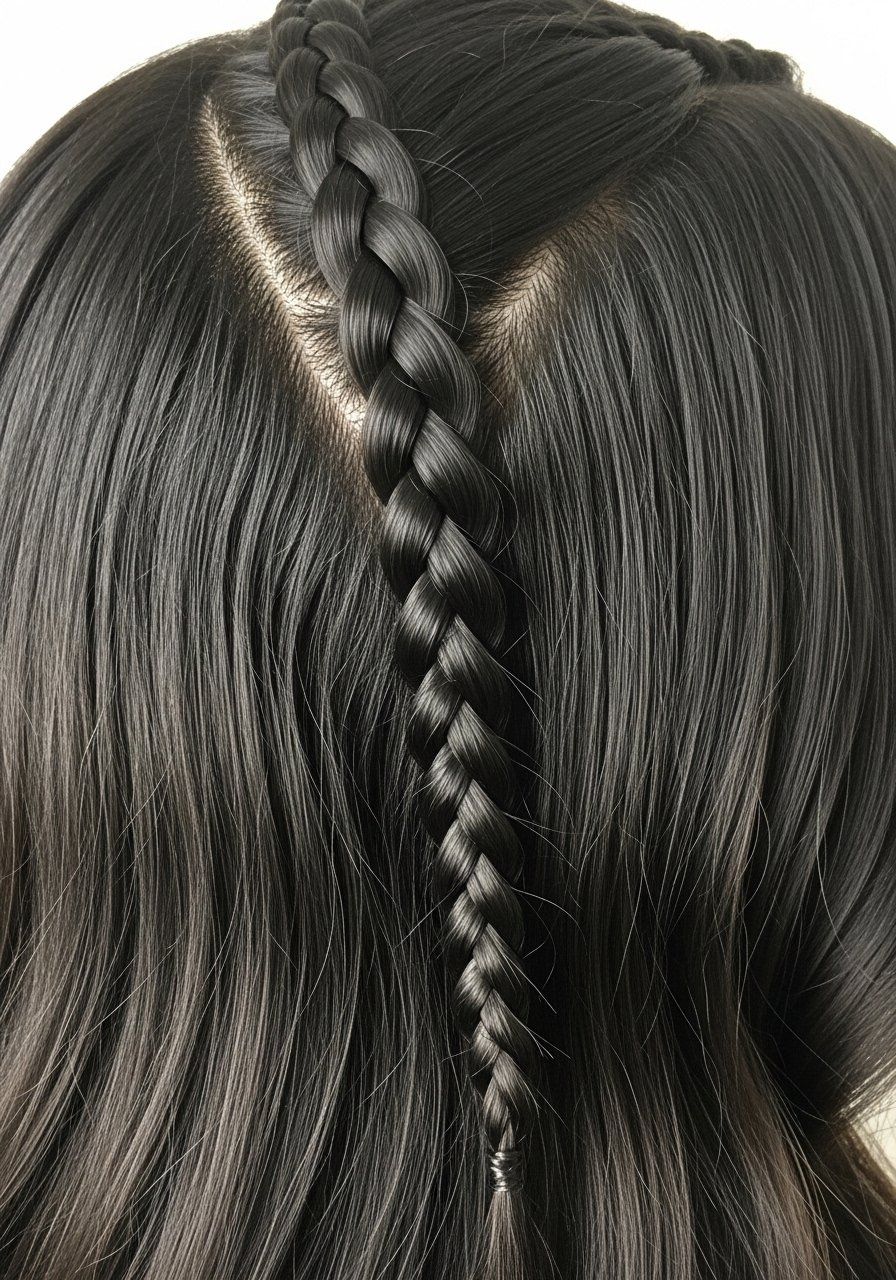
Two-strand rope braids are my go-to for a protective look that still shows curl pattern. The trick is twisting each strand away from the face, then crossing them toward the face so the twist tightens. For 4A to 4C hair I use the LOC method before twisting, a nickel-sized leave-in, a pea-sized cream, and two drops of oil on ends. If you twist too tight at the scalp you risk traction, so leave the base a little loose and secure with a fabric-wrapped elastic. Rope braids last five to seven days for me with nightly silk scarf protection and a light mist of leave-in conditioner spray.
Halo Braid For Formal Looks On Curly Hair
A halo braid feels elevated but is surprisingly forgiving for textured hair. Start at one ear, braid along the hairline and tuck the end under at the other ear. I section the front into smaller pieces, about four to five, to keep the hairline neat. Time is 20 to 35 minutes depending on length. Salon vs DIY note, if you find the back hard to reach, braid two Dutch braids on each side and pin them into a halo for a similar finished look. For hold without crunch, smooth flyaways with a small dab of lightweight styling cream and finish with a mist of anti-humidity spray.
Milkmaid Braids Pinned For Shorter Lengths

If your hair stops at the jawline, milkmaid braids are your best friend. I create two low braids, gently tug them to pancake, and pin them across the top with long bobby pins. The small detail most guides skip is switching to a clear elastic for the ends so pins sit flush and do not slide. This style takes 8 to 12 minutes and works on 2A through 3C textures if you add a touch of texturizer to help the braids hold. For a softer look I run a fingernail along the braid to loosen a couple of face-framing pieces.
Boxer Braids For Gym Days And Sweat
Boxer braids are the easiest way to keep hair controlled during a workout without heavy product. Start with a clean part down the middle, apply a thin layer of gel at the roots for grip, and braid tight enough to stay but not so tight your scalp hurts. A common frustration is braids loosening in humid conditions. A waterproof, flexible-hold sport hairspray along the hairline prevents flyaways without stiffness. If your hair is shorter than shoulder length you can switch to cornrows for similar staying power.
The Little Kit I Keep For Everyday Braids
- Honestly the small things matter most. A pack of snag-free elastics makes finishing quick and clean.
- For grip on finer hair, sea salt texturizing spray 4oz. One to two spritzes is enough.
- To smooth edges without buildup, a small jar of light edge gel. Use a dime-sized amount only.
- A silk scarf 21×21 inch for nightly protection.
- Wide-tooth comb for detangling wet hair gently.
- Long bobby pins pack for milkmaid and halo holds.
- Lightweight styling cream 6oz for definition and softness.
- Boar bristle finishing brush for smoothing flyaways, under $30.
- Flexible-hold hairspray for hold without crunch.
- Microfiber towel to remove excess water before styling.
Feed-In Cornrows For Low-Tension Protection
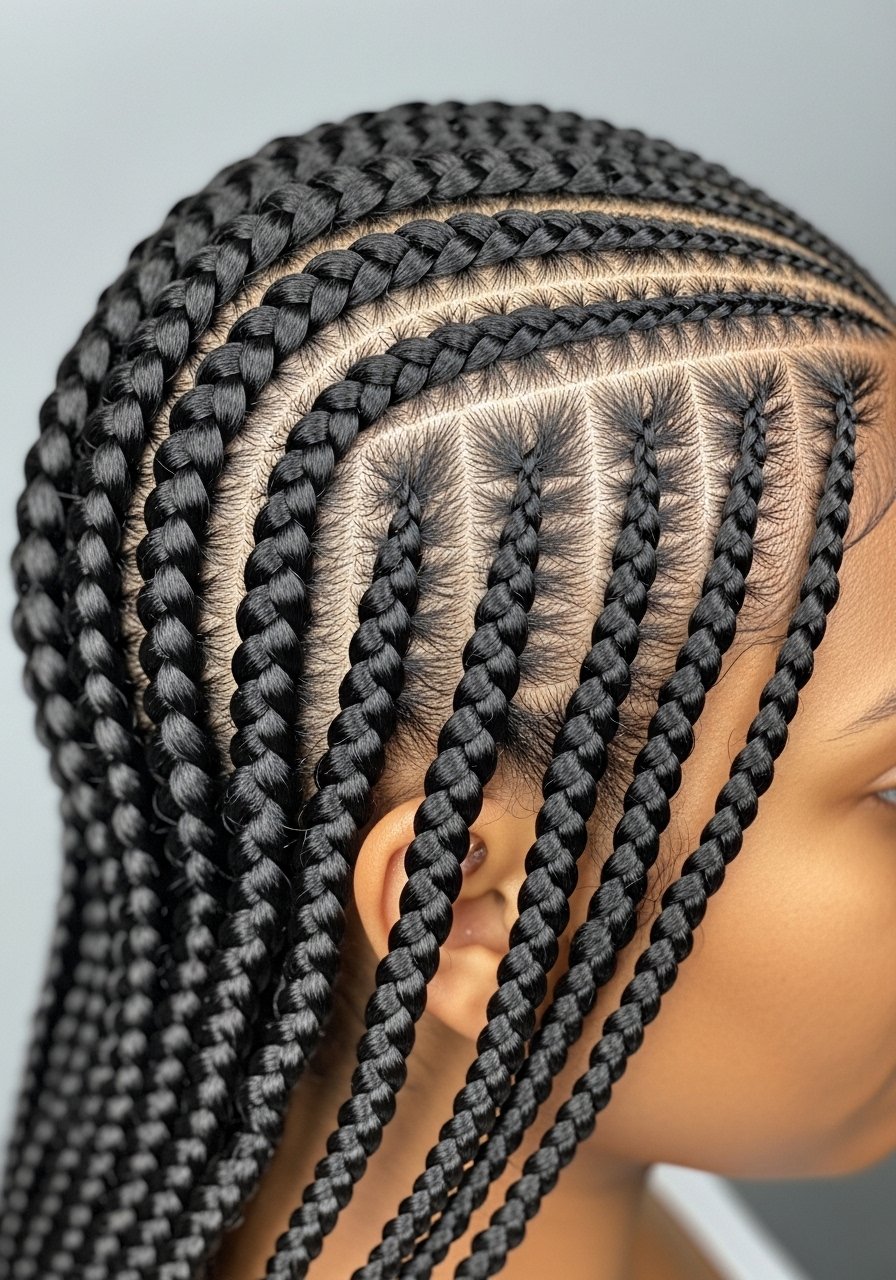
Feed-in cornrows are often associated with extensions but you can do a low-tension version with your own hair to protect edges. The key is small, consistent three-quarter inch parting and adding hair gradually so there is no sudden pull at the root. If you do want extensions, go to a pro because added weight changes the tension math. Scalp sensitivity is a real issue, so stop if you feel numbing. I recommend finishing with a light scalp oil on the exposed parts and covering at night with a silk scarf. Time varies, 30 to 90 minutes depending on row count.
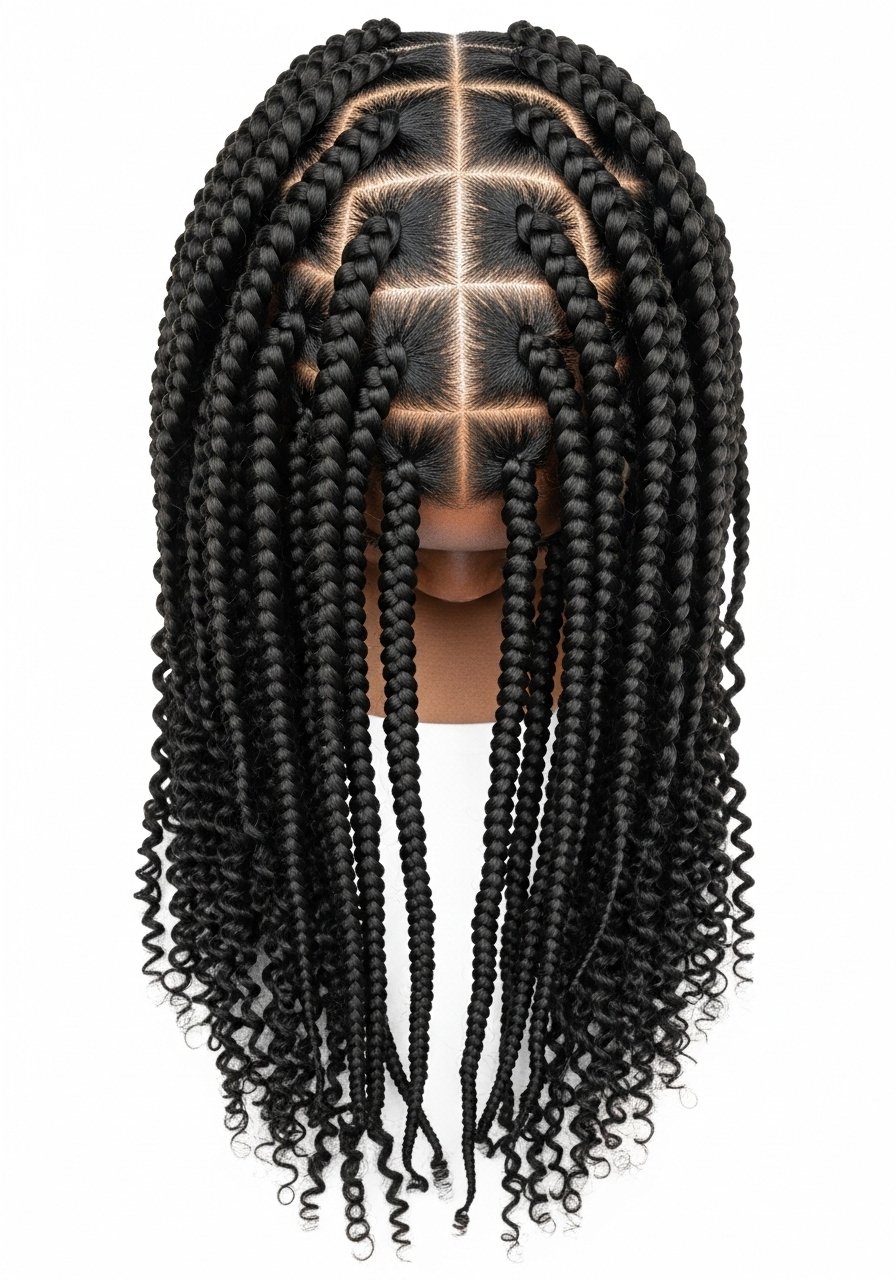
Triangle-Part Box Braids With No Extensions
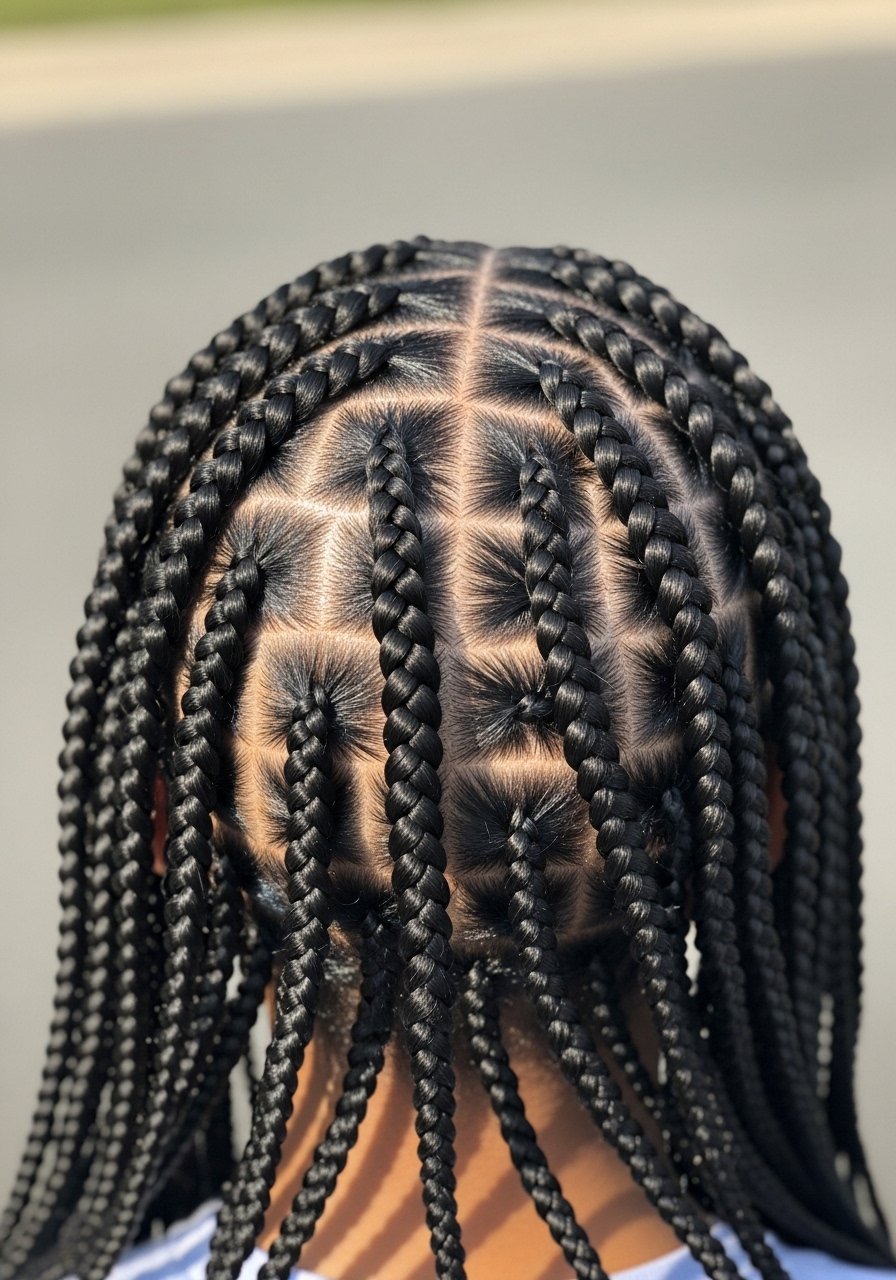
Triangle parting updates the classic box braid look without needing extensions. The triangle pieces create a geometric pattern that mimics salon work. I do smaller parts along the hairline, then slightly larger at the crown so braids are tidy and not too tight. Watch for the common problem of too-small sections near the nape, which can cause frizz. These take longer than three-strand braids, expect 45 to 90 minutes for a full head, but they are low cost and low commitment since no added hair is used.
Waterfall Braid For Layered Cuts
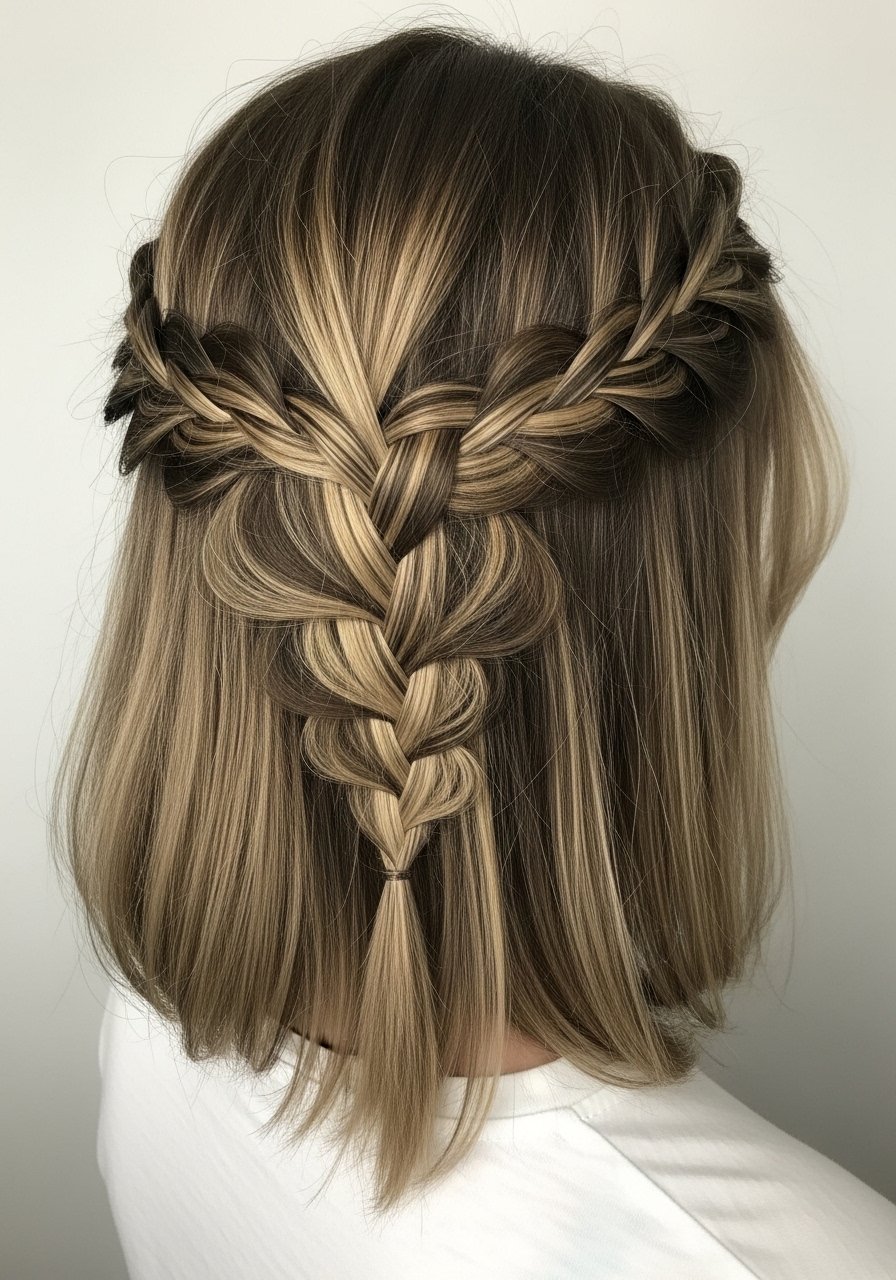
Waterfall braids are the trick I pull out when layers make full braids look uneven. You let one strand drop with each cross so shorter pieces sit nicely. For layered hair, take smaller sections, about half an inch each, so the cascade looks intentional. A common mistake is making the dropped strands too thick, which hides the waterfall effect. This is a five to ten minute style that brightens a haircut without heat. A light mist of anti-frizz spray keeps the dropped pieces from puffing.
Pull-Through Braid Look Using Elastics
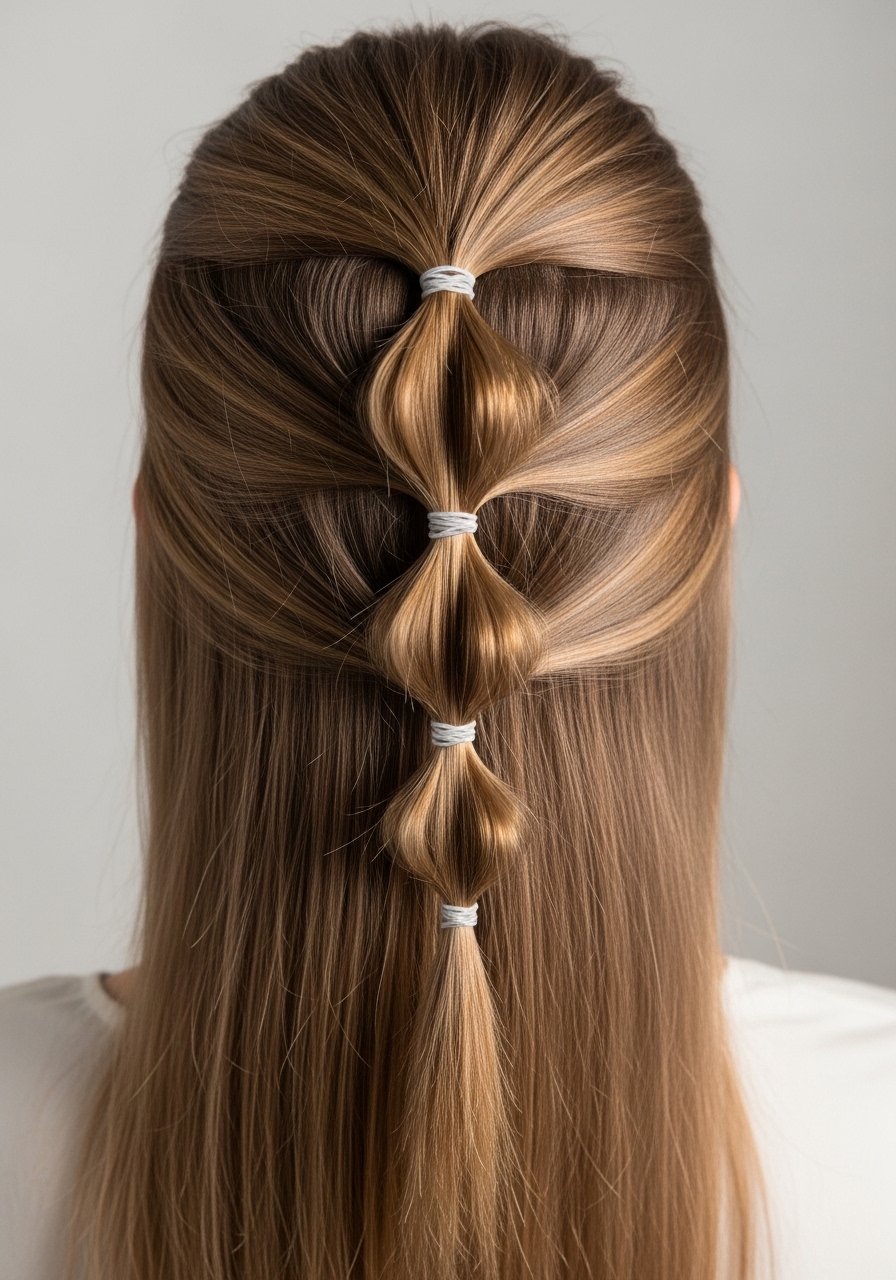
The pull-through braid gives the impression of a thick braid without complicated braiding skill. I divide hair into three mini ponytails, secure with small elastics every 2.5 inches, then pull sections through and puff them out. For mid-back hair you will use about six to eight elastics. Beginners often use too-large elastics, which slip. Use small snag-free elastics from the kit above and finish with a touch of light oil on the ends. This is a fast 10 to 20 minute way to get braid volume for events.
Simple Three-Strand Side Braid For Second-Day Hair

Sometimes the easiest braid is the best for second-day hair. Brush through with a wide-tooth comb, apply one pump of dry shampoo at the roots, and braid loosely to hide oil and flattening. I do this when my curls look great on TikTok and like wet noodles by 11am. Leaving the braid a touch loose prevents breakage at the sides and gives an effortless shape. This takes five minutes and is perfect for 2A through 3C textures. Sleep with a silk scarf and the braid will hold for two days.
Micro Accent Braid For 4C Hair Without Commitment
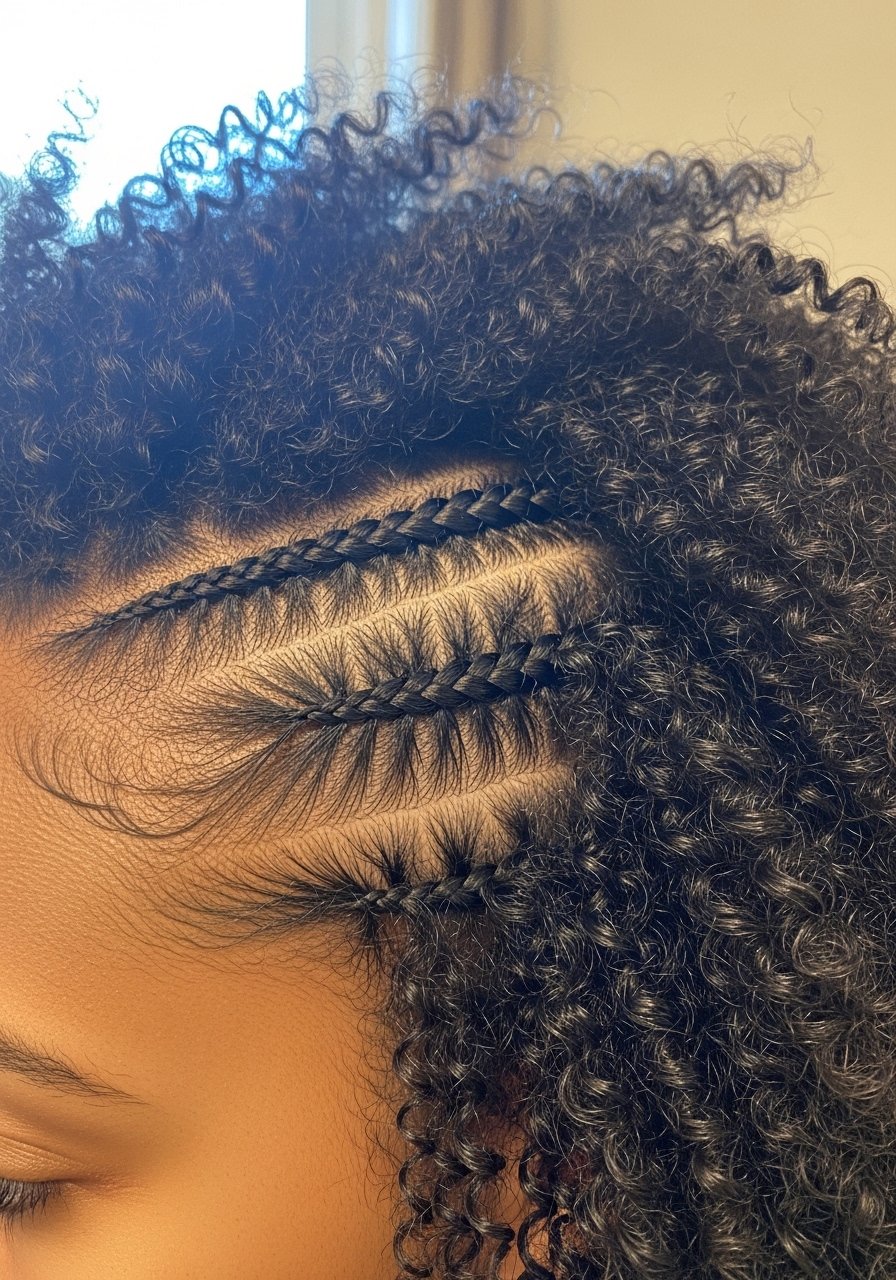
A micro accent braid gives visual interest without daily manipulation. I braid a one-inch section at the front or temple and secure it with a tiny elastic. The braid blends with the pattern of 4C hair and is easy to hide if it gets frizzy. Warning, if you braid too close to the edge or make it too tight, your hairline will protest. Keep tension light and oil the scalp nearby. This is salon-friendly but easy to DIY in five to seven minutes.
Braiding Habits That Actually Save Time And Reduce Breakage
- Heat before styling, not after. If you straighten sections before a sleek braid, use a heat protectant on nearly dry hair. This heat protectant spray is lightweight and absorbs fast. Most stylists agree that protectant matters more than temperature setting for short sessions.
- Grab a silk pillowcase. Hair grows about half an inch a month at most, regardless of what biotin gummies promise you. Retaining length is about preventing breakage at night.
- When you feel product build-up at the roots, clarify once every two weeks with an 8oz sulfate-free clarifying shampoo, not every wash. Over-clarifying makes frizz worse.
- Swap gel-only routines for layering a light leave-in cream under gel. I switched and second-day braids finally looked presentable past day one.
- Use a silk scarf or bonnet for sleep and a microfiber towel after washing to cut drying time before braiding.
Frequently Asked Questions
Q: Are these braids suitable for Type 4 hair without extensions?
A: Yes, most can be adapted. Two-strand rope braids, micro accent braids, and box braid patterns work beautifully on Type 4 textures. Avoid very tight feed-in rows if you have a sensitive scalp. If you want heavy extensions, book a stylist to prevent tension damage.
Q: How often should I wash my hair if I wear braids regularly?
A: Clean the scalp every one to two weeks depending on sweat and product use. Use a diluted sulfate-free shampoo and a focused scalp massage. Over-washing strips oils and makes braids stiffer and more brittle.
Q: Can I do the feed-in cornrows at home safely?
A: You can do low-tension cornrows yourself, but feed-in with heavy extensions changes the load. If you plan to add much length or weight, a pro will help manage tension and placement.
Q: Will braids ruin my edges or make hair thin?
A: Braids cause damage when they are too tight or worn constantly without breaks. Rotate styles, keep tension light at the root, and give your edges at least a few weeks off between heavy protective styles.
Q: Which product from the shopping list should I buy first if I am on a budget?
A: Start with silk protection and good elastics. A silk scarf and a pack of snag-free elastics are affordable and cut breakage immediately. After that, a lightweight styling cream makes daily braids look neater.

