
I trimmed my own face-framing pieces once and the salon bill two months later reminded me why some cuts need a pro. These 15 ideas focus on long hair that still wants movement around the face, with options for fine hair, thick hair, straight, wavy, and curly textures. Most looks can be done at home for simple upkeep, a few need a first visit to a stylist. Time ranges from a five-minute daily styling habit to a one-hour salon session. Budgets run from under $20 for tools up to a splurge for a professional bond treatment.
Curtain Face-Framing Layers for Oval Faces
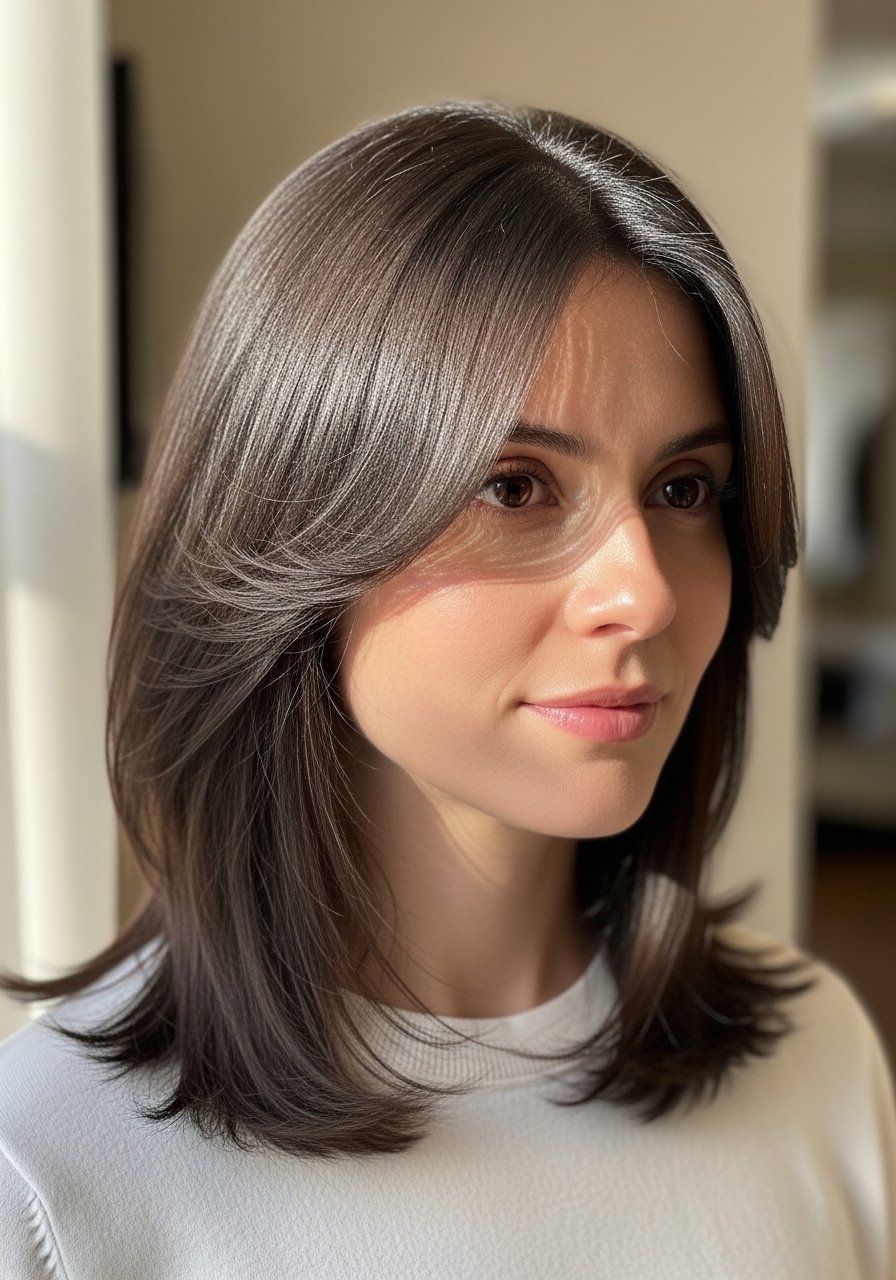
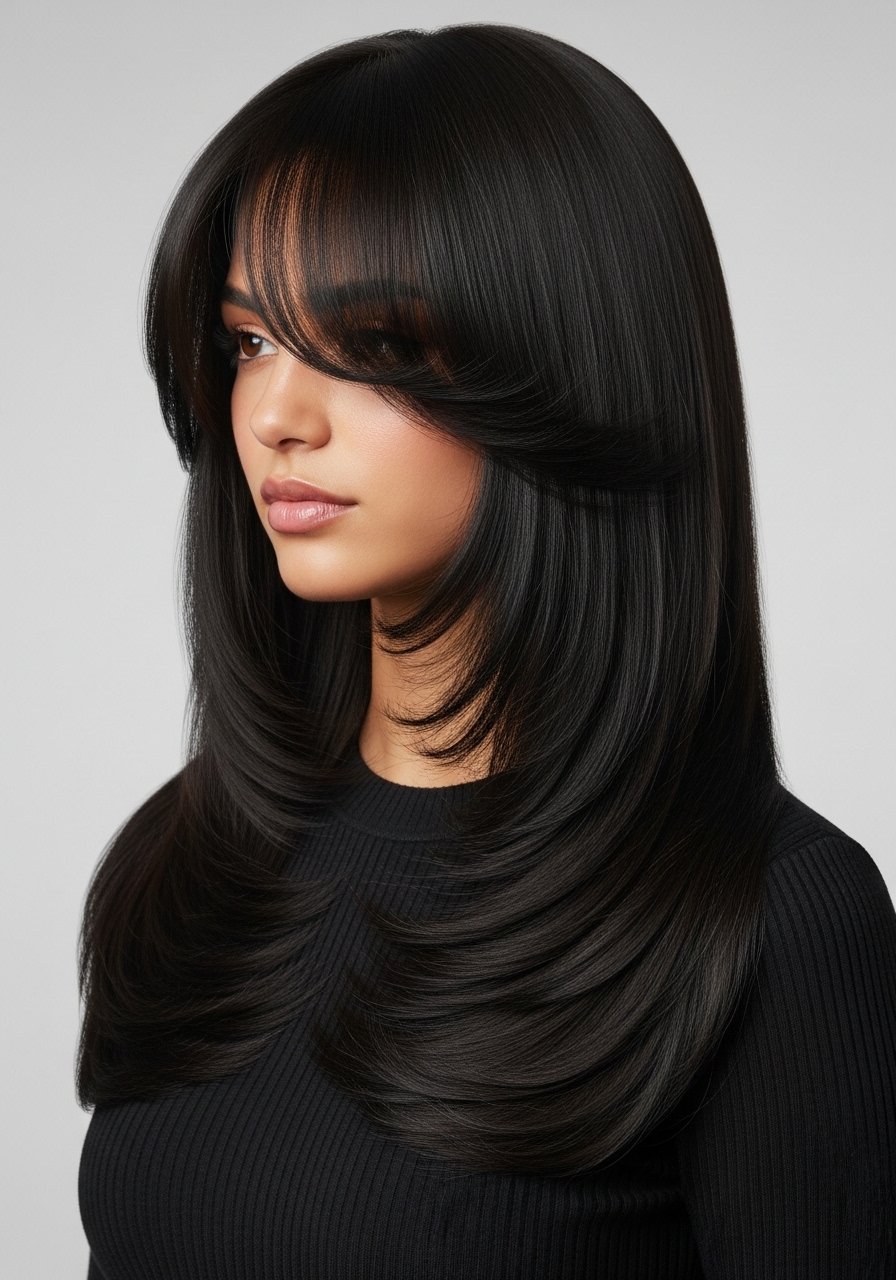
The curtain layer is the easiest face frame to grow into and it flatters oval faces because it keeps weight off the forehead. Ask your stylist for two face-framing sections that angle slightly past the cheekbone, each one about four inches wide, instead of a blunt front section. For straight hair set your flat iron at 300F to 350F depending on thickness and always spray a heat protectant first if you are past 300F. Two quick spritzes of a heat protectant spray through damp hair makes a world of difference. Salon cut initially, trims every 10 to 12 weeks for shape.
Long Wispy Layers to Soften a Square Jaw
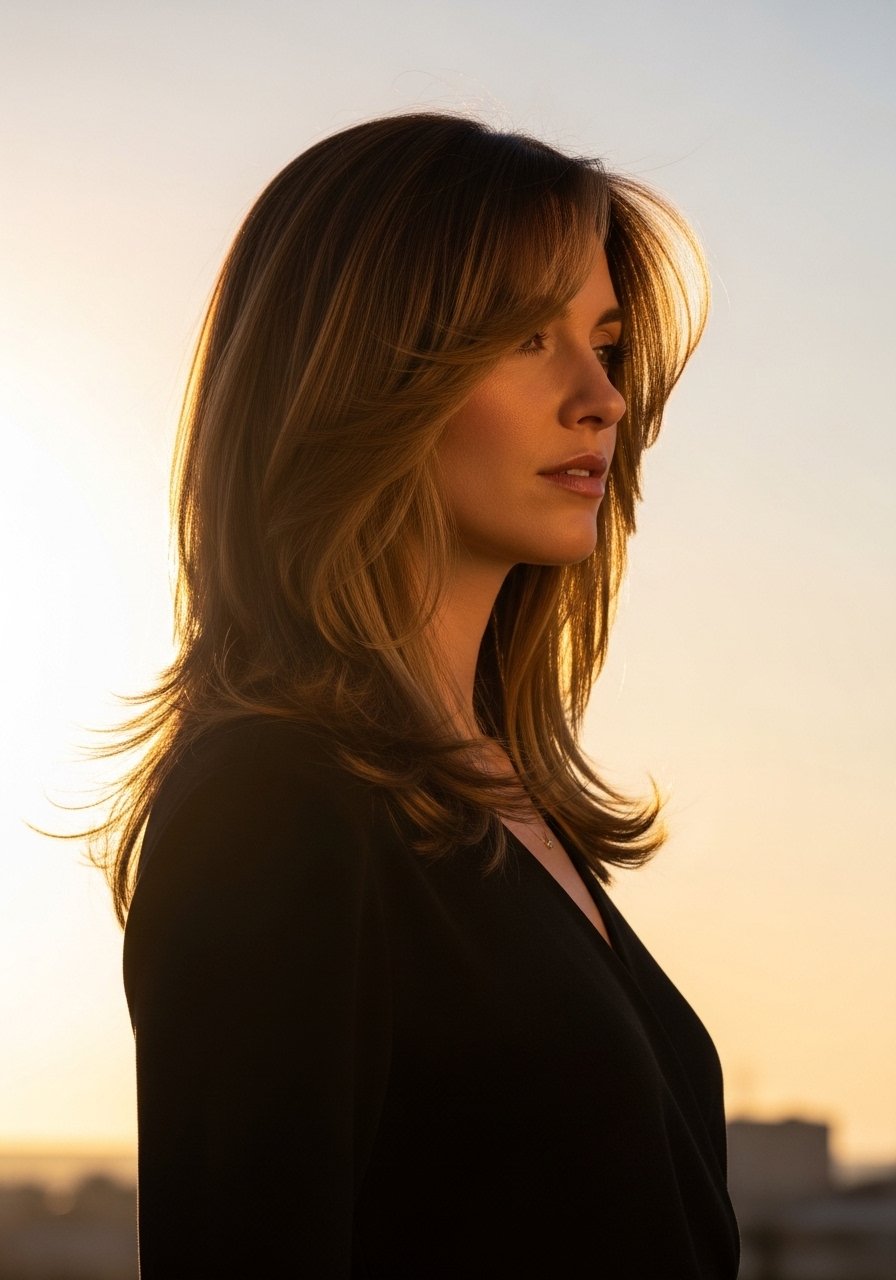
If your jawline reads sharp in photos, long wispy layers that start at chin length soften edges without removing bulk. Ask for point cutting around the face and one to two feathering passes through the ends. For fine hair, tell your stylist to create internal layers rather than chopping weight from the ends. Daily styling is quick, I run a pea-size amount of cream through damp hair, then two pumps of oil on ends. A real mistake is asking for too many layers at once. Go gradual or you risk exaggerated thinness near the face.
Money Piece Framing With At-Home Touch Ups
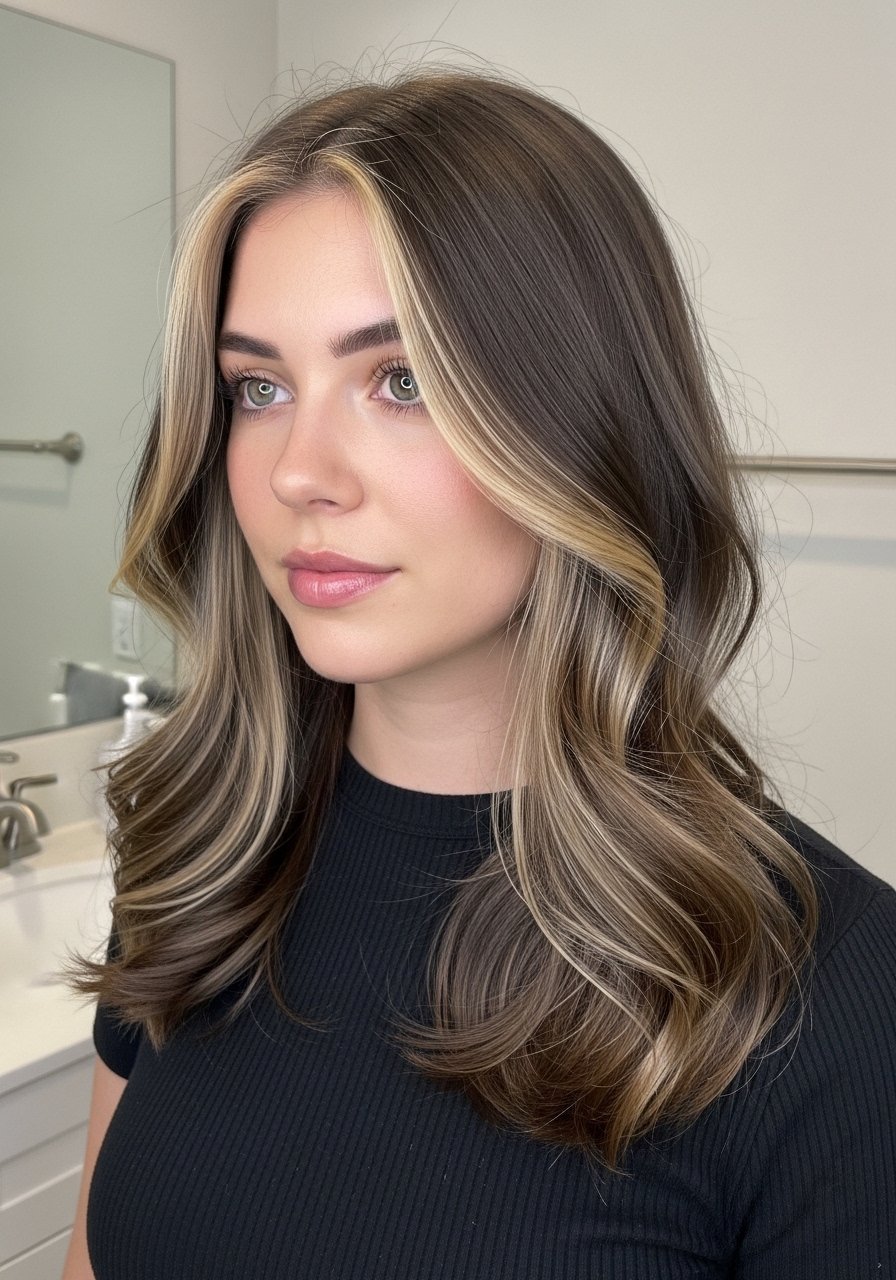
If you want the modern brightness without committing to full highlights, ask for a money piece, the lighter sections that frame the face. For upkeep, I refresh the front panels with a gentle at-home gloss every 6 to 8 weeks. Always do a patch test for color and avoid lifting too aggressively at home. When I touch up at home I mix one part gloss to two parts clear gloss base to avoid over-toning. Use a sulfate-free shampoo and swap purple shampoo to once a week if you use warm reds or blondes, otherwise it dries the hair out. Salon application is best for major lift.
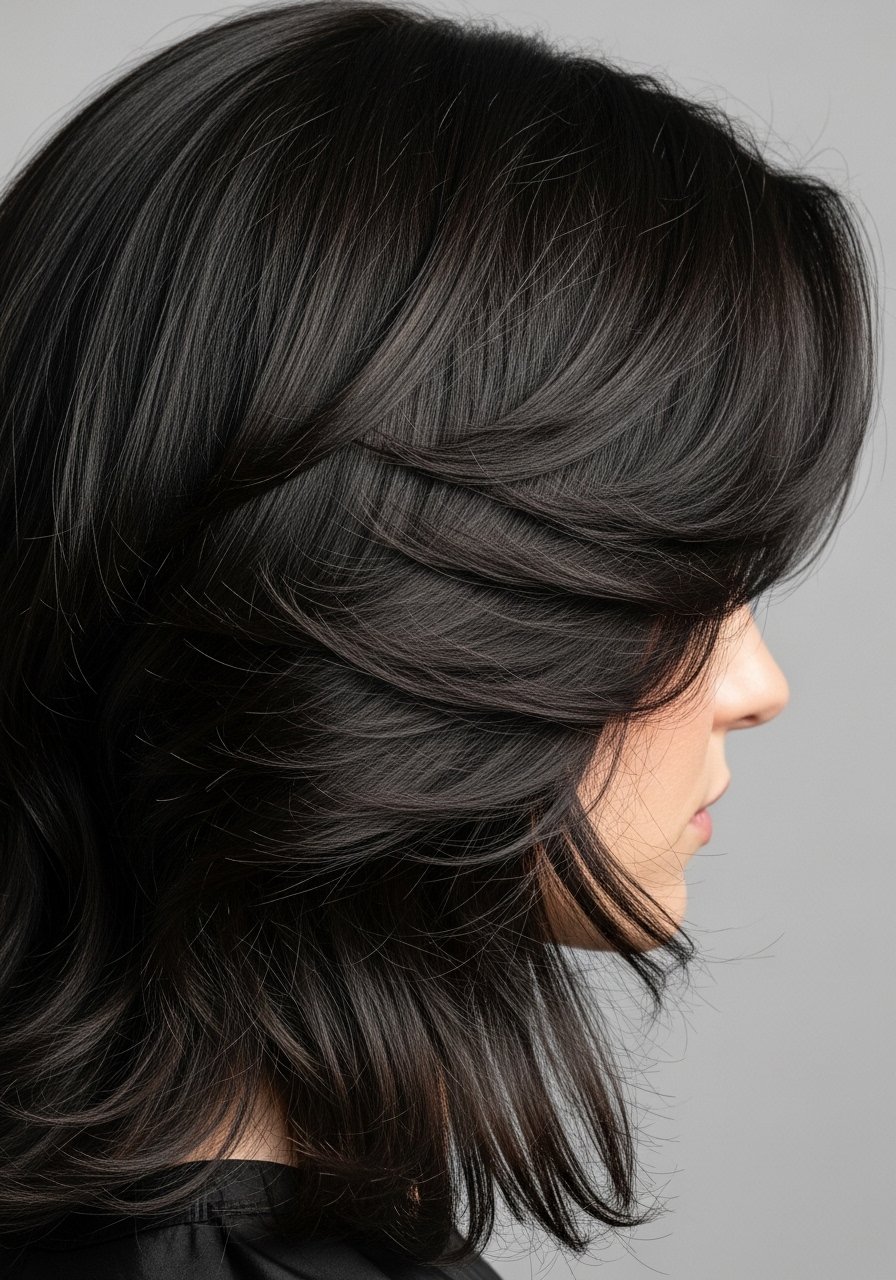
Feathered Layers for Fine Hair That Add Motion
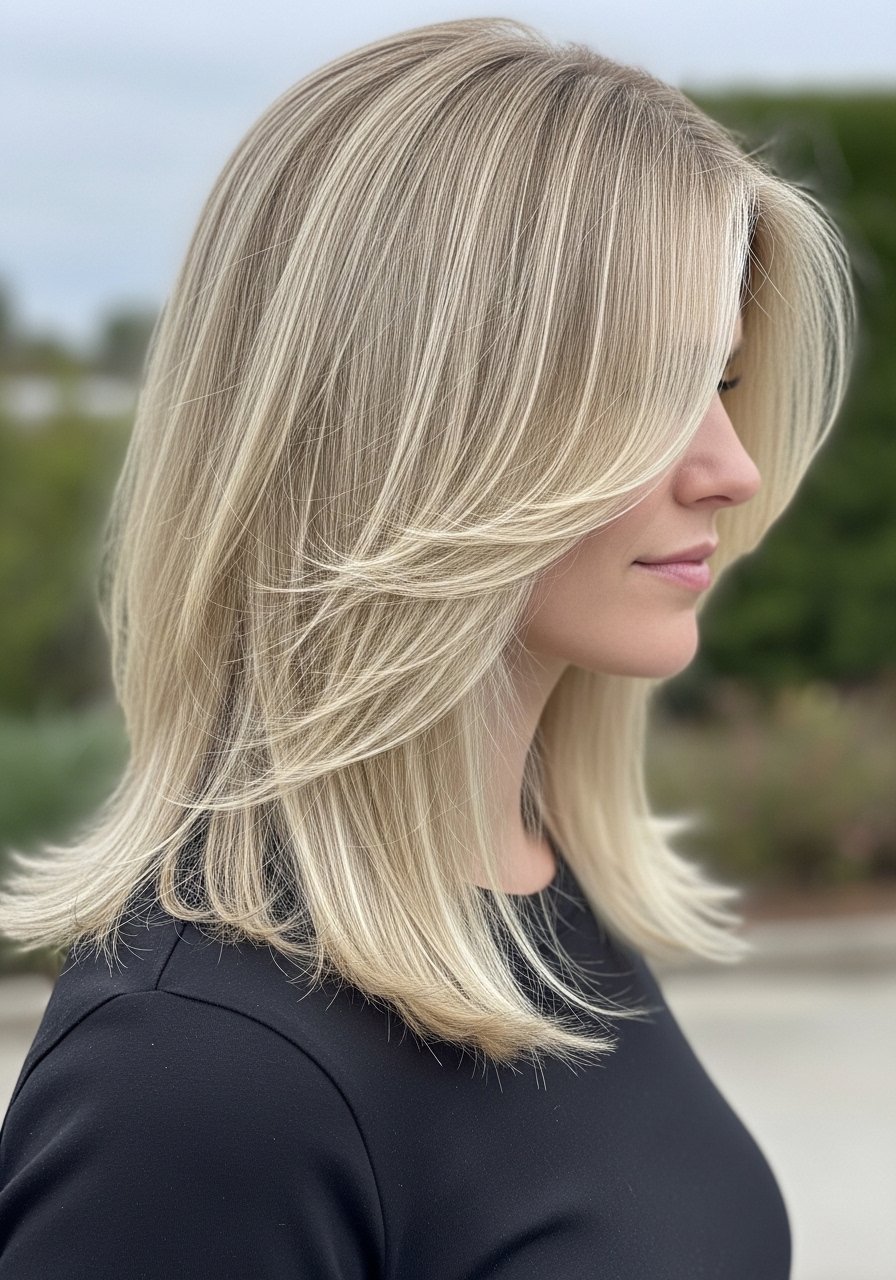
Fine hair needs the illusion of movement. Feathered face-framing layers start just below the chin and are texturized with a razor or thinning shears, one to two passes only. The key is leaving weight at the ends so length reads full. On wash days I use a volumizing mousse, about a quarter teaspoon through roots, then rough dry for seven to nine minutes with a medium heat setting. A boar bristle brush helps distribute oils so you skip heavy conditioners at the roots. DIY trims here are risky, book a stylist for the first cut and learn how much to ask for next time.
Long Layers With Body for Thick Coarse Hair
Thick coarse hair benefits from long layers that remove pyramid volume, but not length. Ask for long graduated layers, starting around the collarbone with chunkier internal sections and softer face-framing pieces. My stylist removes bulk using slide cutting, not chop-and-thin, which keeps density without choppy ends. For styling, work in the LOC method: a leave-in, then oil, then a cream, with small amounts. For example, one pump of leave-in, a pea of oil, two fingers of cream for mid-back hair. Heat protectant before any iron over 300F is essential. Salon cut recommended for the first session.
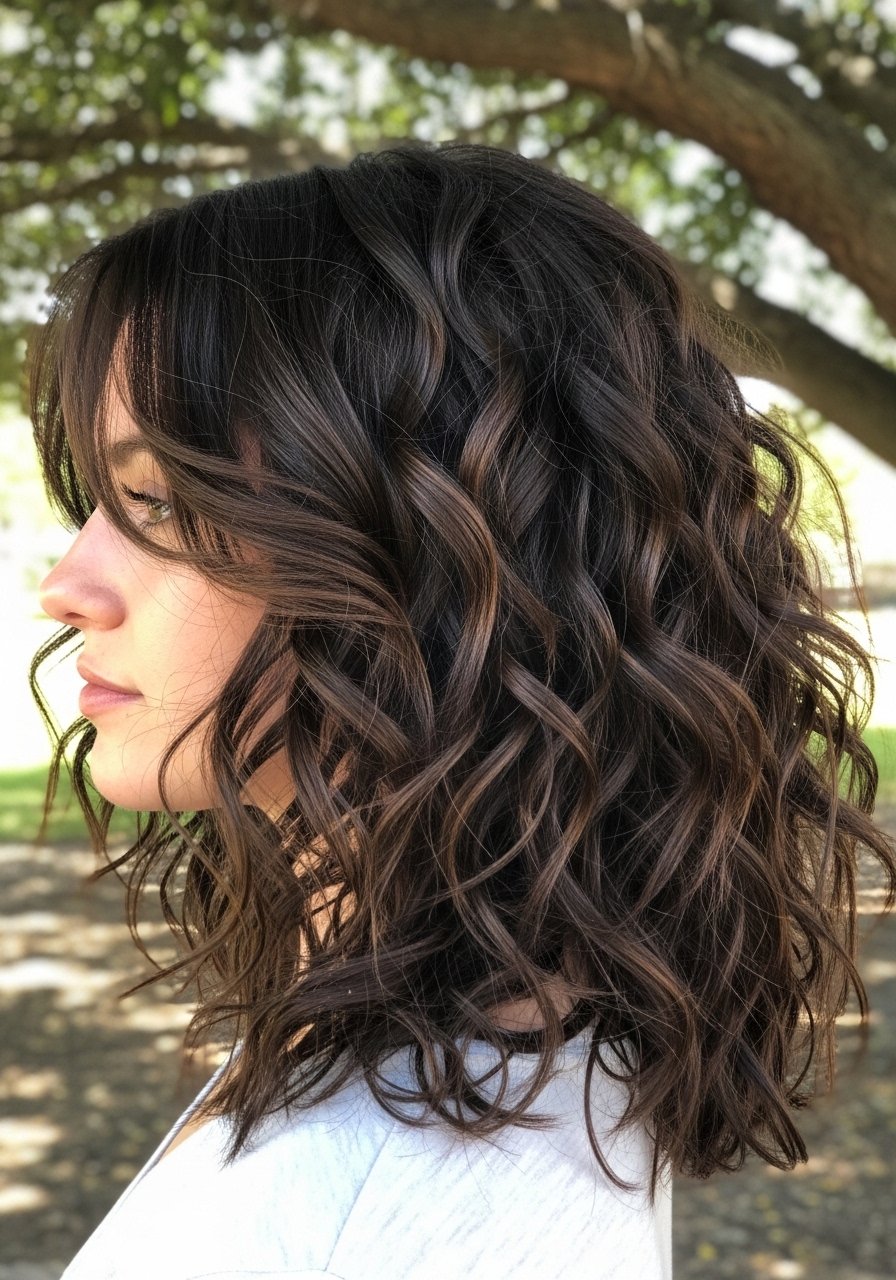
Shaggy Face Frames for Wavy 2C to 3B Hair
The long shag lets waves breathe and gives the face natural framing without heavy bangs. Start the layers around the chin and add feathered texture through the crown so waves sit rather than puff. I stopped using gel-only routines because my curls collapsed by midday. Layering a leave-in cream under a light gel fixed that. Try a nickel-size of cream, scrunched in, then a dime of gel on top. Diffuse on low heat for about 10 minutes per section or air dry. This cut works great for 2C to 3B hair and trims every 8 to 10 weeks keep the shape.
Razor-Cut Face Framing for Texture and Movement
Razor cutting creates thin, textured edges that make face frames look lived in. It is not ideal if you have very fragile, over-processed ends. If you try it, do only one pass at the salon and avoid a home razor unless you have training. After a razor cut the ends can feel drier, so I do weekly bond-building treatments for three weeks. A common mistake is asking for razor everything instead of targeted face-framing pieces. Salon only is my recommendation for this tool.
What I Actually Keep in My Face-Framing Tool Kit
Olaplex No. 3 hair perfector is the one I use weekly when my ends feel crunchy. Buy from the official Olaplex store on Amazon or Sephora to avoid counterfeits.
Olaplex No. 5 bond maintenance conditioner 250ml for damaged long layers.
A silk pillowcase queen size I use nightly, it cuts morning frizz.
A microfiber hair towel for plopping and faster dry time.
Color Wow Dream Coat anti-humidity spray for humid days, one application before blow dry.
A boar bristle paddle brush to distribute oils and smooth long layers.
K18 peptide treatment single-use packets for a bond booster between salon visits. Purchase from the brand store when possible.
A reliable heat protectant spray I keep one in my bag and one in the bathroom.
A quality wide-tooth comb for detangling wet layered hair without breakage.
A tail comb for precise sectioning helps when styling curtain pieces or money pieces at home.
Deep Side Sweep Layers for Round Faces
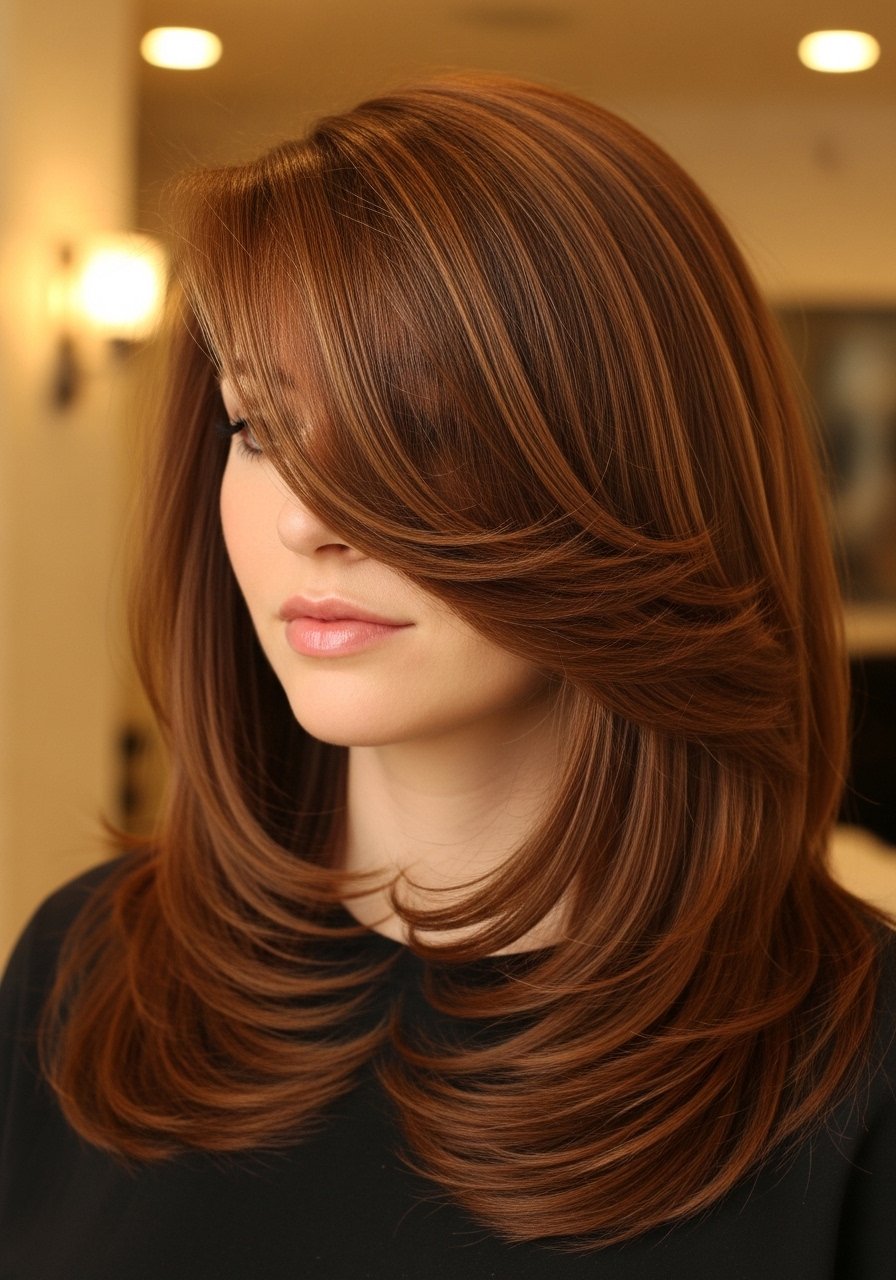
A deep side sweep creates asymmetry that visually lengthens round faces. Request longer face-framing pieces on one side, ending just below the jaw, and shorter on the other. For styling I pin the heavier side back with a small claw clip, then loose dry for five minutes to set. A common error is cutting both sides even when a side sweep was requested. This can be trimmed at home for small maintenance, but the initial shaping is best done by a stylist. If you color the sweep, do a patch test and tone lightly to avoid brass.
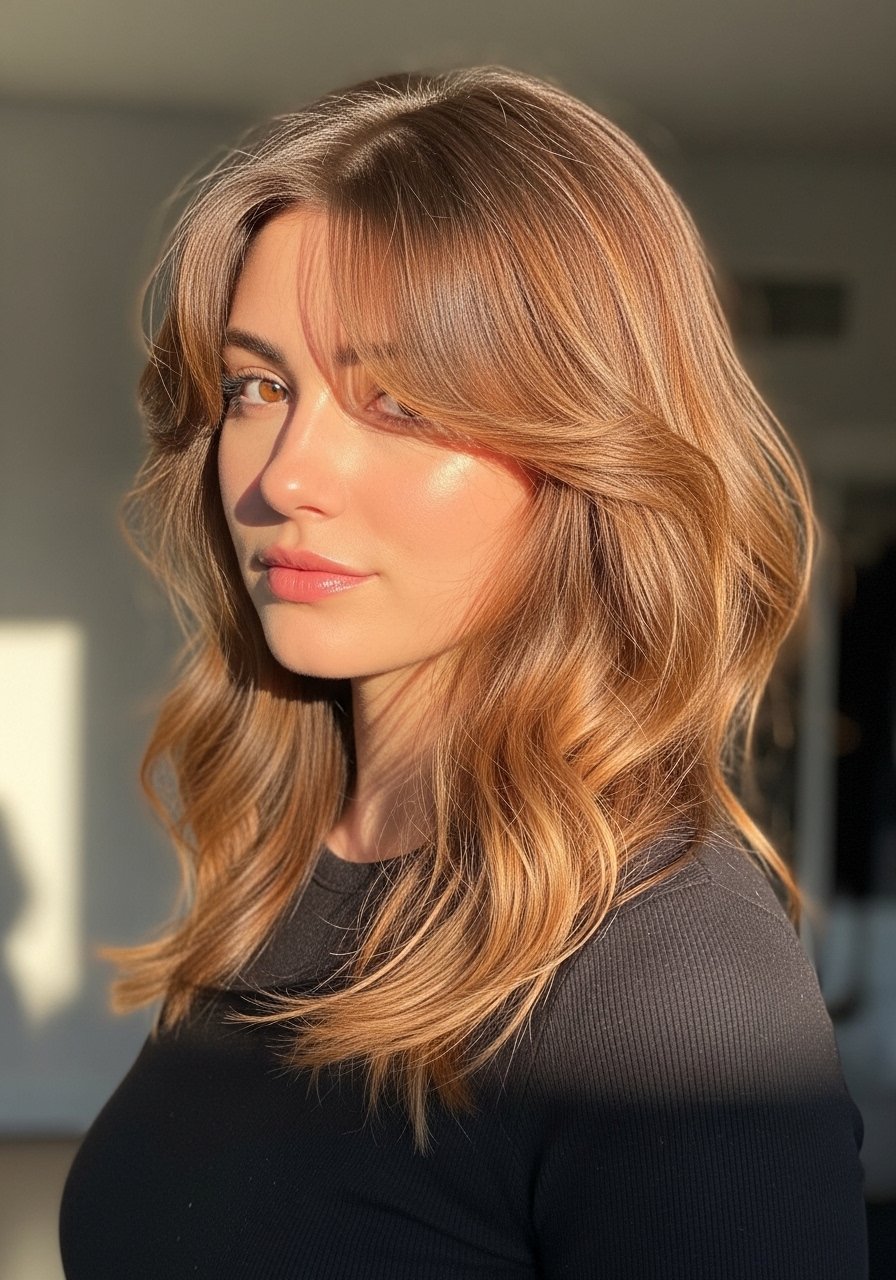
Layered Curtain Bangs for Long Straight Hair
Curtain bangs for very long straight hair should be cut to graze cheekbones and blended into long layers. They age well because you can pin them back into the layers when you want to hide them. Blow-dry bangs with a round brush, 2-inch sections, and a medium heat setting for about 8 to 10 seconds per section. If you use a flat iron set it to 300F and always apply heat protectant first. Trim every 6 to 8 weeks so weight does not tear at the ends.
Face-Framing Layers That Play Nice With Curls
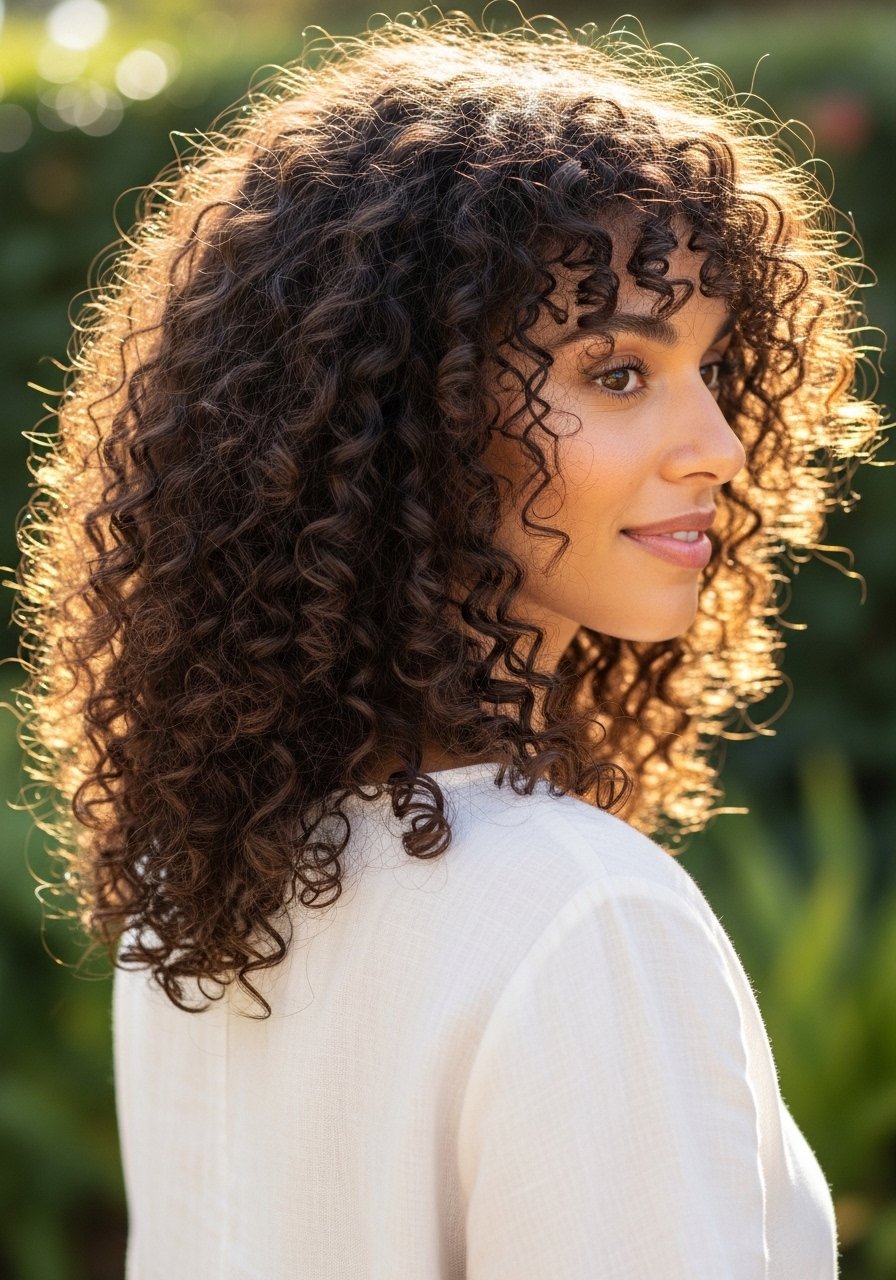
Curly hair needs long face frames to avoid halo volume around the face. Ask for long, rounded layers that follow your curl pattern. I avoid dramatic front layers on tight curls because they shorten the face. On wash day I use the LOC method, leave-in then oil then cream, but I put oil only on the ends to prevent limp roots. A slipty conditioner and finger detangling in four to six sections keeps the curls intact. Damage note, if you are heat styling curls use protectant and keep temperatures lower than 350F.
Subtle Long Layers to Blend Greying and Grows Out Color
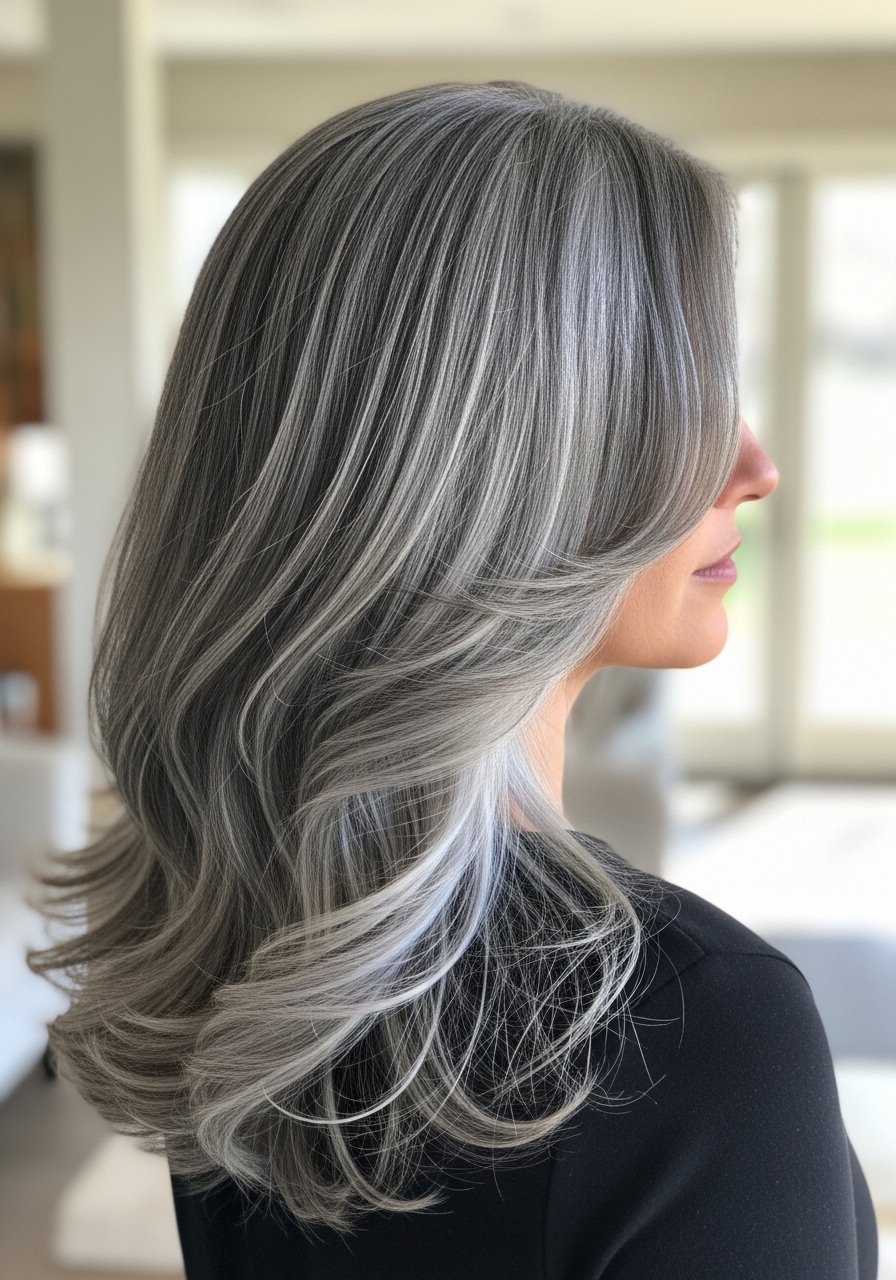
When color grows out the face can look harsh. Subtle long layers soften the transition and disperse regrowth visually. Ask for long curtain-like slices around the face and light blending around the part. If you are trying to stretch salon time, a gloss or glaze on the face frames every 8 weeks helps. I avoid frequent clarifying shampoos on colored sections, once a month is usually enough unless you use a lot of product. Watch for scalp sensitivity if you try at-home lightening on regrowth.
Band-Split Long Layers for Heart Shapes

For heart-shaped faces you want volume around the jawline to balance a narrower chin. Have the stylist create longer layers that start at the jaw and fan out, sometimes called band-split styling for visual reference. I often add a tiny curl to the ends with a 1-inch barrel to make the pieces read fuller. Keep heat at or below 330F for medium hair and use a protectant. DIY trimming here means only taking off 1/4 inch at a time or you'll lose the balancing effect.
Heatless Layered Waves Using a Robe Tie

I learned the robe tie trick in a late-night YouTube deep dive and it actually works for layers. Section hair into six to eight pieces depending on thickness, wrap each around the tie from roots to ends, sleep on it, and release in the morning. For mid-back hair, use smaller sections at the face, about one inch each, to get defined face frames. Finish with a light mist of anti-humidity spray and finger-comb. This method saves heat damage and keeps the longer layers from losing shape. It takes a few tries to perfect tension, so practice on a wash day.
Gloss Finish and Bond Builder Routine for Layers
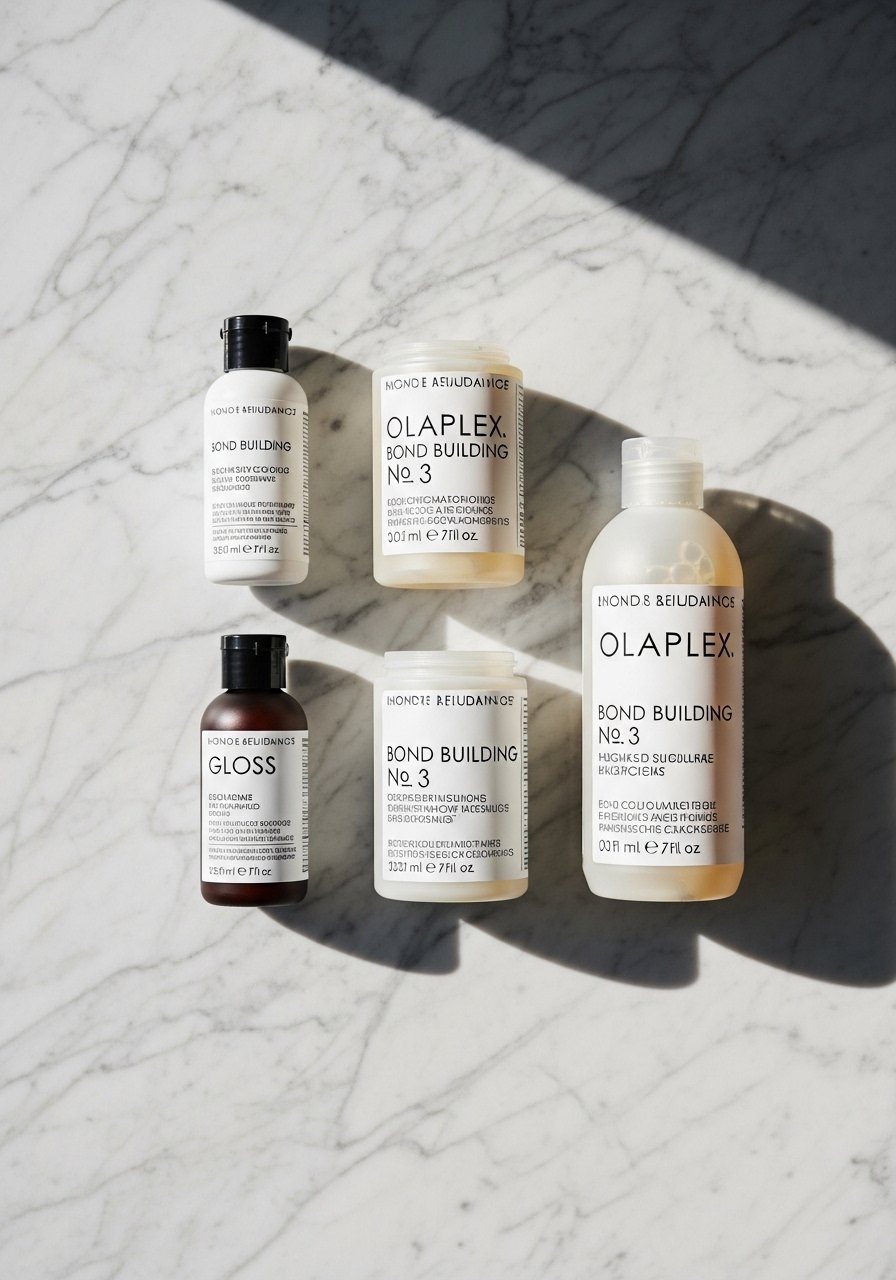
If layered ends show damage, a weekly bond builder and a salon gloss before a big event can smooth the appearance without cutting length. I do Olaplex No. 3 once a week for three weeks when my ends feel rough. Follow with a salon gloss or an at-home clear glaze to add shine to face-framing pieces. Watch for counterfeits, buy Olaplex from the official store on Amazon or from Sephora. Bond builders do not undo past chemical damage but they strengthen the hair so breakage slows down. Expect an hour for a salon gloss and 20 to 30 minutes for a home bond treatment.
Low-Maintenance Layering Trim To Keep Shape
Once you have the face-framing layers you like, a low-maintenance trim keeps them from drifting into unflattering territory. Trim the face frames every 8 to 12 weeks, and do small snips in the salon for the first two touch-ups so you learn how much you need at home. A real salon tip I learned is to ask your stylist to leave a guideline strand on each side for future trims. If you DIY, work with dry hair and trim no more than 1/4 inch at a time. This prevents accidental over-layering and keeps your long length.
What I Wish Someone Had Told Me About Layered Face Frames
- Heat protectant goes on damp hair, not dry. The cuticle is more open and the product actually absorbs. This heat protectant spray is compact and travel friendly.
- Hair grows about half an inch a month at most. The way you keep length is reducing breakage with a silk pillowcase and occasional bond treatments.
- Swap the gel-only routine for a cream-first approach if your second-day texture collapses. I use a nickel-size of cream under a light gel.
- For colored face frames, use purple or toning shampoo once a week not every wash, or the hair dries out.
- If you plan heavy lightening around the face do a salon session. Lifting over darker dye at home risks breakage and uneven tones.
Frequently Asked Questions
Q: How often should I trim face-framing layers to keep the shape without losing length?
A: Every 8 to 12 weeks is the sweet spot for most people. If you have very fast growth or textured hair that shrinks, aim for eight weeks. If you want to keep length and your hair grows slowly, 12 weeks works. Small trims are better than large ones.
Q: Can I dye my own money piece at home safely?
A: You can if you stay within one to two levels of lift and do a strand test first. For anything hotter than that, book a salon appointment. Always do a patch test for allergy risk and tone lightly to avoid brass.
Q: My face frames frizz overnight. What sleep method helps?
A: A silk pillowcase plus gathering the face-framing pieces loosely behind your ears or into a low clip reduces morning frizz. For wavy or curly hair, the pineapple method for the rest of the hair while protecting the frames helps preserve shape.
Q: Will layers make my fine hair look thinner?
A: Poorly placed layers can. Ask for feathered or internal layers that create movement while preserving weight at the ends. If a stylist suggests heavy chopping at the face, ask for a softer approach.
Q: Is a bond builder necessary if my layers are only trimmed and not colored?
A: Not always. Bond builders are most useful after chemical services or when ends feel brittle. Weekly use for three weeks when you notice roughness often smooths the appearance between salon visits. They do not restore past breakage.
Q: How do I style face-framing layers for a quick morning routine?
A: Work with damp hair. Two spritzes of heat protectant, a pea-size of styling cream through the face pieces, then a quick blast with a round brush or a 10 to 15 second pass with a 300F flat iron if needed. Finger finish for softness.
Q: Can layered face frames work for Type 4 hair?
A: Yes. For Type 4 textures keep the face frames longer, around collarbone length, and avoid too many short front layers that can shrink into the face. Moisture is key. Use heavier creams and oils on the ends and detangle in sections when wet.

