
I used to hate how my twist styles fell apart by midday. After too many salon tweaks and a $400 color fix, I learned that twists hold when the prep, product, and sleep method all work together. These are looks I actually wear to work, to brunch, and on travel days. Below are styles that fit 3A through 4A curls, relaxed 2C waves with some hold, and denser textured hair with a few adjustments, plus the real products and timings that make them last.
These ideas are quick to medium skill. Most take 10 to 40 minutes to create at home, with a couple that suggest a salon for color or extensions. Budget ranges from under $15 for a micro-satin bonnet to a tool splurge around $150. I note when you need a pro and when you can DIY.
Flat Twist Crown For Short Natural Hair
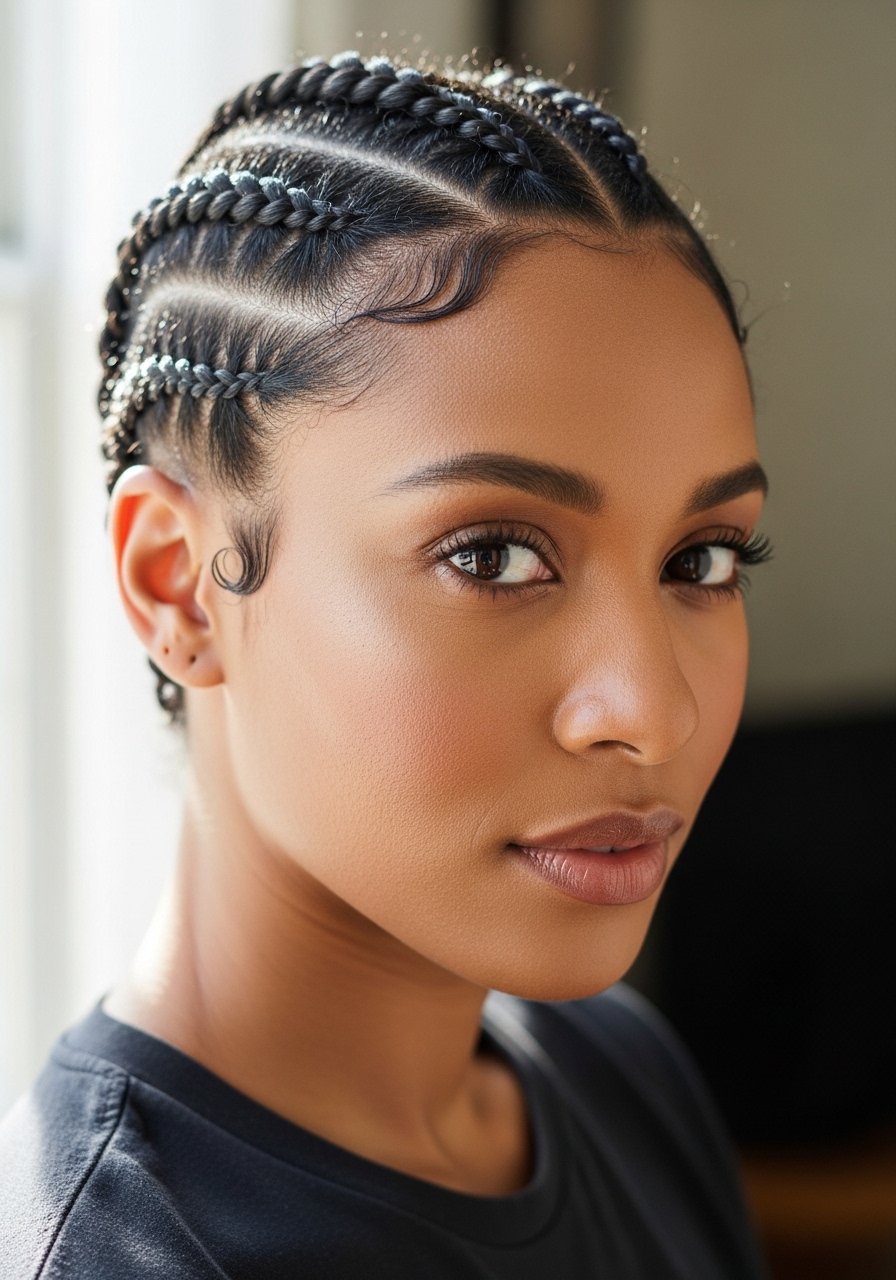
Flat twists sit closer to the scalp than braids so they work for shorter natural hair and for hair that wants definition without bulk. I part hair into three sections per side, clip the ends, and use a pea-sized amount of cream to smooth each subsection before twisting. The result is a polished crown that lasts three days if you sleep on a satin pillowcase. For hold, I run a light mist of Eco Styler Gel along the part line and press with a soft boar bristle brush to avoid flyaways. Common mistake, people twist too loosely at the root and lose the shape within hours. This is a DIY style unless you want perfectly even tension from a salon pro. If your scalp is sensitive, avoid heavy gels near the hairline and do a patch test.
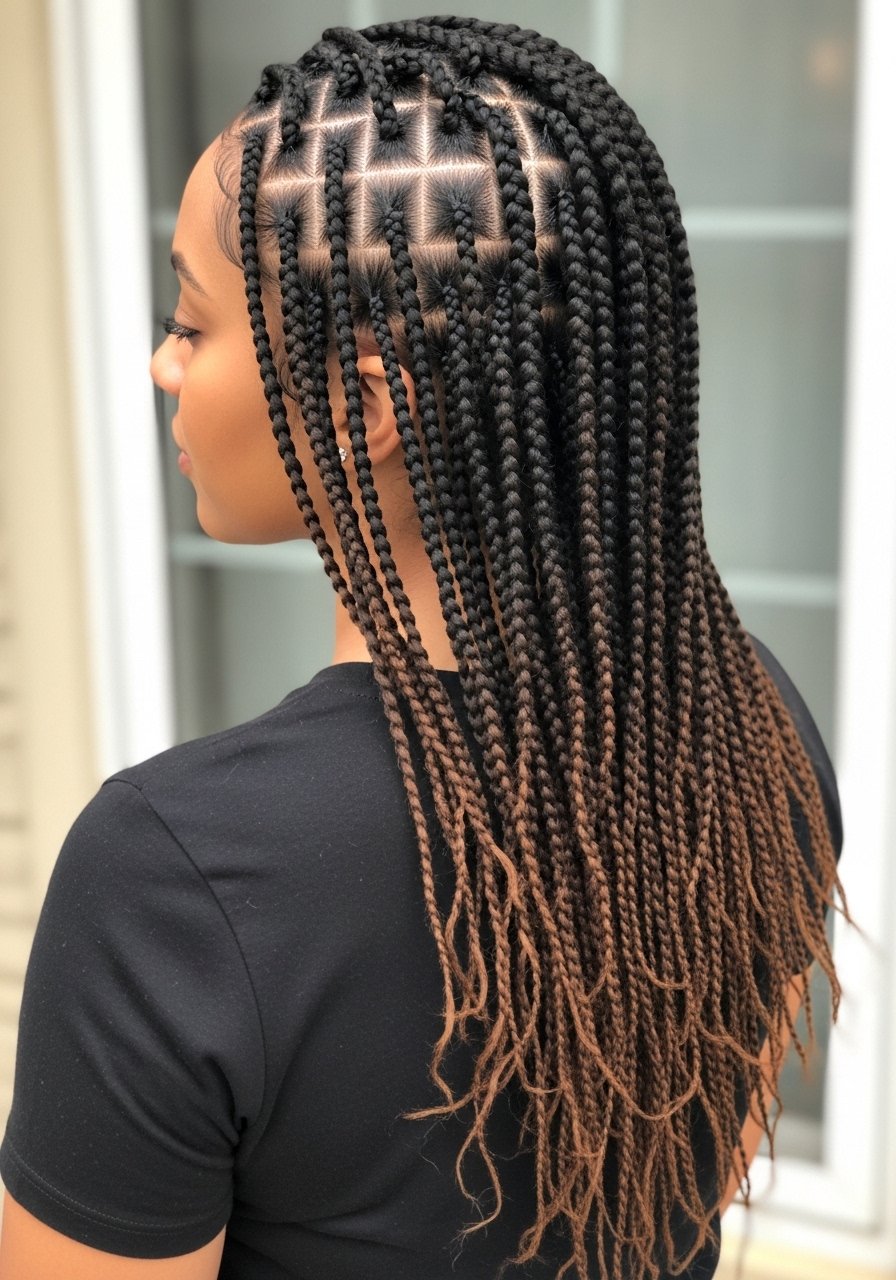
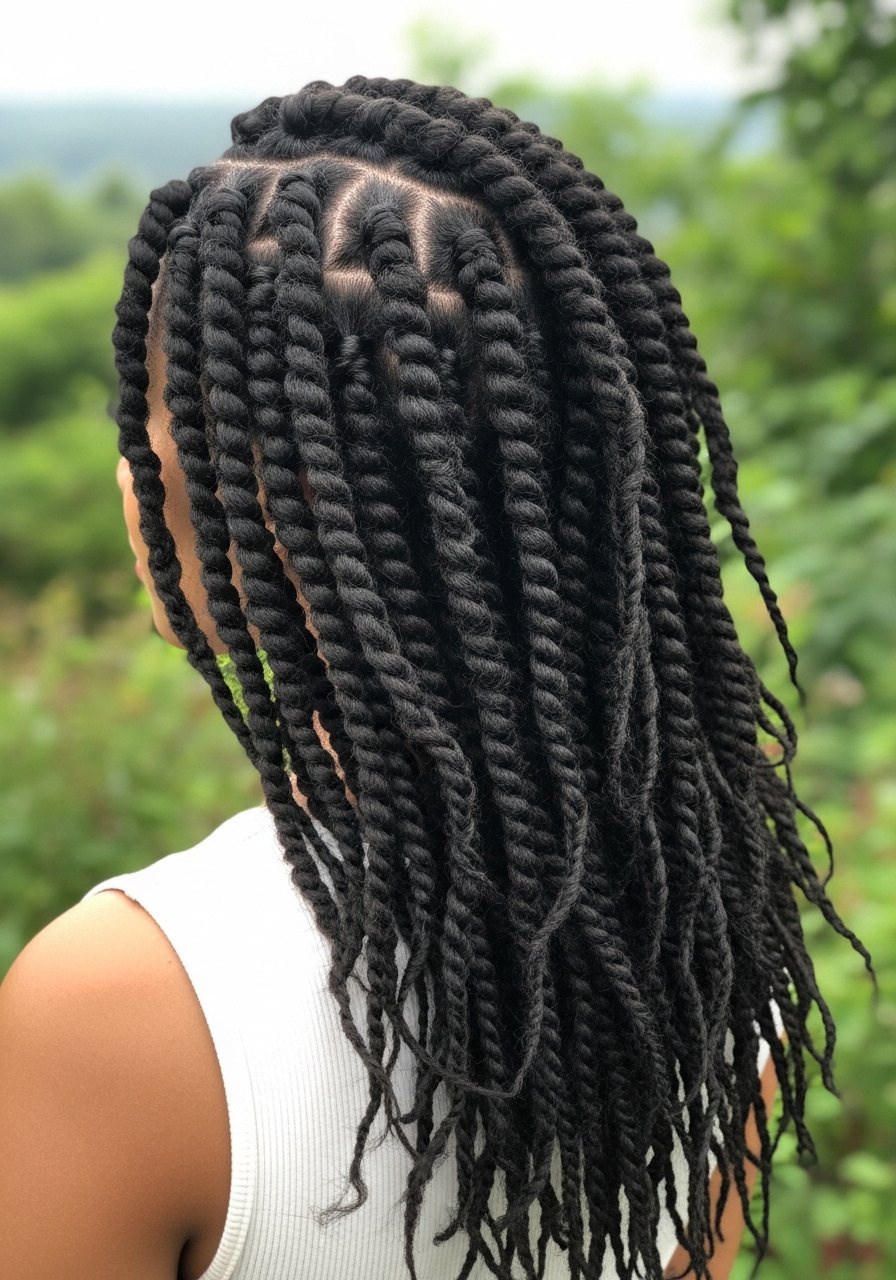
Rope Twists With Defined Ends
Rope twists give that clean two-strand look without the bulk of interlocking braids. I section hair into roughly 12 medium pieces for mid-back length and stretch each section with a heat band at 300F for 6 to 8 seconds to remove shrinkage before twisting. Work a dime-sized amount of leave-in cream through each section, then two pumps of a lightweight oil at the ends to seal. If you are using a hold product, try SheaMoisture Curl Enhancing Smoothie sparingly, otherwise the twists can stiffen. Rookie mistake is twisting over-damp hair which leads to mildew smell. Dry fully or sit under a hooded dryer for 25 minutes. These are 45 to 90 minute DIYs depending on section count, or a salon can do them faster.
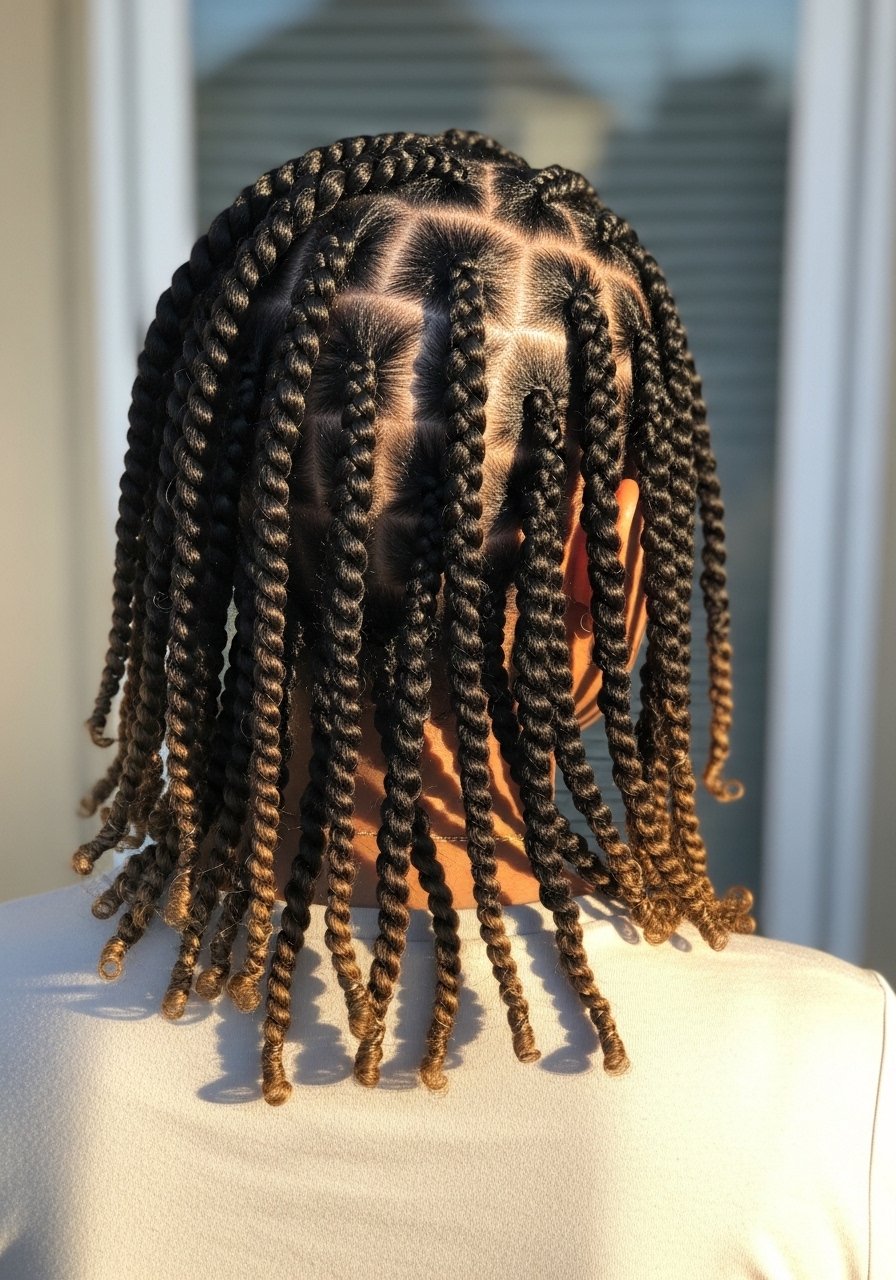
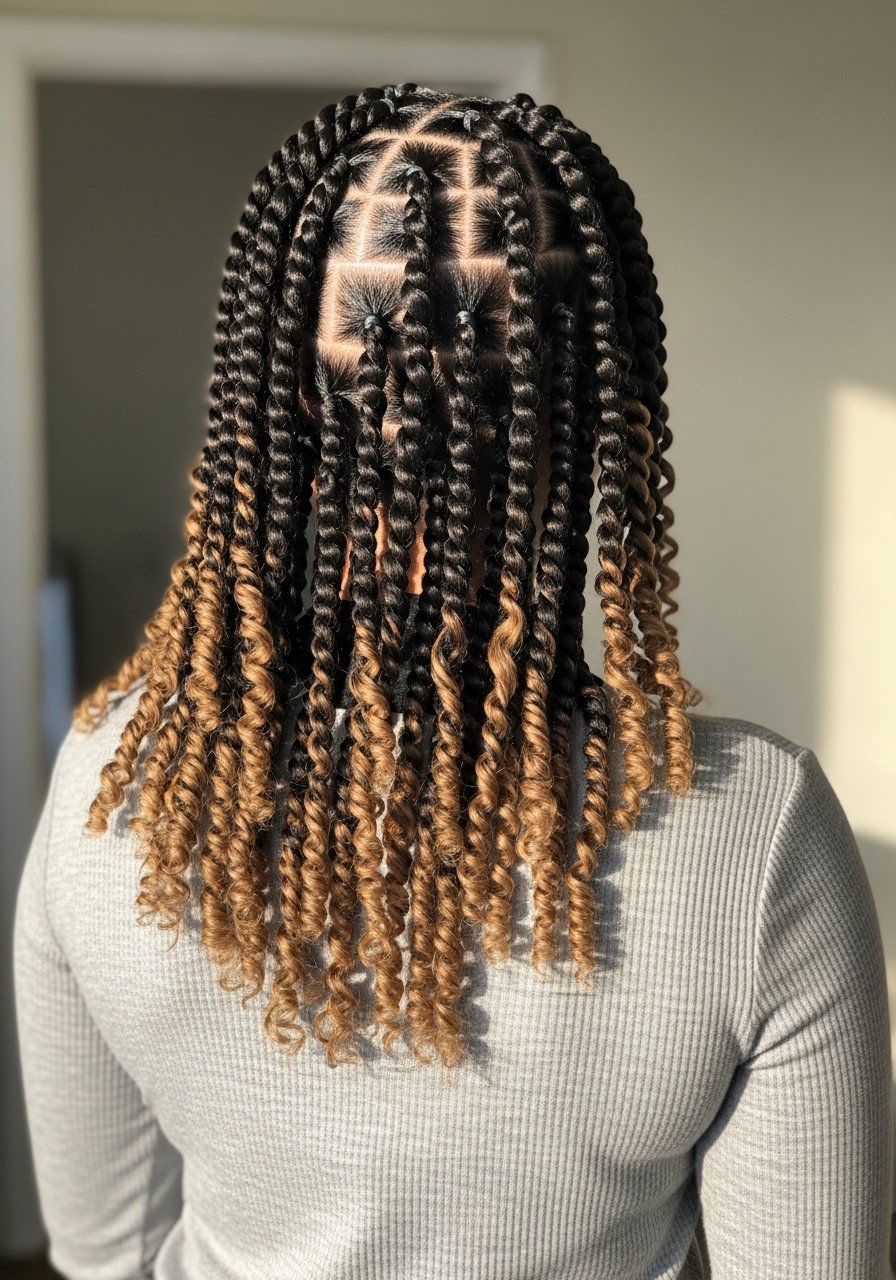
Mini Senegalese Style Twists For Long Hair
Mini twists last and make second-week styling easy, but they take time. Expect three to six hours at home for a full head if you are doing small sections. I recommend starting each twist with a 1/8-inch section and adding just enough heatless edge control to the root to keep it tidy. For long hair, a thin layer of Mielle Organics Pomegranate & Honey Twisting Souffle keeps length defined without the crunchy feel. Common problem, people over-twist near the scalp which causes traction and discomfort. If you plan to wear them for longer than six weeks, book a pro to install them and watch for tension. If you color your hair, wait two weeks after dyeing before installing to avoid extra breakage.
Twisted Top Knot With Wrapped Ends
This is the quickest twist for medium-length hair when you need something chic and fast. Divide into four horizontal sections, twist each toward the crown, then coil the combined twist into a top knot. I like to finish by wrapping the visible ends around the bun and securing with bobby pins. A few spritzes of Bumble and bumble Thickening Spray at the roots before styling adds grip without weight. Common mistake is skipping the base smoothing step which makes the knot look messy. If you use heat to stretch first, always apply a protectant when the iron is set above 300F. This is a total DIY and takes about 10 minutes once you get the tension right.
Halo Flat Twist Updo For Shoulder Length Hair
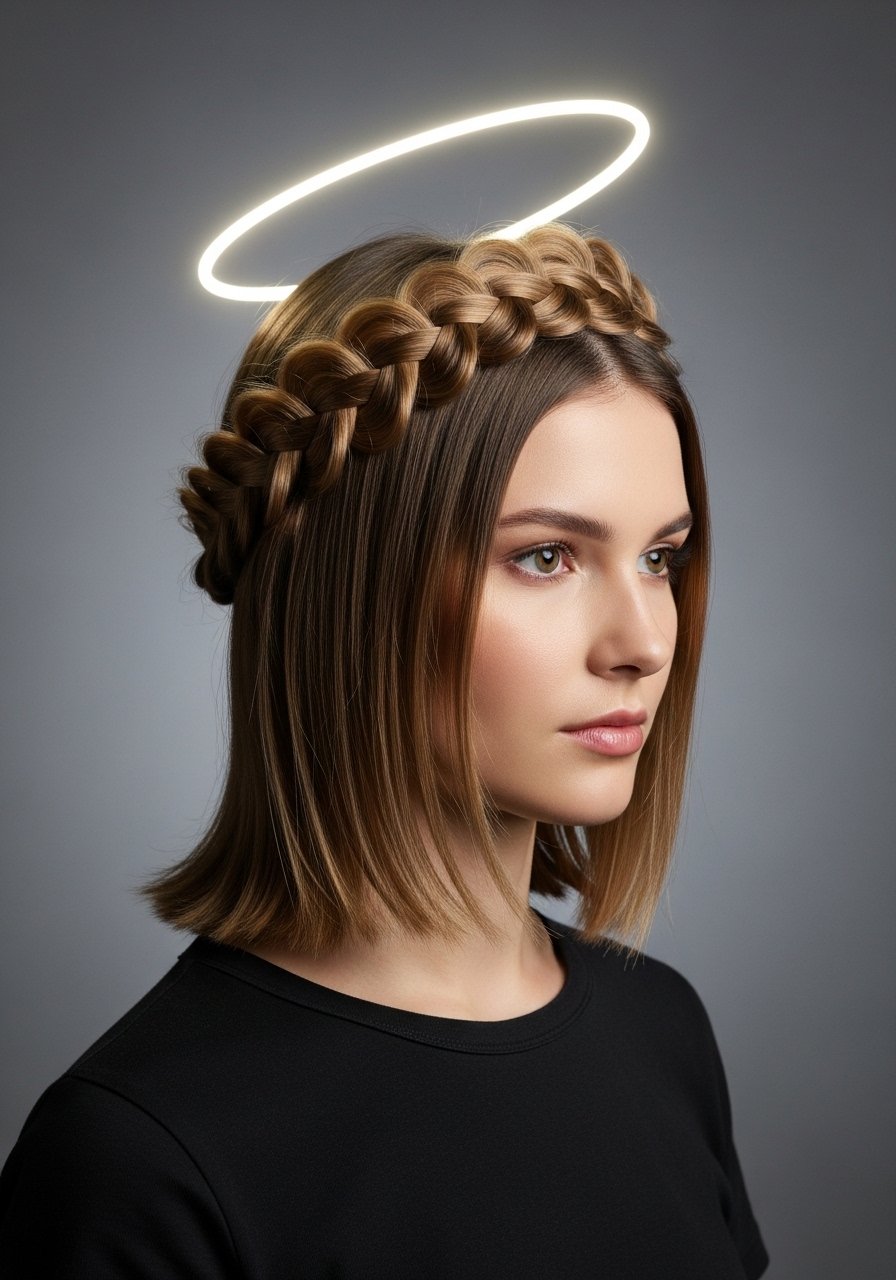
The halo updo is great for shoulder-length hair that wants an off-the-face look without a full ponytail. I split hair into a deep side part and make two flat twists that meet at the nape, then pin them along the crown. Use a comb to make 1/4-inch clean parting lines for a neat look. A little Cantu Shea Butter Leave-In Conditioning Repair Cream on the lengths tames frizz but do not overload the roots. Mistakes I see include twisting over-oily hair which causes the twists to slip. This can be a quick salon request or an easy at-home style that takes about 20 minutes.
Twist-Out Banding Method For Big Volume
If your natural coils shrink into a dense ball, banding before twisting gives length and volume without heat. I split hair into eight large sections, apply a nickel-sized amount of leave-in and two spritzes of a lightweight gel, then place three bands spaced along each section before twisting. Sleep on a satin bonnet and remove bands in the morning for a stretched, full twist-out. For product, try a small squeeze of Camille Rose Naturals Curl Love Moisture Milk under a gel so you avoid the wet-noodle look. Common frustration, people expect instant frizz-free results. It takes one good sleep cycle and careful unwrapping to avoid breakage.
Heatless Rope Twist Waves Overnight
This is my go-to when I want wavy results without any heat. After washing, detangle and apply a quarter-sized amount of leave-in per section. Split hair into eight sections, wrap each around a robe tie along the crown, coil the ends, and sleep. In the morning, undo the coils and separate gently with fingers. For hold without crunch, finish with a light mist of Not Your Mother’s Beach Babe Texturizing Spray. The common mistake is wrapping hair too wet which causes frizz and takes forever to finish drying. Plan on an overnight dry for best shape. This is a pure DIY, no tool splurge needed.
Finger Coil Base For Fuller Twist-Outs
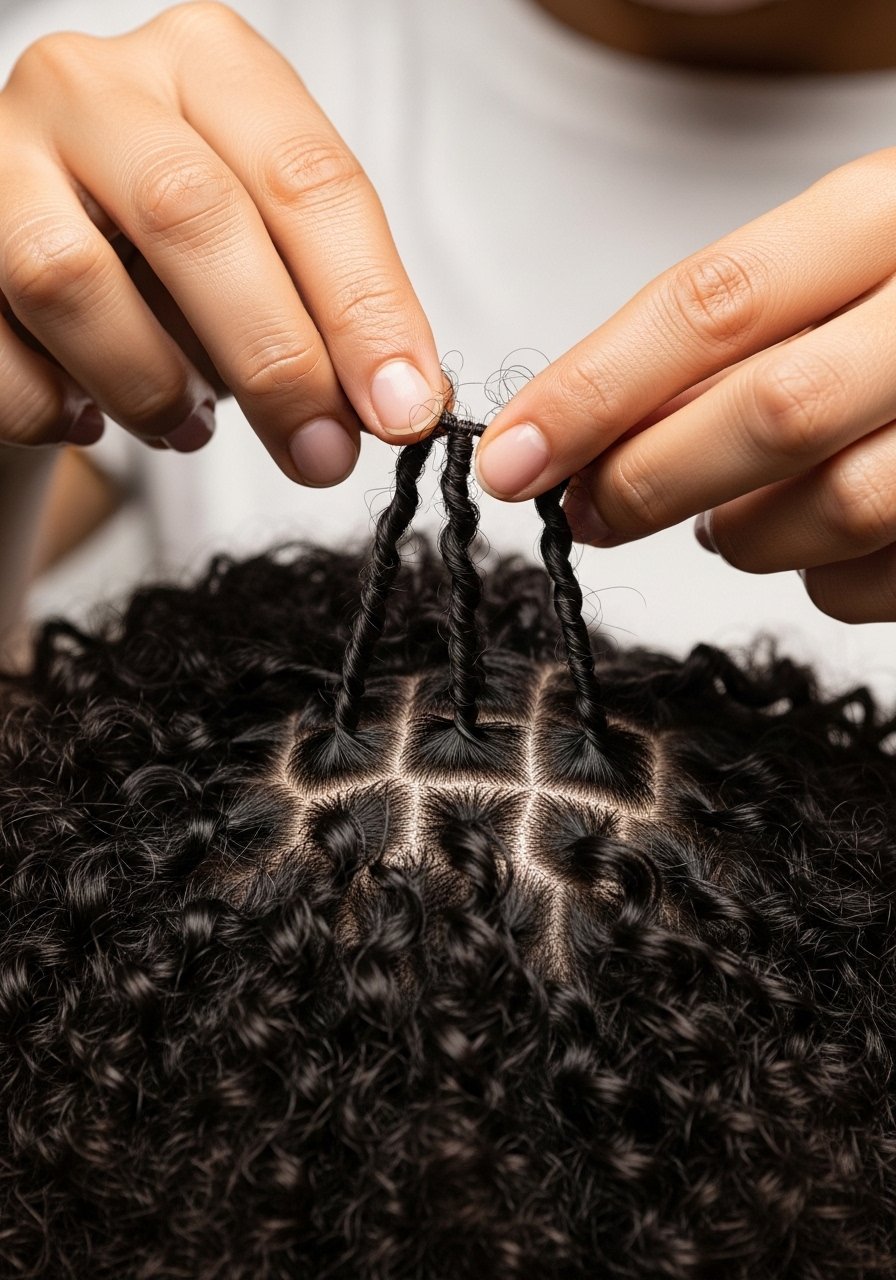
If your twist-outs lack definition at the root, start with small finger coils as a base. Work one-inch subsections, apply a pea-sized amount of cream, then coil each piece around your finger before twisting it into a larger section. This adds single-strand definition that survives humidity better. I do this on wash day and then band the larger sections to stretch. Expect this to add 20 to 40 minutes to your routine, but the result holds through workouts and light rain. Mistakes include using too much product which weighs the coils down. A small dab of Kinky Curly Custard can help with definition without crunch.
Sleek Edge Tuck With Side Flat Twists
This look gives a clean face frame when you need something polished. Create two side flat twists, then tuck the ends under at the nape and secure with long bobby pins. For smooth edges use a light touch of edge control and a soft toothbrush to press strands into place. A tip I learned the hard way, heavy waxes can flake on humid days. Instead, smooth a rice-grain amount of edge gel and then seal with a satin scarf for five minutes. If you like a shine finish, a few drops of Moroccanoil Treatment run through mid-lengths avoids greasy roots. This is a five to fifteen minute DIY depending on practice.
Chunky Twists That Stretch Thick Hair
If you have dense hair and want faster installs, chunky twists are your friend. I part hair into six even sections for a full head, detangle each with a wide-tooth comb, then add a nickel-sized amount of a thick cream to the lengths before twisting. Chunky twists take less time and reduce manipulation which helps retain length. A practical note, chunky twists will look less uniform than mini twists, so if you want precision, book a salon. For porous hair, do a pre-treatment with a bond builder once a week. Be careful not to install too tightly at the roots, that is the fastest way to irritation. For hold and sheen, I like a light touch of Olaplex No. 5 Bond Maintenance Conditioner during wash day. Buy Olaplex from an authorized seller on Amazon or from Sephora to avoid counterfeits.
Half-Up Twist And Pin Vintage Roll
This is my go-to when I want a vintage vibe without heat. I twist small frontal sections toward the crown and roll them under into a pin curl shape, securing with U-pins. The rest of the hair is left in soft waves. Use a texturizing spray sparingly at the roots for grip so the pins hold all day. A common mistake is using too many pins which causes visible bumps. This style is an easy salon request or a 15-minute at-home technique once you practice the rolling motion. If you use any heated iron to set the waves beforehand, apply a heat protectant when the iron is set above 300F.
What I Actually Buy For Twist Days
- Honestly the small things matter most. A silk bonnet and pillowcase set under $25 saved my second-day twist shape overnight
- For definition and light hold I keep SheaMoisture Curl Enhancing Smoothie and Eco Styler Gel on the shelf
- For detangling, a wide-tooth detangling comb 12-count and a Denman brush save time and reduce breakage
- Bond care I do weekly. Olaplex No.3 Hair Perfector 3.3oz used once a week fixed a lot of past damage. Buy from the official Olaplex store on Amazon or at Sephora to be safe
- For overnight styles I love a cheap robe tie for heatless curls, search for robe-tie-heatless-curl-sash
- A small can of Not Your Mother’s Beach Babe Texturizing Spray keeps twist-outs separated without making them crunchy
- For edges, a soft edge toothbrush pack and a light edge gel work better than heavier waxes
- If you plan to use heat, a reliable heat protectant like Color Wow Dream Coat Heat Protectant 6oz is worth the spend. Also available at Ulta
The Techniques I Wish I Knew Sooner
- Heat protectant goes on damp or just-dried hair, not soaking wet. The cuticle needs to close a bit for the protectant to absorb. Color Wow heat protectant is the one many stylists mention
- Banding then twisting stretches without damage. Use three bands per section for long hair to reduce tension at the root
- Hair grows about half an inch a month at most, regardless of what biotin gummies promise you. Focus on reducing breakage with a satin pillowcase and weekly bond treatments
- If your twist style flattens by midday, you are likely applying heavy oil to the root. Apply oil only to the ends after styling
- For low porosity hair, warm the product slightly and use a warm towel wrap to help penetration. Otherwise the product sits on the surface and looks greasy
Frequently Asked Questions
Q: How long should I keep twists in before taking them down?
A: For natural hair, four to six weeks is common for protective styling, though many people remove chunky twists at three to four weeks. Watch for excess new growth and tangling at the base. If you see scalp soreness or consistent shedding, remove sooner.
Q: Can I use Olaplex No.3 on colored twists or braids?
A: Yes, you can use Olaplex No.3 between color sessions to help with bond maintenance, but wait at least two weeks after a fresh color service before applying heavy treatments. Buy Olaplex from the brand store on Amazon or from Sephora to avoid counterfeits.
Q: My twist ends puff up after a day. What am I doing wrong?
A: That usually means either the hair was not sealed at the ends, or you used too much product at the roots which caused imbalance. Try a small pump of oil on the ends before bed and sleep with a satin bonnet. Also check that you dried twists fully if you used wet products.
Q: Is it better to get twists at a salon or do them myself?
A: If you want small, uniform twists that last eight weeks, a salon pro will be faster and less physically tiring. For chunky styles or quick topsy-turvy looks, DIY is perfectly fine. Consider your time, tolerance for the install, and your budget.
Q: How often should I wash hair when wearing twists?
A: Every two to three weeks is typical for most twisted protective styles, using a diluted sulfate-free shampoo at the scalp and a light conditioner on the lengths. Too frequent washing can loosen the twists and increase frizz. If your scalp gets oily between washes, use a dry shampoo or a light scalp mist to refresh.

