
I ruined my first at-home highlights by leaving the lightener on too long and ending up with orange bands. I learned to place face-framing pieces with photos, a thin hand, and a toner ready. These ideas are aimed at medium-fine to medium-thick 1B through 3B hair, about shoulder length to mid-back. Most takes are 30 to 90 minutes, costs range from a $15 gloss to a $100 salon session, and several are safe to do at home while others I would book with a colorist.
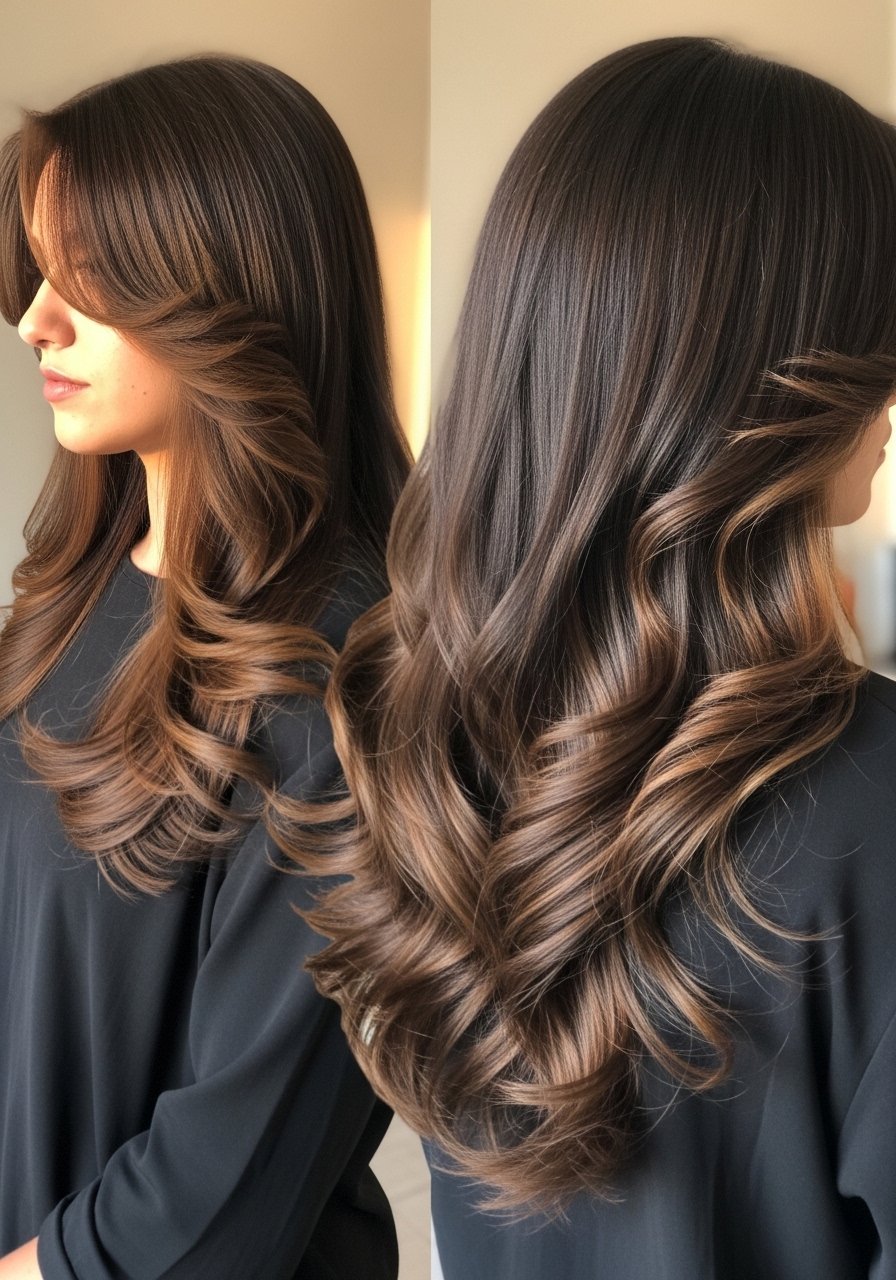
Caramel Face-Framing Balayage For Shoulder-Length Hair
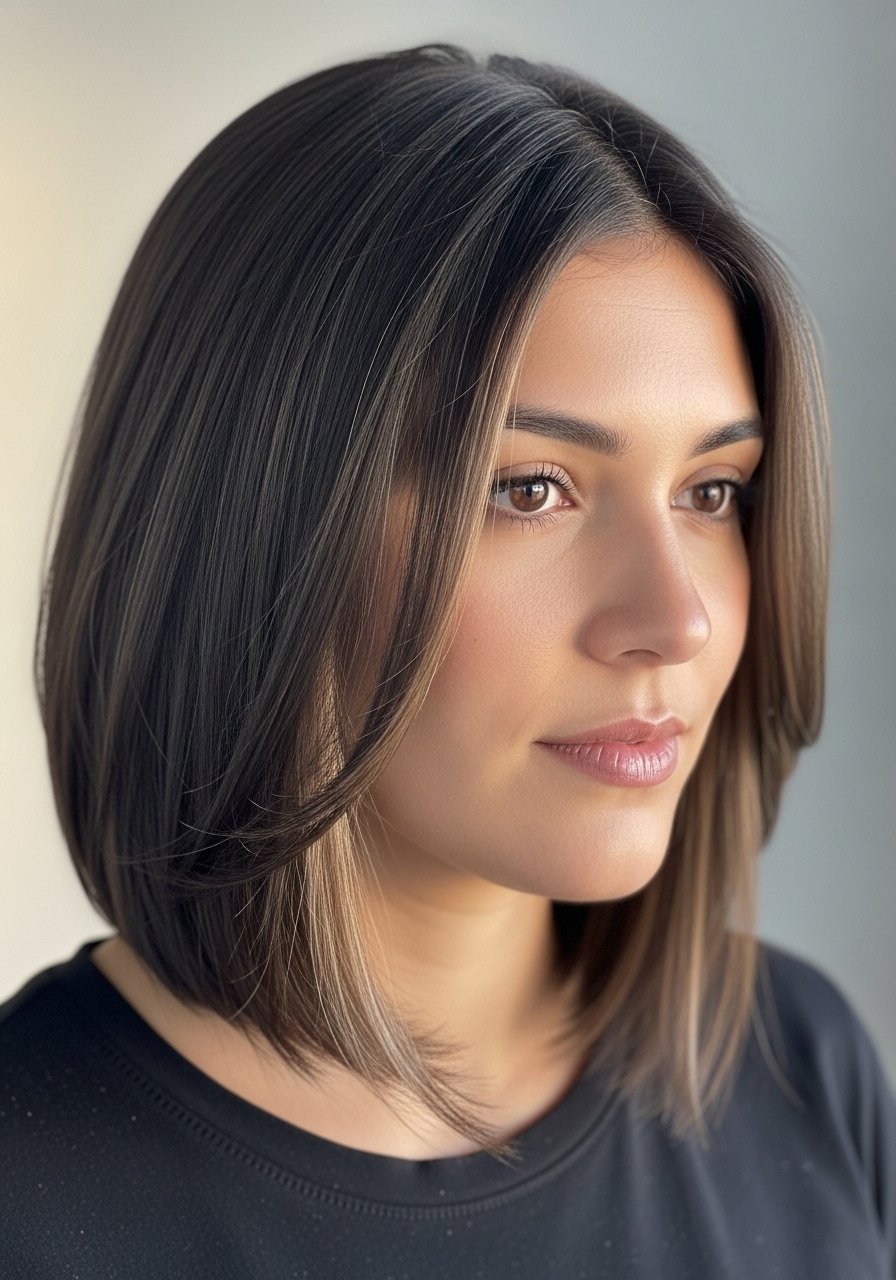
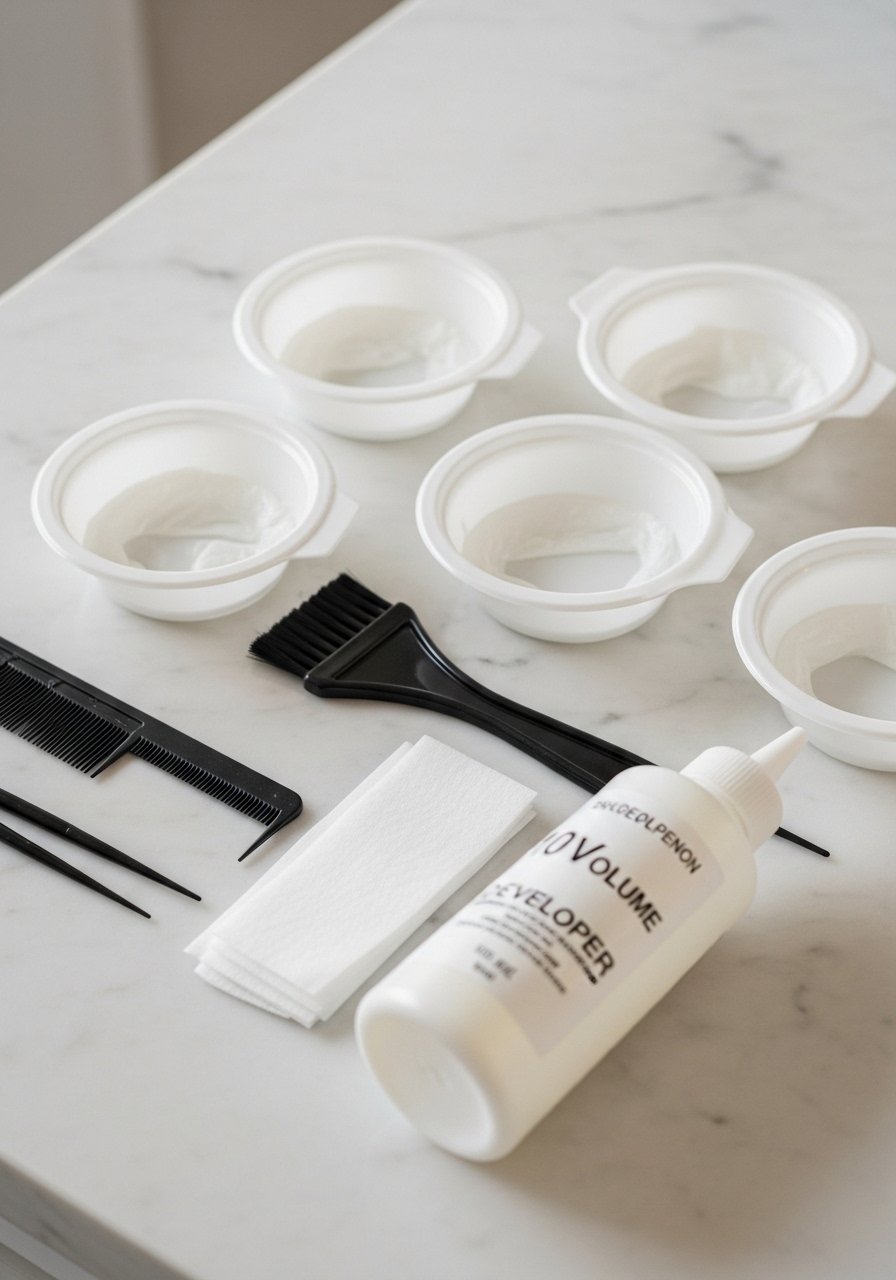
If you want caramel highlights on dark hair face framing that read natural, paint with a 1:2 bleach to developer ratio when using 10 volume developer for small lifts, and keep slices to about 1/8 inch near the face. That thinner slice avoids a harsh stripe and blends into the rest of the hair as it grows. This works best on fine to medium straight or wavy hair because the painted strokes spread naturally. One common mistake is taking thick slices at the hairline thinking more contrast is better. Expect 45 to 75 minutes at home including toner, and always do a patch test for allergy. If your hair has previously been colored darker, lift over color is safer in the salon.
Soft Babylights That Grow Out Gracefully
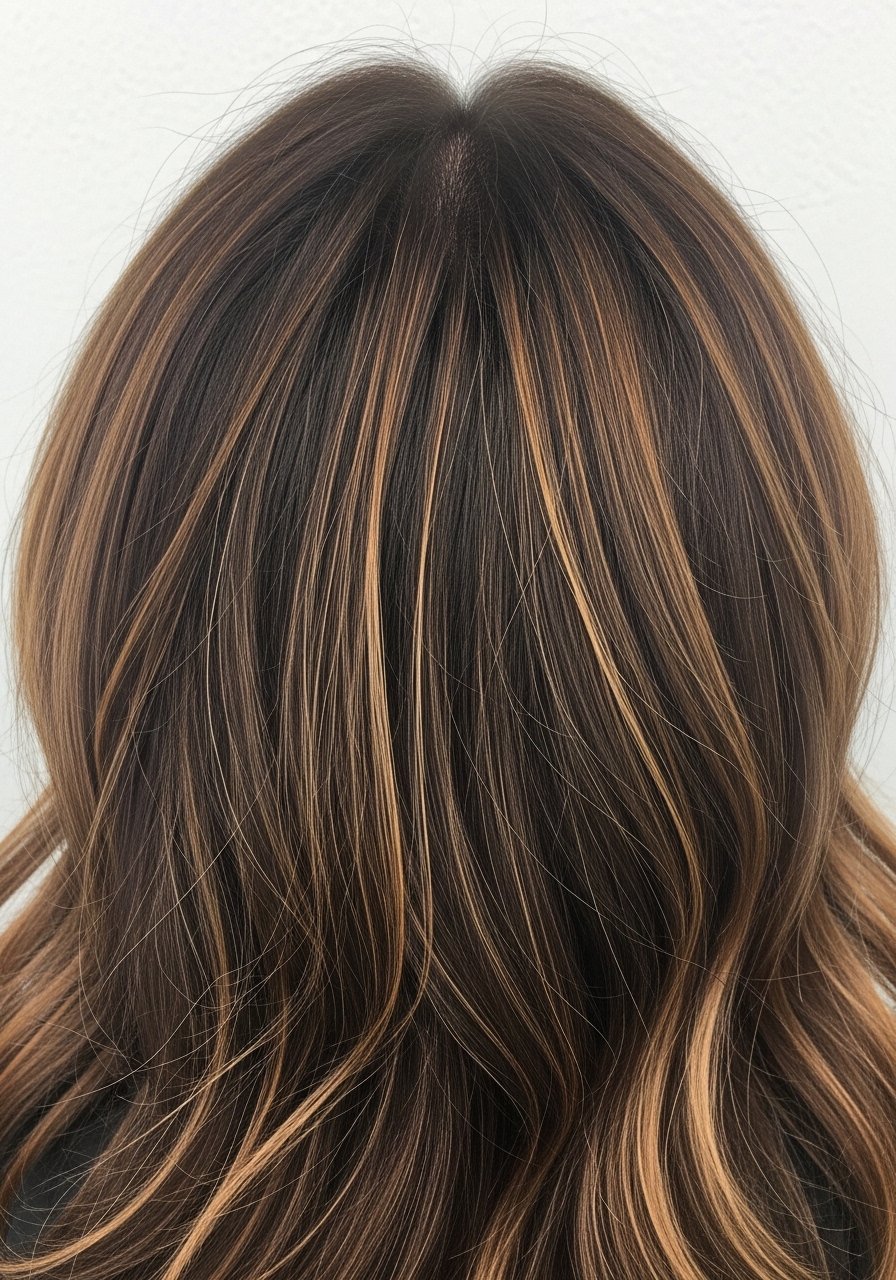
Babylights are tiny foiled pieces spaced slightly apart to create dimension without obvious regrowth lines. For dark hair aim for 1/16 to 1/8 inch sections and process lighter pieces for 10 to 20 minutes with a low-volume developer to avoid brassy orange. Thick 3A to 4A textures need more pieces than fine hair for the same effect, so expect the session to run longer and cost more at a salon. One mistake is skipping a gloss after lightening. A quick demi-gloss tones any yellow and seals the cuticle for about three to four weeks. If you plan DIY, use gloves, avoid overlapping bleach on previously lightened hair, and consider a weekly bond-builder treatment to reduce breakage.
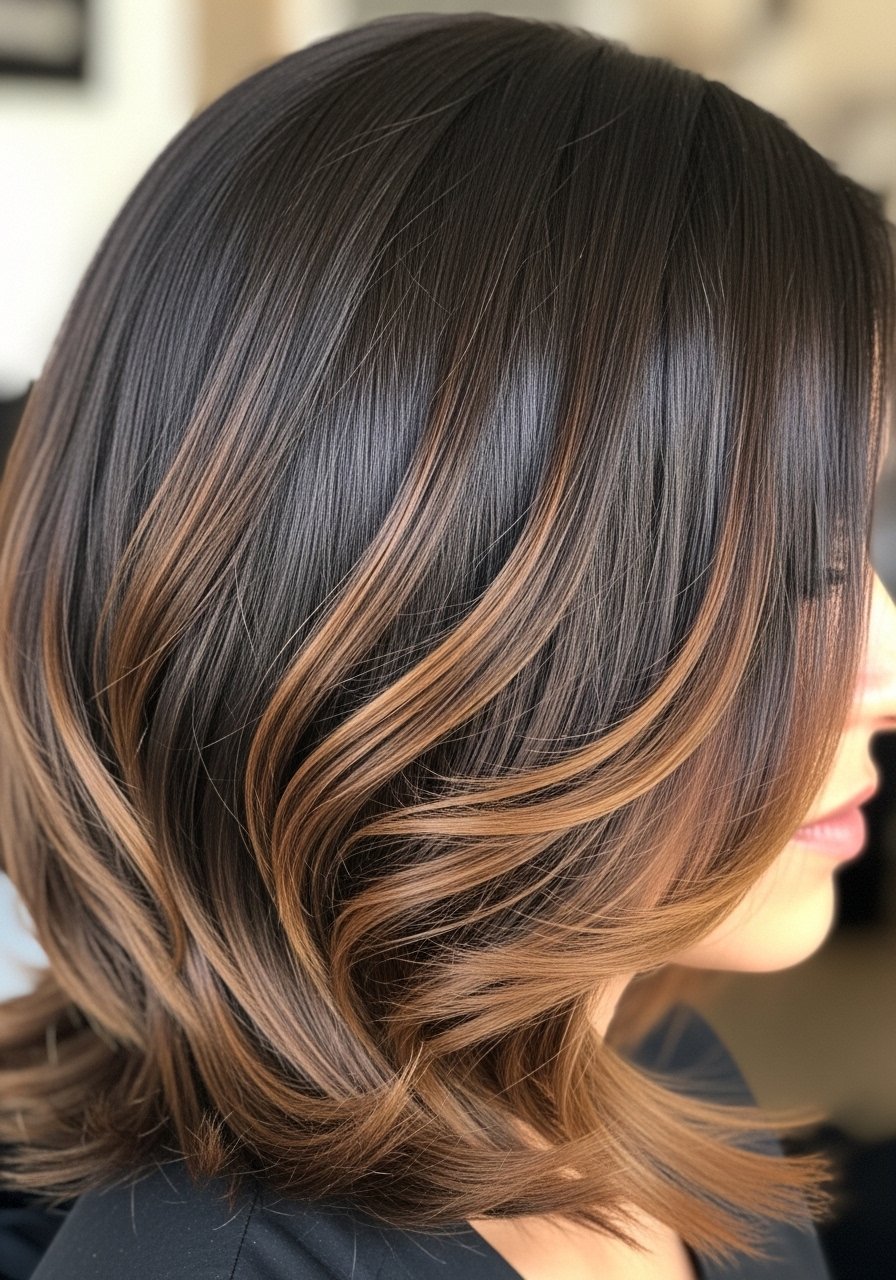
Honey Caramel Money Piece For Round Faces
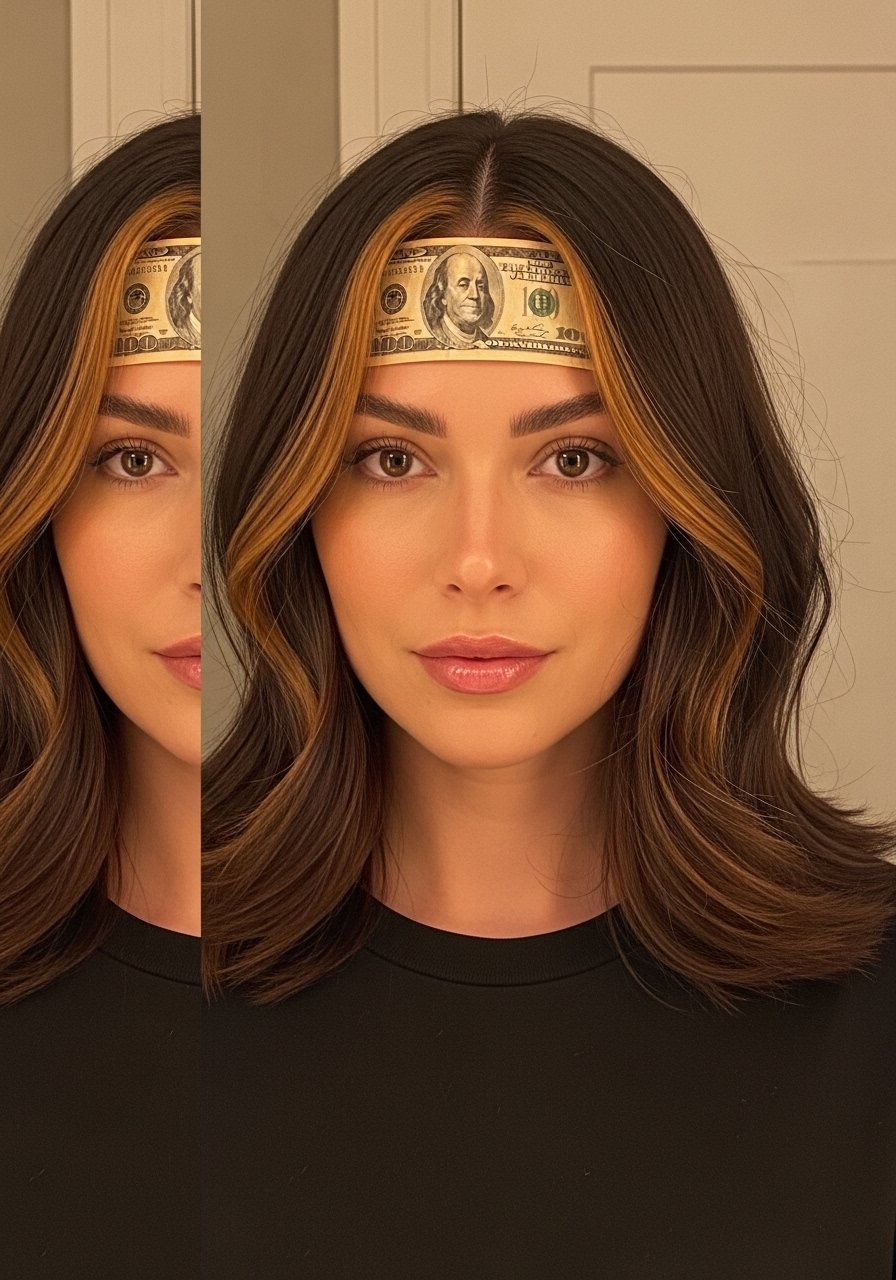
A thin, bright money piece framed to sit just outside the cheekbone lifts a round face visually. Place slices at a 45-degree angle, keep them 1/4 inch at the widest point, and blend the bottom edge with a soft glaze. This technique suits medium density wavy hair best because waves soften the contrast. The problem it solves is that full-head highlights can widen the face. A mistake people make is asking for a wide chunky piece. Thinner, painted slices look less dated. If you have previously colored hair, be cautious lifting at the hairline. Book the first session in a salon or accept multiple at-home sessions spaced weeks apart.
Warm Caramel Babylights For Thick Curly Hair
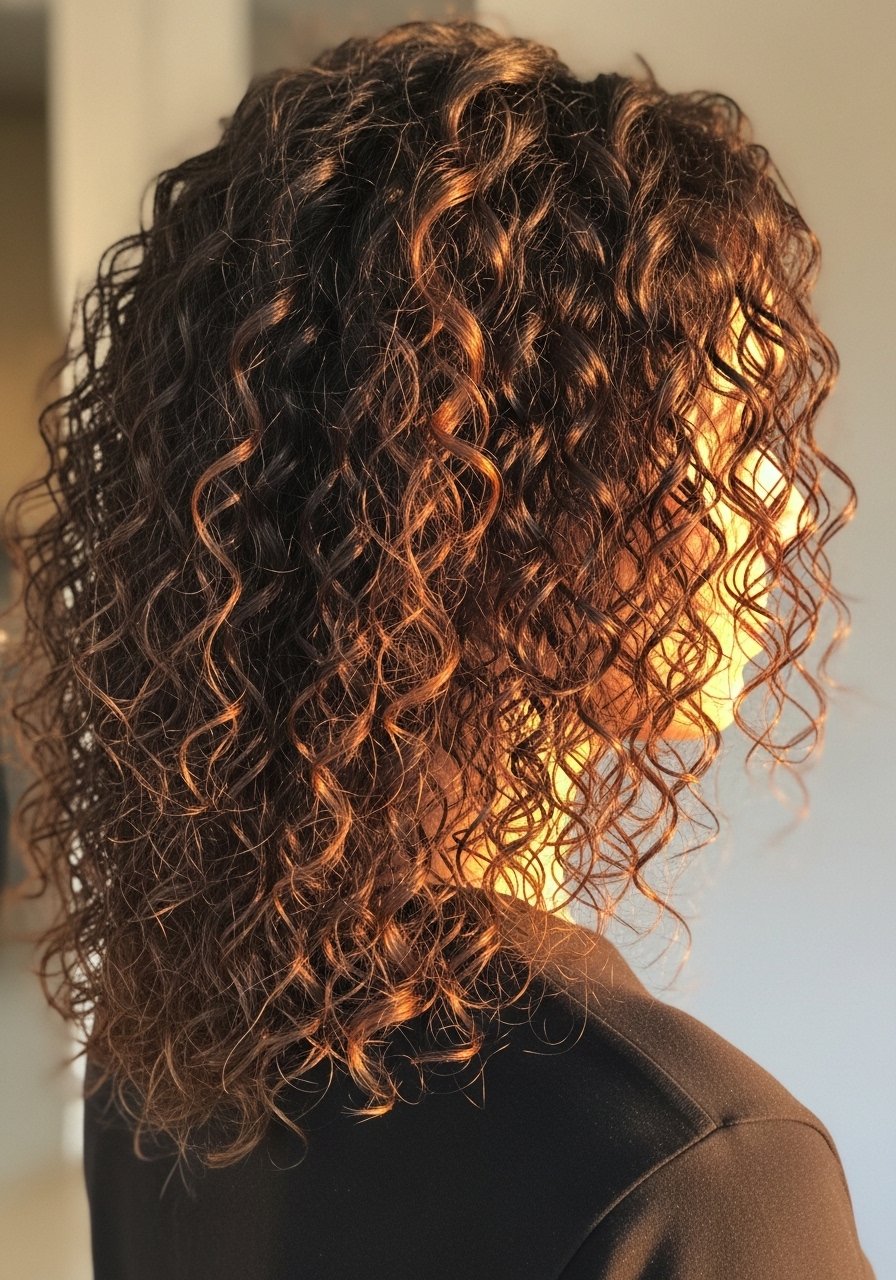
Curly, thick hair needs a different approach. Use more, smaller babylights to read through the curl without creating obvious striping. Paint pieces on stretched curls so the highlight placement looks intentional when the hair springs back. I ask for bowls no larger than 1/8 inch and section into 20 to 30 subsections for a full head. A common frustration is highlights that vanish once curls shrink. Another is over-processing the ends. Add a weekly bond-building mask and skip heat for a week after lightening. If you are dyeing over dark permanent color, do a strand test and plan at least two sessions to avoid severe damage.
Sleek Caramel Balayage For Straight Hair With Gloss Finish
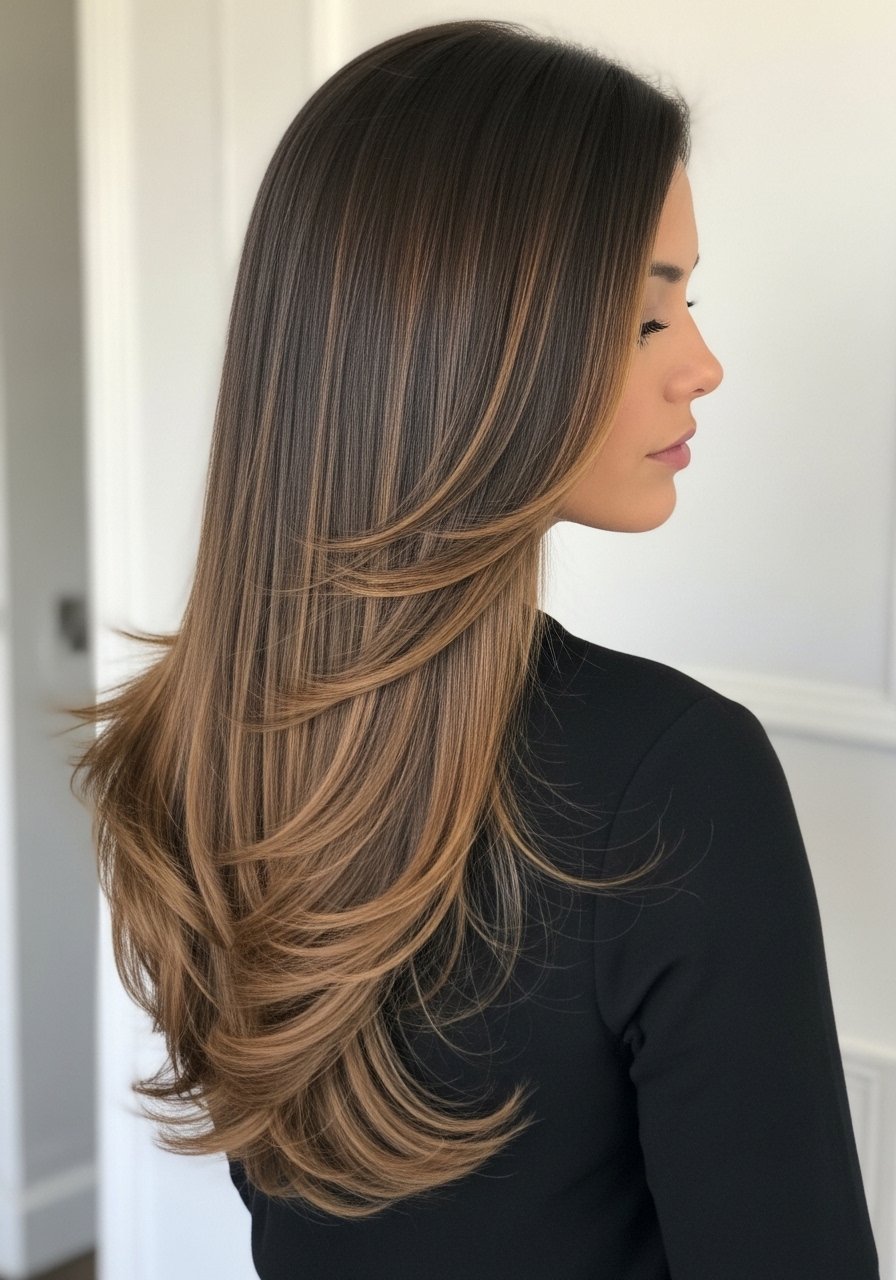
Straight hair shows every placement decision, so blend the caramel through the mid-lengths and ends instead of concentrating at the root. After lightening, I always do a cool-toned demi-gloss to neutralize brass and add reflective shine. Heat styling rule to remember, heat protectant before any iron over 300F. Most flat irons work at 300 to 380F, so set yours to 350F for medium hair and use light passes. A mistake is flat ironing immediately after a gloss. Let the glaze sit 48 hours so it bonds. For maintenance, a color-safe shampoo and a glaze every six to eight weeks keeps the tone.
Chunky Caramel Face-Framing Pieces For Long Layers
Chunky face-framing pieces are back in rotation for long layered cuts if done with softness at the edges. Use wider slices 3/8 to 1/2 inch only if your hair has natural movement and layers to break the contrast. The benefit is instant brightness and framing without a full color service. Many people make the mistake of asking for chunky pieces without considering their part. If you part down the middle, make symmetrical sections. For side parts, offset slightly toward the larger side. Salon styling is recommended for the first pass. If you try this at home, use a toner afterward and expect a higher maintenance schedule for root touchups.
Low-Maintenance Melted Caramel For Busy Schedules
This is the option I choose when I want color that hides a two- to three-month grow-out. The technique blends a few lightened lengths with shadow roots so the regrowth line is soft. It is ideal for people with busy weeks who cannot make monthly salon visits. The trade-off is less brightness up front but much lower upkeep. A common complaint this solves is waking up with obvious roots after two weeks. If you go DIY, use a low-contrast toner and skip high-volume developers. Remember allergy patch testing for any oxidative dyes and do not overlap bleach on previously lightened hair.
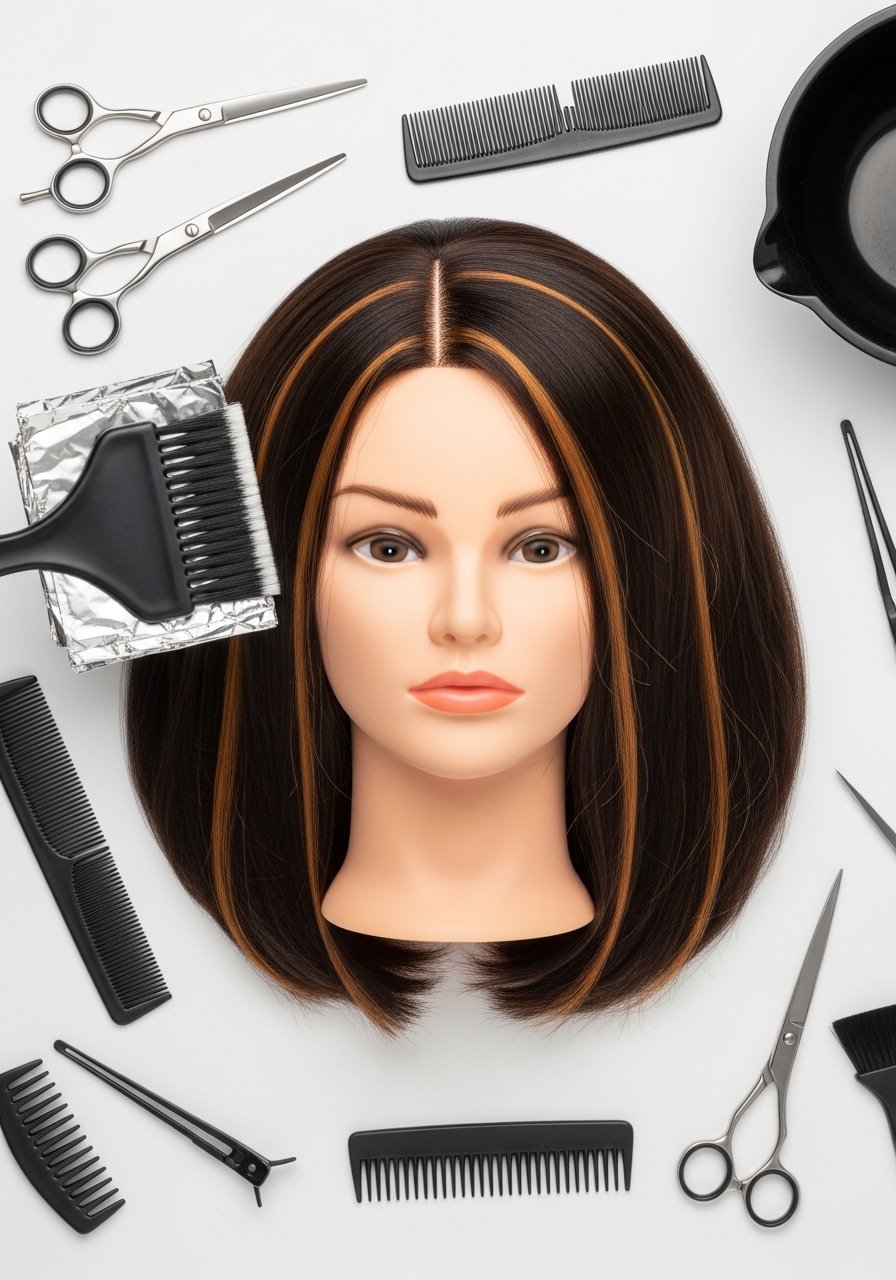
What I Actually Keep In My Caramel Highlights Kit
- Honestly, the thing that saved my color attempts was a decent bond product. Olaplex No. 3 hair perfector used once a week made the first repair visible. Buy from the official seller on Amazon or pick it up at Sephora to avoid counterfeits
- For at-home touchups, a demi-gloss keeps brass down. A demi-permanent gloss about 4 to 6 ounces lasts several applications
- For heat protection, remember this rule: Most heat protectants you spray on dry hair before flat ironing barely work. They need to absorb into damp or just-dried hair to actually shield the cuticle. I use a lightweight thermal spray right after towel blotting
- To tone at home between salon visits, a purple shampoo once a week is fine. A 8oz purple shampoo keeps brass at bay without drying if you limit it to one wash weekly
- For sectioning and painting, a tail comb and nylon clips. A two-pack tail comb set and jaw clips around $12 total
- For finishing, a glossing cream that smooths ends without weighing hair. A shine serum 2oz works well for straight or wavy hair
- Sleep protection matters. A silk pillowcase queen lowered morning frizz and saved my color from abrasion
- For salon-level lifting at home only if you know what you are doing, a 10 volume developer and powder lightener. 10 volume developer 16oz. Warning, lifting over previous color can cause breakage, book a pro instead
- For curls with highlights, a moisturizing mask. A 8oz bond-building mask once a week keeps curl definition and color bounce
- A trusted flat iron with temperature control. A ceramic flat iron 1-inch lets me set 350F for most finishes
Hand-Painted Caramel Streaks For Oval Faces
For oval faces, deliberate streaks painted at an outward angle around the temples create a soft frame. Paint with a brush and feather the ends with your fingers rather than straight slicing for a lived-in look. I work in two horizontal panels across the head and take about 12 to 18 thin strokes per side. The specific detail most people skip is painting on damp hair for straighter textures so the strokes spread less during processing. If you use a 20 volume developer expect 10 to 25 minutes depending on your base and desired lift. Damage note, avoid overlapping lightener onto previously bleached hair and use a weekly bond treatment to reduce tensile breakage.
Caramel Babylights With a Cool Gloss For Cooler Skin Tones

Cooler skin tones can handle warmer caramel if you cool the final tone slightly with an ash or pearl glaze. Use a demi-gloss with a hint of ash to take down any warm orange without annihilating warmth. People often panic when highlights start yellowing. Using a gloss every six weeks keeps brass under control and extends the life of the color. If you buy a gloss on Amazon, consider buying from the brand store or get it at Ulta. For at-home glossing, apply to towel-dried hair for 10 to 20 minutes and rinse cold to seal the cuticle.
How To Do DIY Caramel Around The Face Without Looking Striped
If you are doing face-framing highlights at home, work in 1/4 inch slices and feather the product in toward the root with a soft brush. Leave the lightener on for short checks every 5 minutes after the first 8 minutes, especially on dark hair that can jump from warm to orange quickly. A thin veil of toner after rinsing makes everything look cohesive. For safety do an allergy patch test 48 hours before and never lift over darker permanent dye without a salon consult. One trick many pros use is applying a barrier cream along the hairline to prevent staining and to soften the edge into the skin.
Face-Framing Caramel Pieces That Help Hide Gray Near The Temple

Gray hairs at the temples can stand out against dark roots. Placing a few warm caramel pieces right around the part and temple line distracts and blends gray without full color coverage. Use a demi-permanent dye one shade lighter than your base for subtle blending and reapply every six to eight weeks. A common mistake is flooding the area with too much lightener which exposes the gray starkly. For sensitive scalps, consider a dye formulated for sensitive skin and always do a patch test.
How I Keep Caramel Highlights From Going Brassy
- Heat protectant goes on damp hair, not dry. The cuticle is more open and the product actually absorbs. A lightweight thermal spray is what I mist after towel blotting before any iron
- Grab a microfiber hair towel for $12. It cuts your blow dry time by a third and stops the frizz before it starts
- Hair grows about half an inch a month at most, regardless of what biotin gummies promise you. The way to keep color looking fresh longer is to reduce friction at night and use a glaze every six to eight weeks
- Swap a weekly full wash for a dry-shampoo day when possible. It stretches color and gives you one extra week between shampoos for the gloss to hold
- Drugstore shampoo is fine. Where you actually need to spend money is the conditioner and bond builder. Olaplex No. 5 conditioner does more for previously lightened hair than a bargain shampoo
Frequently Asked Questions
Q: Can I use Olaplex No. 3 if my hair is not damaged, or will it make it worse?
A: You can use Olaplex No. 3 as a preventative; it will not make healthy hair worse. I use it once a week on days I heat style or after color. Buy from the official store on Amazon or pick it up at Sephora to avoid counterfeits.
Q: How often should I use purple shampoo to fix brassy tones without making my hair dry?
A: Use purple shampoo once a week on highlighted hair, and follow with a hydrating conditioner. If you notice dryness, reduce to every other week or switch to a milder purple conditioner.
Q: Can I safely lift highlights at home if I have previously dyed my hair darker?
A: Lifting over darker permanent color is risky and often causes breakage. Book a salon session for the first lift, or accept that multiple gentle sessions spaced weeks apart will be needed to avoid damage.
Q: What is the difference between a gloss and a toner, and do I need both?
A: A gloss is typically demi-permanent and adds shine while adjusting tone slightly. A toner can be stronger at canceling a specific unwanted hue. For face-framing caramel highlights a gloss usually gives the blended look you want without the commitment of a toner.
Q: How do I pick face-framing placement for my face shape?
A: For round faces place pieces slightly below the cheekbone to elongate. For square faces soften at the jawline and temples. For oval faces you have flexibility, but keep the width of slices proportional to your hair density so the contrast looks intentional.
Q: Will highlights make my hair drier and how do I manage that?
A: Lightening temporarily raises porosity, which can feel drier. Use a weekly bond-building mask and a leave-in cream after washing. Avoid daily heat for the first week post-lightening to let the cuticle settle.

