
I fried my ends trying to DIY balayage last spring and paid a stylist to fix the banded, brassy mess three months later. Since then I learned how to place caramel so it reads warm against a black base without making maintenance impossible. These looks are real life tested, they account for curl pattern and porosity, and they include what to do when the color starts to fade.
These ideas mostly serve straight 1B through curly 3C textures, with notes for coily 4A hair where needed. Skill ranges from beginner root-smudge touch ups to intermediate salon techniques. Expect weekly styling of 10 to 25 minutes for most looks. Budget ranges from under $30 products to one splurge color appointment or a $40 tool.
Face-Framing Money Piece for Round Faces
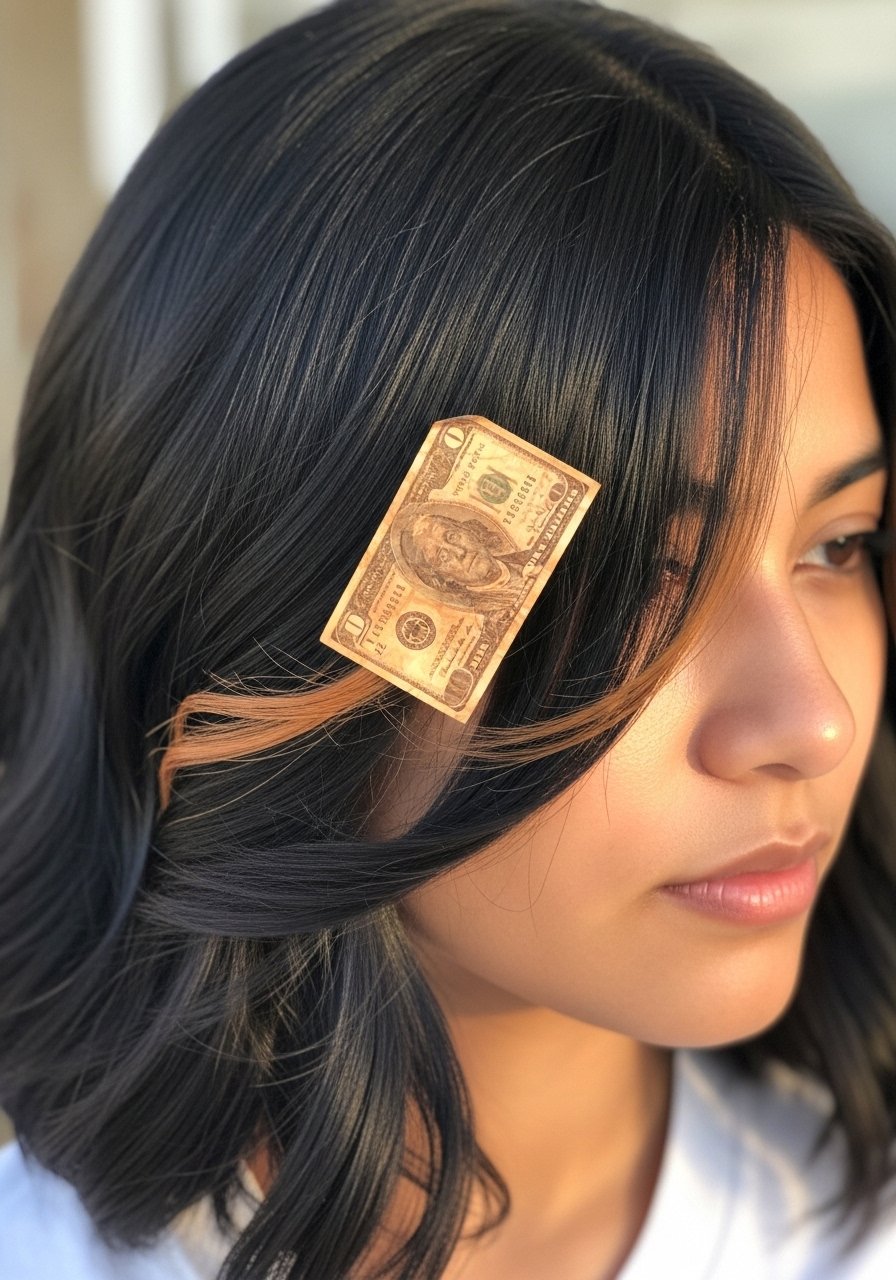
Carving a narrow money piece in caramel near the face brightens a black base without heavy overall lift. It works best on straight to wavy 1B to 2C hair and on shorter lob lengths where the face frame shows. Ask your colorist for a 10 to 20 percent lighter lift than your base and a soft feathered soften at the root so it grows out gracefully. Salon note, this is a painting technique not foils. DIY warning, do a strand test and an allergy patch test because the front hair is more visible. For touch-ups between appointments, two light strokes of color-depositing balm on dry hair blend the regrowth without full lift.
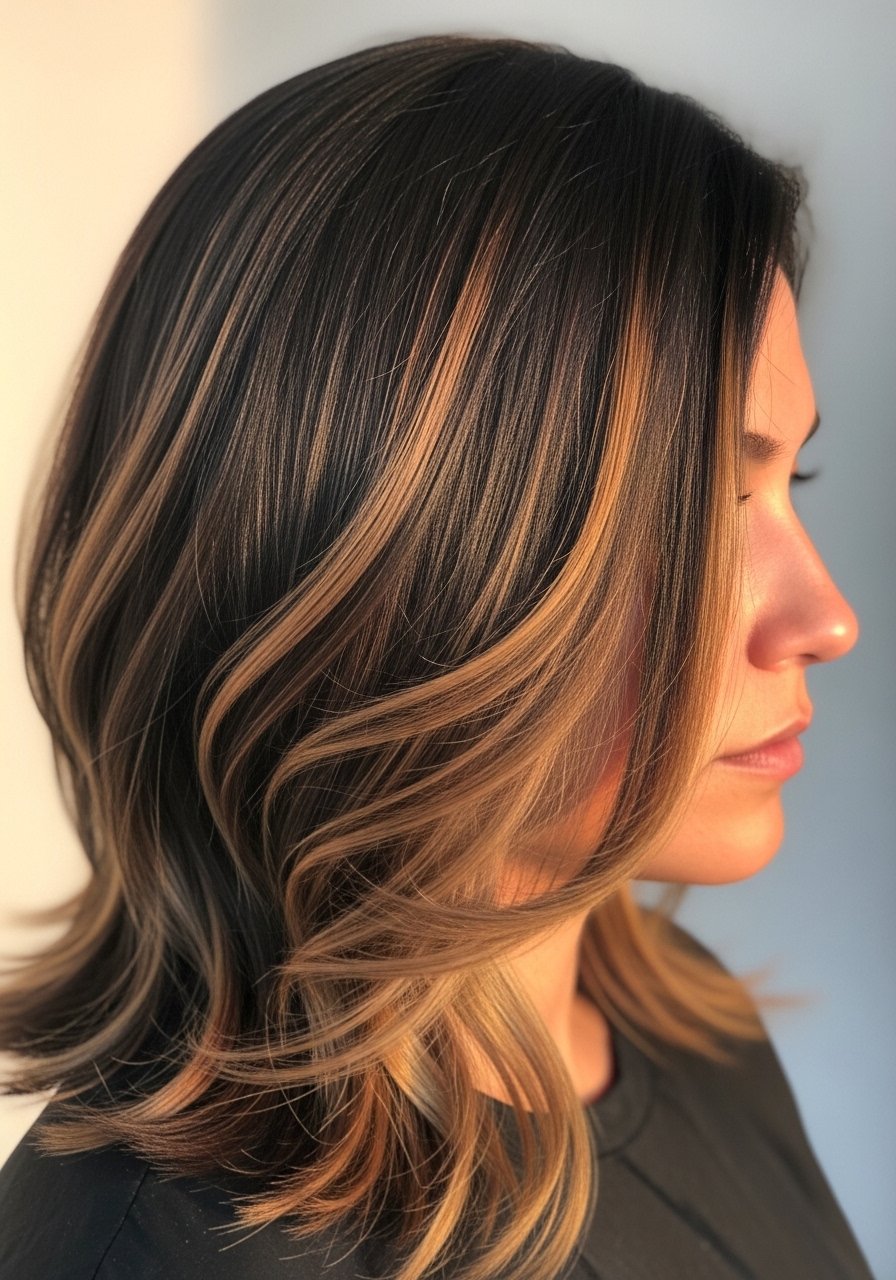
Subtle Babylights for Low-Maintenance Wear
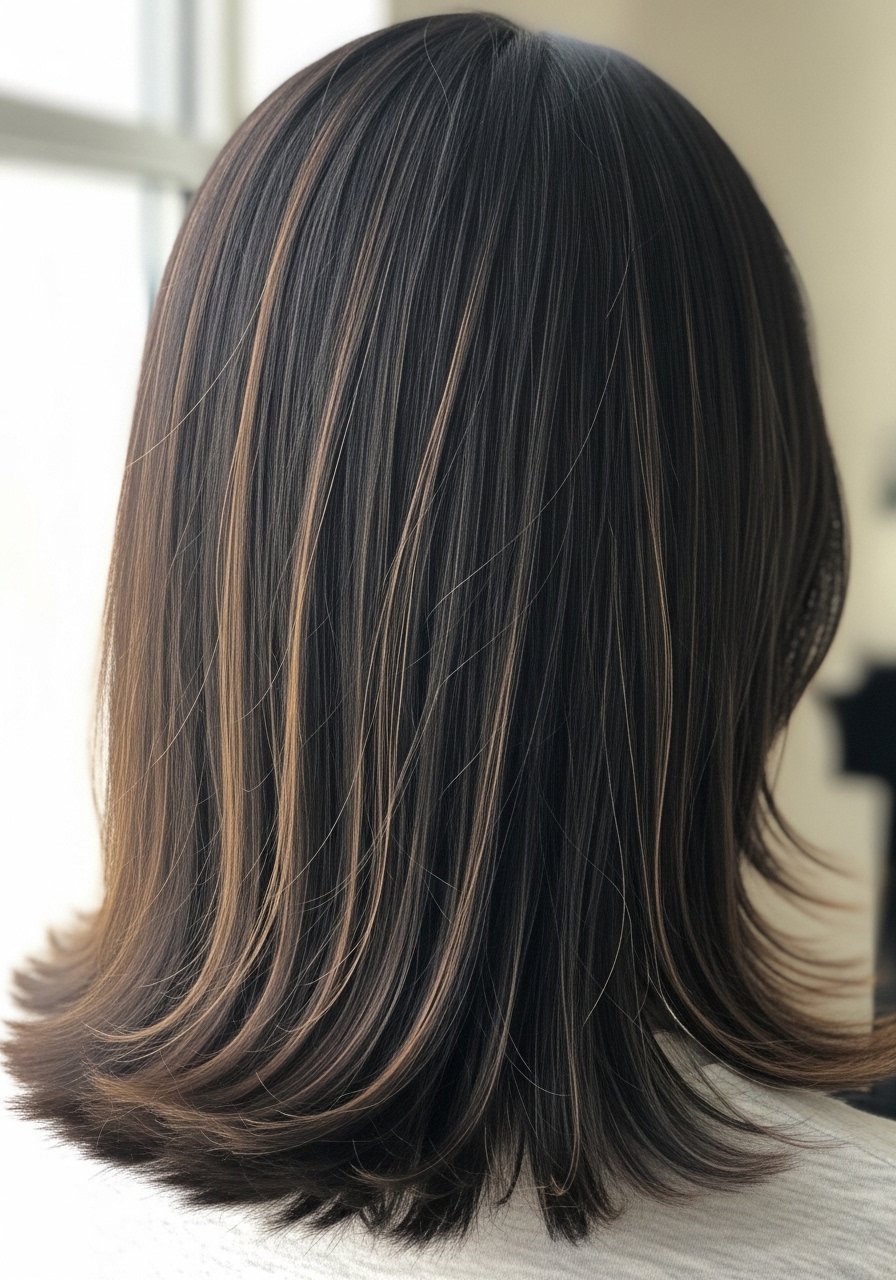
Babylights are tiny woven highlights placed throughout the front and top layers so the overall effect is glow, not stripes. They work for fine to medium density 1A through 2C textures and are perfect if you want low upkeep. Expect a lighter session at salon that takes an hour to hour and a half and lasts three to four months before needing a refresh. Maintenance at home is clarifying once every two weeks and a purple or blue shampoo once a week if your highlights lean warm. For at-home toning when brass shows, a pea-sized amount of purple shampoo mixed with conditioner and left on for three minutes often does the trick without drying, just rinse well.
Root Smudge for Longer Salon Appointments That Grow Out
If you hate the regrowth line, ask for a root smudge where a darker glaze is painted along the rootline to blend into caramel highlights. This works on medium to thick 2A through 3B hair, and it stretches appointments to 12 to 16 weeks. Salon time is longer, but long-term cost is lower. Do not attempt heavy smudging over very porous hair at home because it can soak up too much pigment and look muddy. A quick weekly gloss in the shower with a color-depositing conditioner extends the melt. If your ironing routine hits 350F or higher use a heat protectant first because heating above 300F without protection raises breakage risk.
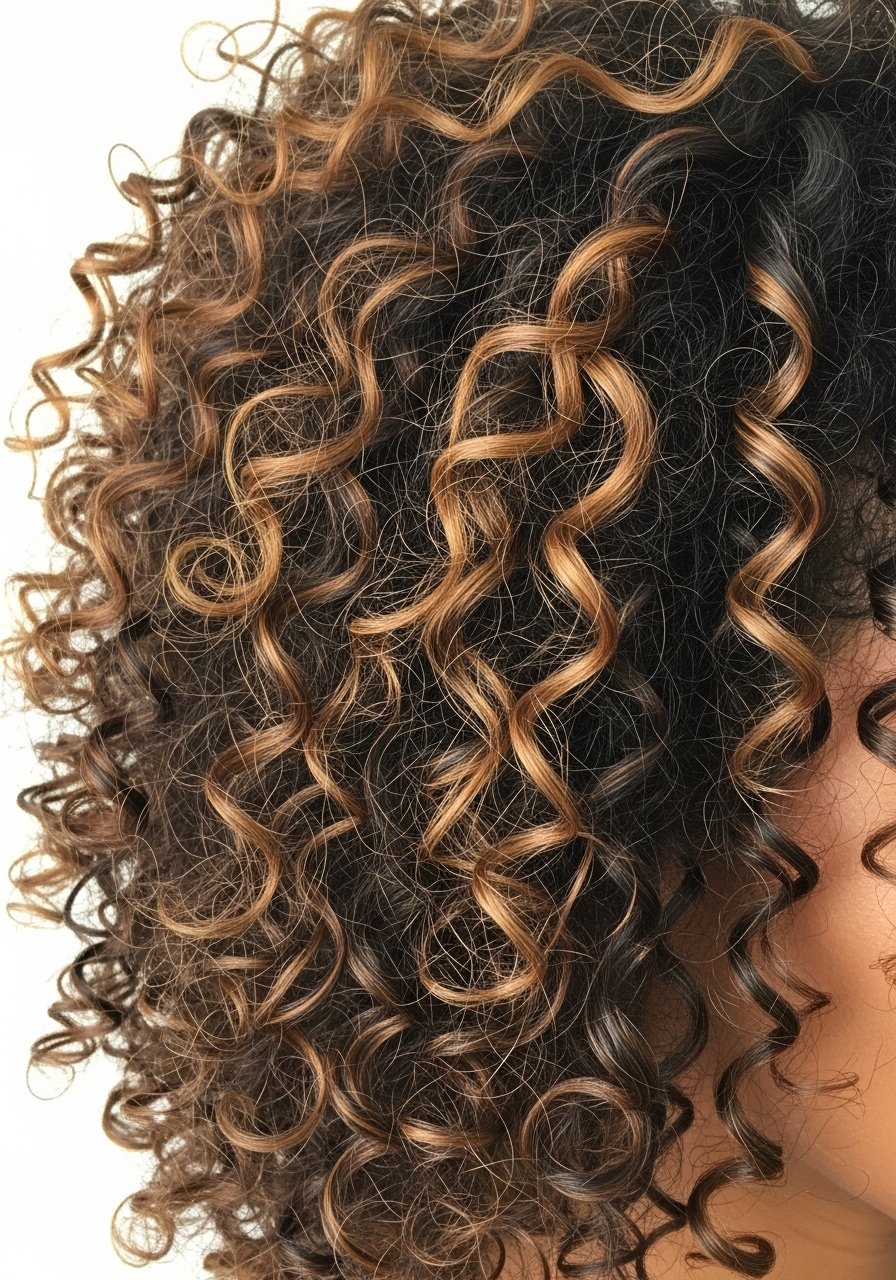
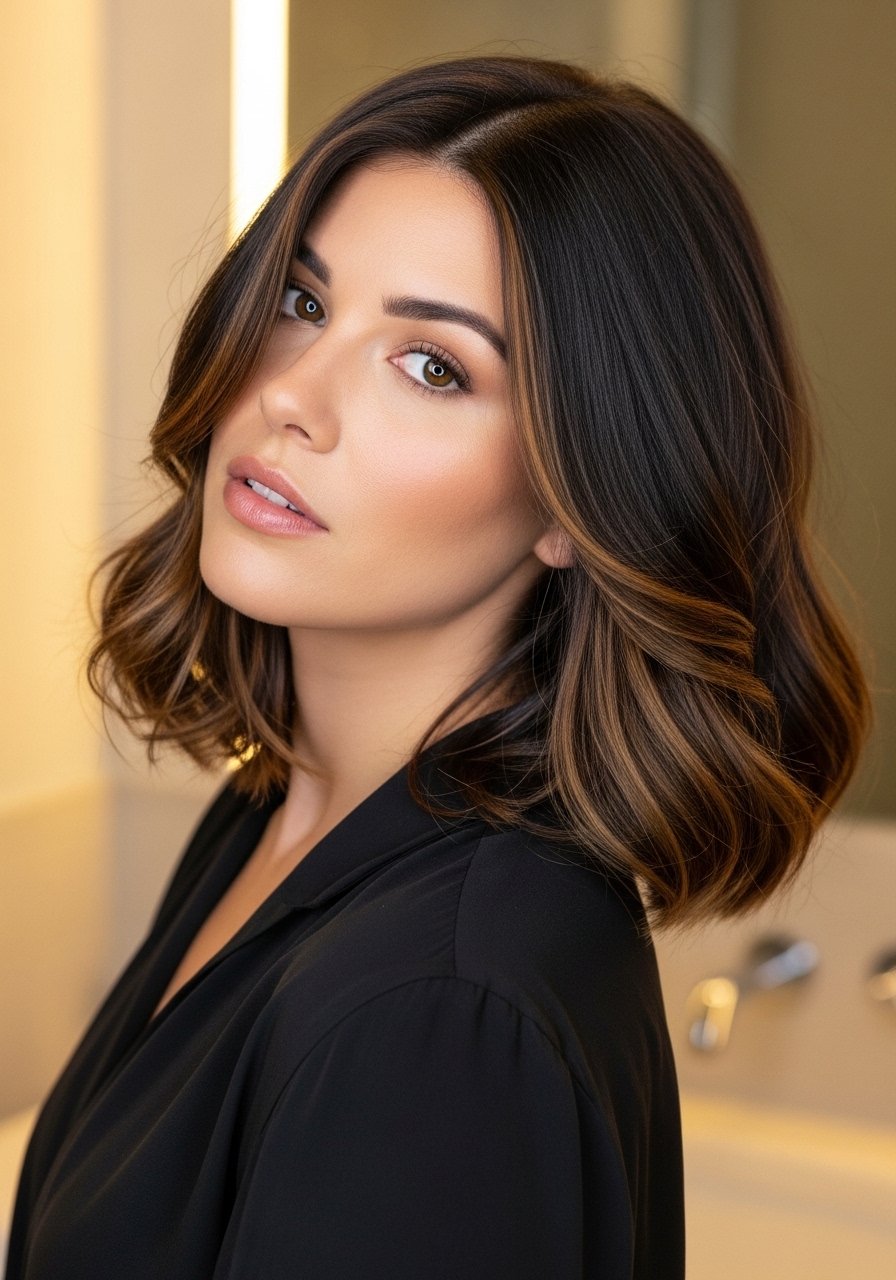
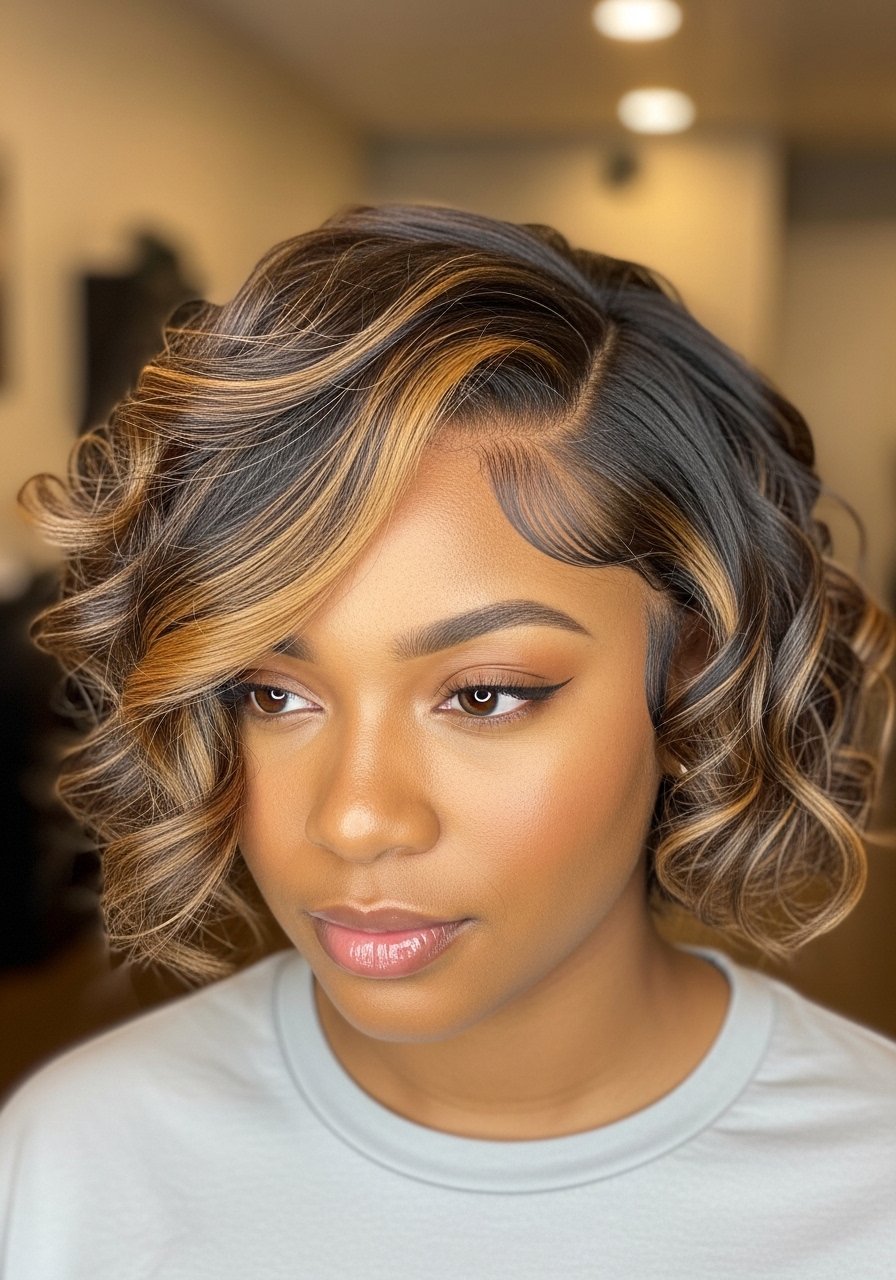
Caramel Balayage for Curly 3A to 4A Hair
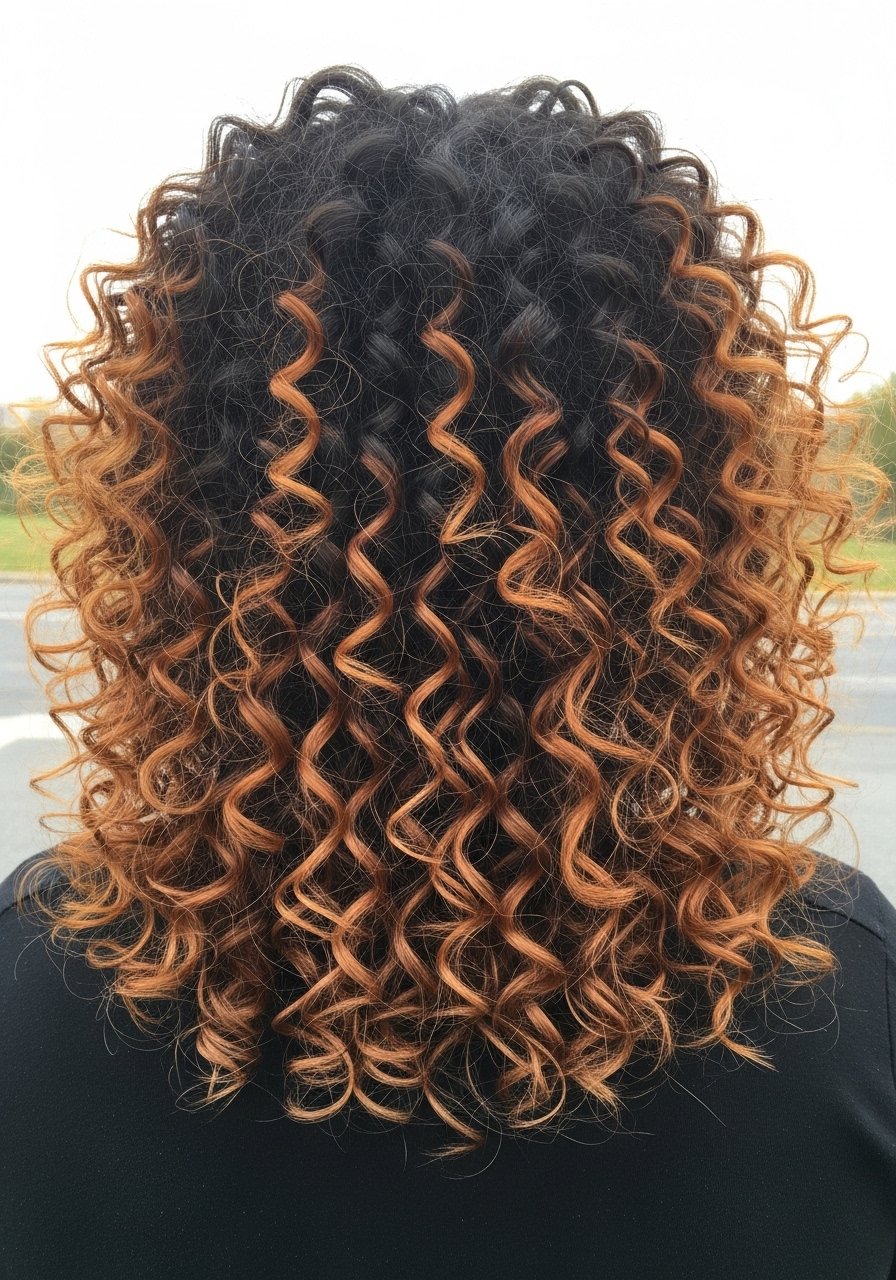
Hand-painted balayage on textured curls needs placement that honors curl clumping. For 3A to 4A curls, paint highlights in quarter-inch diagonal slices on the outer curls only, avoid saturating roots. This prevents haloing and keeps definition. Expect a salon session plus a glaze, and plan for a trim within six to eight weeks if lifting causes dryness. I ask my colorist to use 10 volume developer for one to two levels of lift on highly pigmented black hair to avoid blowout. At home, a weekly bond-building mask helps, like using Olaplex No. 3 hair perfector for three minutes before shampoo to restore feel. Patch test the color if you have scalp sensitivity.
Reverse Ombre for Shorter Hair With Impact
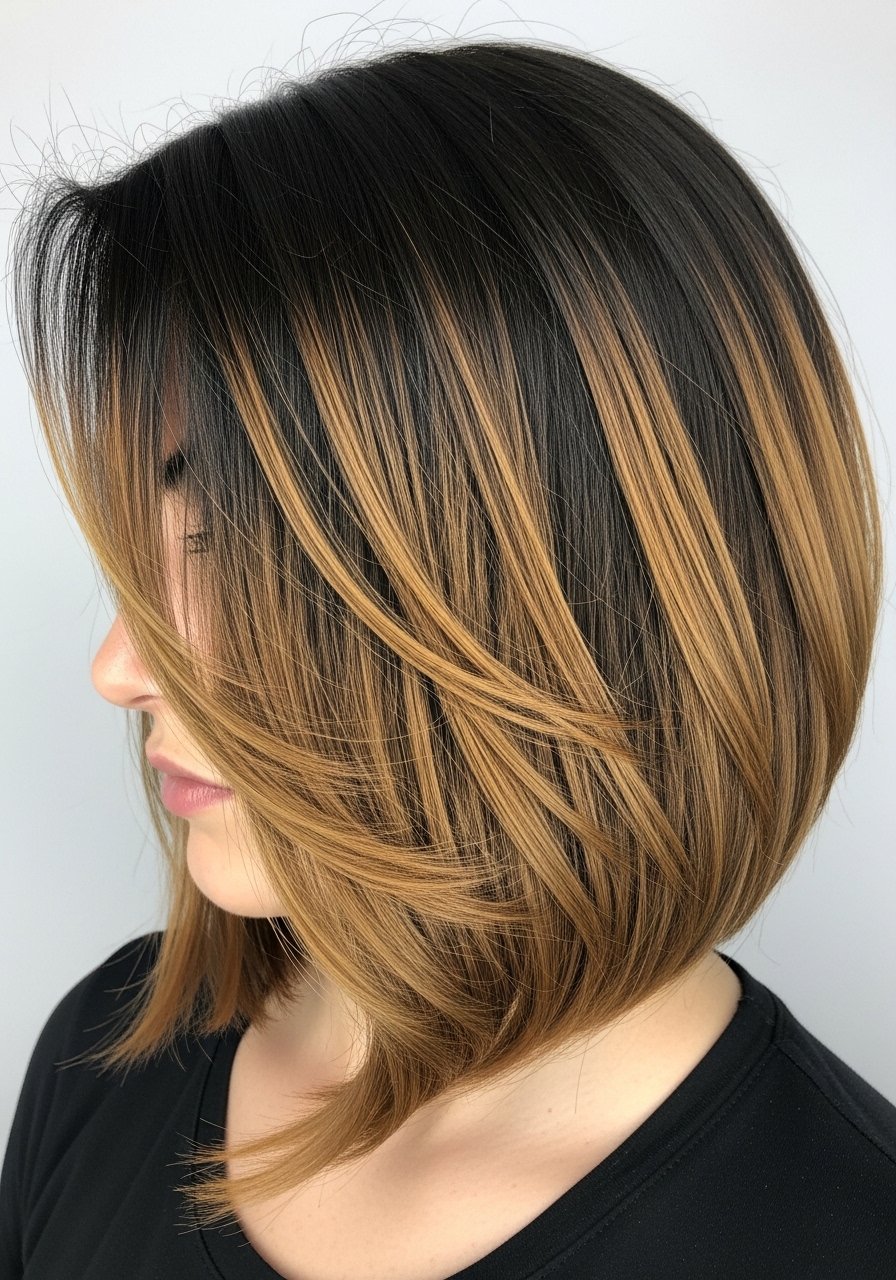
A reverse ombre keeps the black at the roots and concentrates caramel at the ends so shorter bobs read bold without daily maintenance. It suits straight to wavy 1A through 2C hair and gives the illusion of depth on round faces. DIY tip, use foil pieces of one inch and leave the lightener for 20 to 30 minutes checking every five minutes to avoid banding. If your hair is previously colored darker, do not lift more than one to two levels at home. Book a salon appointment if you need more lift. Keep ends smooth with a weekly leave-in and one to two pumps of sealing oil on damp hair before air-drying.
Honey Caramel Lowlights for Gray Blending
If you are starting to see gray, woven honey caramel lowlights added through the mid-lengths hide contrast while still reading natural. This approach works for medium density 1B to 3B hair and for anyone wanting a softer grow-out. Expect a quick salon session and a demi-permanent glaze that fades gently. Common mistake is over-lightening the gray which makes the base look patchy. Instead, use a glazing toner every six to eight weeks and rinse with cool water to seal the cuticle. A gentle sulfate-free shampoo helps the tone last longer between glosses.
Face-Brightening Money Piece With Root Shadowing
For those who want the brightness of a money piece but worry about regrowth, combine the front highlight with a one-inch root shadow painted under the highlight. This works across 2A to 3C hair and gives natural depth. It reduces salon visits because the eye reads the fresh front without obvious regrowth. I ask for the root shadow to be warmed with a demi glaze so it does not look muddy. DIY partial foiling at the front can work if you follow a strict 10 to 20 minute lift and monitor the tone. Safety note, avoid overlapping bleach onto previously lightened hair to prevent breakage.
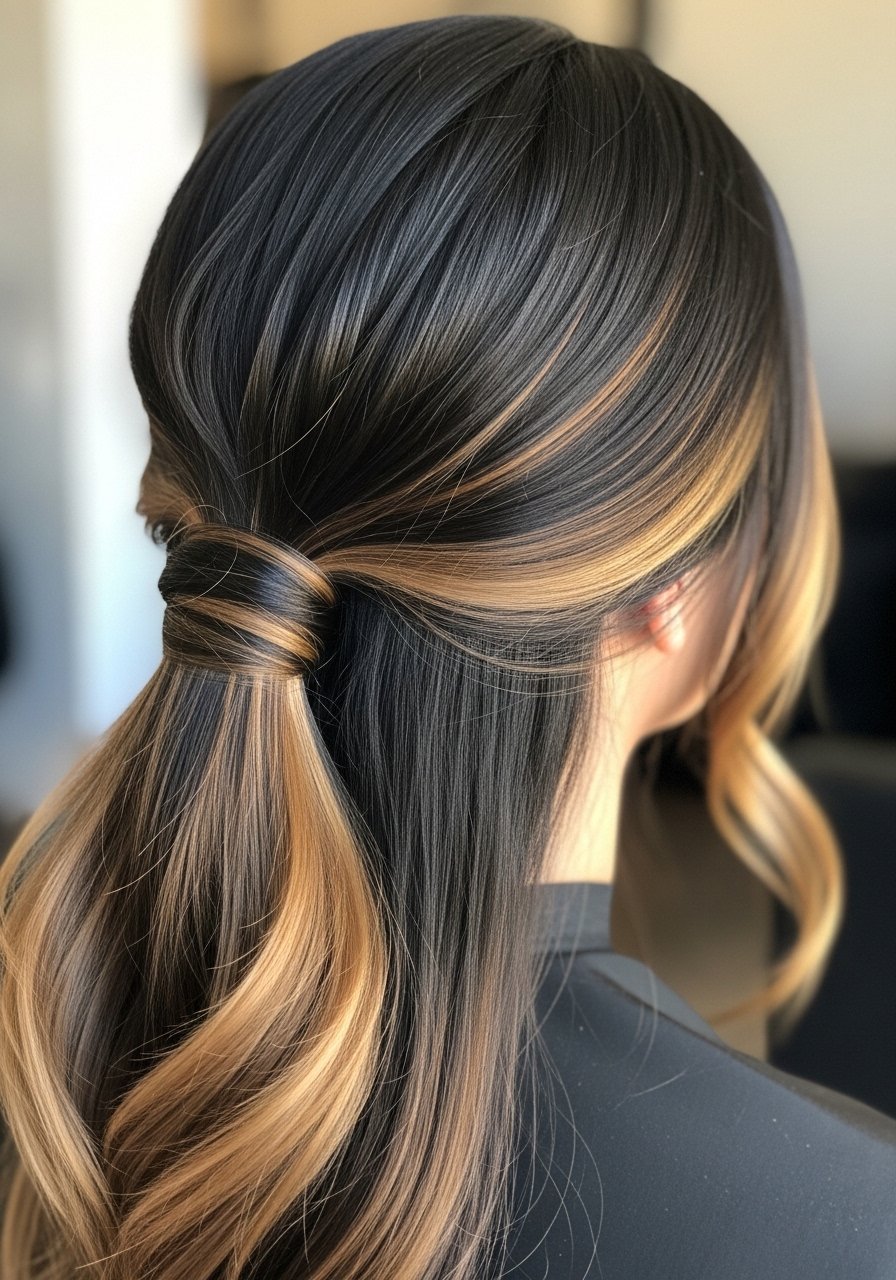
Braided Accent With Caramel Peekaboo Panels
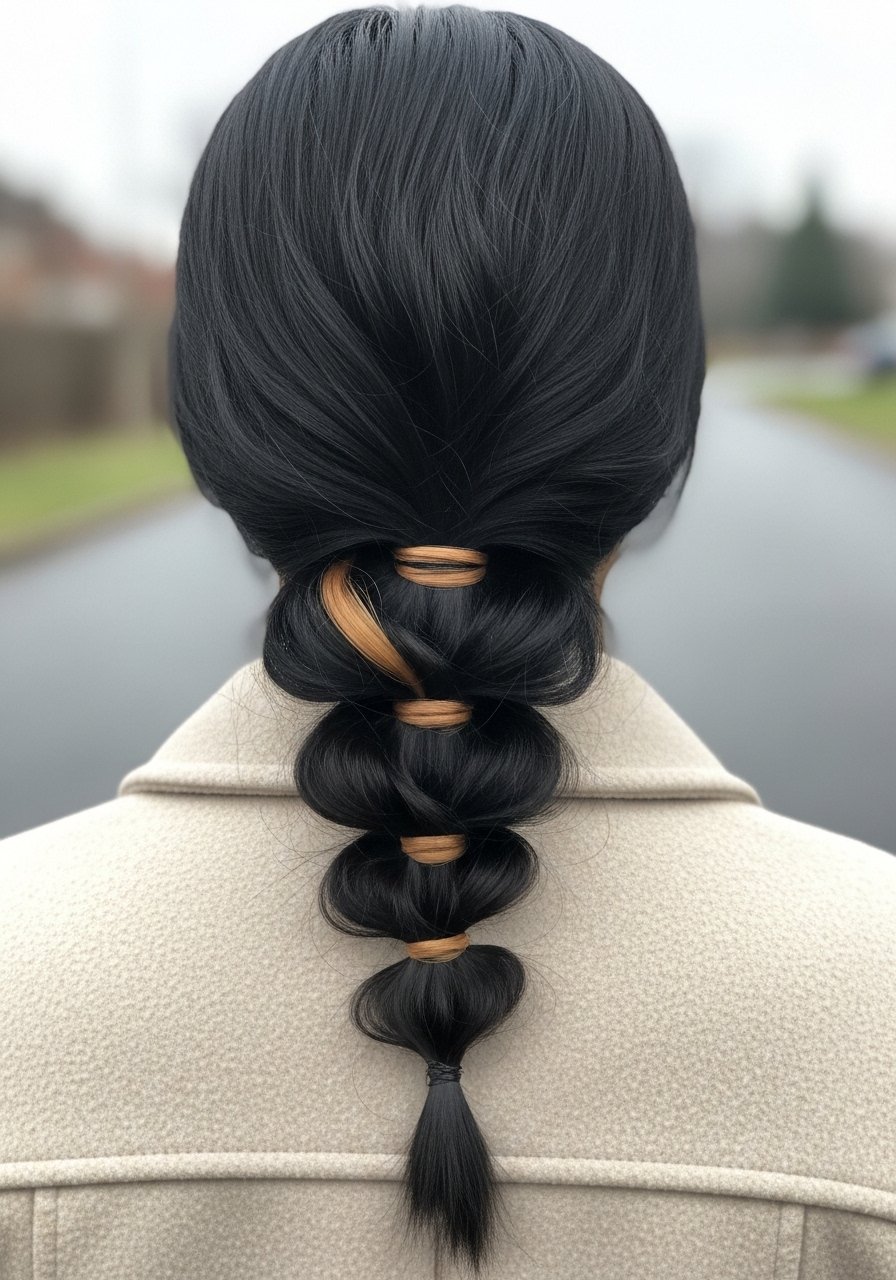
If you want drama without a full head of highlights, paint two to three small panels of caramel under the top layer and braid them for peekaboo color. It works on medium to thick 2B through 3C hair and is a great DIY if you can section precisely. Keep panels thin, one quarter inch each, so the color blends when unbraided. Mistake people make is going too heavy with developer which can over-process the small sections. These panels can be refreshed with a demi-permanent dye at home in 15 minutes if you keep the shade within two levels of the original lift.
Gloss-Only Refresh to Keep Caramel From Turning Brassy
If your caramel highlights start to orange in week three, a clear or warm-toned gloss at the salon or at home can neutralize brass without additional lift. For salon work the stylist usually applies a demi glaze for 10 to 20 minutes. At home, a five to ten minute glossing glaze for color-treated hair can be applied every four to six weeks. Avoid leaving pigment-heavy glosses on longer than directed. A common mistake is swapping glossing for deep lifting, which damages hair. Pair glossing with a weekly bond treatment to keep the ends intact between appointments.
Root-to-End Satin Blowout for Show Days
A satin blowout makes caramel highlights pop and lays down frizz for photo-ready days. For fine hair keep blow dryer heat at medium and finish sections with a 1.25 inch round brush. For thicker hair set dryer to high heat and a brush that can handle the density. Always apply a heat protectant to damp hair before any iron over 300F to prevent damage. If you use a flat iron, keep it under 380F and pass two quick strokes per section rather than multiple slow passes. My go-to for reducing flyaways during styling is a small mist of anti-humidity spray just after the blowout, applied two to three inches away.
What I Actually Buy To Keep Black Hair With Caramel Highlights Looking Right
Olaplex No. 3 hair perfector 3.3oz. I do this once a week for damaged highlights and it saved my ends after a bad DIY lift. Buy from the brand store on Amazon or Sephora to avoid counterfeits.
Color Wow Dream Coat anti-humidity spray 6oz, for long-lasting frizz control after blowouts.
Sulfate-free clarifying shampoo 8oz, use once every two weeks to strip product buildup before glossing.
Silk pillowcase queen size. Cut morning frizz and reduce breakage on highlighted ends.
Microfiber hair towel wrap. Cuts dry time and keeps curl definition.
Boar bristle paddle brush. Useful on wet hair detangling with conditioner, it moves oil down the shaft.
Blue/purple shampoo bar. Toss one in the shower, use once a week on warm tones for ten minutes.
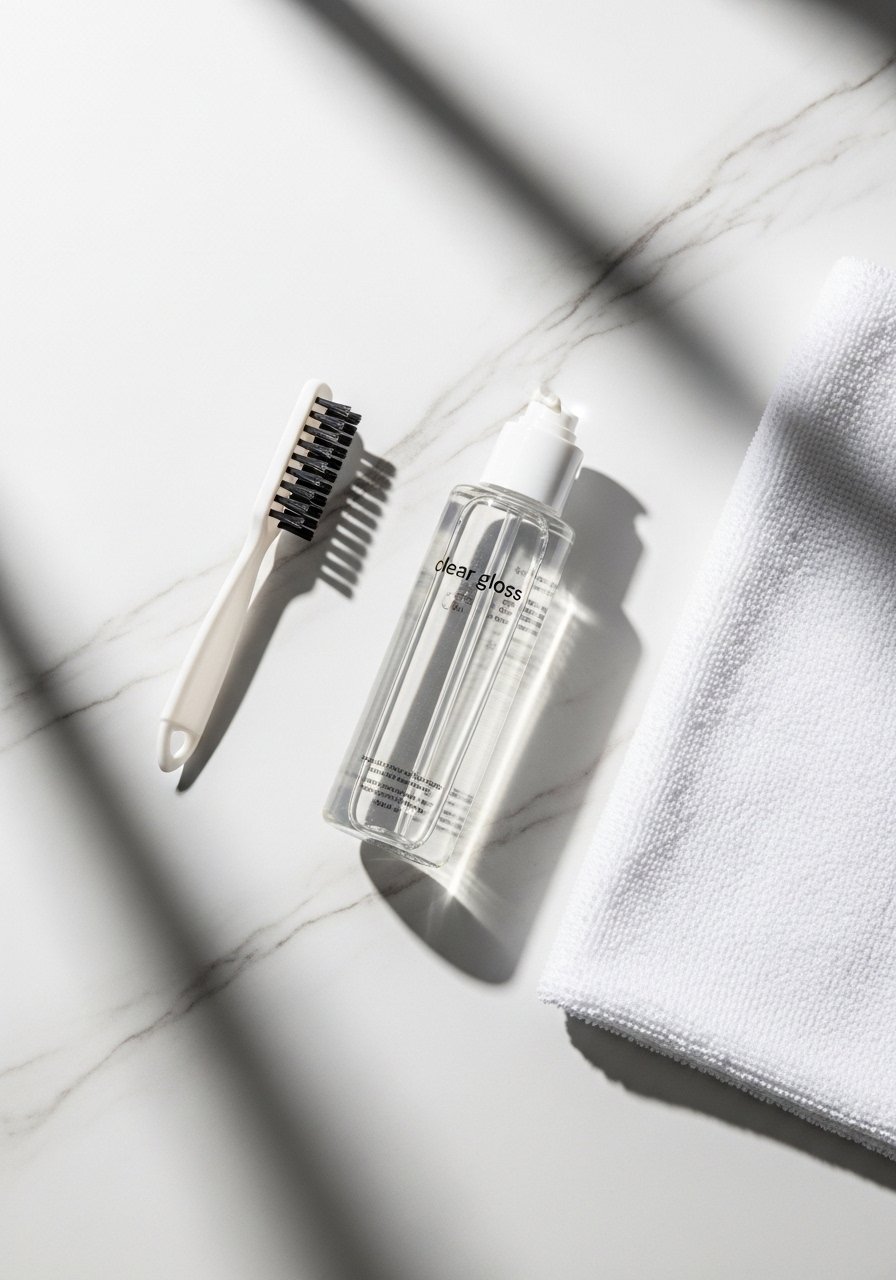
Salon-quality tint brush and bowl set. For DIY money piece or root smudge touch ups.
Bond-building treatment mask 8oz, for weekly use between color appointments.
How To Tone At Home Without Turning The Highlights Muddy
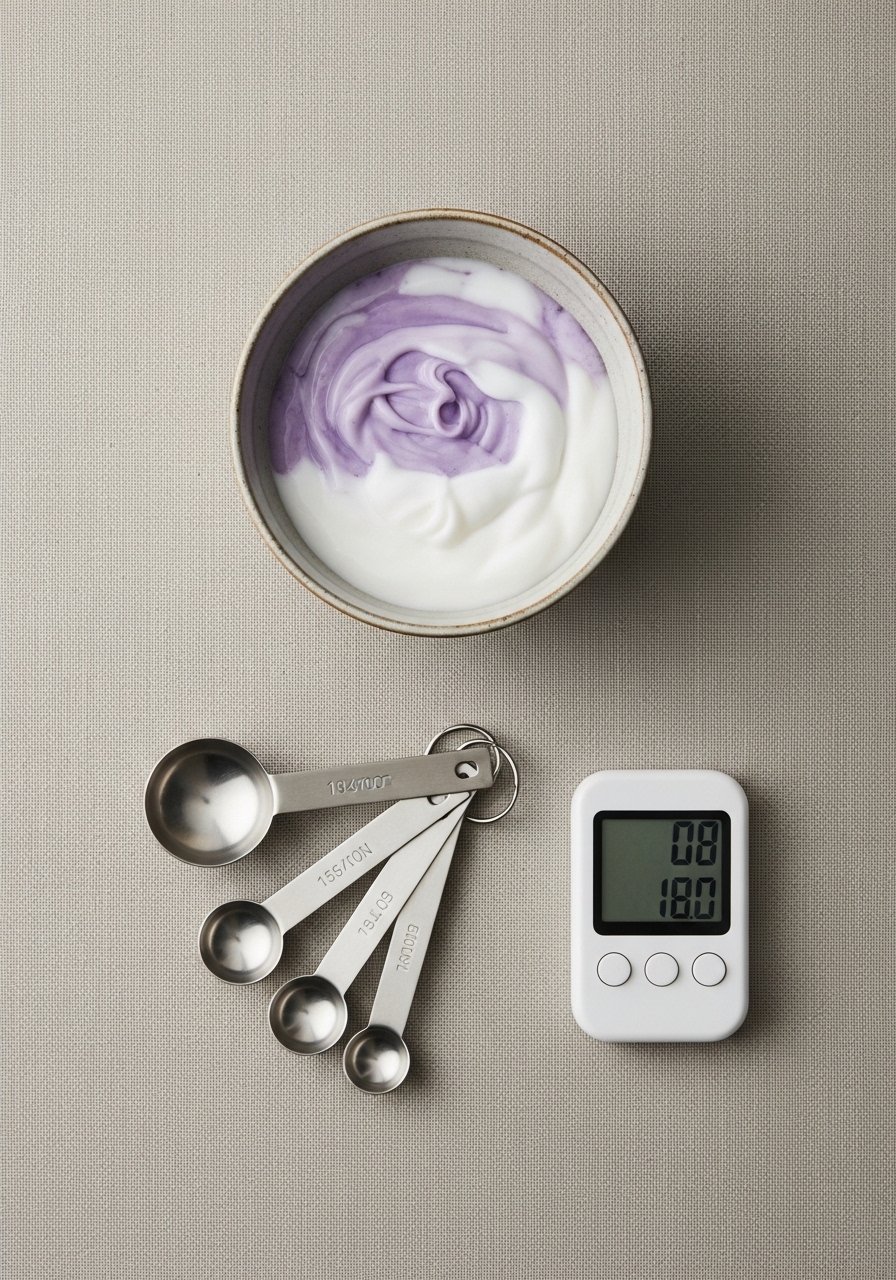
When brass creeps in, mix a one to two tablespoon ration of purple shampoo into three tablespoons of your conditioner for a three to five minute at-home glaze. This dilutes the pigment and prevents over-toning which causes muddy tones on darker hair. It works for 1B through 3B textures on mid-length to long hair. Common mistake is leaving purple shampoo on too long on porous ends. If your ends are porous, only target the mid-lengths and ends for no more than three minutes. Rinse with cool water to seal the cuticle and follow with a leave-in to restore slip. If you have an allergic scalp, patch test first.
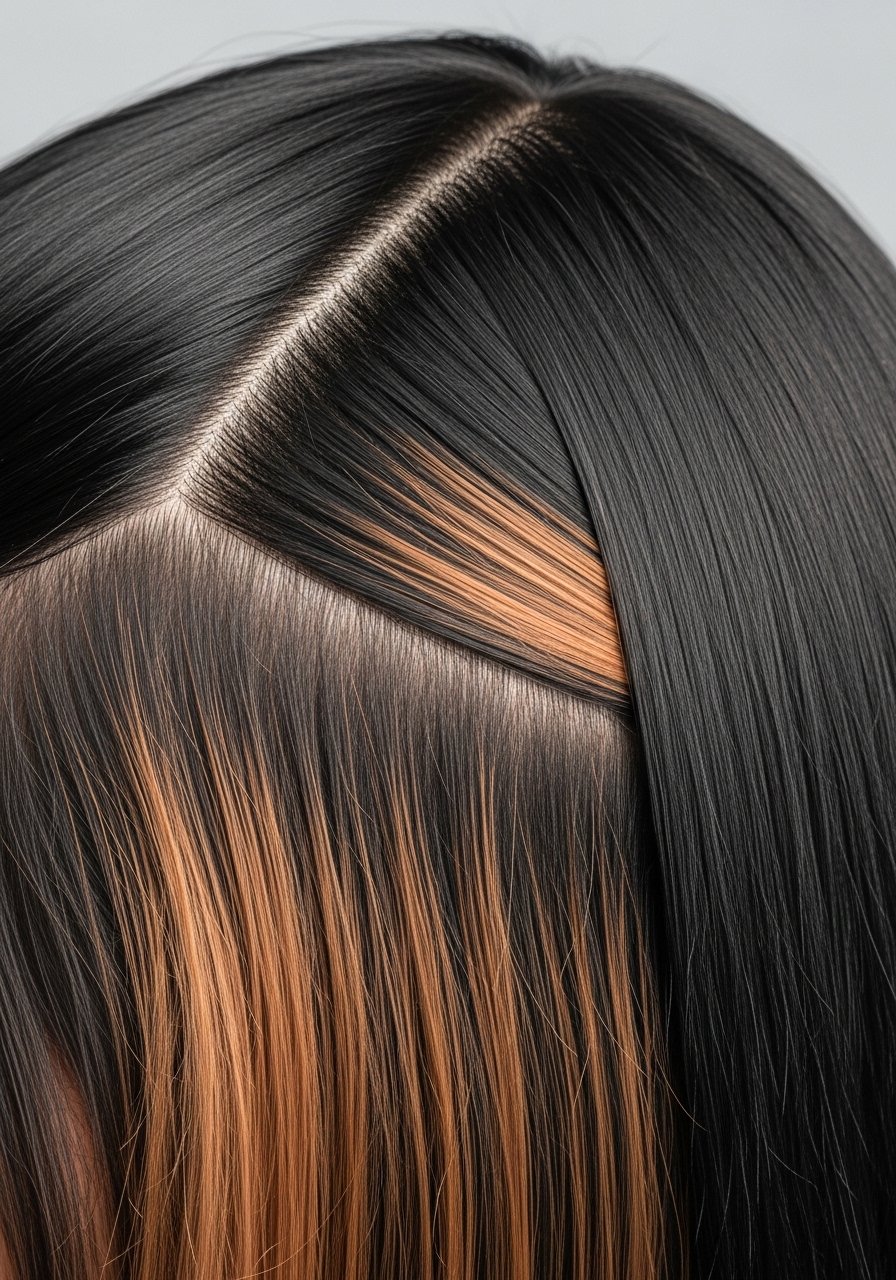
Hidden Caramel Panels for Busy People Who Hate Roots
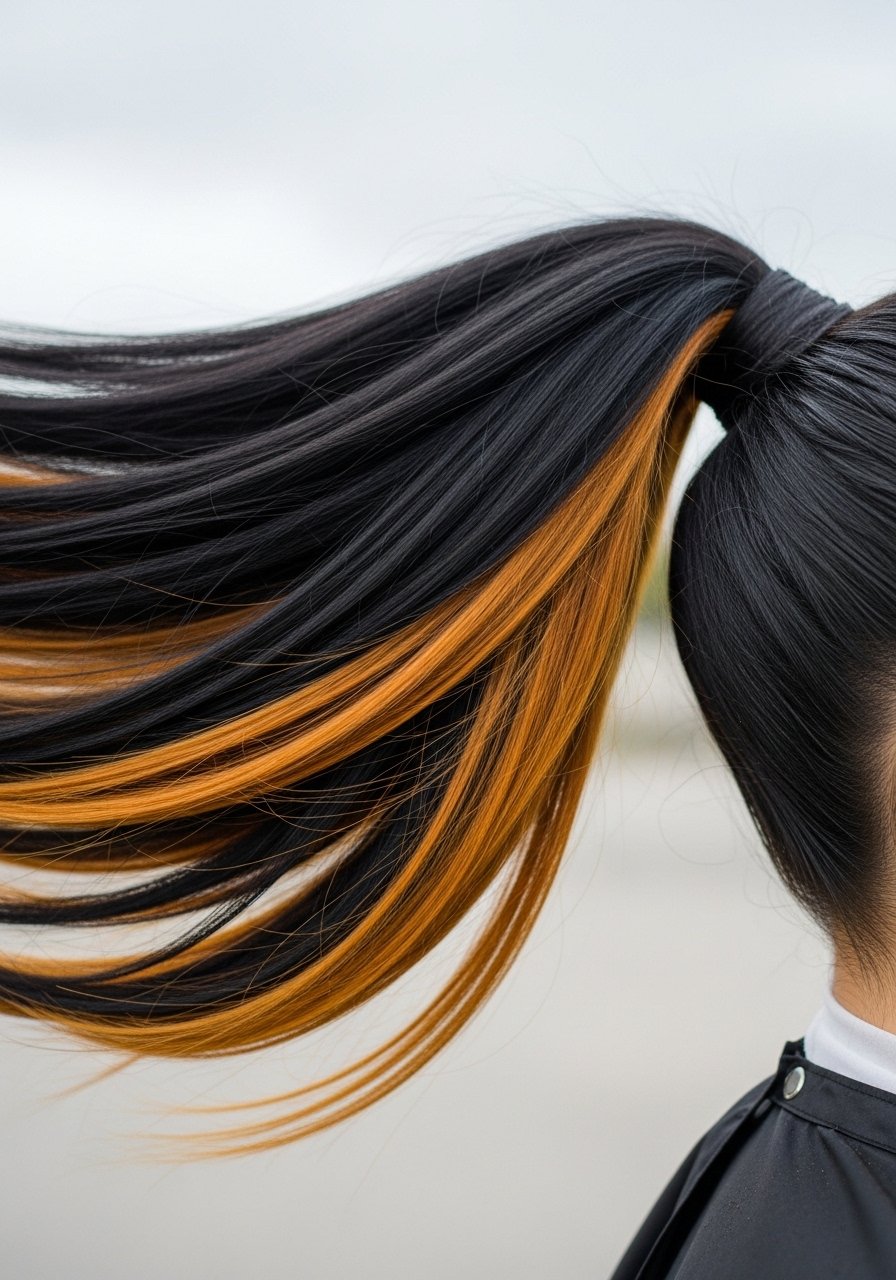
If you skip salons often, paint caramel into the under panels so the top layer still reads black when the hair is down. This is great for 2A to 3C hair and for those who wear their hair in low buns or ponytails. It cuts visible regrowth and lets you go longer between glosses. DIY tip, only lighten these panels one to two levels and add a glaze after to avoid orange. A weekly leave-in with UV protection reduces photofade. If you plan to bleach, remember lifting over previously dyed hair increases breakage risk so stagger sessions and use bond-building treatments between them.
Caramel Face Lights for Short Natural 4A Hair
Natural 4A coils can carry caramel highlights, but placement is everything. Keep highlights small and sparse along the face and the crown so they read as warmth and not over-processed. Use a low lift or semi-permanent color to avoid moisture loss. After coloring, weekly oil sealing helps the ends. A common mistake is assuming techniques for straight hair will work the same on coils. Section into 8 to 12 parts during application for precise placement and to control overlapping. If unsure, a single-session partial highlight is smarter than an all-over full bleach.
What I Learned From Ruining One Side Twice
After two failed at-home lifts on the same side I learned to space corrections by at least eight weeks, use a lower volume developer, and never overlap lightener onto fresh lift. If you attempt correction, section into at least six panels and work from the crown down to the ends to control processing. This is for medium to thick 2B to 3B hair and it is safer to book a color correction if you need more than two levels of lift. Bond builders are essential during correction work. If you feel any burning on the scalp stop immediately and consult a professional.
Shortcuts That Work for Weekend Styling
For a quick weekend boost, diffuse with a low heat setting for ten minutes, then finger-sweep in a small amount of serum at the ends. This quick routine works for 2A to 3B hair and saves time. Keep the dryer moving and use the cool shot at the end to set. Avoid applying heavy oils at the root or your black base will look flat. A travel-size anti-humidity spray applied two to three inches away after styling holds through light rain. Rotate this with your weekly deeper styling session to avoid heat fatigue.
Little Things That Keep Caramel Highlights From Looking Brassy
Grab a microfiber hair towel for $12. It cuts blow dry time and stops friction frizz so your highlights do not open up and oxidize as fast.
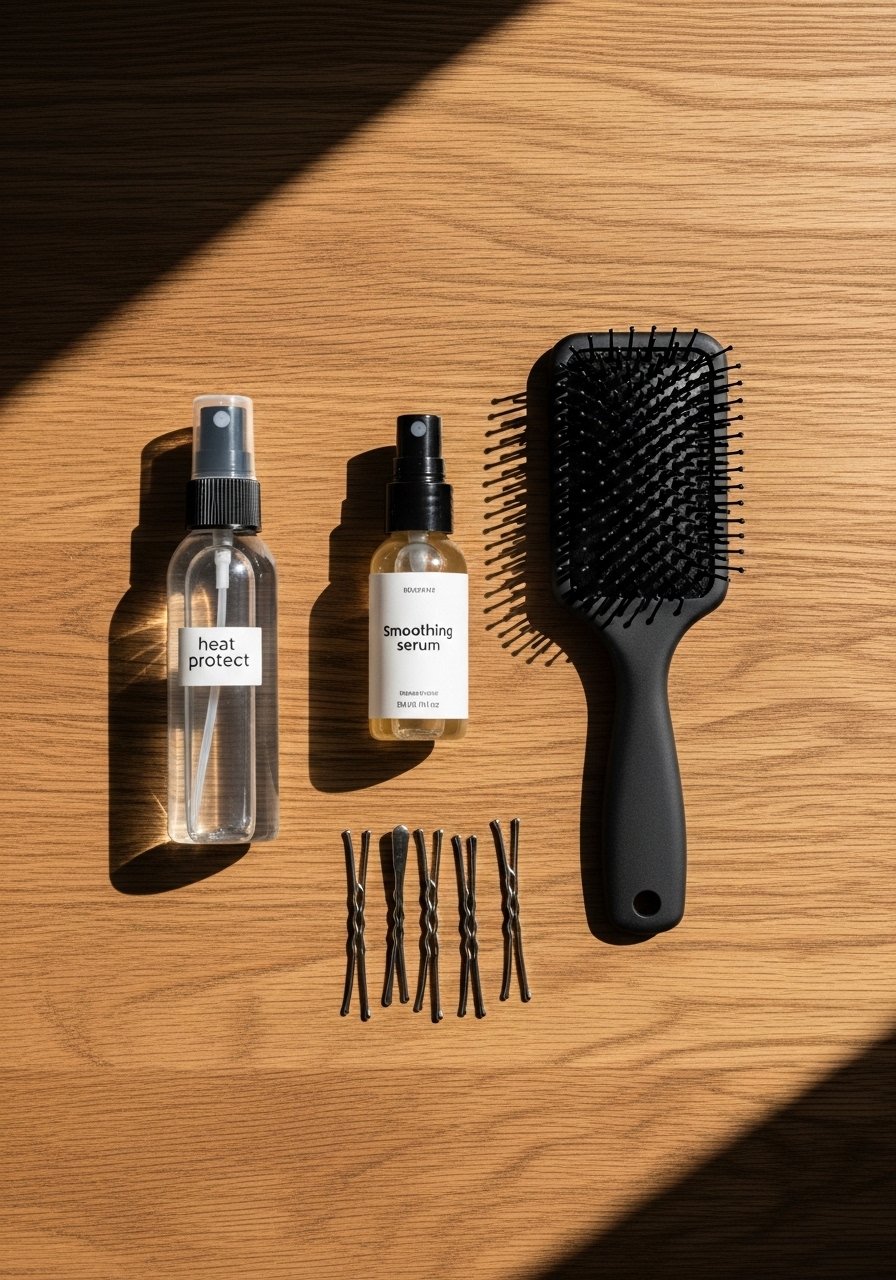
Heat protectant goes on damp hair, not dry. The cuticle is more open and the product actually absorbs. Color Wow heat protectant is compact and works when I am rushing.
Hair grows about half an inch a month at most, regardless of supplements. The thing that helps color last is reducing breakage with a silk pillowcase queen size and weekly bond treatments.
If you must tone at home start with a five minute diluted purple shampoo mix test on a small hidden strand so you do not over-tones the whole head.
Use a clarifying shampoo every two weeks before glossing to remove product build-up. Too much product locks in warm tones and makes your gloss fade faster.
Frequently Asked Questions
Q: How often should I really use purple shampoo on caramel highlights?
A: Once a week for highlights that lean warm usually keeps brass in check. If your ends are porous cut that to every other wash and only leave the product on for one to three minutes on the ends. Mix it into conditioner for more control.
Q: Can I lift dark black hair to caramel at home in one session?
A: Not safely. Lifting more than two levels at once on heavily pigmented hair risks breakage. Stagger lifts over multiple sessions and use bond-building treatments between them, or book a salon appointment for a staged lift.
Q: Will a gloss make my highlights darker or just tone them?
A: A demi-permanent gloss deposits color without lifting. It tones and slightly deepens or brightens depending on the formula. It is a good maintenance step every four to eight weeks to keep caramel tones natural.
Q: How do I protect highlighted ends from daily heat styling?
A: Always apply a heat protectant to damp hair before blow drying or ironing. Keep flat iron heat under 380F for thick hair and under 350F for fine hair, and limit passes per section to two quick strokes. If you need higher heat, use a product that specifies protection at higher temperatures and test a hidden strand first.
Q: Can coily 4A hair handle caramel highlights without looking dry?
A: Yes, with careful placement and a demi-permanent or low-lift approach. Keep highlights small, avoid overlapping lightener, and follow with moisturizing bonding masks. If you see excessive dryness or breakage consult a salon pro before continuing.

