
I bleached my own hair last January and watched a chunk break off in the shower three days later. Between that mess and fixing friends hair for parties, I learned which 1920s looks actually hold on long hair with face framing layers, and which ones need tiny edits. These styles suit straight to wavy long hair best, with a few tweaks for thicker or curly textures. Expect 20 to 60 minutes per style at home, most under $40 for products with one possible tool splurge. Salon visits are nice for color and huge corrections, but almost everything here is doable in your bathroom.
Finger Waves That Work On Long Hair With Layers

Finger waves are the shorthand for 1920s glam, but long hair with face-framing layers needs narrower waves and more pins. Work on damp hair, use a 2:1 mix of setting lotion to water in a spray bottle, clip waves down every 2 to 3 inches, and let set until almost dry, about 40 minutes. I use two rows of pins across each wave, and take them out after the hair fully cools so the shape stays. Fine hair should use 8 to 10 pins per side, thicker hair needs 12 to 16. A small-tooth rat-tail comb and a fast-drying setting lotion make this realistic at home. Common mistake, people overbrushing before pins are removed. Be gentle when releasing, and avoid heat until the waves are set.
Marcel Waves For Mid-Back Length Hair
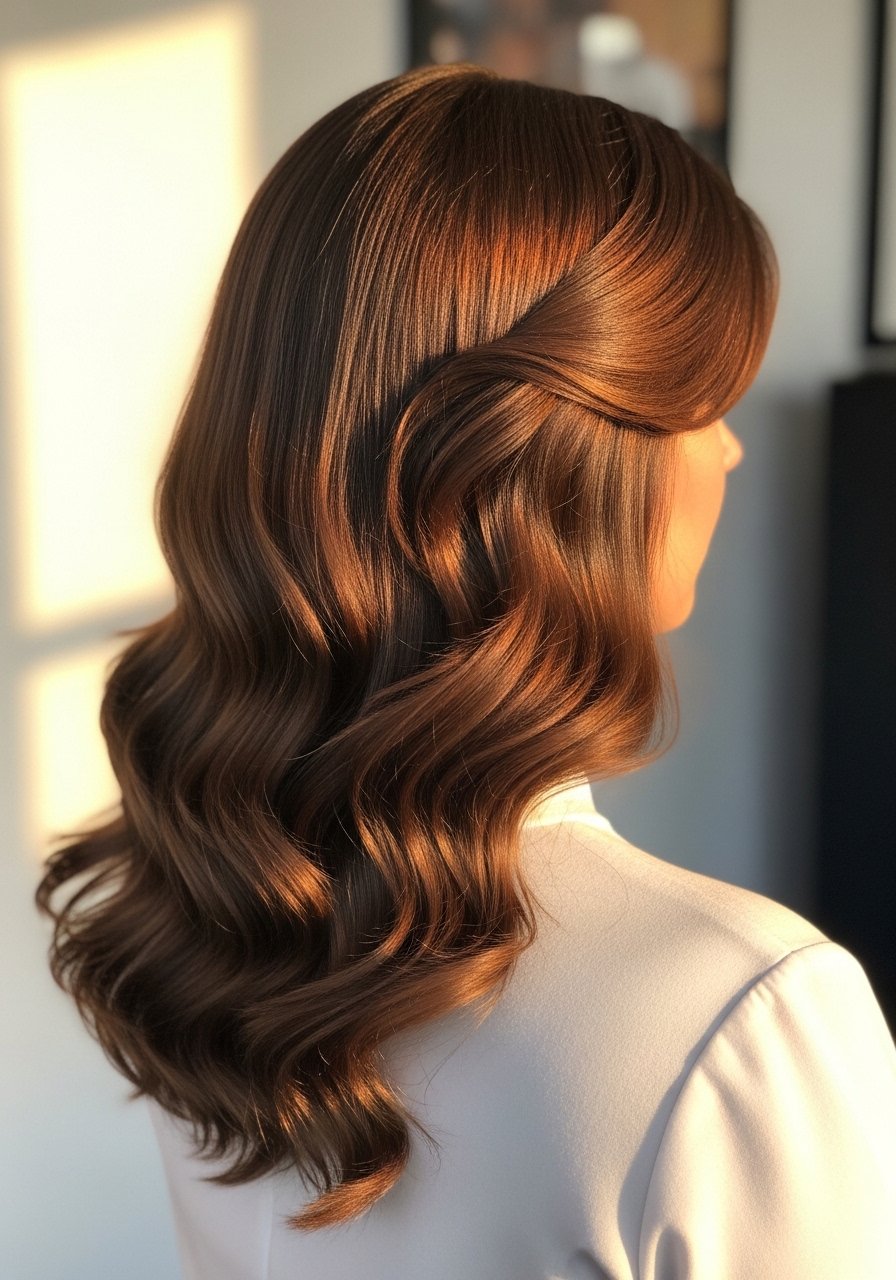
Marcel waves need a metal tong or Marcel iron, but a 1-inch curling wand at 300F can mimic the look with less fuss. Work in 1-inch sections, wrap hair away from the face, hold 10 to 12 seconds on medium-thick hair, 8 to 10 seconds on fine hair, then pin the curl flat until cool. Brush carefully into S-shapes with a flexible boar bristle brush and finish with two spritzes of a lightweight hairspray. If your hair is color treated, buy from the official store on Amazon to avoid counterfeits for premium brands. Heat protectant goes on damp hair before blowing dry if you will iron over 300F, and on just-dried hair if you skip a dryer. Watch for overheating, because long layers can crisp at the ends faster.
Heatless Robe Tie Waves For Face-Framing Layers
If your hair frizzes by midafternoon, try robe tie waves. Split dry or slightly damp hair into 8 to 12 sections, coil each around a fabric sash across the crown, and sleep on it. In the morning, uncoil, finger-separate, and set the waves with a pea-sized amount of styling cream from mid-lengths to ends. My curls looked great on TikTok and like wet noodles by 11am. This method keeps the shape longer because you never disturb the wave while it cools. Best for 2A to 3B textures with face-framing layers, and it is totally free of heat. Mistakes are wrapping too tightly which makes a ringlet look. Looser coils equal softer 1920s waves.
Pin Curl Updo With Wispy Front Pieces
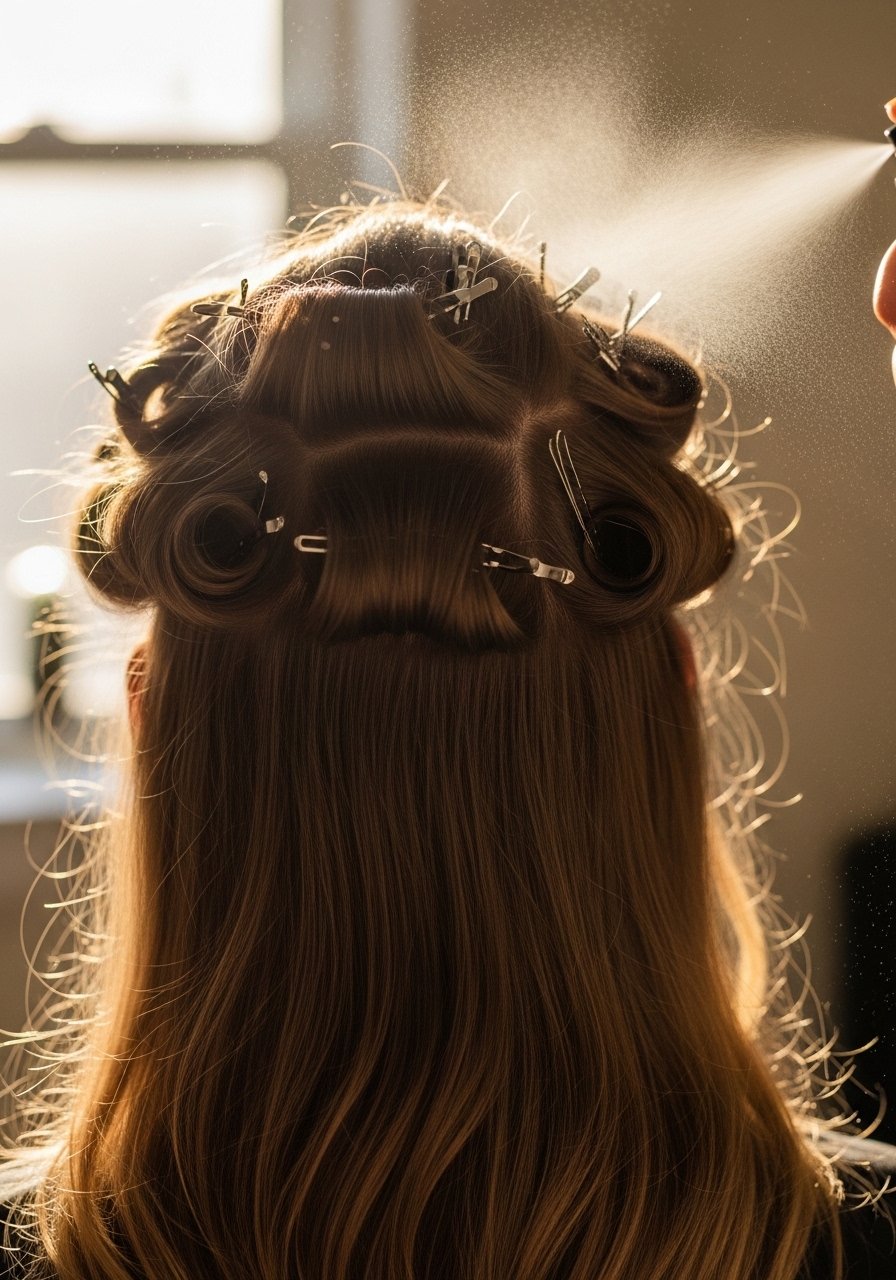
Pin curl updos read very 1920s and keep layers in check. Roll 1-inch sections into flat pin curls, pin to the scalp in a staggered grid, let sit for 45 minutes to an hour, then gather into a low chignon with bobby pins. For long hair, use larger outer rolls and smaller ones at the crown for balance. A dab of lightweight gel on the ends before rolling keeps the curls smooth. If you have high-porosity hair, pre-treat with a light leave-in so curls do not absorb too much product. This is a great salon-at-home hybrid, the only salon move I recommend is a shaping trim on the face-framing layers so the tendrils lay right.
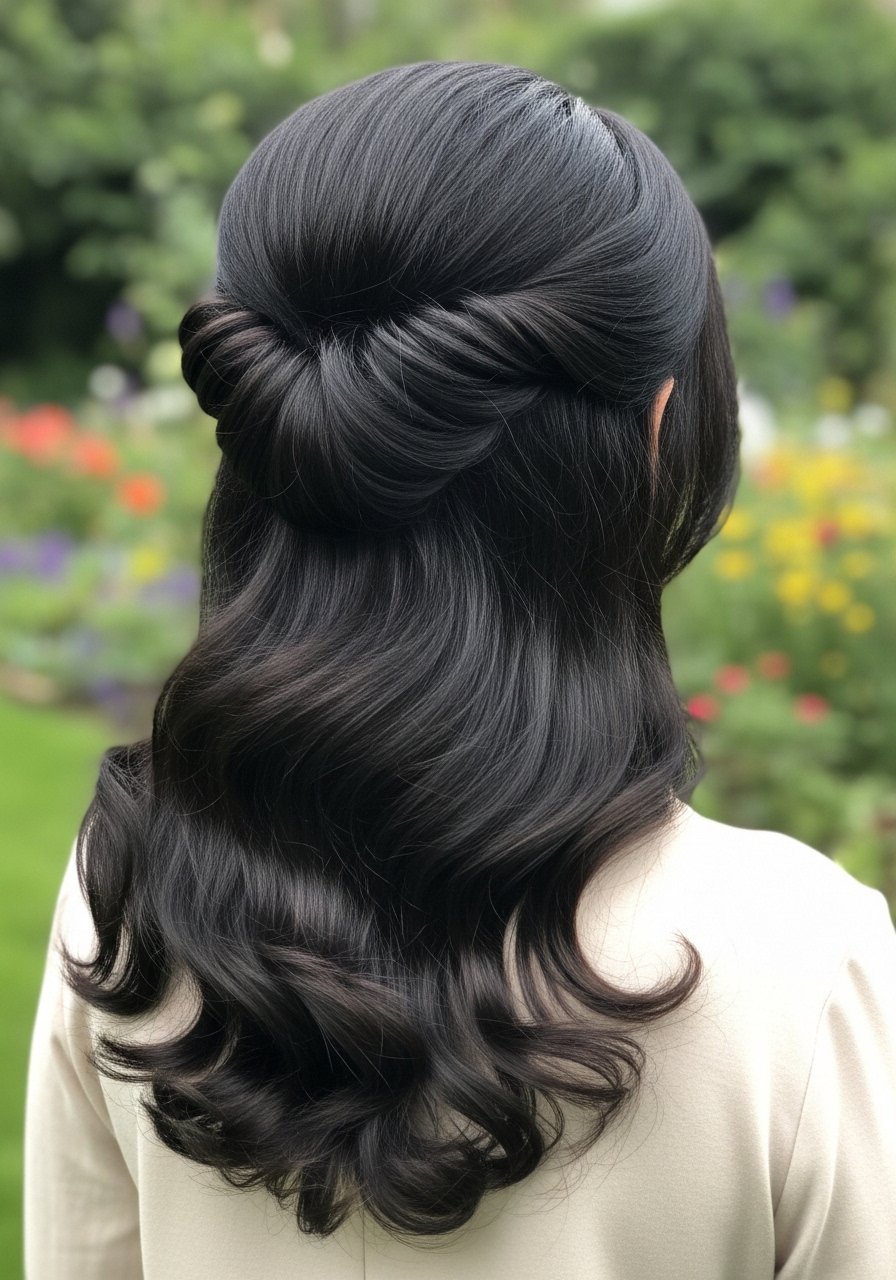
Low Chignon Tucked With Face-Framing Strands
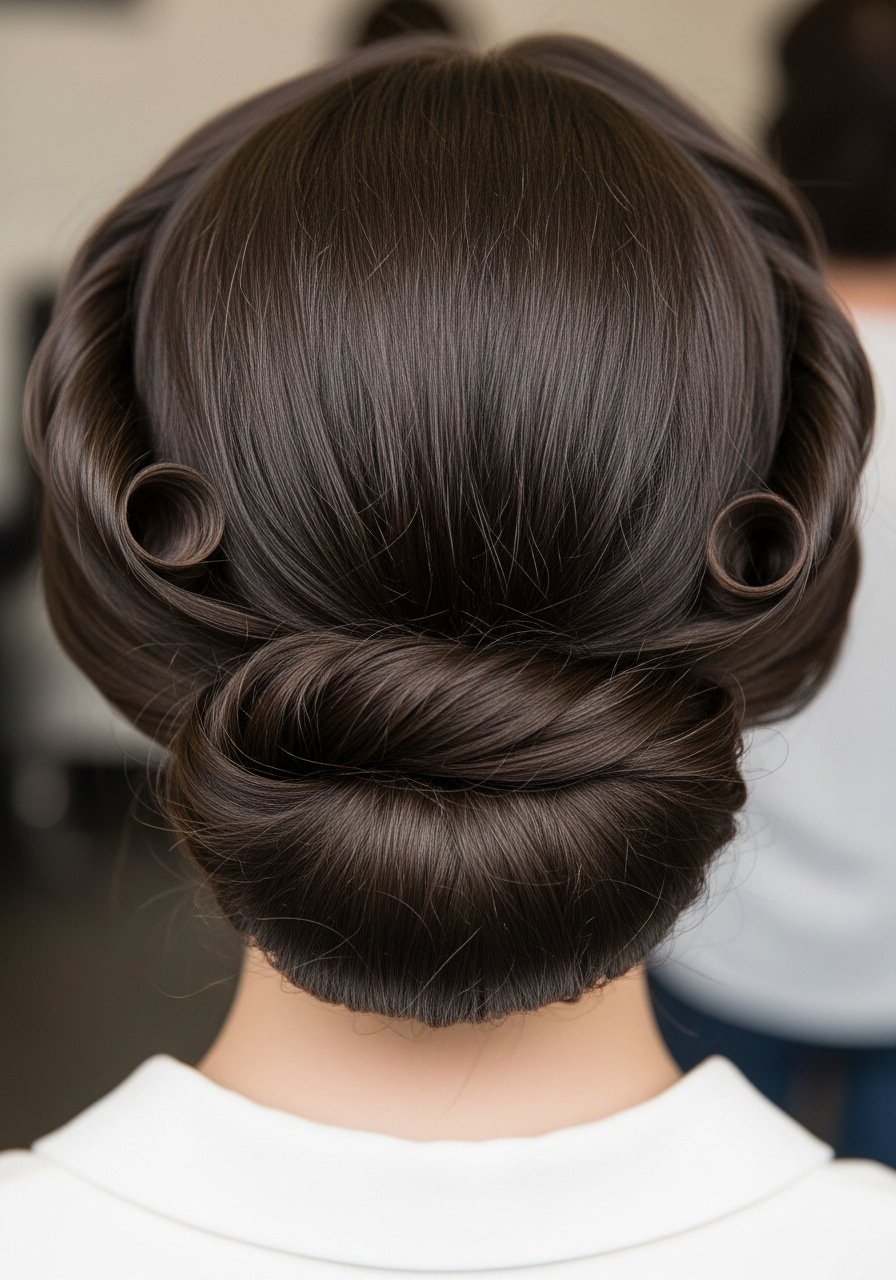
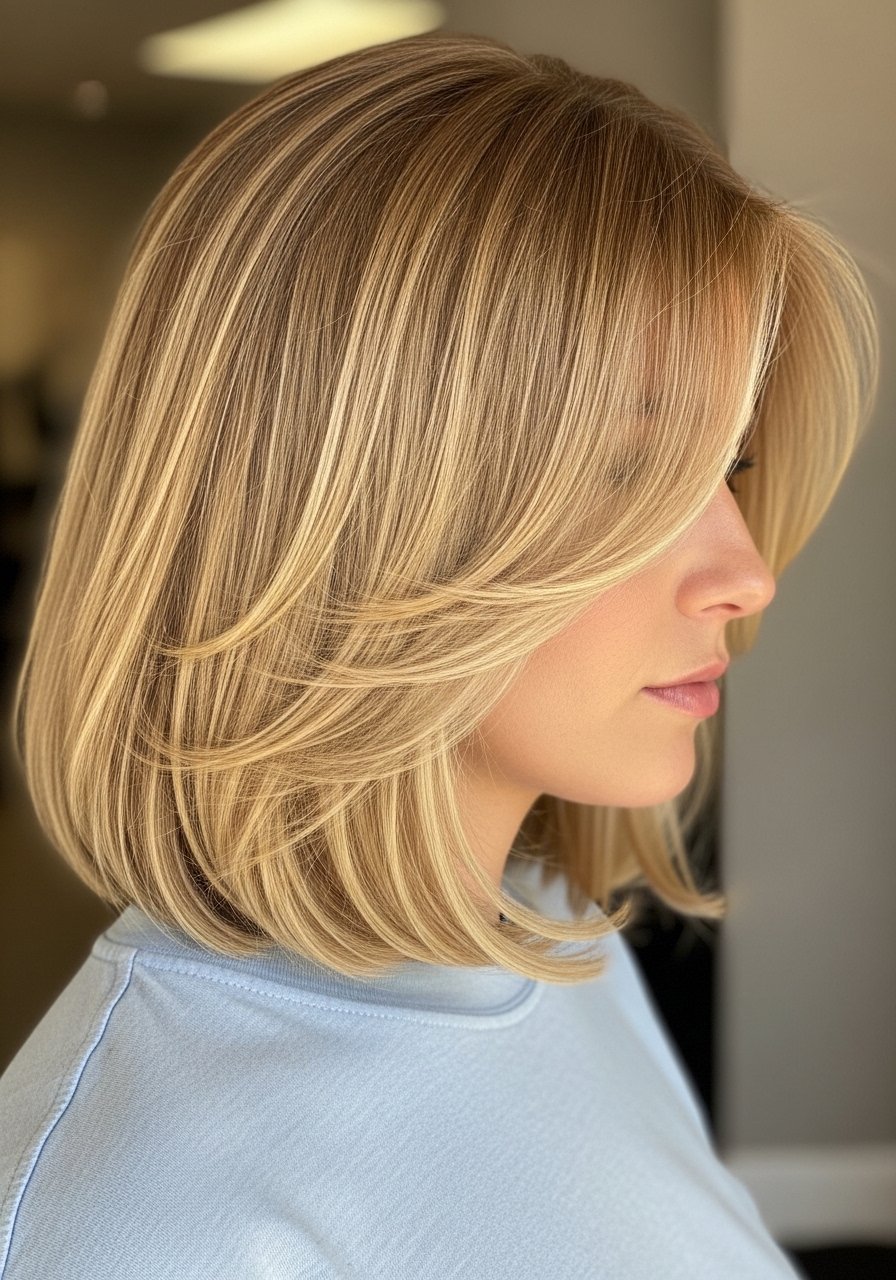
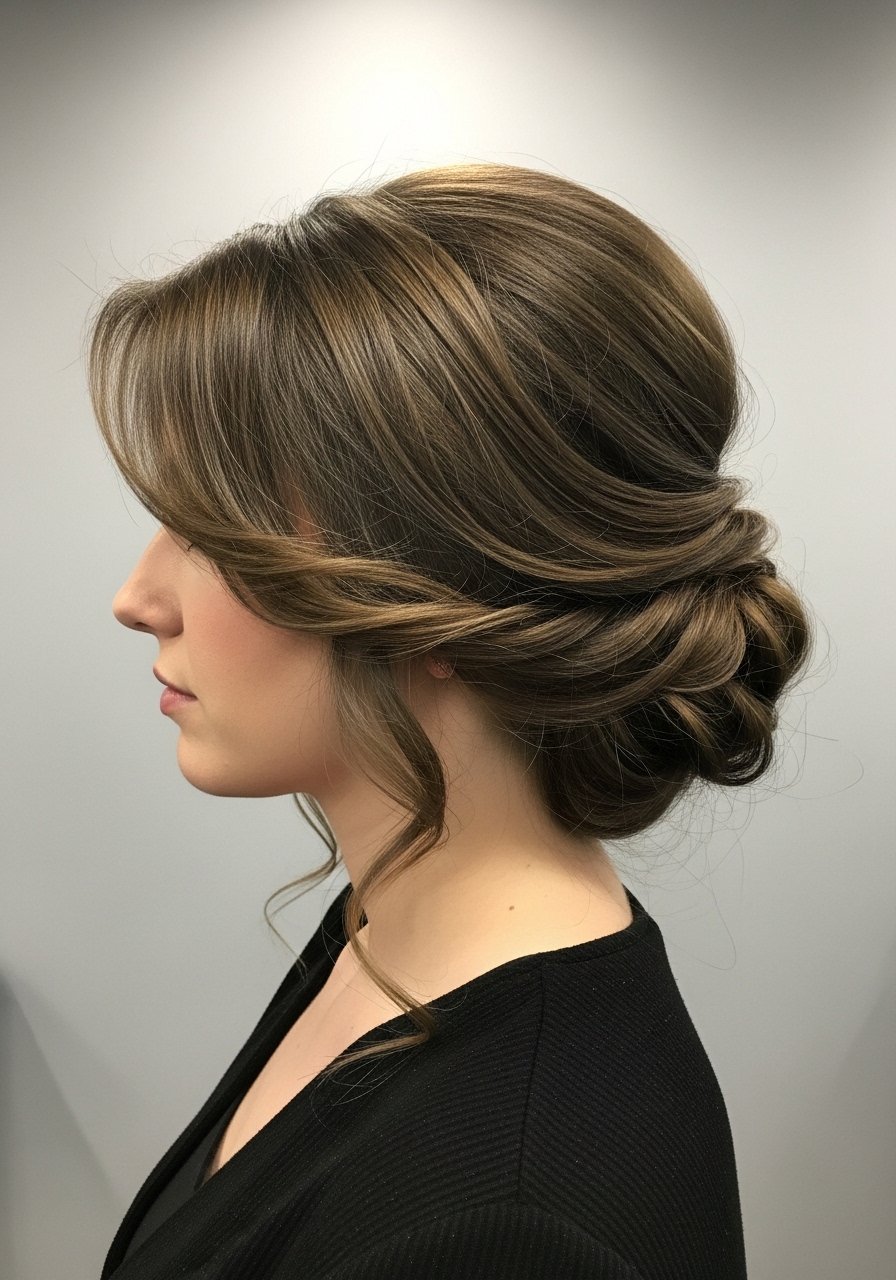
The low chignon is forgiving for long hair and shows off face-framing layers. Start with a deep side part, smooth hair into a low pony using a boar bristle brush, twist loosely, and roll under into a tuck pinned with U-pins. Pull two thin strands at the front and point-cut the ends if they sit too blunt. This style takes 10 to 20 minutes and suits straight to wavy textures. If your hair keeps popping out of pins, use a few drops of lightweight oil on the ends before tucking, not on the roots. Safety note, avoid heavy oils near the scalp if you have sensitivity.
Faux Bob Roll For Long Hair
The faux bob gives that 1920s bob silhouette without chopping your length. Use a deep wet set or heated rollers to form a horizontal roll around jawline level, then tuck the lengths under and pin at the nape. For long hair with layers, slide the shorter layers into the roll and pin the longer bits inside. If you are using hot rollers, medium heat and 20 minutes of setting time work well for mid-back hair. A common mistake is using too much product which weighs the roll down, so apply product sparingly where it's needed. This is a salon-style look you can absolutely do at home with a bit of practice.
Decorative Headband With Sculpted S-Waves
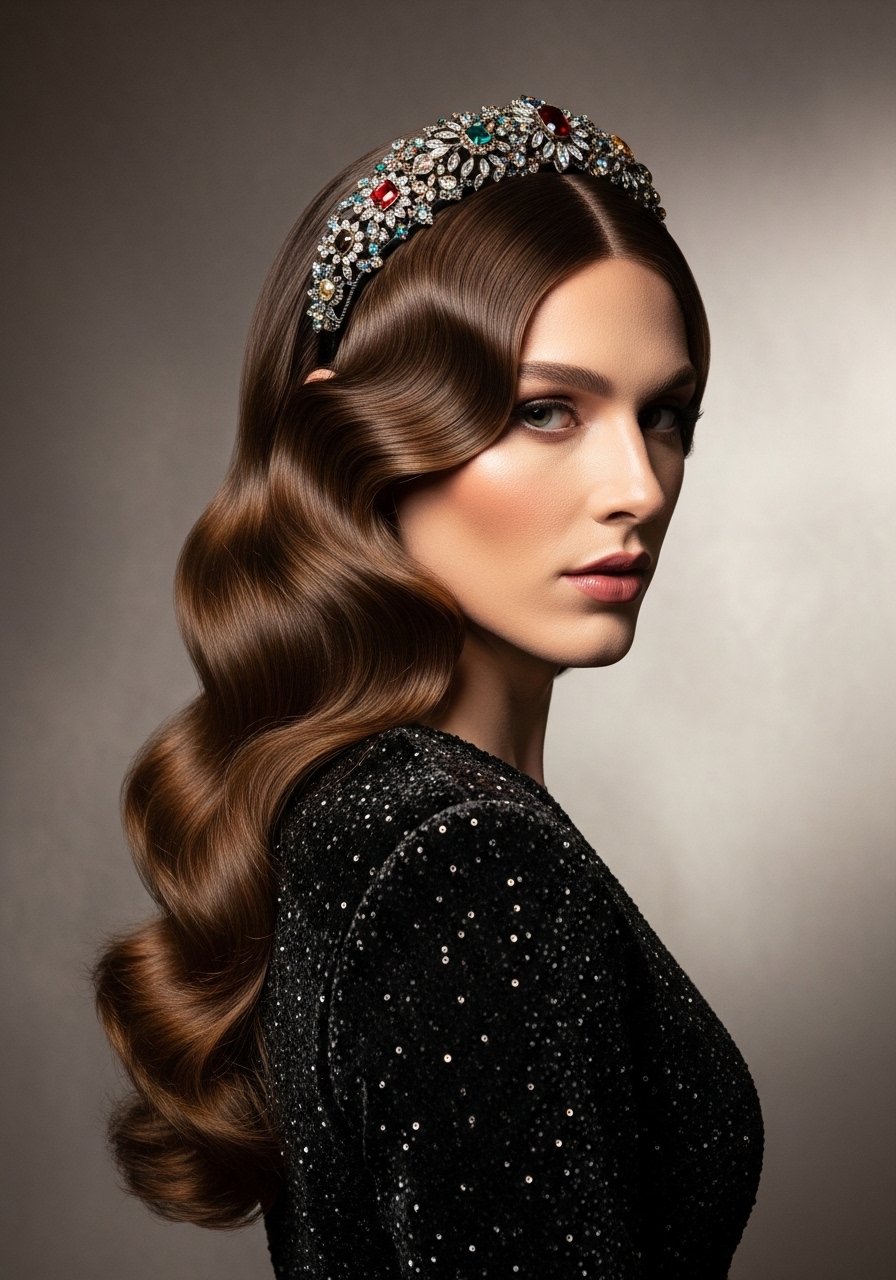
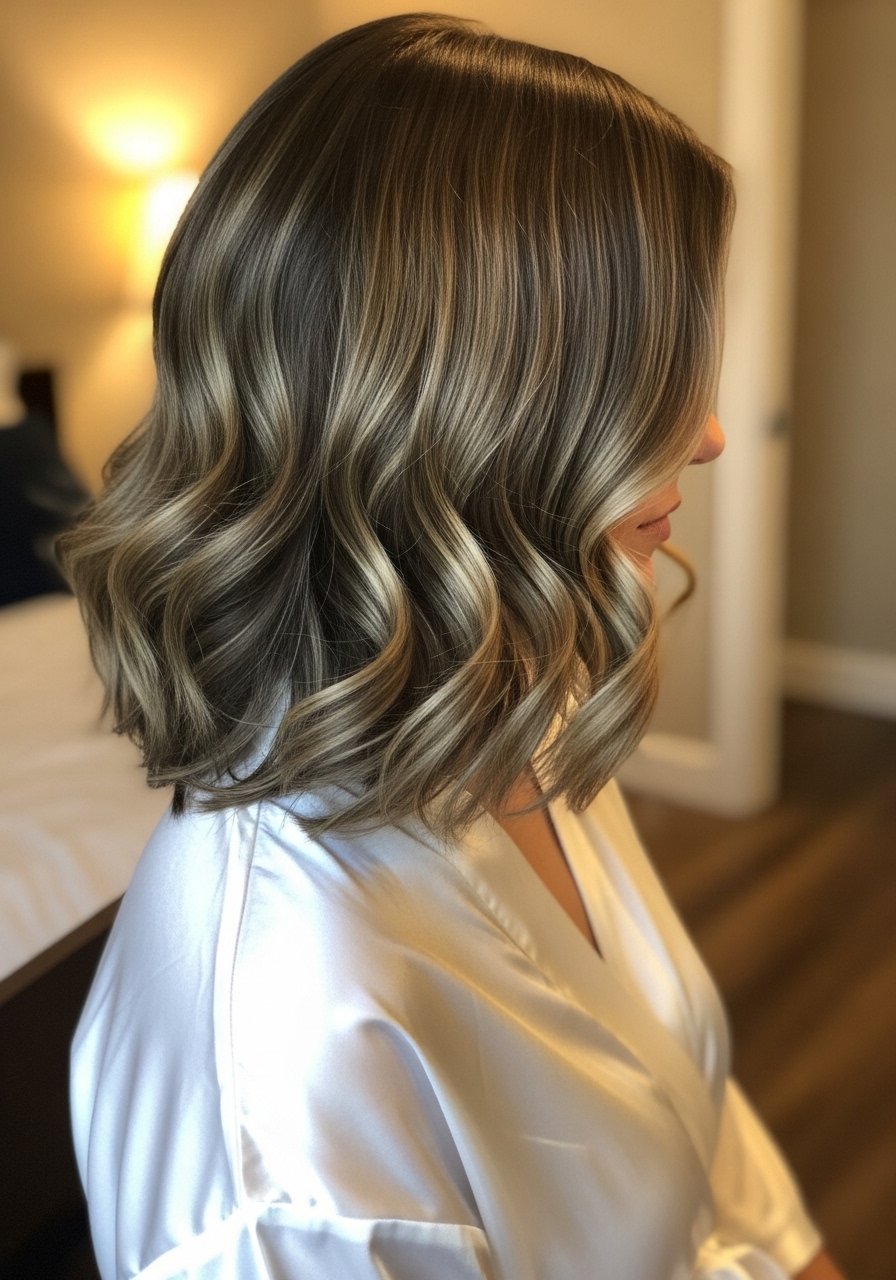
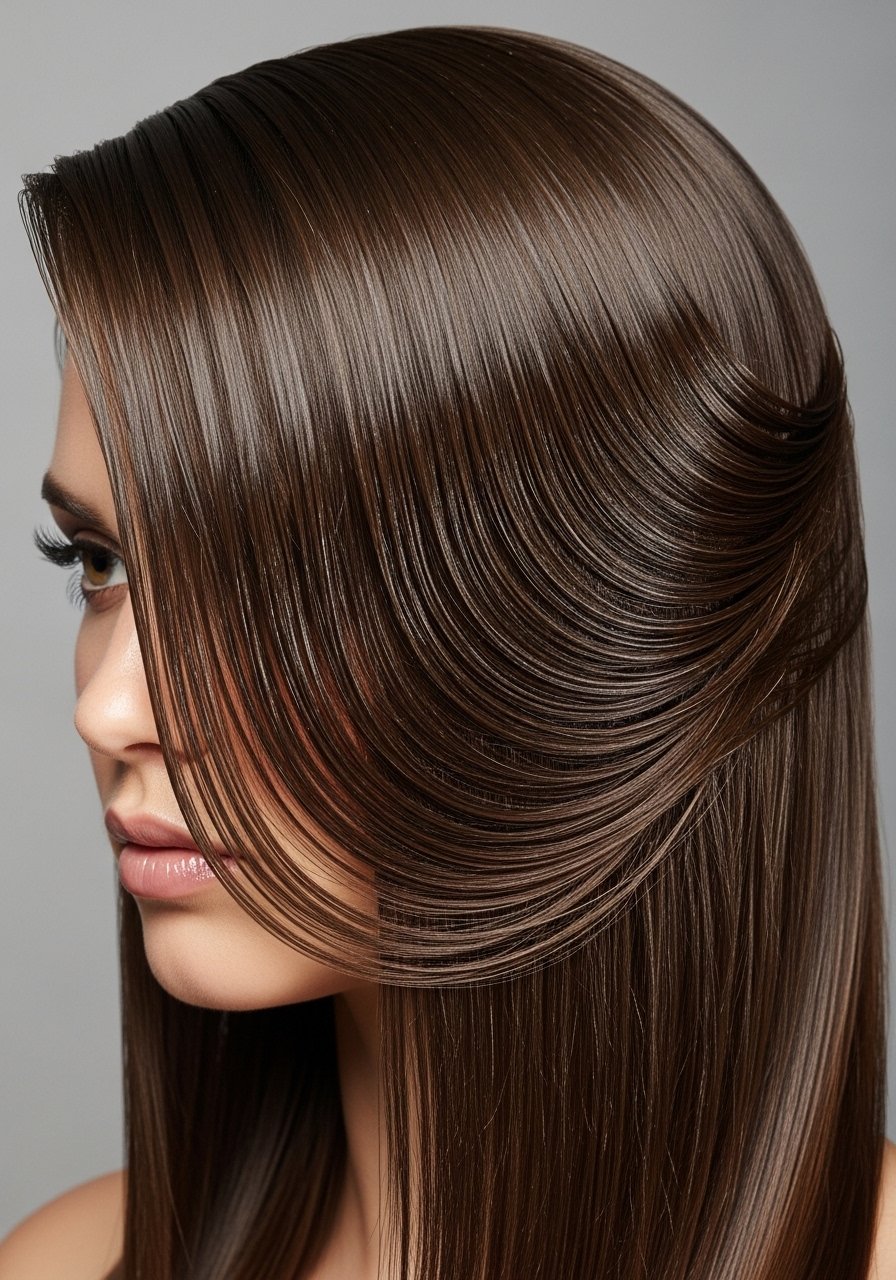
An embellished headband is the shortcut to 1920s glam. Create S-waves with a 1-inch iron at 300F on long layers, brush into shape, then slide a fabric or jeweled headband across the crown. The headband holds waves in place and hides any unevenness from layers. This approach is great for medium-thick straight hair that needs extra weight at the roots. If you want a slightly messier look, tease lightly at the crown first. Buy vintage-style headbands online, or use a soft elastic band for a cheaper alternative. Tip, avoid metal bands that pinch near the ears.
What I Keep On Hand For 1920s Long Hair Styling
- Honestly the short list that matters. Olaplex No. 3 hair perfector 3.3 oz, used weekly fixed my fried ends after a DIY bleach mistake. Buy from the official store on Amazon or Sephora to avoid counterfeits
- For setting, fast-dry setting lotion ~8 oz, I mix with water 2:1 for finger waves
- Flexible hairspray (~10 oz) for brushing waves without crunch
- Boar bristle brush distributes oil and smooths the S-shape, about $15-25
- 1-inch curling wand with adjustable heat, necessary for Marcel-style work
- Microfiber hair towel cuts drying time and tamps frizz before setting
- Rat-tail comb for precise parts and sculpting waves
- Bobby pin assortment and U-pins for secure vintage updos
- Lightweight styling cream to smooth layers without flattening the style
- Satin pillowcase under $20, preserves waves overnight
Half-Up Marcel Roll For Thick Hair
Thick hair can overpower delicate waves, so half-up Marcel rolls balance volume. Section horizontally at ear level, create Marcel S-waves on the top half, pin each curve flat to emphasize the roll, and leave the bottom half smooth or softly waved. It takes about 30 to 45 minutes depending on density. Use smaller clips to hold the wave while shaping, and work from the nape upward to prevent weight flattening the roll. If the top looks too puffy, mist with a little water and re-pin. Salon note, a root smoothing service can make this style last longer through humidity.
Vintage Headband Braid With Soft Waves
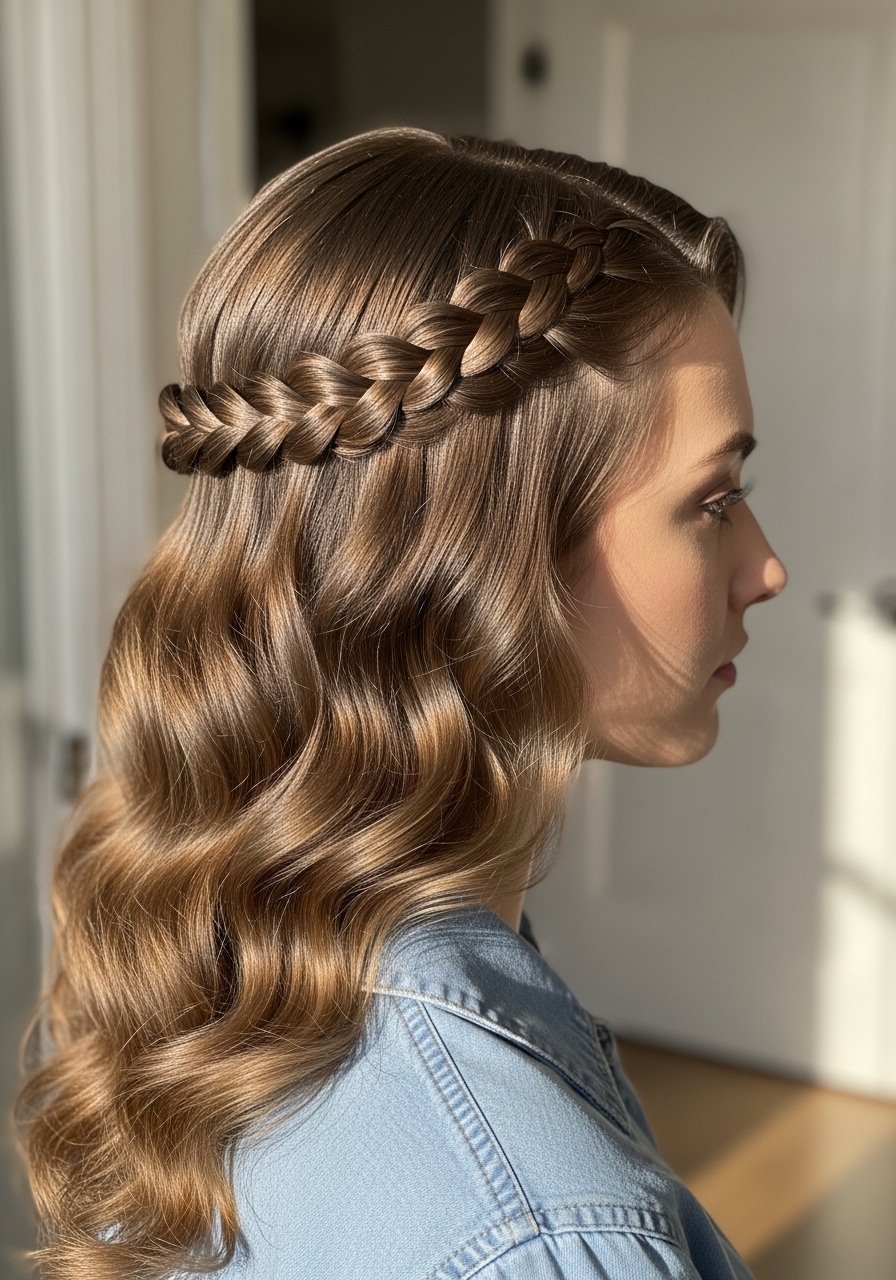
Braid a thin strand along the hairline and pin it like a headband, then style the rest into loose S-waves for a romantic 1920s echo. This protects face-framing layers from slipping and keeps hair out of your face. For wavier textures, prep hair with a leave-in and use a 1/4-inch heat setting on a flat iron in rapid passes to smooth only the braid. Mist the finished braid with a little flexible hairspray to lock it without stiffness. This is the easiest way to wear a vintage vibe when your layers are too short for a full roll.
Wet Look Sculpted Waves For Straight Hair
The wet look is 1920s but modern and low fuss on straight hair. Apply a pea-sized amount of gel to damp hair, comb through, then sculpt S-waves with a fine-tooth comb and secure with duckbill clips until dry. Use only small amounts of product near the face to keep layers natural. If you have a sensitive scalp, patch test the gel first. This style is great for shoulder-length to long hair and takes under 20 minutes, plus drying time. A common error, people use thick gels that never dry, so choose a medium-hold gel and remove pins gently so waves do not break.
Braided Crown With Pin Curl Ends
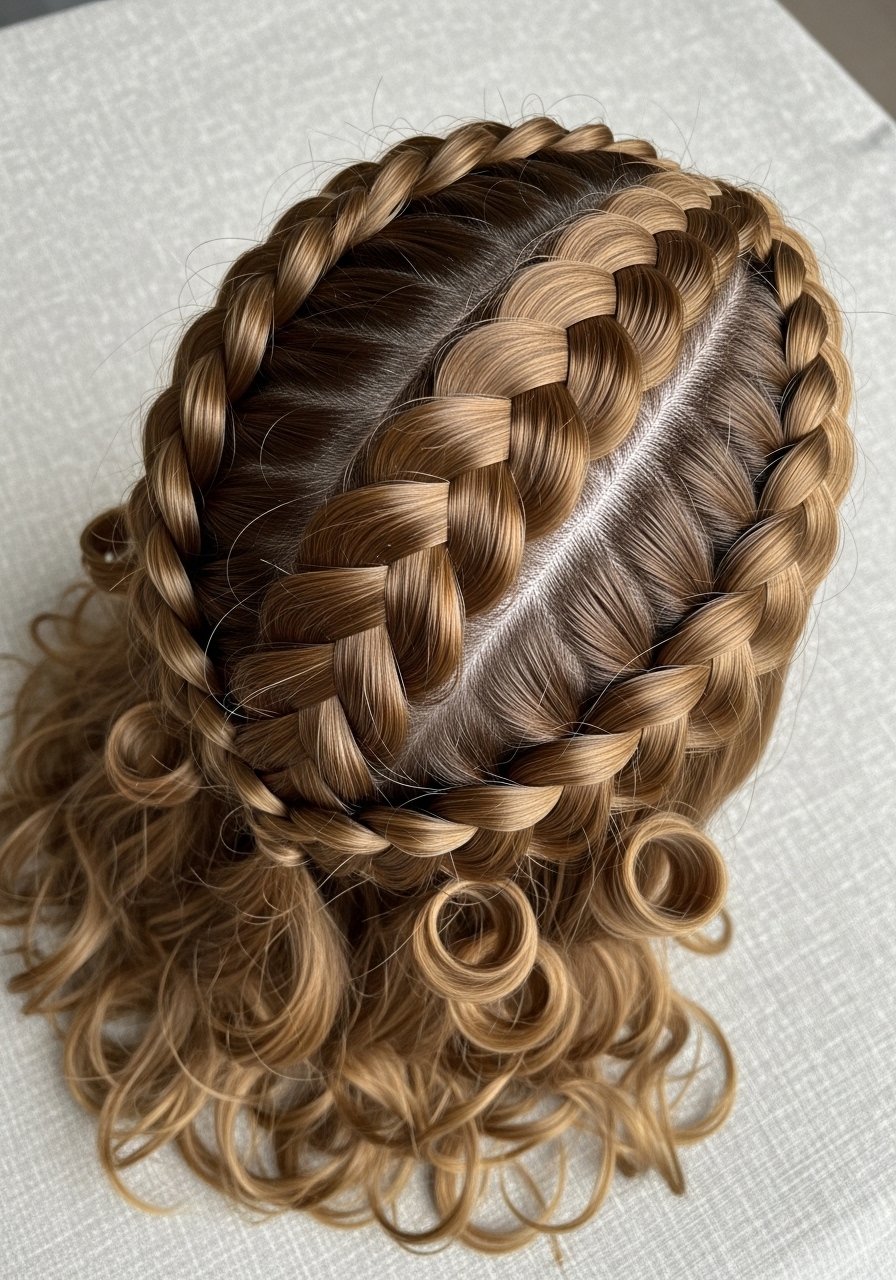
Combine a crown braid with pin curl details at the ends for an updated 1920s look that keeps long layers contained. Braid the top 3 to 4 inches from the hairline into a loose crown, pin it across, then set 1-inch pin curls in the lower lengths and release when cool. This hybrid is great for medium-thick long hair that tends to frizz at the ends. It also pairs well with the chignon idea earlier. Mist lightly with a shine spray if your hair needs gloss. If the salute is for a wedding or event, practice once or do a trial run to tweak pin placement.
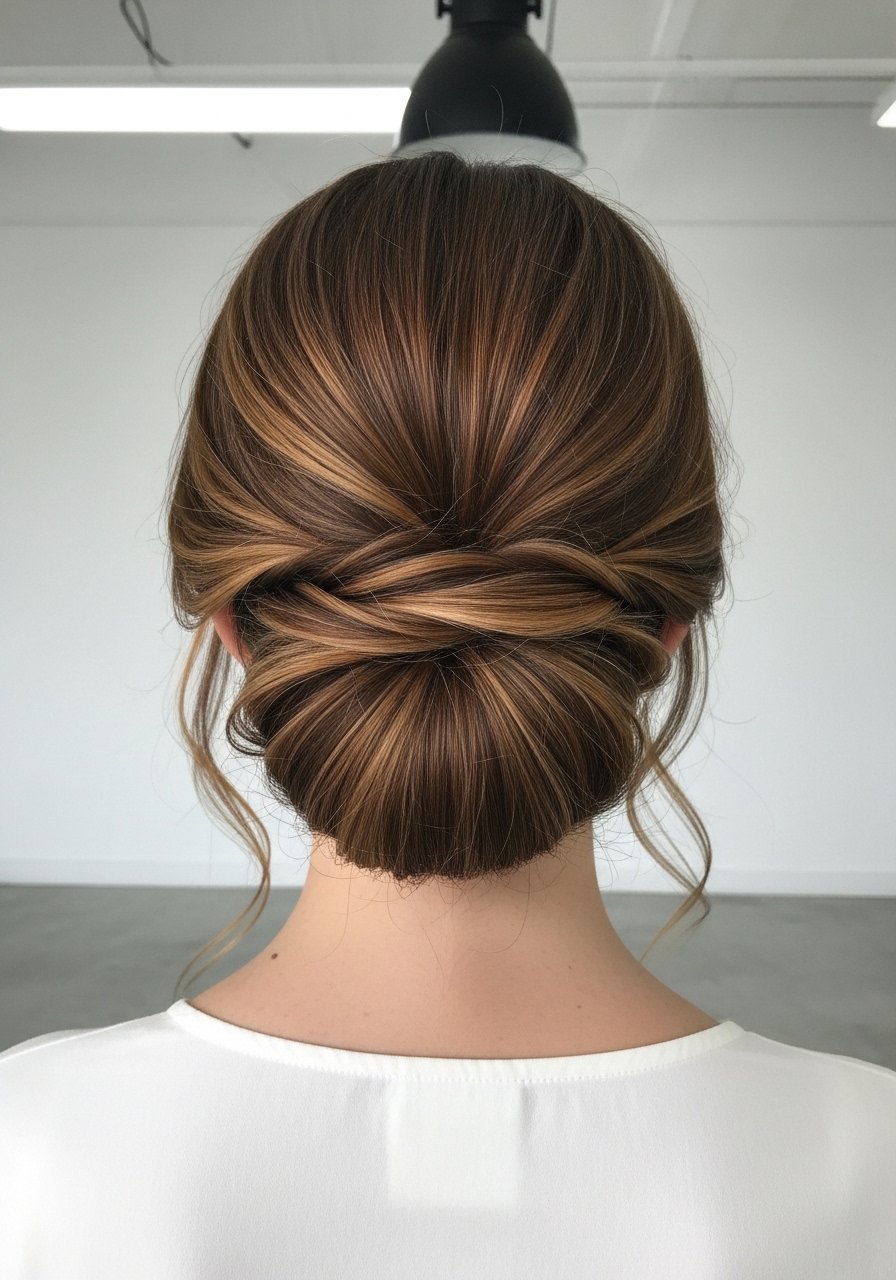
Loose Tucked Gibson For Wavy Hair
The Gibson tuck is essentially a low roll that reads vintage and keeps long face-framing layers soft. Loosely roll hair up from the nape into a tuck and secure with large pins. Leave two or three thin front pieces purposely out and point-cut the ends so they sit feathered. For 3A textures, lightly smooth the section to be tucked with a bit of cream so it does not bulk. This is a low-commitment style for casual events and takes under 15 minutes. Avoid sharp pins that snag layered ends.
Long Hair Finger Wave Refresh For Second Day
Second-day waves often need a refresh, not a redo. Mist the roots and wave bases with a light water spray mixed with two drops of styling oil per 8 oz, then reshape the most flattened S-curves with a small comb and pin while they dry for 15 to 20 minutes. This keeps the face-framing layers from looking scraggly. My curls looked great on TikTok and like wet noodles by 11am. A quick refresh using this method saved the look for a full day. For very limp hair, a root volumizer can help, but avoid product overload at the front.
What I Wish I Knew Before Doing Long 1920s Styles
- Heat protectant goes on damp hair, not dry. The cuticle is more open and the product actually absorbs. Color Wow heat protectant is lightweight and works well when you plan on ironing at 300F or higher.
- Hair grows about half an inch a month at most, regardless of what biotin gummies promise you. Treat length retention as breakage control, not a supplement miracle. A weekly bond treatment like Olaplex No. 0 and No. 3 protocol helps if you have chemical damage. Buy from the official seller to avoid fakes.
- If you have curly hair, the LOC method often helps before styling. Layer a light leave-in, a little oil, then a cream to keep strands defined and ready for pinning.
- For setting, leave pins in until the hair is completely cool. Pulling them early is the number one reason waves collapse.
- Try a practice run before an event. These vintage shapes read differently in photos and in person.
Frequently Asked Questions
Q: Can finger waves be done on curly hair without relaxing the curl?
A: Yes, but you need to stretch the curl first. Blow-dry with tension or use large rollers to elongate the section, then set the finger waves. The result is softer than on straight hair, and you will keep some natural texture. Avoid heavy gel on the roots if you are prone to buildup.
Q: How often should I use Olaplex No. 3 on chemically treated long hair?
A: Once a week is a good starting point for most damaged or color-treated hair. Overdoing treatments can leave hair feeling heavy. If your hair is only slightly processed, every other week may be enough.
Q: What heat setting should I use for Marcel waves on long fine hair?
A: Aim for 280F to 300F on long fine hair, and hold each 1-inch section for 8 to 10 seconds. Use a heat protectant first and pin the curl flat to cool. Higher temps are for coarse or very thick hair only.
Q: Will a faux bob damage my long hair if I roll and pin it daily?
A: Daily tight rolling and pinning can cause breakage over time at the nape and around face-framing layers. Rotate styles, give your hair two to three no-pin days a week, and use weekly bond-building treatments if you style often.
Q: How do I stop my face-framing layers from flying out of a low chignon?
A: Point-cut the ends of those layers so they sit softer. For styling, add a pea-sized amount of cream to the lengths before tucking and secure with U-pins. If you have very short face pieces, a small dab of gel at the root will keep them settled without looking stiff.

