
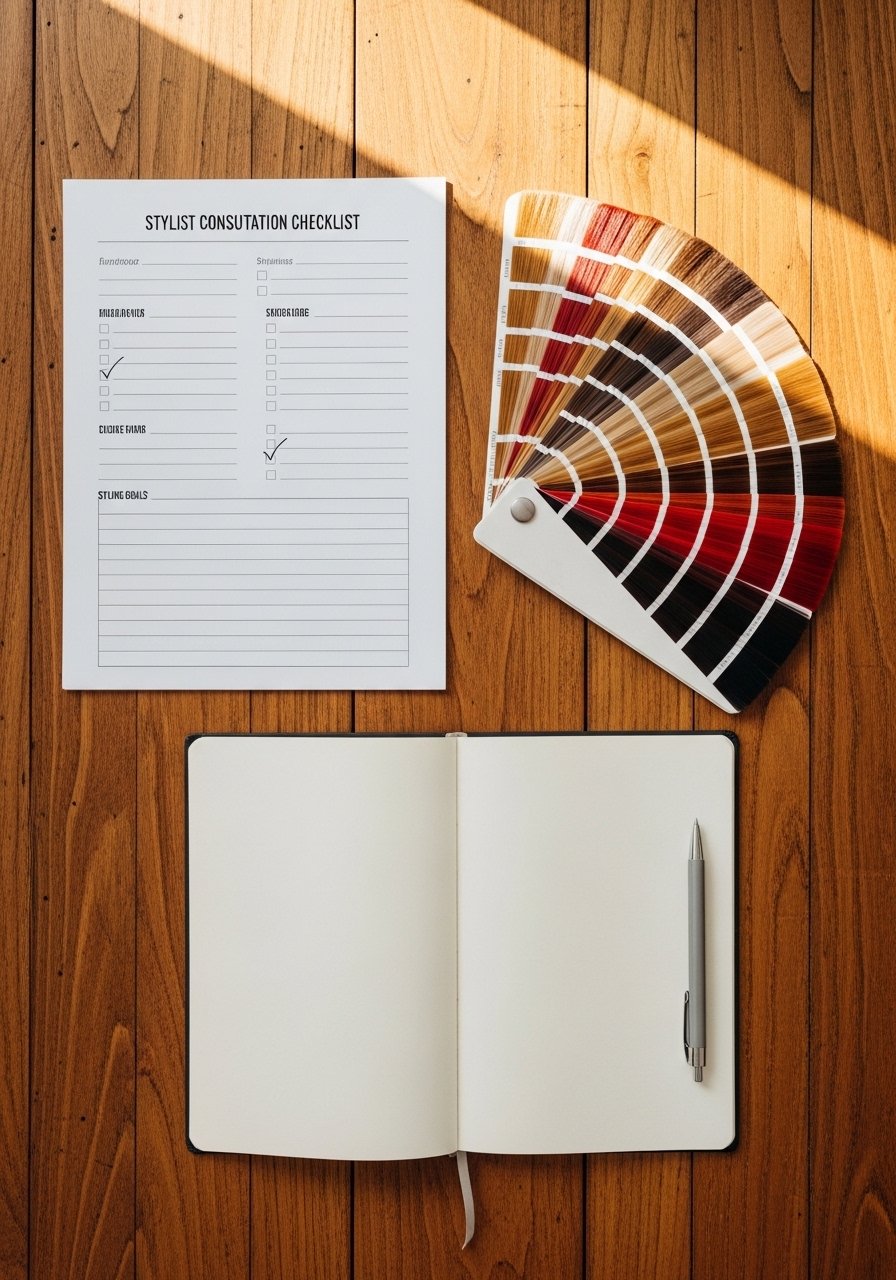
I bleached my own hair in my kitchen last January and watched a chunk break off in the sink a week later. After paying a stylist to fix the mess I learned how lowlights save blonde by adding depth, hiding regrowth, and making color feel lived-in. These 13 ideas are the ones I actually tried, often on friends, with notes on upkeep, how much it costs roughly, and when to book a salon.
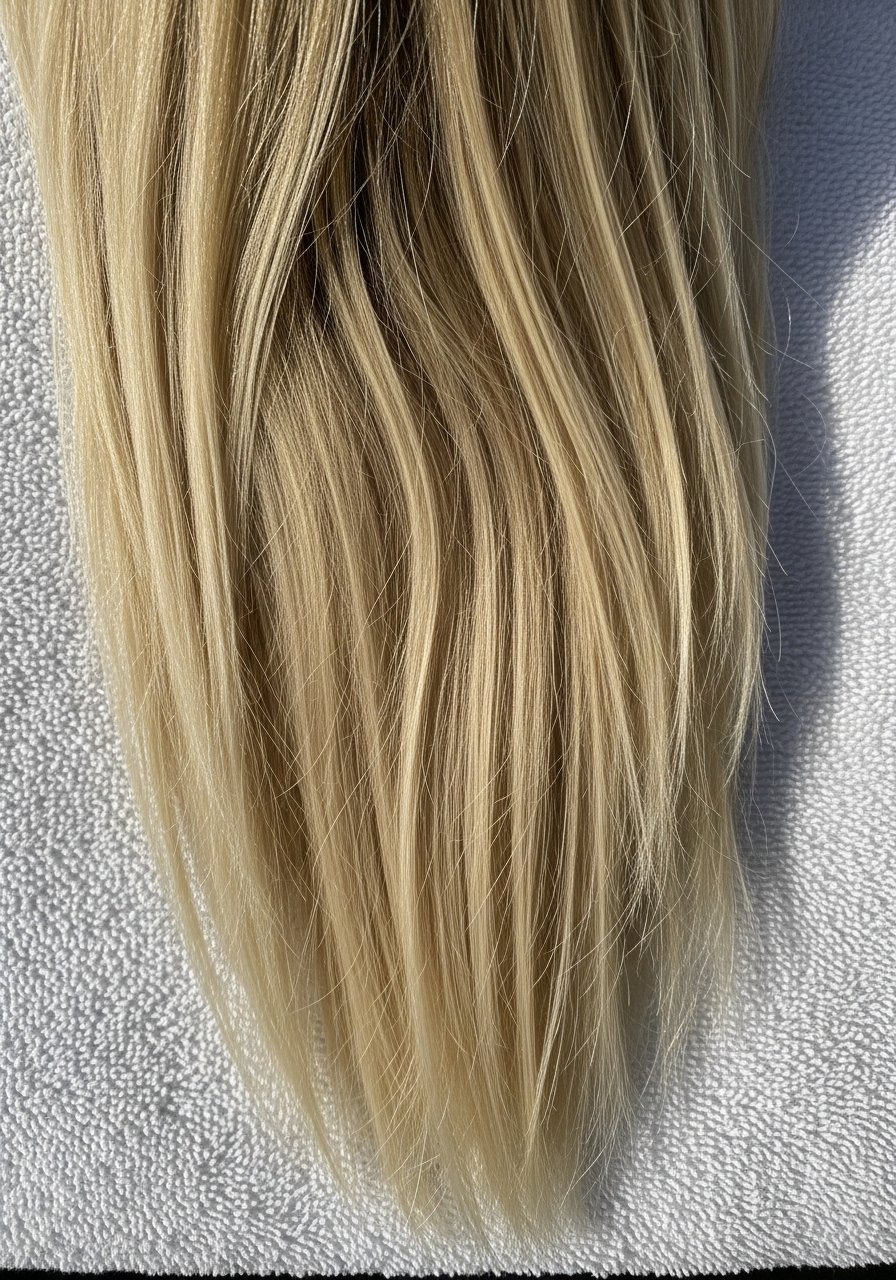
These looks work best on medium density hair, from fine 1B straight to 3B curls, with notes for coarser 4 textures. Most takes 20 to 90 minutes at home, or one to three hours in-salon. Budgets range from $10 touch-ups to $300 salon corrections. Some ideas are DIY friendly, others are worth the salon chair.
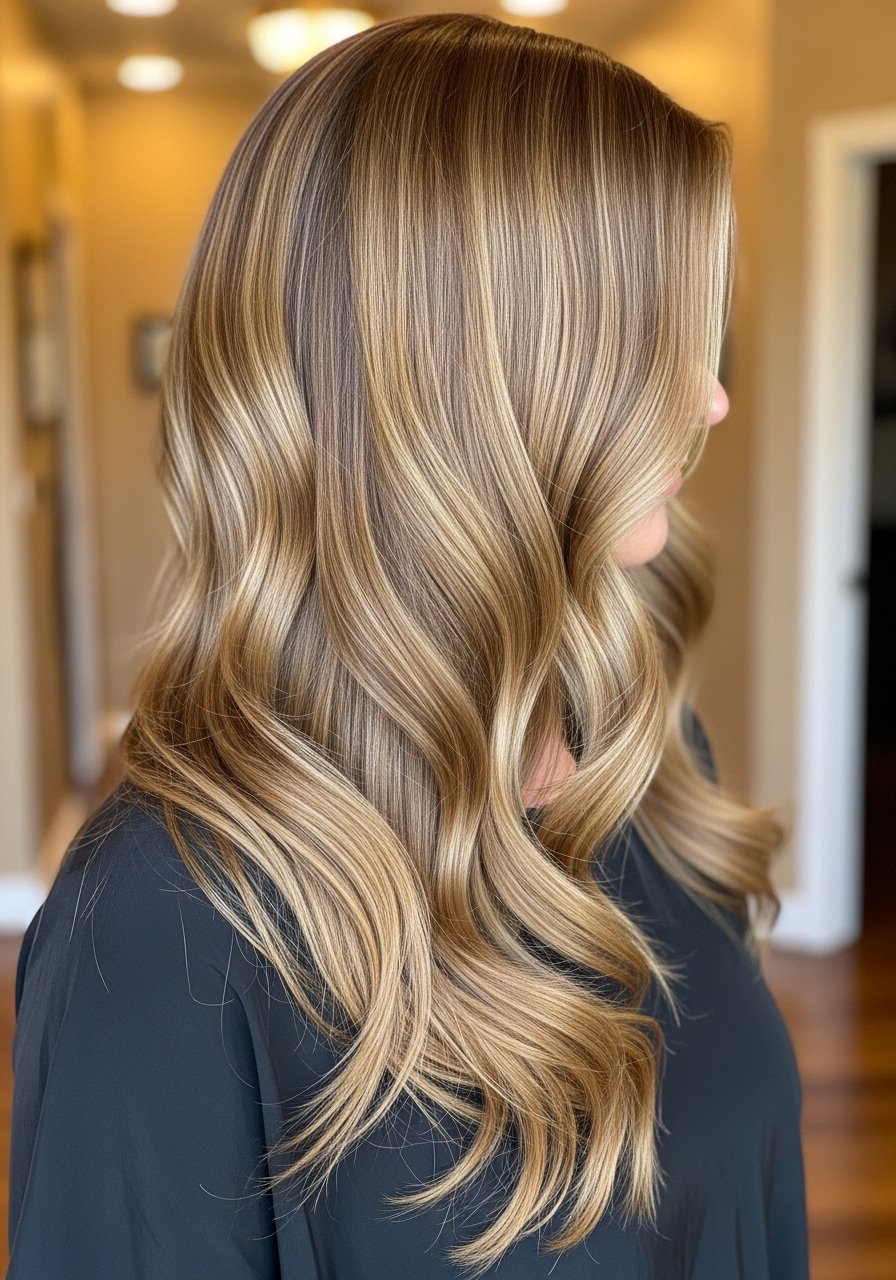
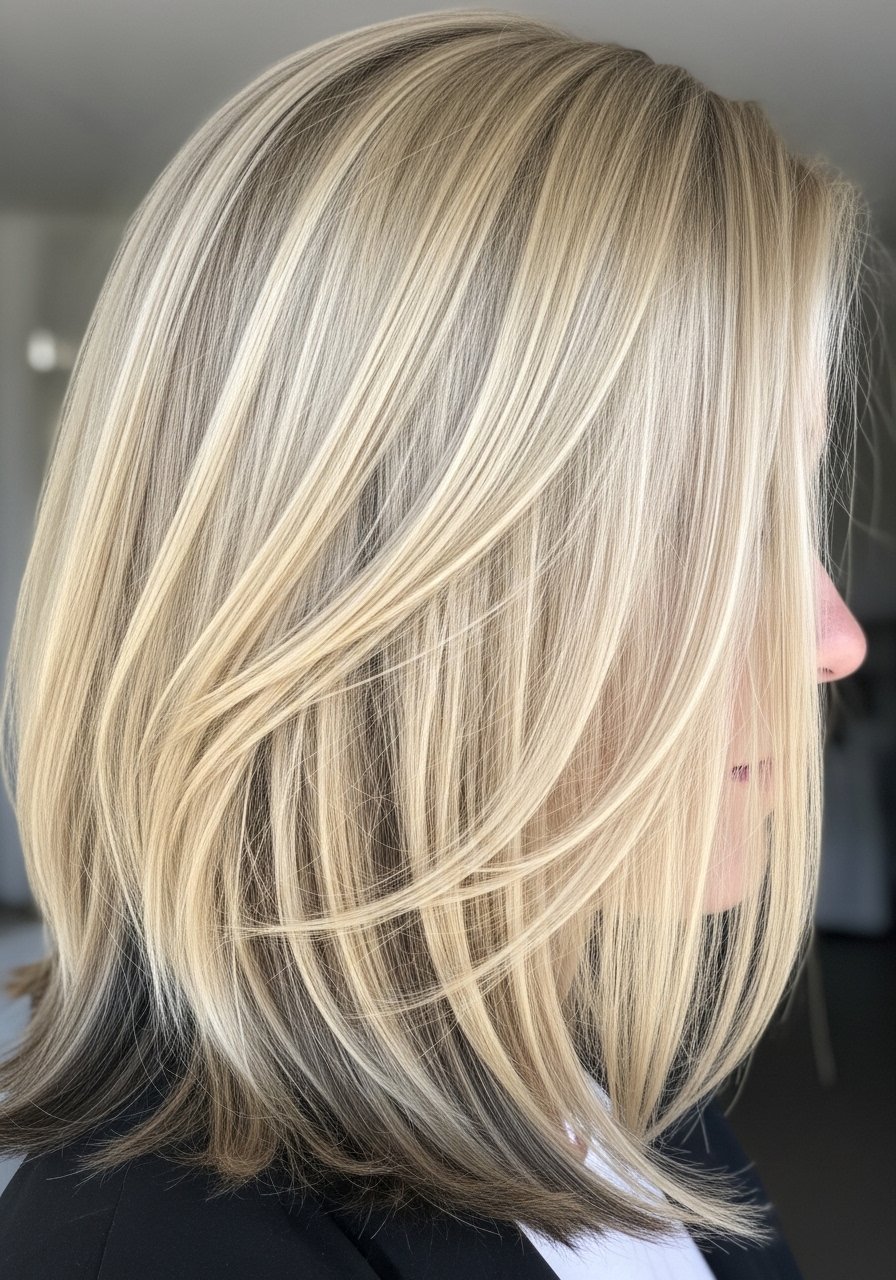
Honey Blonde With Caramel Lowlights
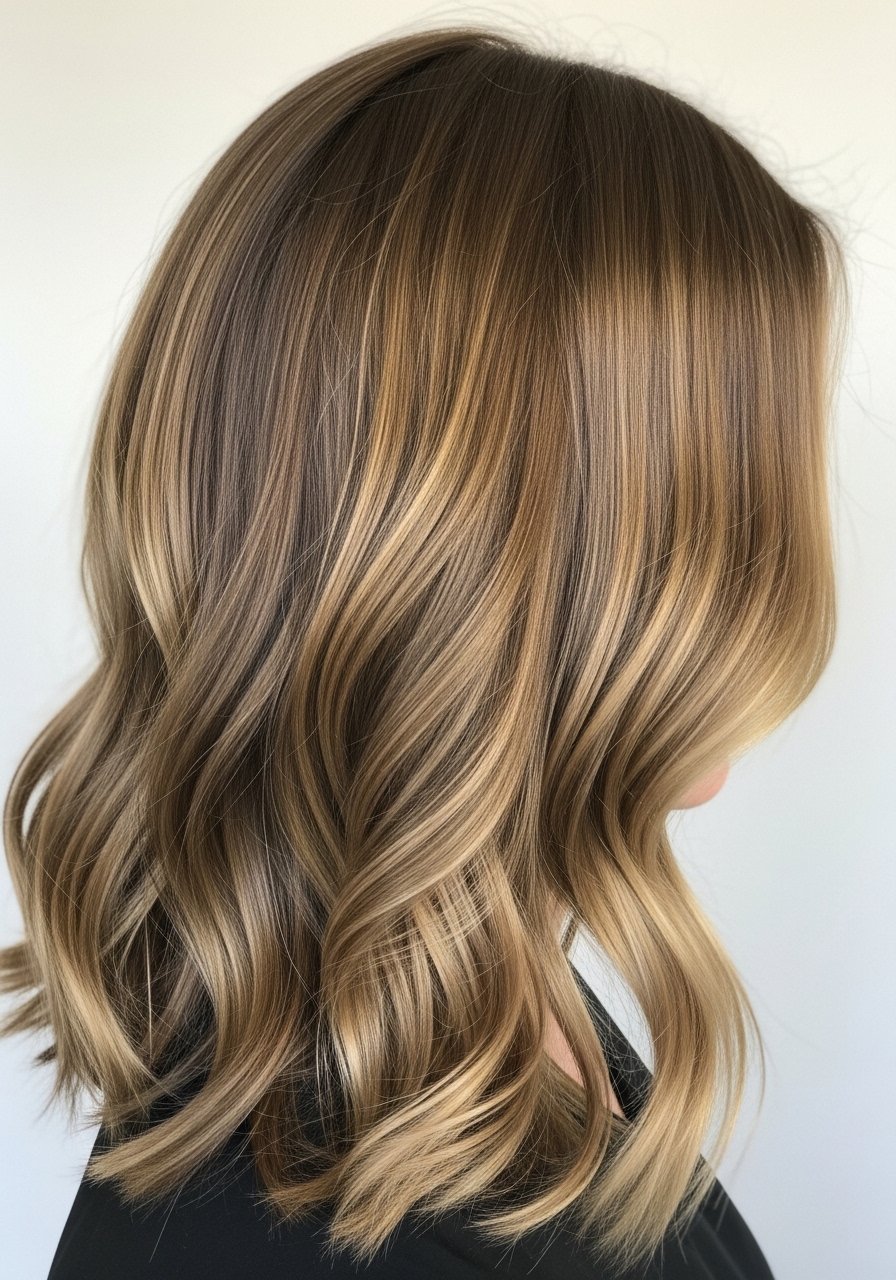
A honey blonde base with thin caramel lowlights gives warmth without looking flat. I ask for 3 to 5 lowlight ribbons placed every 1.5 to 2 inches, painted with a 1:1 developer to color ratio for gentle deposit. It creates movement on straight or wavy hair and keeps brassy tones muted, which is great for 1B to 2C textures. At-home option is a demi gloss session with a depositing color every six to eight weeks. Common mistake, over-saturating the lowlight which reads heavy, so keep sections thin. If you bleach first, avoid overlapping bleach on lowlighted bands. For color maintenance, use a purple shampoo once a week, not every wash, and try Olaplex No. 3 hair perfector as a weekly bond boost. Buy Olaplex from the official store on Amazon or at Sephora to avoid counterfeits.
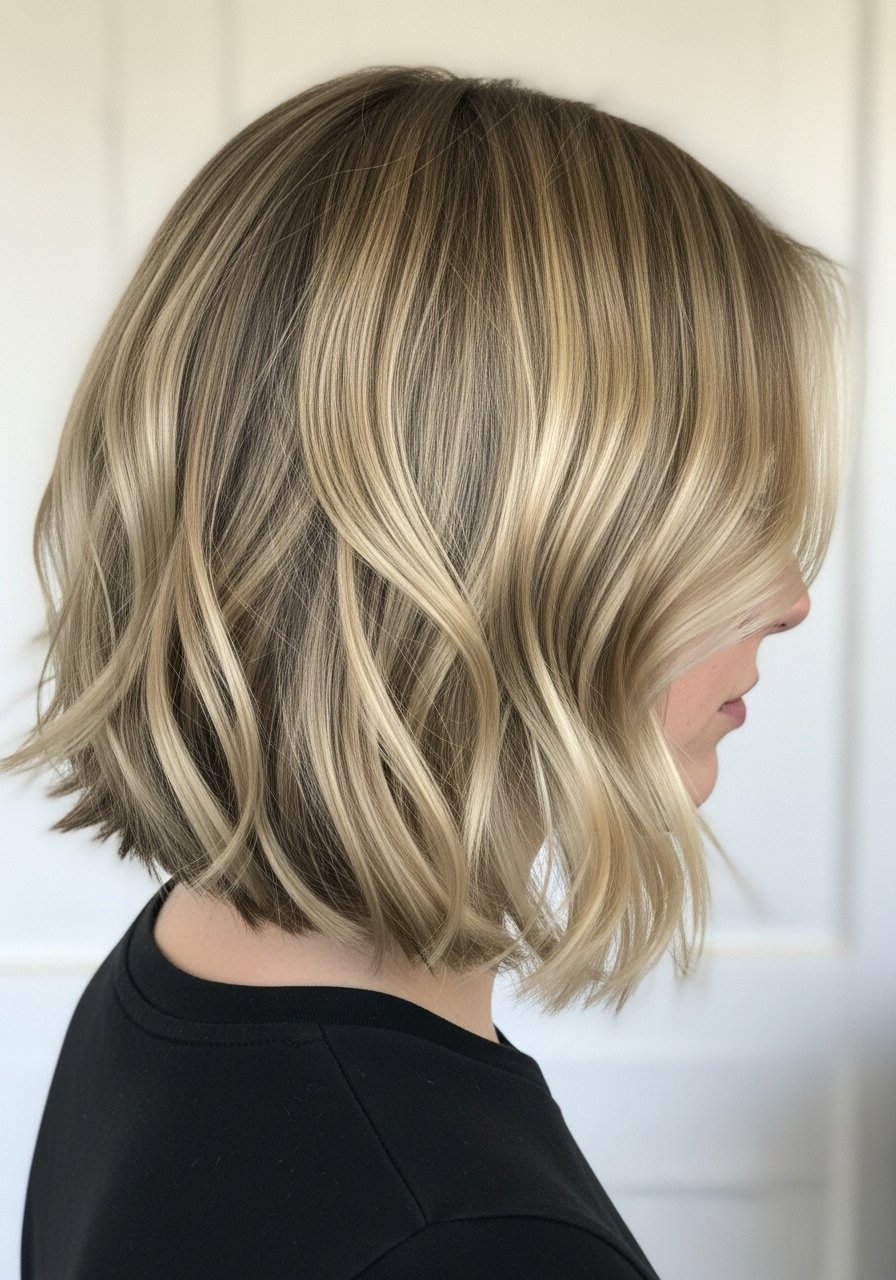
Ashy Platinum With Taupe Lowlights
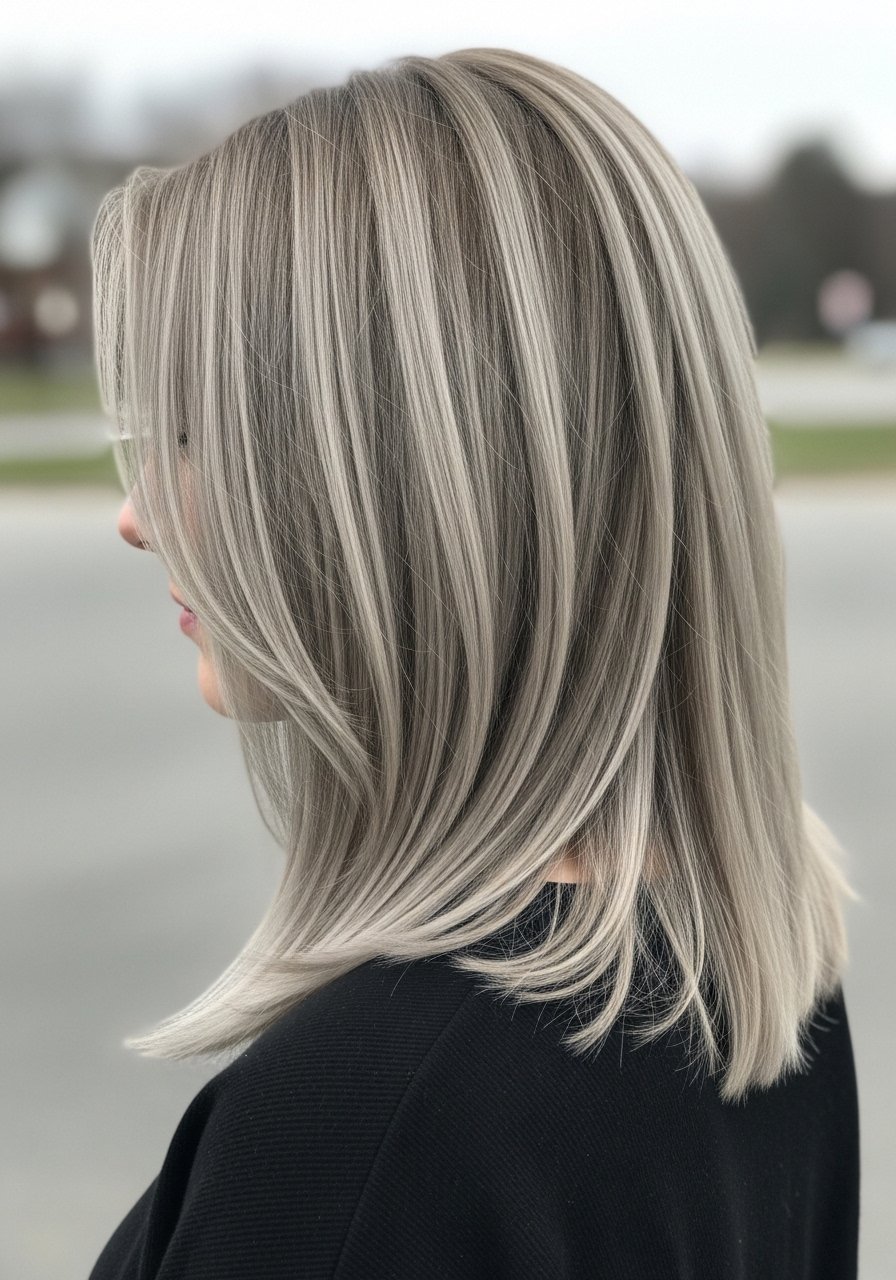
If you love cooler blondes but want depth, add taupe lowlights painted in 1/4-inch slices around the crown and parting for natural shadow. I set foil under 350F heat during toner application in the salon only when doing a full toner. This suits straight to slightly wavy hair, otherwise the lowlights can get lost in thick curls. The trick is a 10 to 15 minute demi-gloss after processing to blend edges. Common mistake is making the lowlights too warm, which undermines the platinum. Between visits, a purple toner shampoo every two washes and a light leave-in are enough. For at-home toning, keep sessions to 10 minutes and do a patch test on the scalp if you have sensitivity.
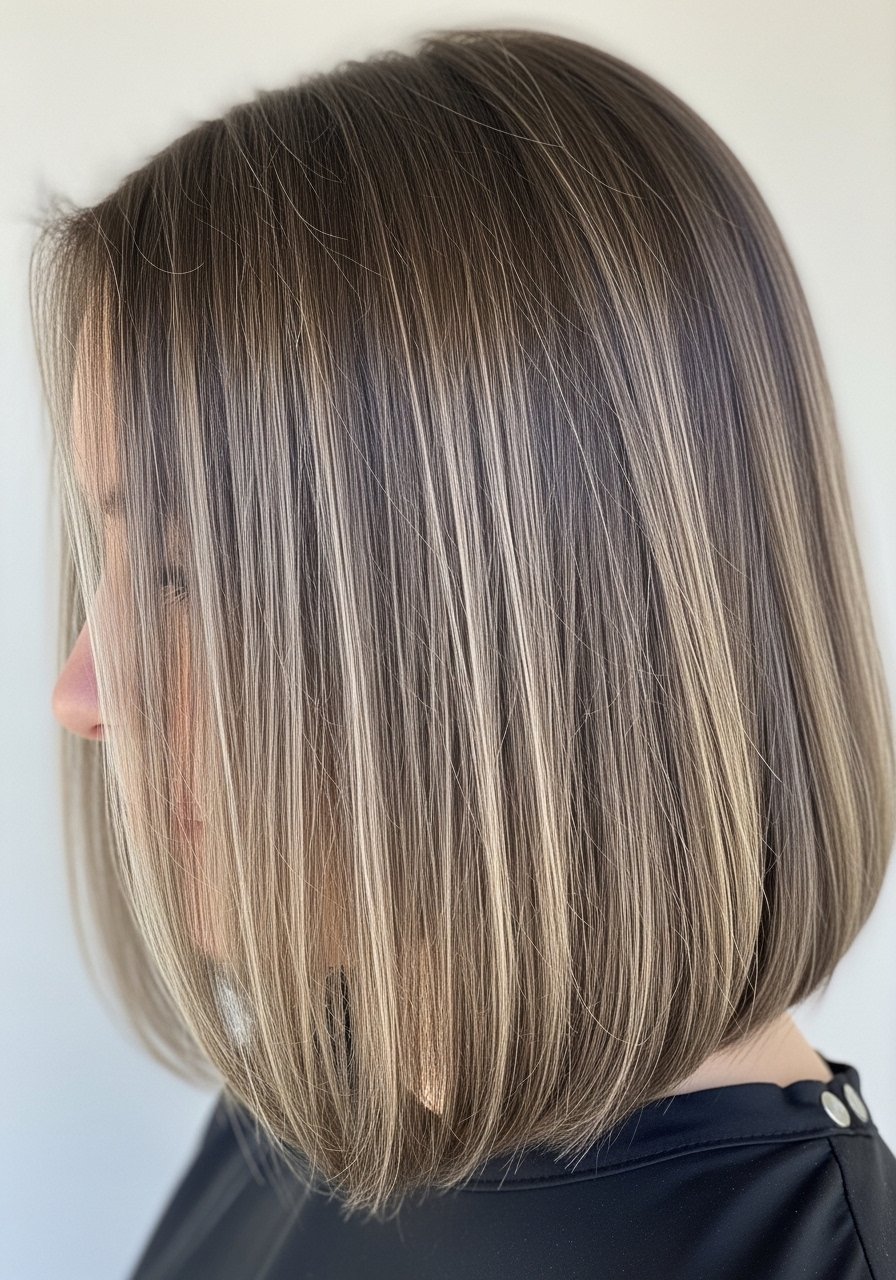
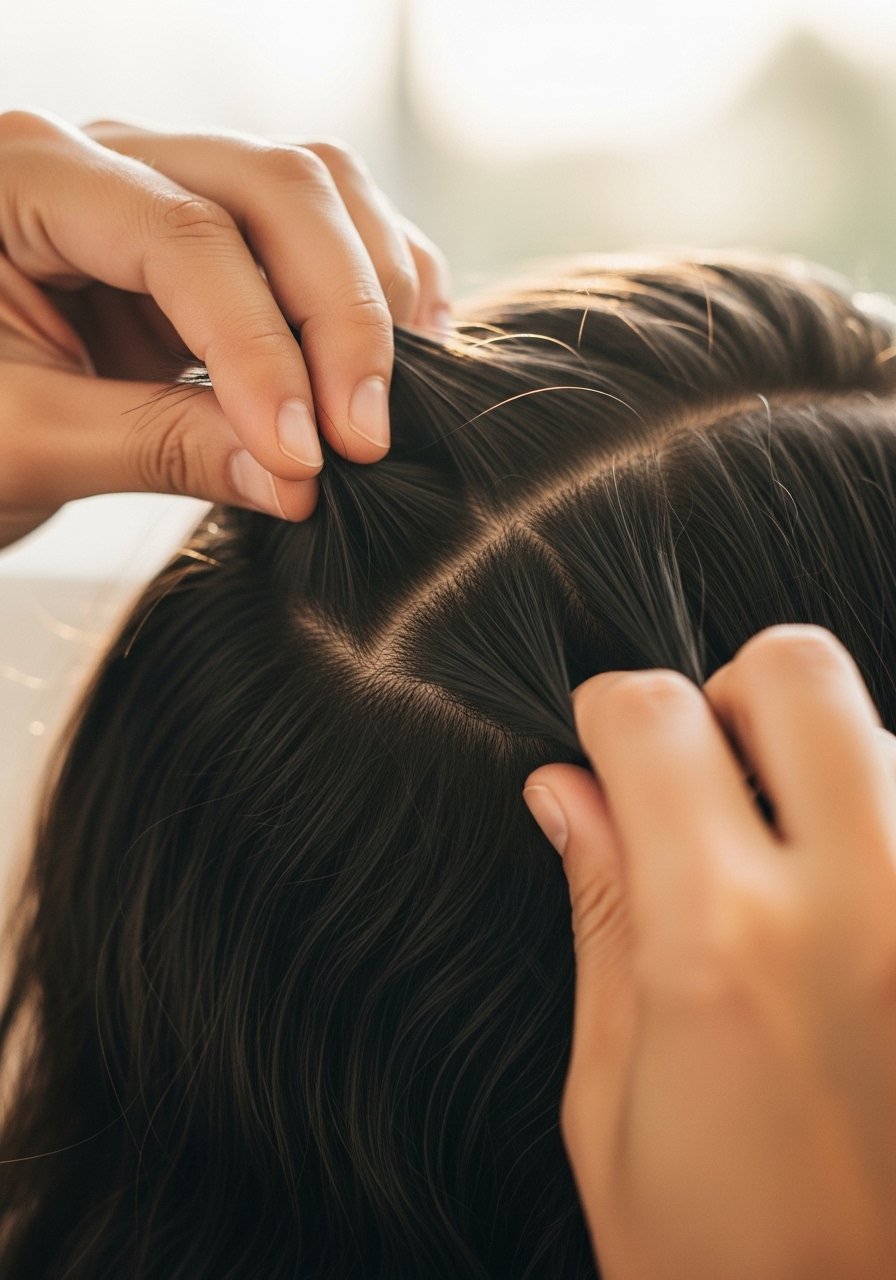
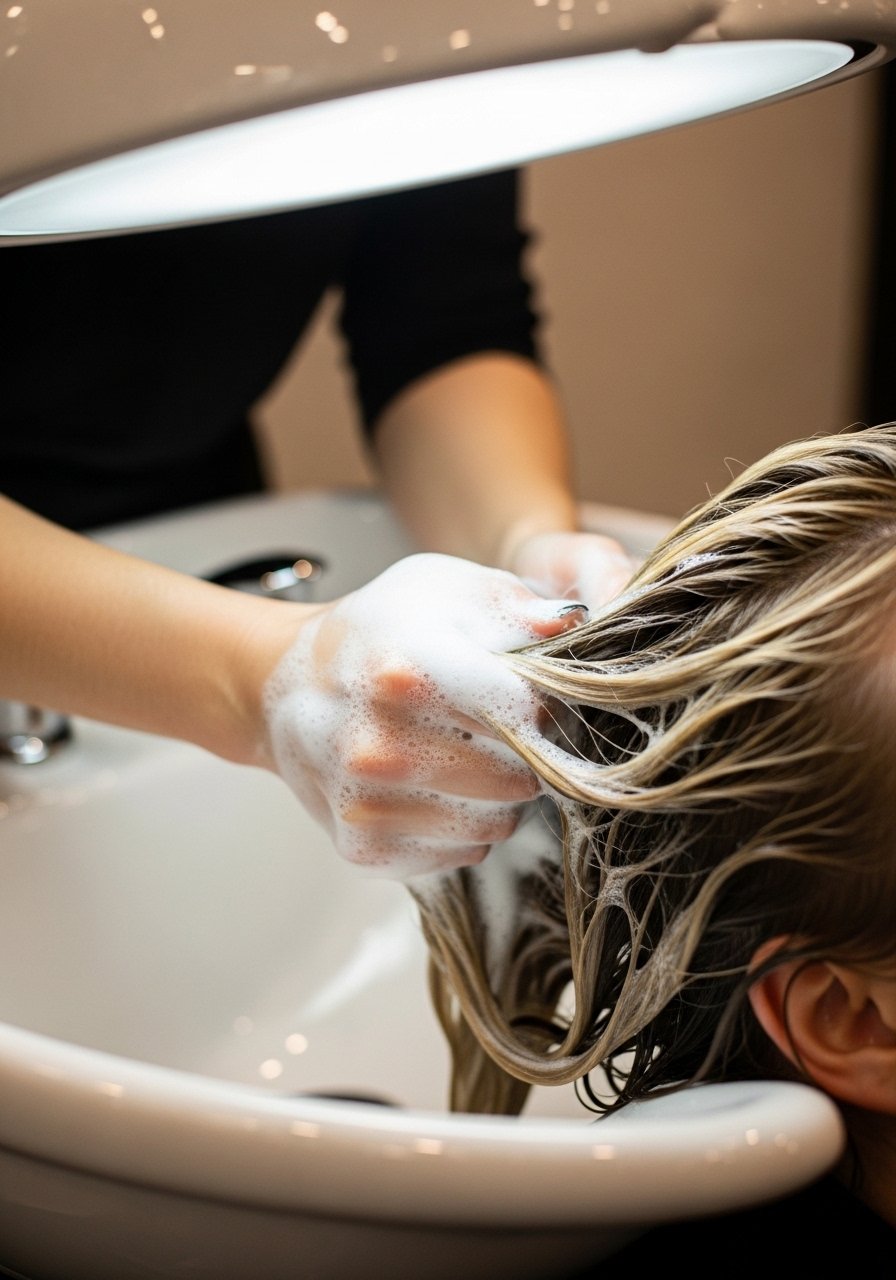
Shadow Root For Grown-Out Blonde
Shadow roots are my go-to when I want low maintenance. The stylist blends a lowlight within 1 to 1.5 inches of the root using a cream color diluted 1:2 with developer so it fades naturally. It hides regrowth and extends salon visits from six to ten weeks on average. Works for all densities but is especially forgiving on fine to medium hair. DIY touch-ups? Only if you can match the root tone exactly. Safety note, never lift over fresh color at home. If you want to soften a harsh grow-out, a root smudge session with a demi-gloss in the salon is the better choice than a box dye.
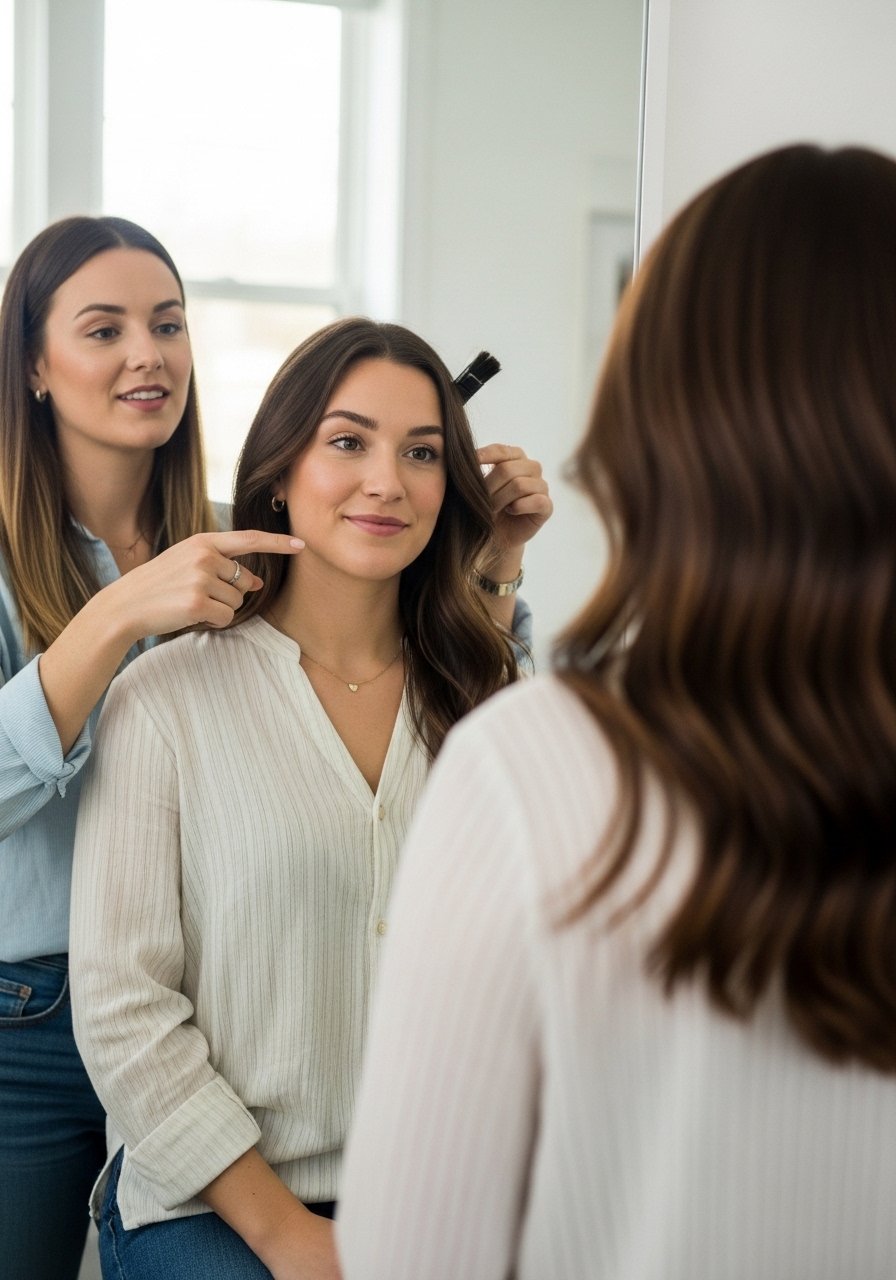
Face-Framing Lowlights That Flatter Round Faces

Placing lowlights around the face thins a round silhouette visually. For my round-faced friend with 3A curls, the stylist painted three narrow lowlight panels that stop at the chin. Curly hair holds depth differently so the lowlights look stronger once dry. Time commitment is one salon visit, about 90 minutes. A mistake I see is adding lowlights too far back, which lifts the face inward. For home styling, diffuse on low heat and use two pea-sized pumps of a curl cream, then a light gel. If you have scalp sensitivity, request a scalp-safe developer and do a patch test.
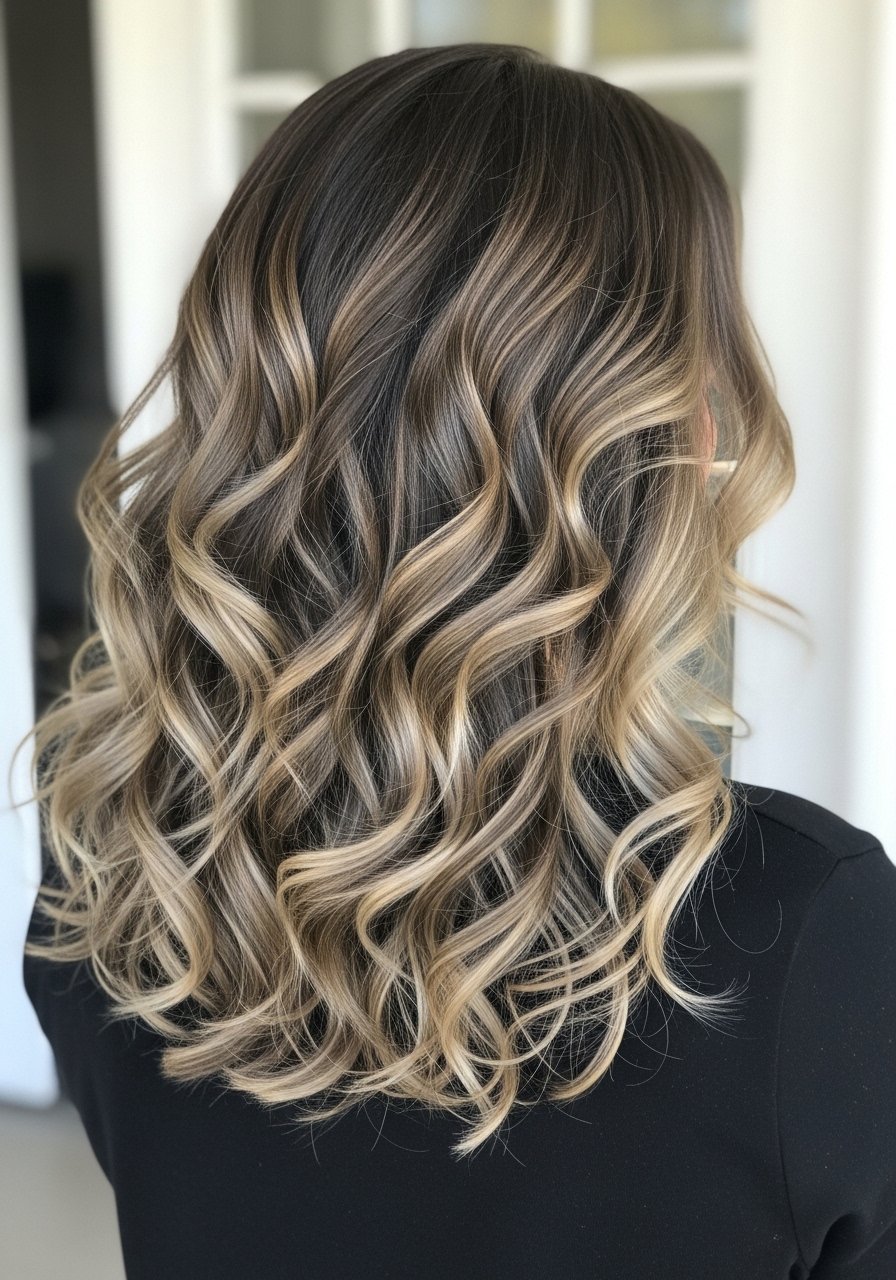
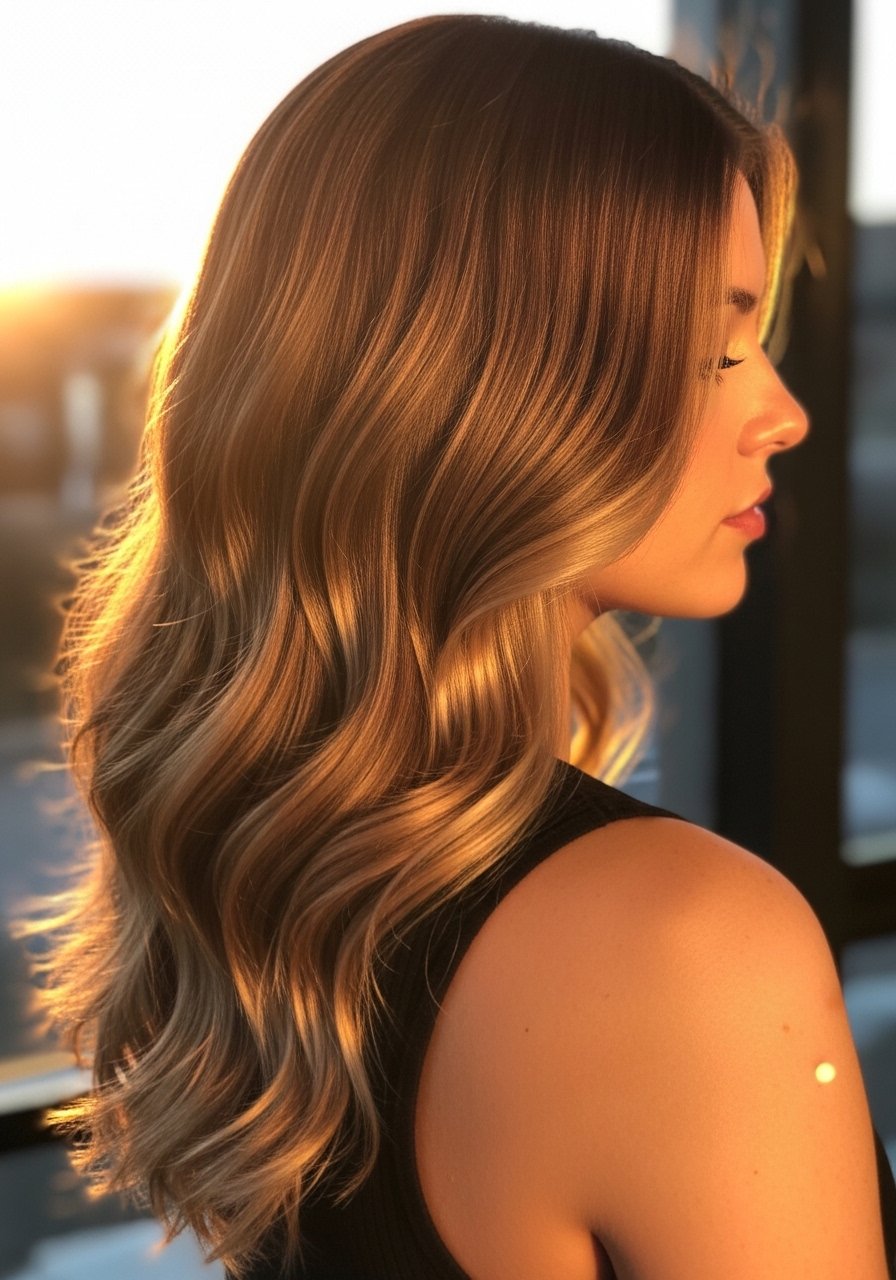
Balayage Blonde With Coffee Lowlights
Balayage with coffee lowlights gives depth without heavy regrowth lines. The technique uses freehand 1/2-inch sections and a soft sweep to feather the lowlights in. I ask for the lowlight to be processed no longer than 15 minutes for a glazed effect, then toned. It suits medium to thick hair best, because the lowlights show up against the full balayage. DIY balayage is risky if you want soft edges. Common mistake, over-processing the lowlight which can read muddy. I like a mid-week gloss to refresh shine, and a sulfate-free clarifying shampoo every third wash keeps color true. Try a sulfate-free clarifying shampoo when brass shows.
Chunky Lowlights To Add Texture On Thick Hair
If your hair is dense, chunky lowlights create instant texture and stop hair from looking like one flat color. Stylists usually do 6 to 8 bold ribbons spaced every 2 to 3 inches. It is quick in-salon, about 45 minutes, and low upkeep because the contrast grows out nicely. For thick 3B to 4A textures I ask for the lowlights to be under the top layer, so the color reads dimensional without too much weight. A common error, placing chunky lowlights too close to the face which can feel heavy. If your hair is heat styled, always use a protectant before any iron over 300F. For at-home shaping try a boar bristle paddle brush to smooth mid-lengths.
Fine Babylights With Soft Lowlights
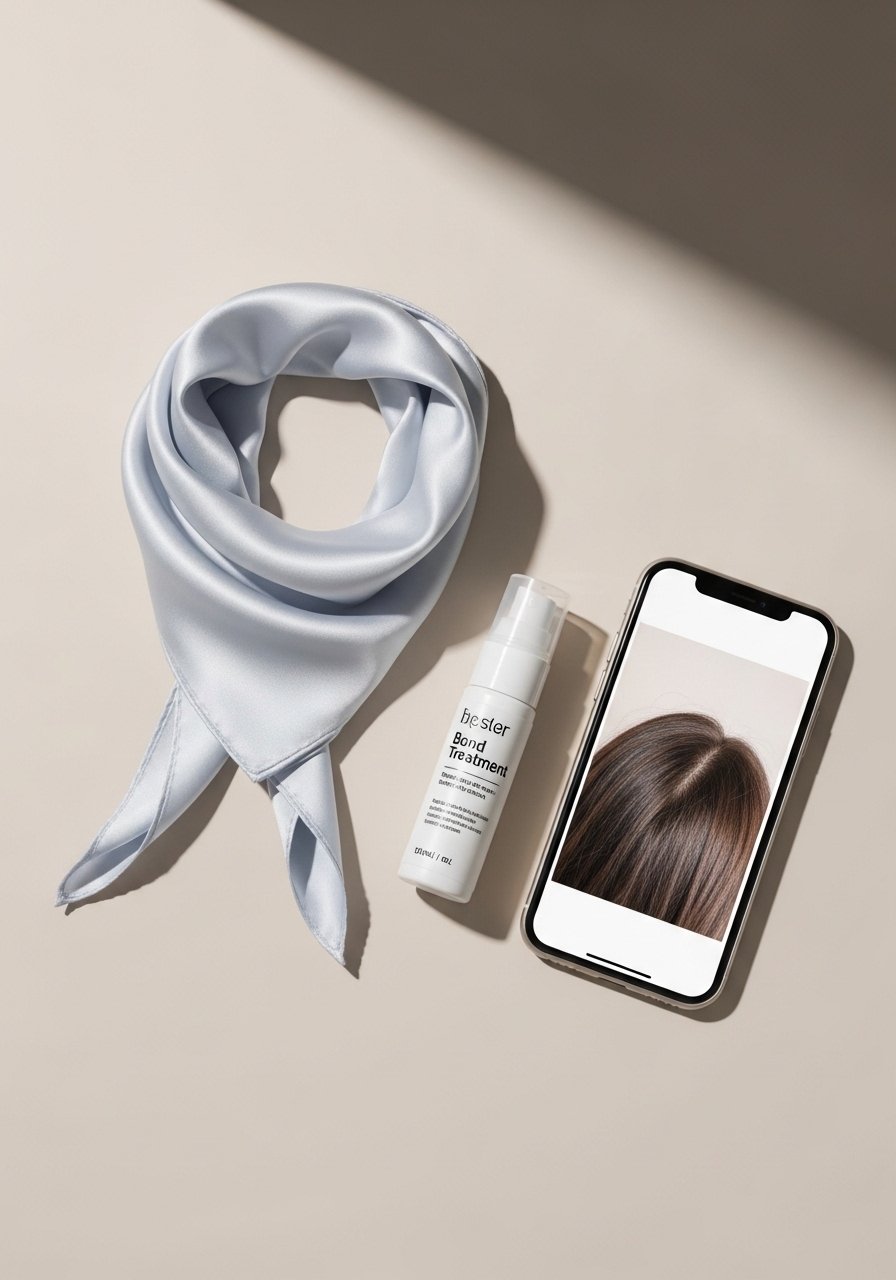
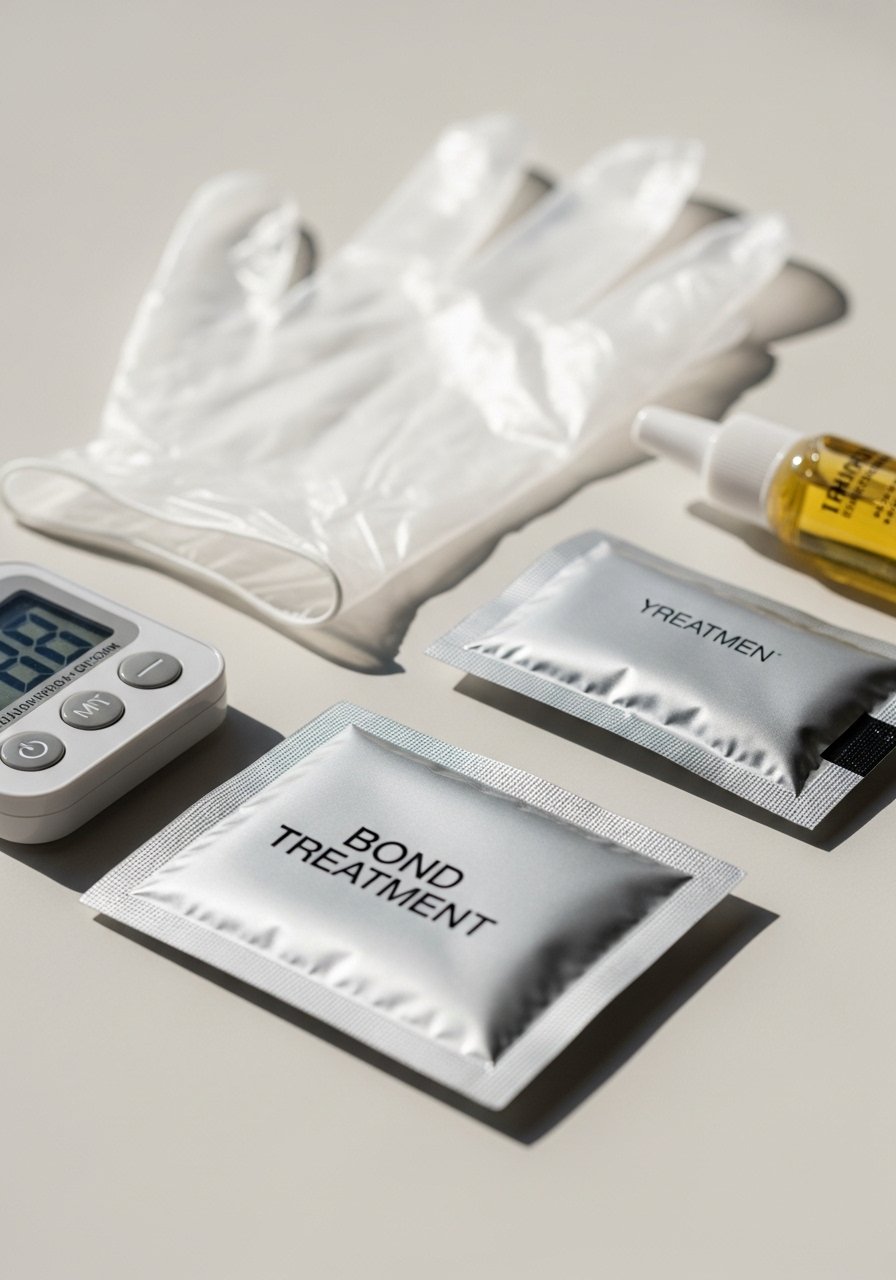
Babylights paired with whisper-thin lowlights keep color airy on fine hair. The key is 1/16 to 1/8-inch slices and alternating highlight then lowlight, not blocks of color. Processing time is short, 10 to 20 minutes of lightener depending on desired lift. This look avoids the banded regrowth that ruins fine hair color. A mistake at home is using too-high developer which breaks fragile strands. This is a salon job if you want the fine dimension to look natural. Use a weekly bond treatment and a silk pillowcase to reduce friction and breakage. I add a silk pillowcase to my regular kit for less morning breakage.
Underlights For Hidden Depth
Underlights are lowlights applied only to the underside of the hair so movement reveals depth. I tell stylists to paint sections 3 to 4 inches wide under the top layer so the lowlights peek out when you move. It is an easy DIY if you are comfortable with foils, but a salon gives a cleaner line. Works well on lobs and long hair, especially 2A to 3A. Mistake, coloring all the way to the root on the underside which makes a visible line when hair is up. For upkeep, a demi-gloss every eight to ten weeks keeps the contrast soft. For styling, a dryer and a diffuser on low heat is all you need to show the peekaboo depth.
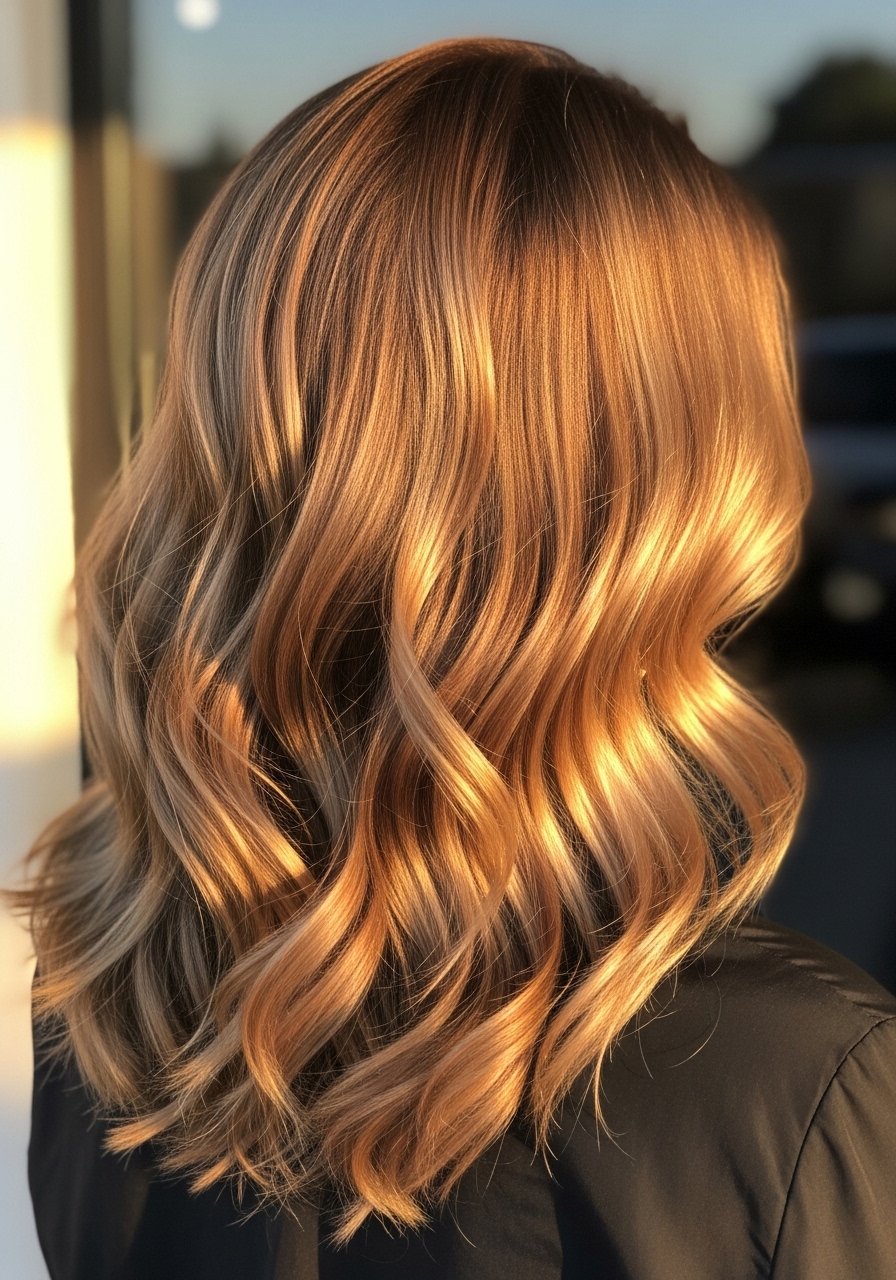
Cinnamon Blonde With Warm Lowlights
Cinnamon lowlights are a warm option when you want richness without red. I ask for a 10 to 20 percent warmer deposit than the base so the lowlights read warm but not orange. Works great on 2B to 3B textures. If you have brassy undertones, add a cool gloss after the lowlight to balance. Common fail, going too red which skews holiday-cinnamon. Between appointments, swap heavy clarifying shampoo for once every two to three weeks and use a moisturizing conditioner. If your scalp is sensitive, request a lower volume developer and always do a patch test.
Root Smudge To Soften Harsh Lowlights
Root smudging takes a lowlight and blends it with the blonde using a soft brush and 30 to 60 second feathering motion, creating a lived-in look. It is quick in-salon, often 20 to 30 minutes, and perfect for anyone who regrets a harsh lowlight stripe. This suits straight to wavy hair best. DIY smudging usually leaves a band, so book a pro if you want a seamless gradient. A common mistake is using too dark a smudge color. Tip, pair a smudge with a leave-in with thermal protection if you plan to heat style later. Try a small spritz of Color Wow Dream Coat anti-humidity spray for frizz control after styling.
Gloss Refresh For Blonde With Lowlights

A demi-gloss keeps lowlights shiny and blends edges between color appointments. I usually do a 5 to 10 minute gloss in the salon every six weeks to seal color and add tone. For home, a clear gloss or glaze applied for five minutes after a clarifying wash softens contrast. Be careful with at-home permanent dyes masquerading as gloss. If you have any scalp allergies, do a patch test. For upkeep, a small 2 to 3 ounce gloss bottle will last three to six applications depending on hair length. If your stylist uses a salon-only gloss, consider an at-home glossing shampoo for the weeks in between.
Diffused Curls That Show Lowlights Without Frizz
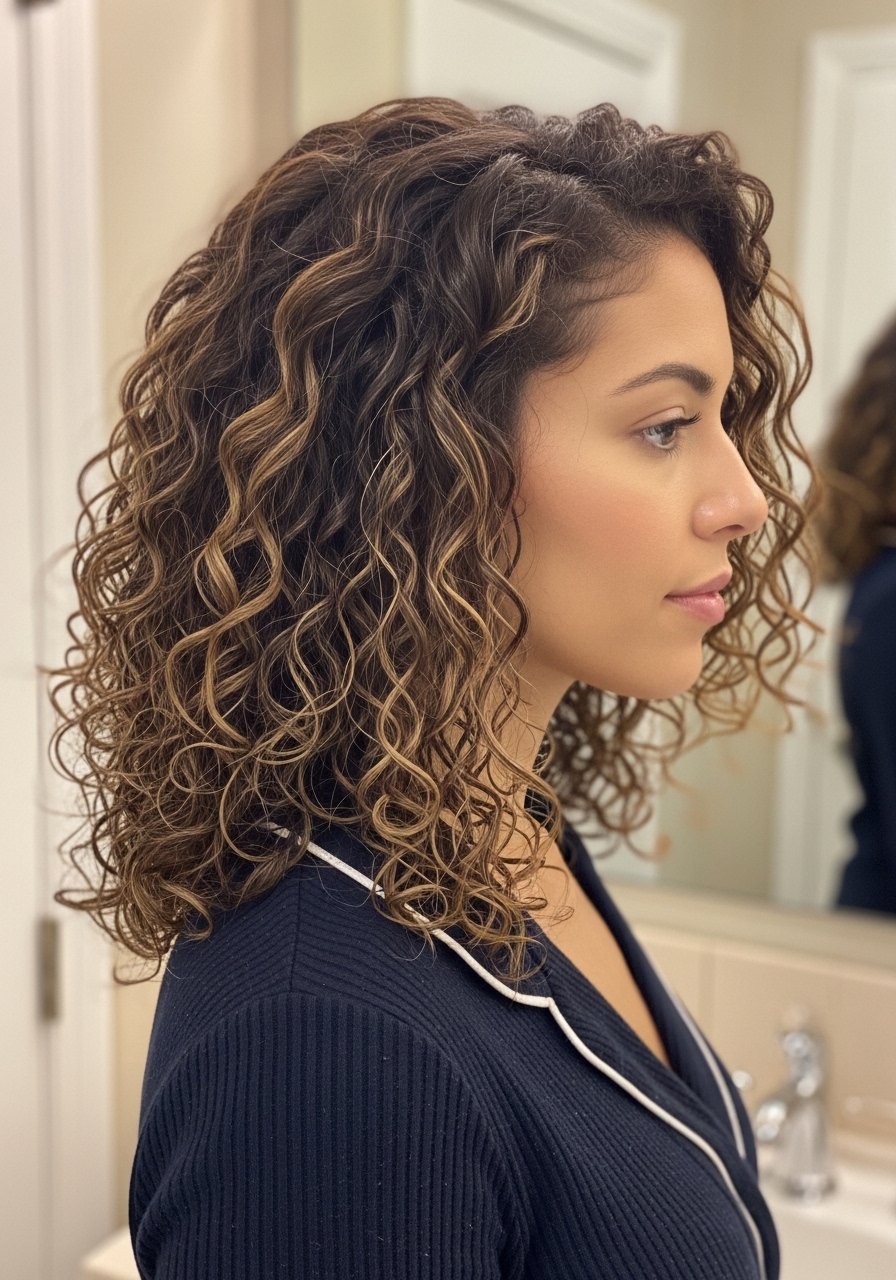
If you have curls, lowlights become dramatic when curls are defined. I apply a leave-in, two fingerfuls of curl cream, then a pea of gel into each section and diffuse on low heat. For my 3B friends, 8 to 10 sections diffused on low for 8 to 12 minutes per side keeps shape and shows the lowlight contrast. Big mistakes, over-touching while drying and skipping a heat protectant when using a diffuser over 300F. Sleep with a silk bonnet to retain the definition longer. Try a microfiber hair towel to cut drying time and reduce frizz before styling.
Weekend Touch-Up Technique For Brassy Lowlights
If lowlights pick up brass, use a targeted purple shampoo on the mid-lengths only. I apply a nickel-sized amount spot-tested on a strand for three to five minutes, not the whole head, then rinse. Doing this once every seven to ten days keeps brass in check without drying color-treated hair. The mistake I see is leaving purple shampoo on too long, which can create a temporary lavender cast. For sensitive scalps, dilute with conditioner and avoid the roots. Pair with a weekly deep conditioner to keep hair feeling smooth.
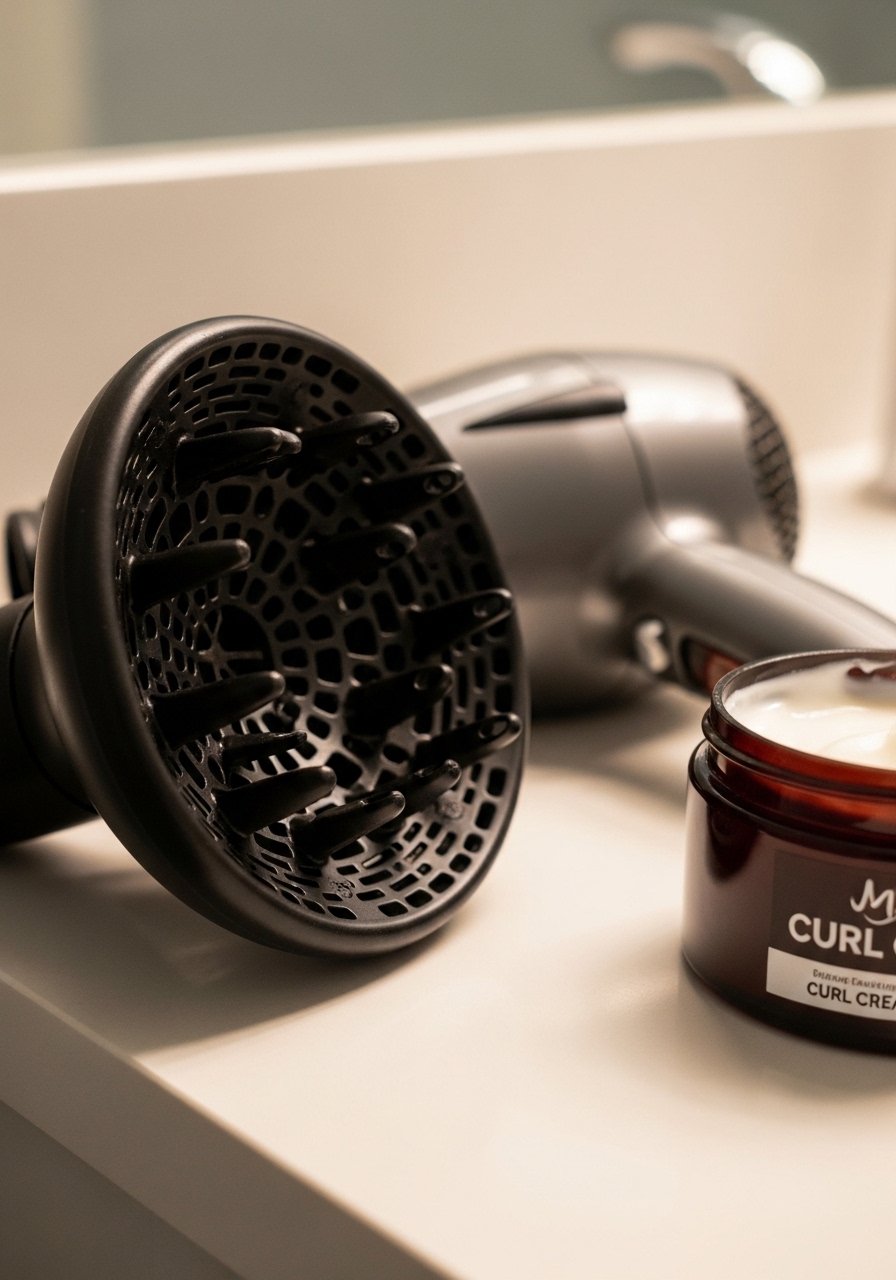
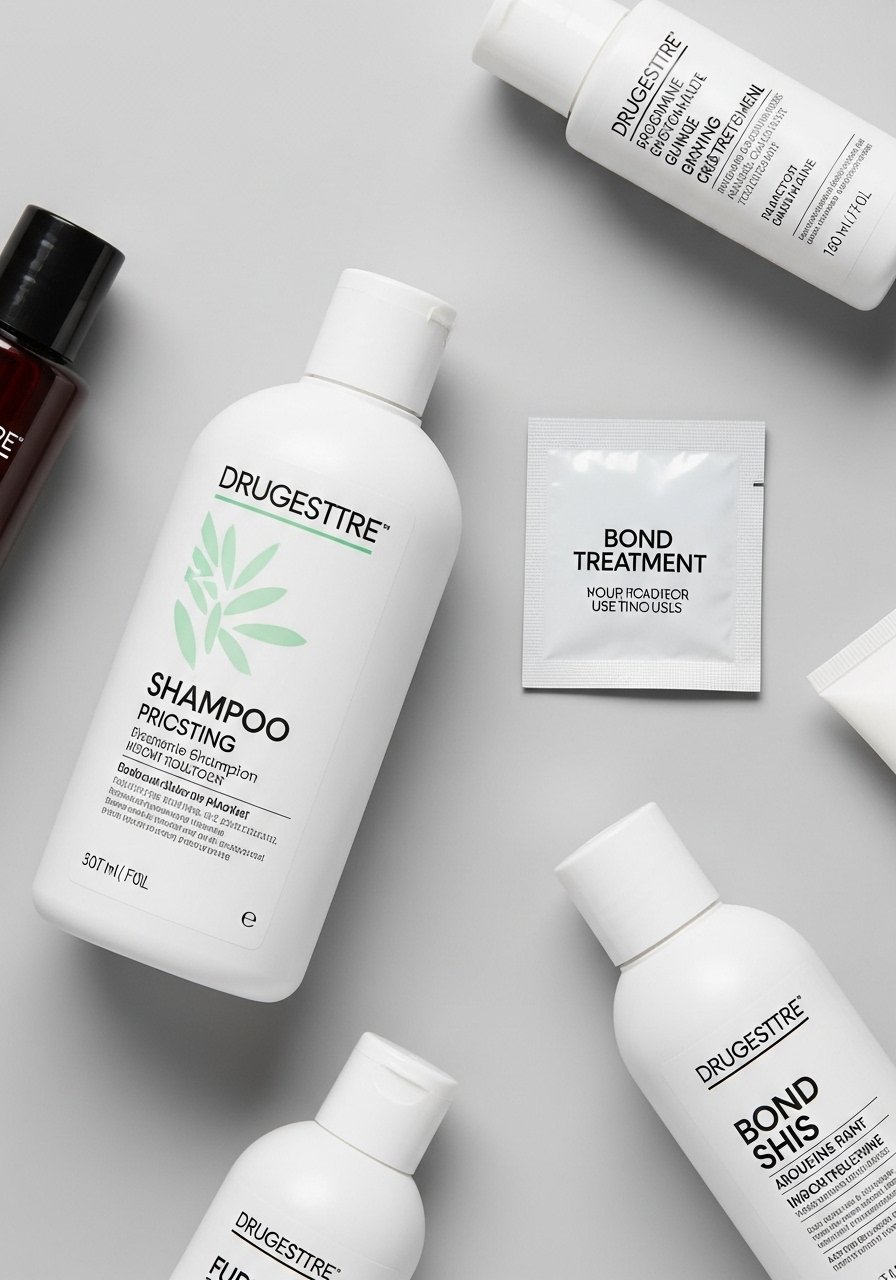
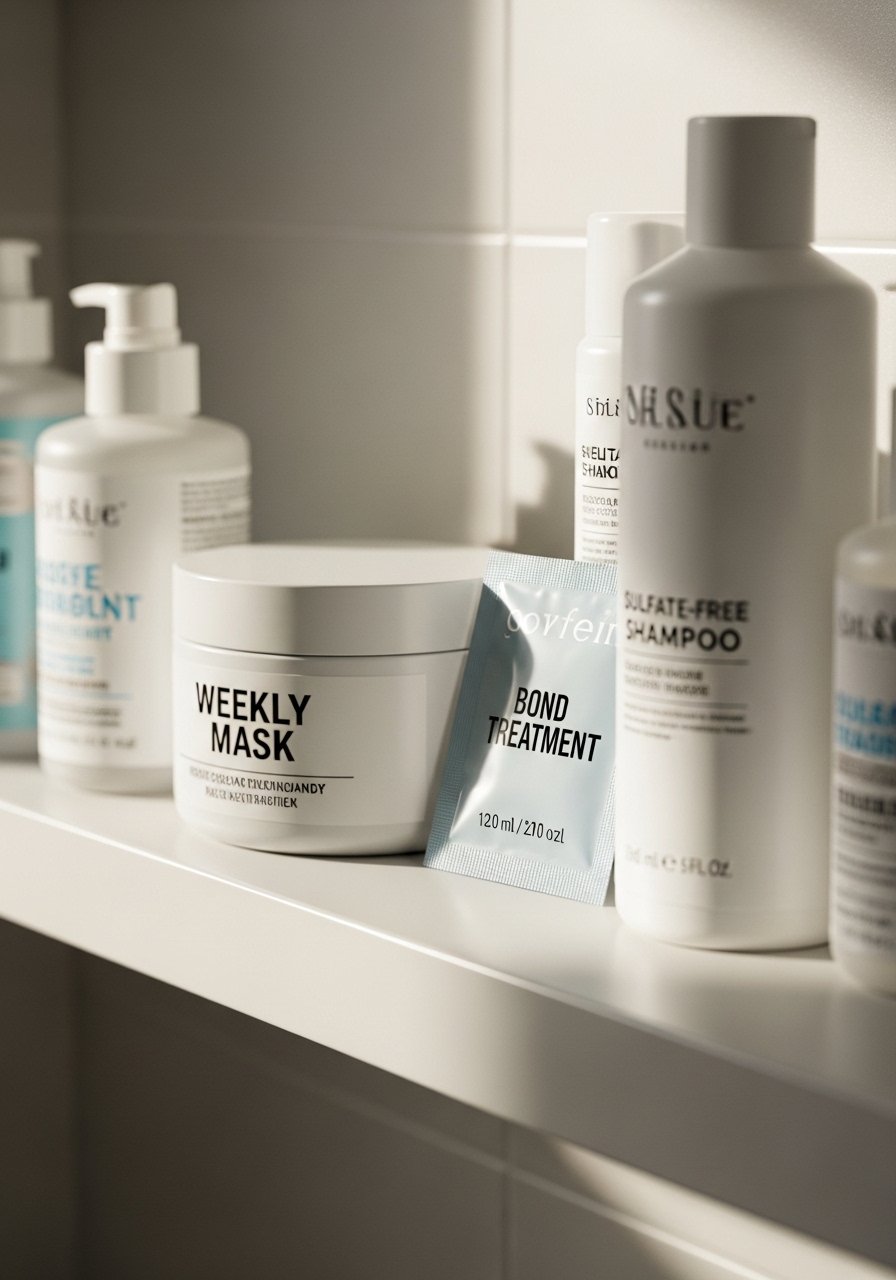
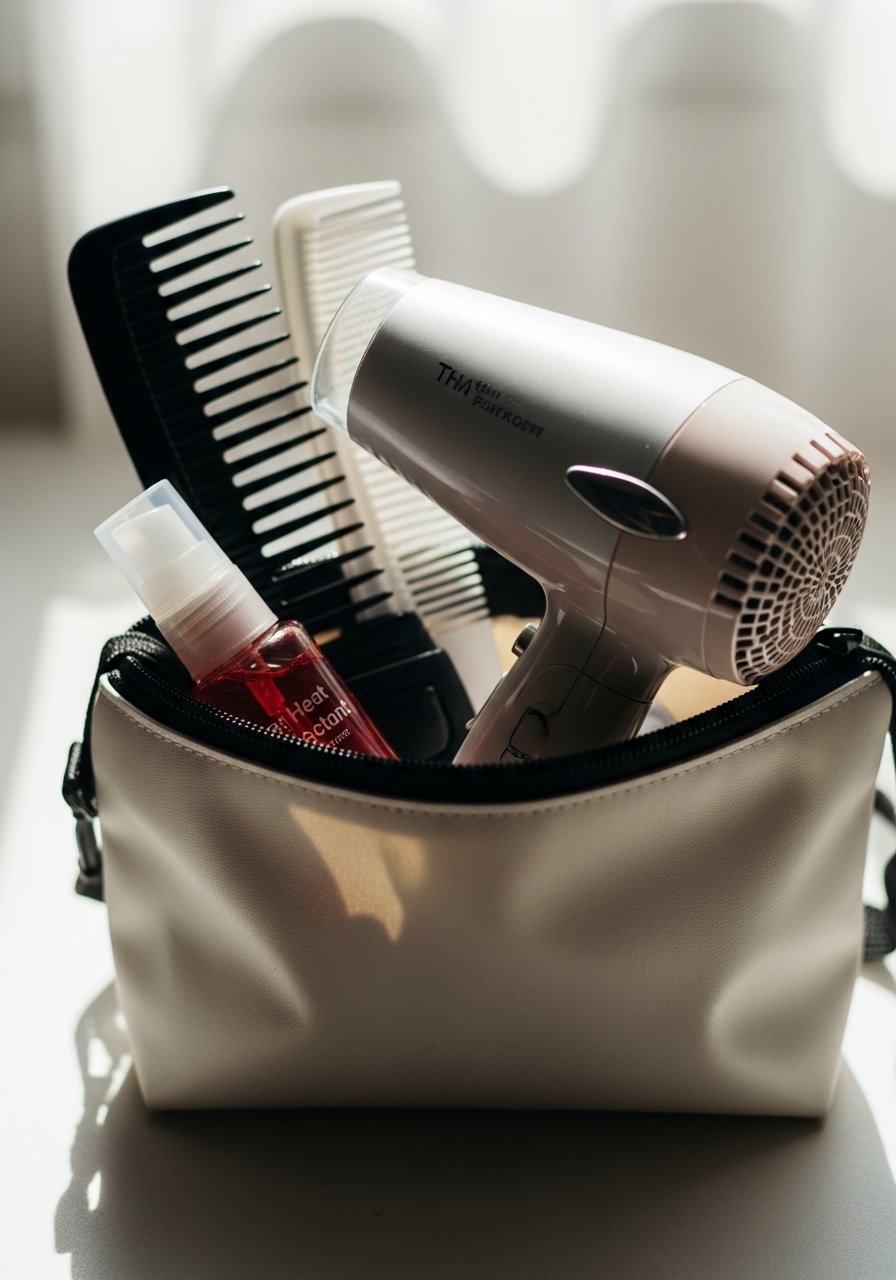
What I Keep In My Blonde With Lowlights Kit
- Honestly the short list that matters: Olaplex No. 3 hair perfector 3.3 oz. I use it once a week after color to keep ends intact. Buy Olaplex from the official store on Amazon or Sephora to avoid counterfeits.
- For tone control, purple shampoo 8oz. I only use this on mid-lengths and ends, once a week.
- For heat, Color Wow Dream Coat anti-humidity spray one 3.4 oz bottle. One spritz before blow drying stretches out frizz control for days.
- For bond building between salons, K18 peptide treatment packets. Use one packet on damp hair, leave 4 minutes. Buy from authorized sellers to avoid fakes.
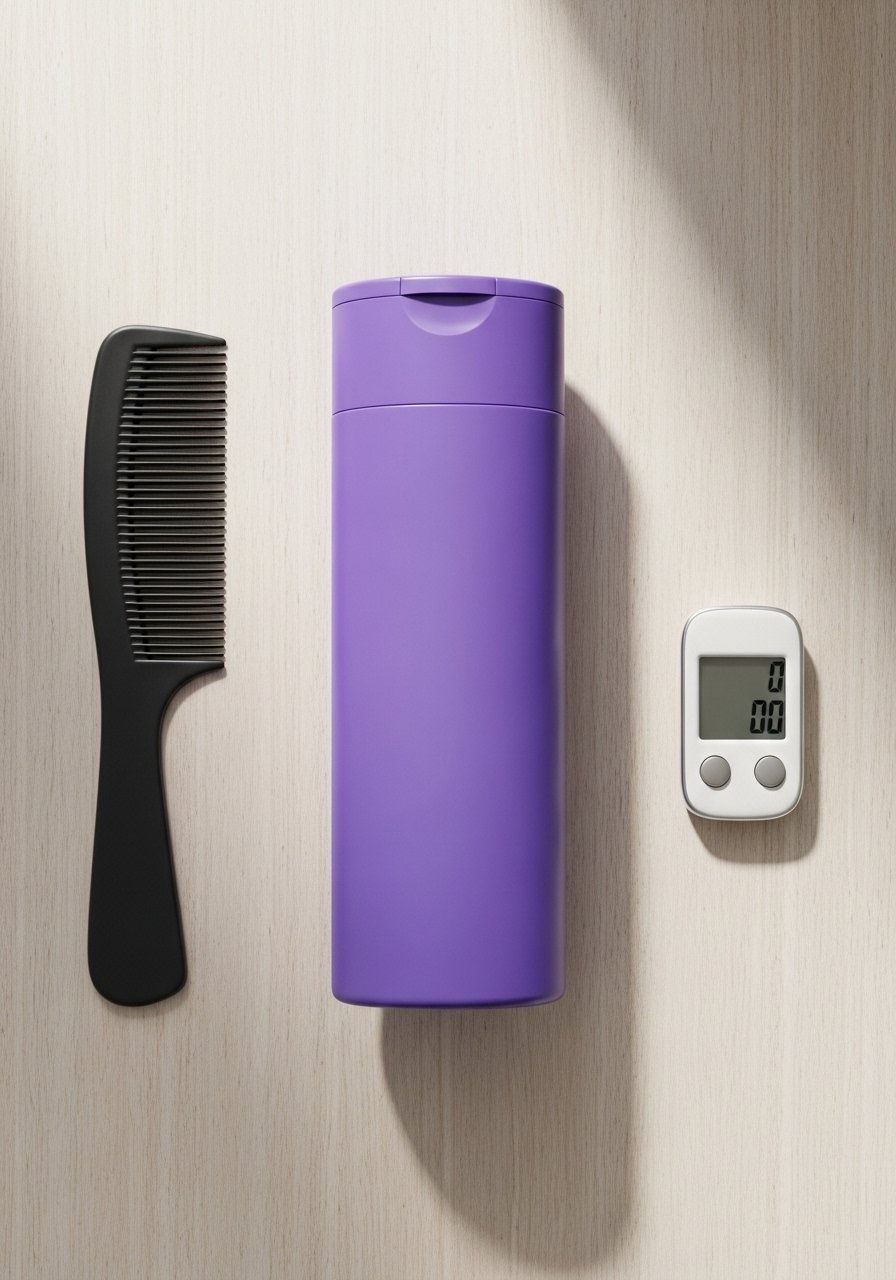
- Styling brush, boar bristle paddle brush, $15 to $25. Great for smoothing mid-lengths.
- Protection while sleeping, silk pillowcase. Less friction equals less split ends.
- For curl care, microfiber hair towel. Cuts dry time and keeps lowlights intact.
- For quick touch-ups, demi-permanent gloss 2 oz. Use in-salon or home only if you know your base.
The Rooted Balayage Low-Maintenance Combo
Combining a rooted shadow with balayage lowlights gives maximum wearability. Stylists usually root with a smudge then paint balayage and drop in lowlights in 1/2-inch sections to balance brightness. It is a one to two hour salon session and extends time between touch-ups to ten weeks or more. This method suits shoulder-length to long hair and keeps thin hair from looking flat. DIY attempts often create banding. If you plan to DIY, use small 1/8-inch sections and a low developer. As always, if you are lifting over a previous color, book a professional to avoid breakage.
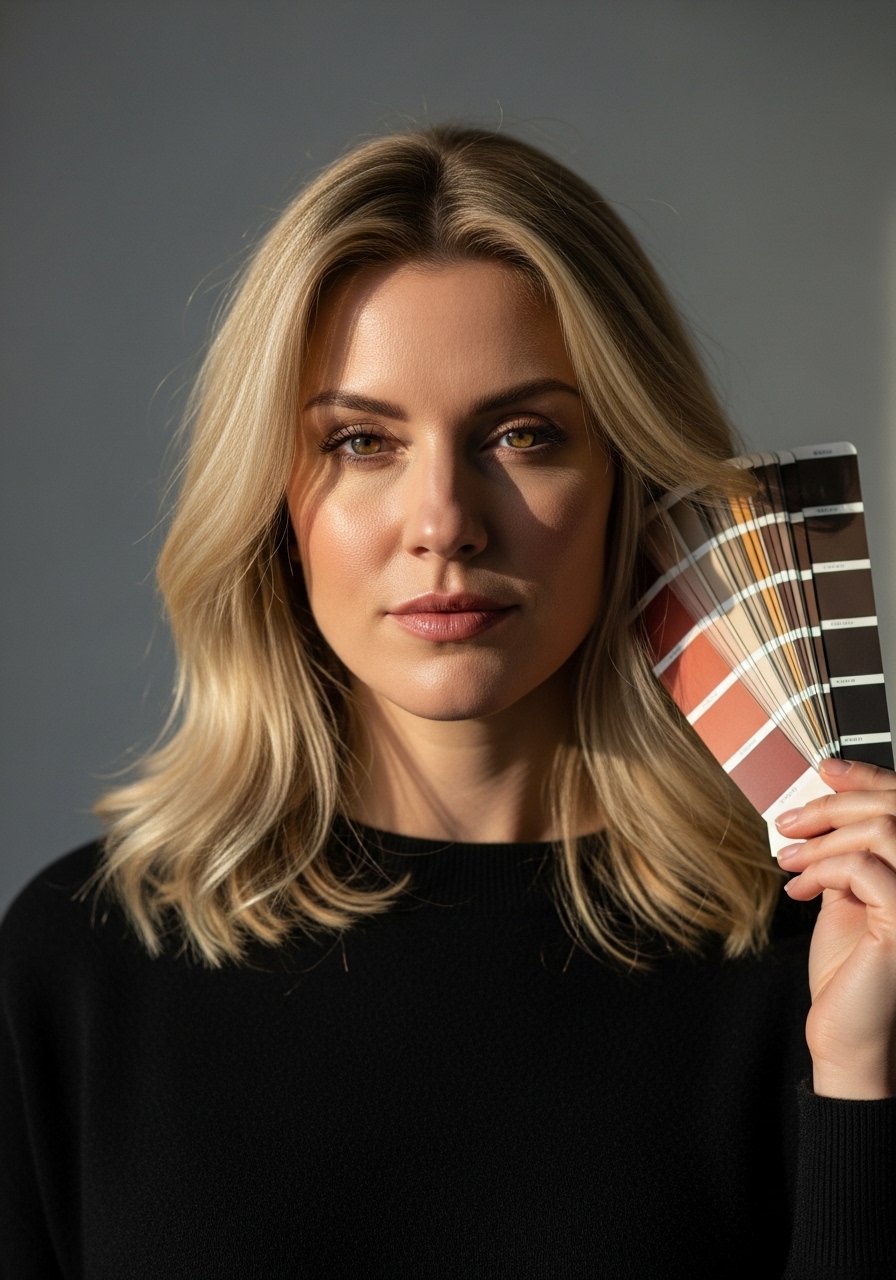
What I Wish I Knew Before Booking Lowlight Appointments
Ask for pictures of the exact placement you want and note upkeep costs when you book. Lowlights can look different on camera than in real life because flash flattens dimension. Expect a salon consult to take 10 to 15 minutes. A common oversight, not telling the stylist what you did at home previously. If you bleached in the last six months, mention it. When planning a big change, factor in two appointments and budget for a mid-cycle gloss. If you have allergies, request a patch test at least 48 hours before full application.
The Mistakes I Made With Blonde And Lowlights
I thought darker lowlights would hide my bad bleach. They did not. Overlapping lifts into previously bleached bands caused breakage. The real rule, never lift over fresh color and space sessions at least six to eight weeks. Another error was using purple shampoo every wash for a month, which left my lengths dry. The better routine was purple shampoo once a week and a hydrating mask mid-month. If you are unsure about damage, see a dermatologist or trichologist before aggressive lightening.
The Mistakes I Made So You Do Not
I trusted a too-strong toner at home and ended up with muddy lowlights. Toners need check-ins at five and ten minutes depending on porosity. Low porosity hair needs heat to accept product, so sit under a dryer for five minutes during a demi gloss. For high porosity hair, shorter processing avoids over-absorption. If you have itchy or burning scalp during application, rinse and call your stylist. No product will safely reverse a bleach-over-bleach mistake at home. That situation is a salon correction.
How To Stretch Lowlights Between Salon Visits

When appointments are months away, a gloss, careful shampooing, and a root-blending color can save time. Use a demi-gloss at-home product for five to ten minutes to refresh tone. Dry shampoos at the roots extend clean feel without stripping lowlights. If your lowlights feel flat, a one-minute cool water rinse after conditioning seals the cuticle and boosts shine. Avoid bleaching roots at home. If you want to darken a lowlight at home, test a strand first.
What I Wish Someone Told Me About Blonde With Lowlights
Lowlights do not reduce maintenance unless placed strategically. Placed too low they create an obvious line when hair is up. Thin lowlights painted through the mid-lengths buy the most time between toners. Also, heat tools show lowlight contrast more than air-drying. If you style with irons, keep the temperature at or below 330F for fine hair and under 380F for coarse hair. Always spray heat protectant on damp hair before using hot tools.
Helpful Tricks I Learned For Blonde With Lowlights
A short home routine that helps: clarify once a month, bond treatment once a week, light gloss every six weeks, and purple shampoo as needed. If you are layering products, use the LOC method for curls, leave-in then oil then cream, to keep lowlights visible and curls defined. When you try at-home glosses, always do a patch test. If you see any irritation stop immediately and consult a pro.
How To Stretch The Color, Not The Damage
Stretching time between salon visits is about reducing washing and heat. Shampoo less often and dry shampoo the roots. Use cold rinse at the end of your shower to seal the cuticle and protect lowlights. If you feel a lot of dryness, swap one wash for a conditioning co-wash. And remember trimming split ends every 8 to 12 weeks keeps color looking cleaner. If hair is breaking, get professional advice rather than layering more products.
The Mistakes I Made With Product Choices
Cheap shampoo is fine for cleansing, but cheap conditioners often left my hair straw-like. I started spending on a mid-tier conditioner and a bond treatment and suddenly my color sat better. A mistake is overloading silicones right before a salon color, which can block absorption. If you plan a salon service, skip heavy styling products for 48 hours before the appointment.
How I Use Styling Products To Show Lowlights
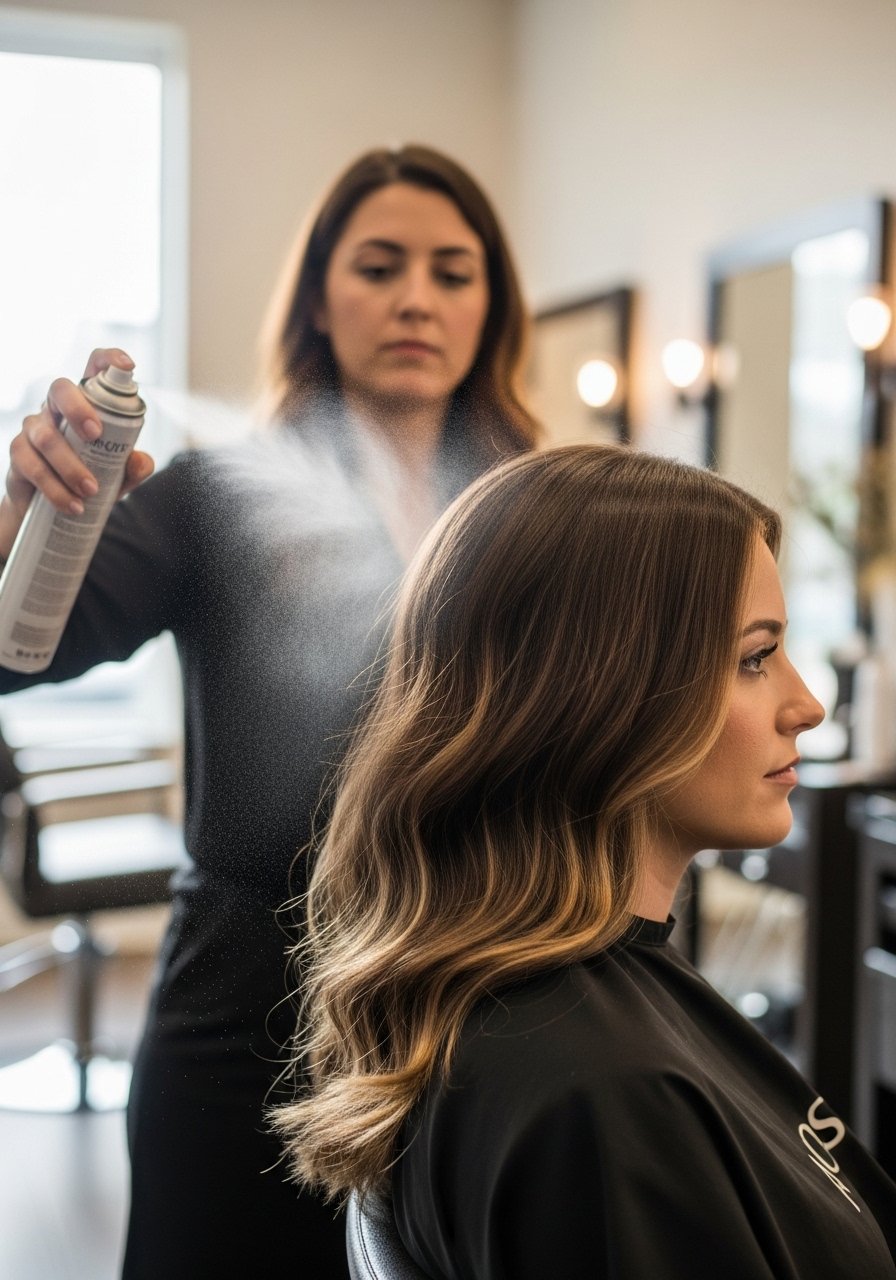
Two spritzes of a light texture spray through damp hair before diffusing separates pieces so lowlights catch the light. If you want separation without grit, mix one pump of lightweight cream into your palms and rake through mid-lengths only. For hold, a light mist of hairspray at arms length prevents clumping that hides dimension.
What I Actually Recommend For Weekly Care
Weekly, I alternate bond treatment one week and a hydrating mask the next. Use purple shampoo only when brass appears. Clarify once a month to remove product build-up so lowlights keep their intended tone. If you have scalp sensitivity consult a professional before changing chemical treatments.
Small Tricks That Make Lowlights Last Longer
Sectioning hair into four when shampooing ensures you actually rinse product out of lowlighted mid-lengths. It seems small but it stops detergent build-up that dulls color. Also, rinse with the coolest water you can stand to close the cuticle.
What I Keep In Mind When Going Darker With Lowlights
Going darker with lowlights is reversible but not always in one session. If you recently bleached, accept multiple sessions spaced six to eight weeks apart. Darkening too fast raises the chance of breakage. Consider root-only applications first to preview the tone.
What I Actually Pack For A Color Correction Visit
Bring photos, mention every at-home product you used in the last six months, and bring a small container of a neutral balm for scalp irritation. A correction can take multiple hours. Budget realistically.
What I Learned About At-Home Lowlights

At-home lowlights can work for small touch-ups if you match the shade and keep slices thin. The most common error is dragging the color too low which makes a visible stripe. If you must DIY, paper test a tiny section first and rinse at the first sign of burning or itching. When in doubt, book a consult.
How I Fade A Lowlight Without Cutting It Out
If a lowlight reads too heavy, a clarifying wash followed by a gentle gloss can soften it over two to three sessions. Expect some tonal swings as the lowlight fades. If it looks muddy, stop and ask your stylist for a toner rather than another clarifying wash.
What I Keep In My Weekend Styling Bag
A mini heat protectant, a travel diffuser, and a wide-tooth comb are all I need to refresh lowlights on the go. The protectant goes on damp hair before any heat. For travel, seal products in a zip bag.
What I Keep In Mind When Advising Friends
I always ask how much daily styling they actually do and how often they want to visit the salon. Lowlights should match lifestyle as much as skin tone. The best lowlight is the one you can maintain without resenting the upkeep.
The Four Small Things That Save A Blonde With Lowlights
Time your toners, use bond treatments weekly, do a 48 hour patch test for new color products, and invest in one good conditioner. Those four things prevent the majority of color mishaps I see.
What I Actually Spend On Maintenance
Expect to spend between $60 and $200 every 6 to 10 weeks depending on salon and technique. DIY glosses and at-home treatments reduce cost but not always risk. Factor in trims and treatments into your budget.
How To Protect Scalp During Color

If you have sensitive skin, ask for a protective barrier at the hairline and a lower volume developer. Always stop if you feel burning and seek professional help. Patch tests are not optional.
How To Read A Lowlight On Camera Versus Real Life
Flash tends to wash out depth. If you want the lowlights to read on camera, ask the stylist to deepen the lowlights by one level in front-facing sections only. Otherwise, they may appear too subtle in photos.
What I Keep In My Color Emergency Kit
A tiny clarifying sample and bond sachet saved me after a poor DIY attempt. Keep a contact for your stylist ready. If things go sideways, book a consult rather than layering fixes at home.
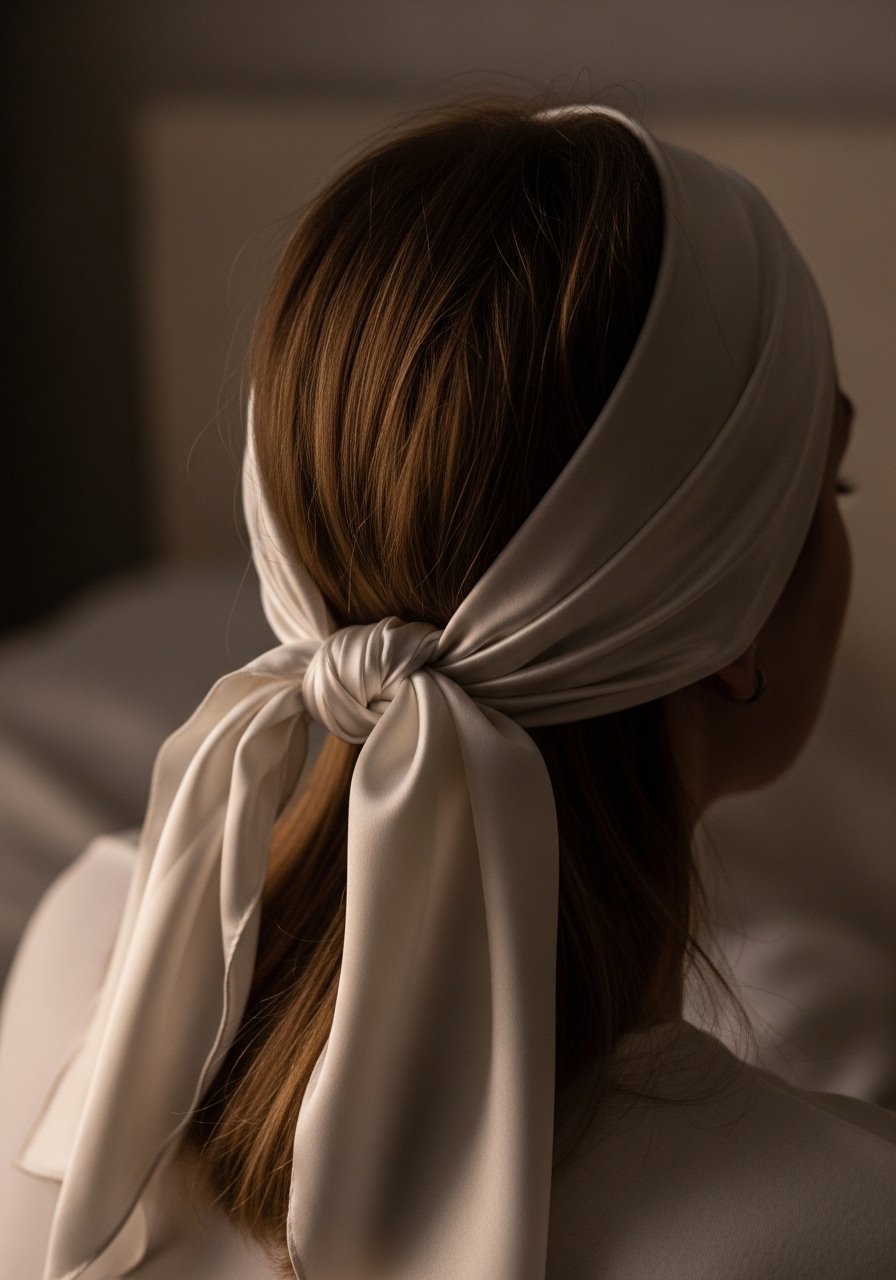
How I Sleep To Preserve Lowlights
Loose braids or a silk bonnet cut friction and maintain lowlight separation overnight. Tight hairstyles crush dimension.
My Final Note Before You Book Anything
Bring references, be honest about past color, and budget for at least two visits if you are making a big change.
Frequently Asked Questions
Q: Can I add lowlights over recently bleached hair at home?
A: No. Lifting or depositing color over fresh bleach often causes breakage or uneven absorption. If you bleached in the last six months, book a professional consult so the stylist can assess porosity and recommend safe timing or bond treatments.
Q: How often should I use purple shampoo on blonde with lowlights?
A: Once a week is usually enough. Using it every wash dries the mid-lengths and can leave a faint purple cast. Apply only to the lighter pieces or mid-lengths and never leave it on longer than five minutes without strand testing.
Q: Will lowlights make my hair look darker overall?
A: They add depth but do not necessarily make the whole head look dark if placed strategically. Thin, spaced lowlights paint through mid-lengths and ends maintain the blonde impression while adding contrast.
Q: Can Olaplex or K18 reverse damage from a bad lowlight?
A: Bond builders strengthen and smooth the hair temporarily but they do not erase past mechanical or chemical damage. They help manage breakage and surface texture. For severe breakage see a professional stylist and consider trims.
Q: What heat settings should I use when styling hair with lowlights?
A: For fine hair keep irons around 300F to 330F. For medium hair 330F to 360F is a good range. For coarse hair up to 380F if needed. Always apply heat protectant on damp hair before any iron over 300F.
Q: How do I avoid a muddy look when adding lowlights to blonde?
A: Use thin sections, avoid overly warm lowlight tones unless you want warmth, and do a quick demi-gloss to blend edges. If it reads muddy, stop and ask your stylist for a cool tone glaze rather than additional color.

