
I sat in a chair once while a stylist hacked layers into my lob because "more layers would be fun," and three months later I paid to have the weight rebuilt. These are medium length haircuts with layers that actually behave in real life, not just in photos. I’m talking options that work for fine straight hair, 2A to 3B waves, and type 3 curls with notes on how to adapt each cut. Most of these take 20 to 45 minutes in the salon, a couple you can tweak at home with a scissors and a comb, and the product budgets run from under $20 to one splurge tool around $150. Some cuts are salon-only for best results, that is noted.
Blunt Lob With Soft Face-Framing Layers

If your hair is fine and tends to look thin at the ends, a blunt lob with a few soft, face-framing layers keeps the weight where it needs to be while giving movement at the front. Ask your stylist for one to two long front layers that start at the chin, cut on a slight diagonal and texturized with 10 to 15 thin point cuts in the ends. That touch avoids choppy slices. At home, two spritzes of a lightweight sea salt spray through damp hair before diffusing on low heat adds texture without stripping volume, try Bumble and bumble Surf Spray. A common mistake is asking for "layers everywhere," which makes fine hair look thinner. If you heat style, always use a protectant before any iron over 300F and keep your flat iron at 300 to 350F for fine hair to avoid breakage.
Textured Long Bob for Fine Straight Hair
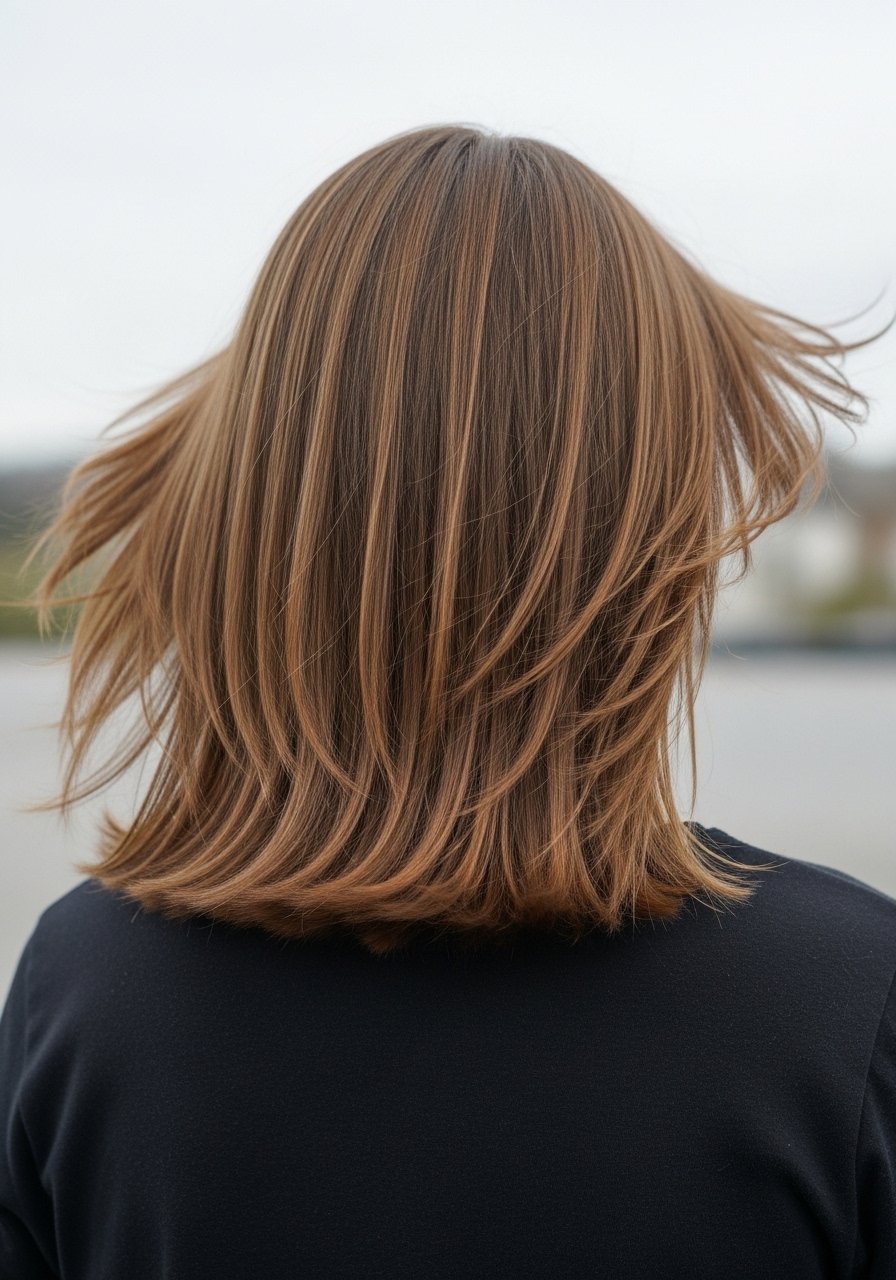
This cut is about creating the illusion of density using internal layers that stop about two inches from the ends. Ask for internal slicing, not short outer layers, and for the stylist to point-cut the tips while the hair is wet for a softer edge. It works fast for busy people because it air-dries nicely and takes under 10 minutes to style if you run a round brush through the ends. Use 2 to 3 drops of a lightweight silicone serum on the mid-lengths and ends before blow drying, focusing 80 percent of your product on the mid-lengths and ends so roots stay lively. If you try this at home, a single pass with a round brush and a blow dryer on medium heat, high speed, nozzle attached, smooths the hair and keeps shape.
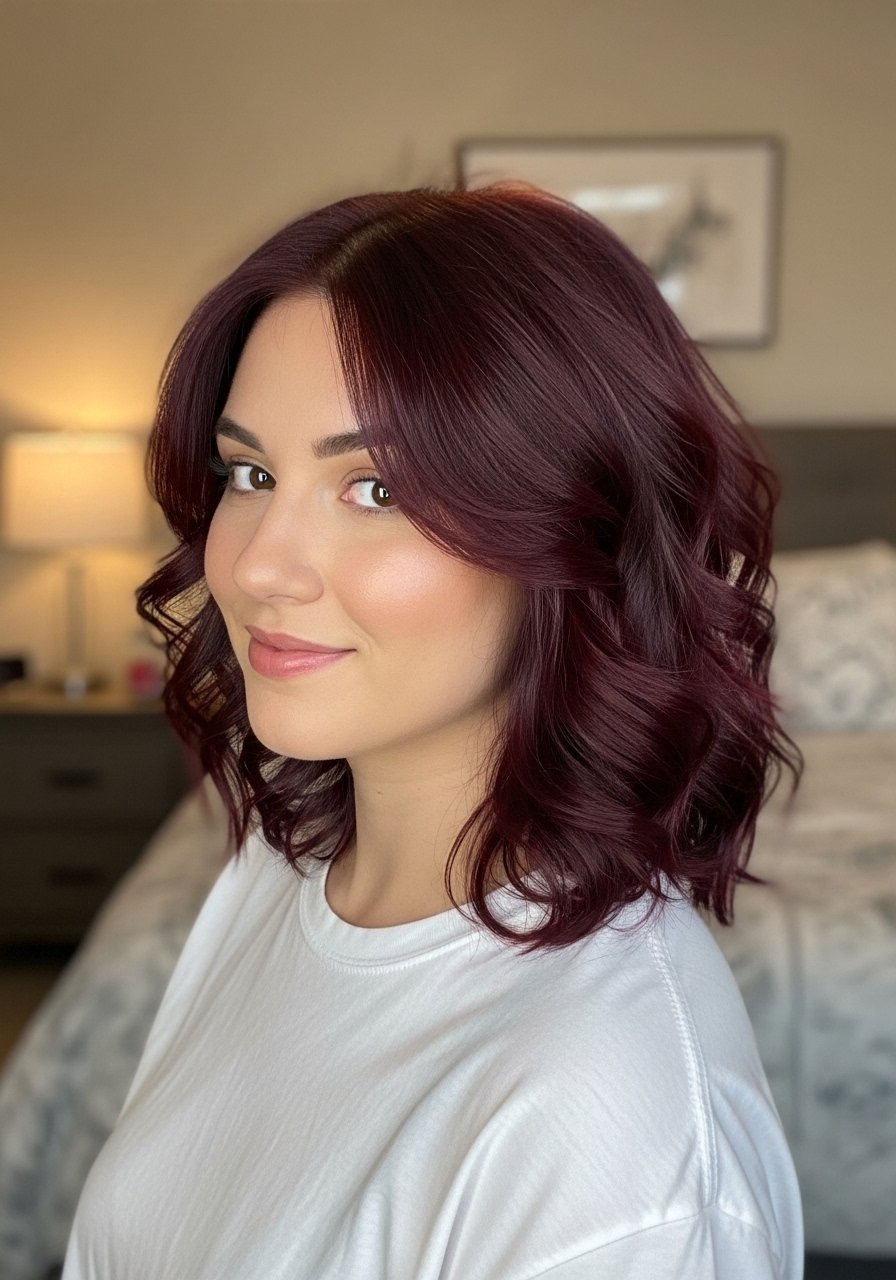
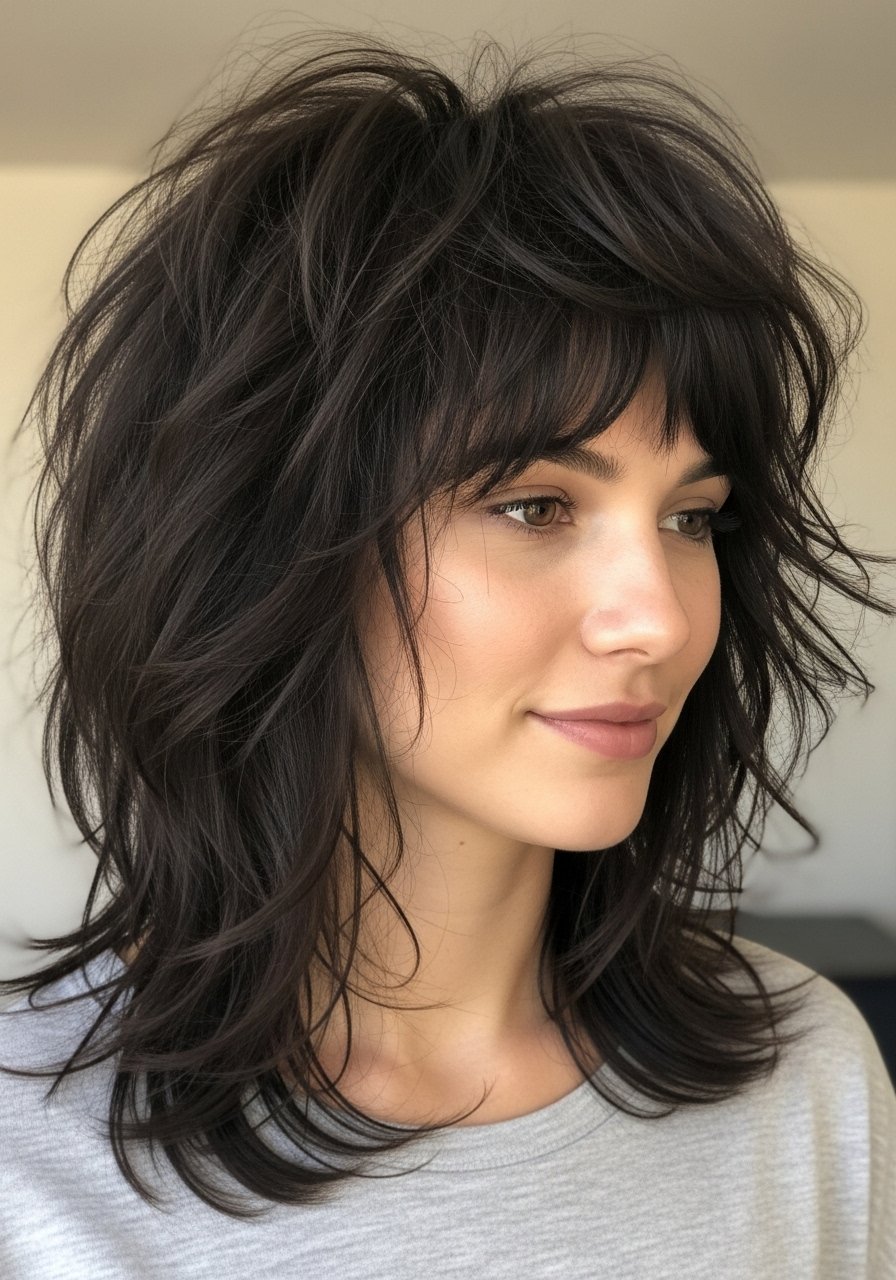
Shag Lob That Keeps Beachy Waves

The modern shag lob is my favorite when you want that undone, lived-in look without the bulk of long layers. Tell the stylist to keep shorter layers on top and longer face-framing pieces, with lots of slide-cutting through the mid-lengths for separation. For 2A to 2C waves, I layer a cream leave-in under a light gel. My curls looked great on TikTok and like wet noodles by 11am. Finally figured out it was the gel-only routine. Added a leave-in cream underneath and it changed everything. Two pumps of leave-in, one pump of gel, scrunch, then plop for 20 minutes cuts drying time and keeps definition. If you color this, suggest a gloss at the salon to avoid brassiness.
Curtain Layers to Soften Round Faces
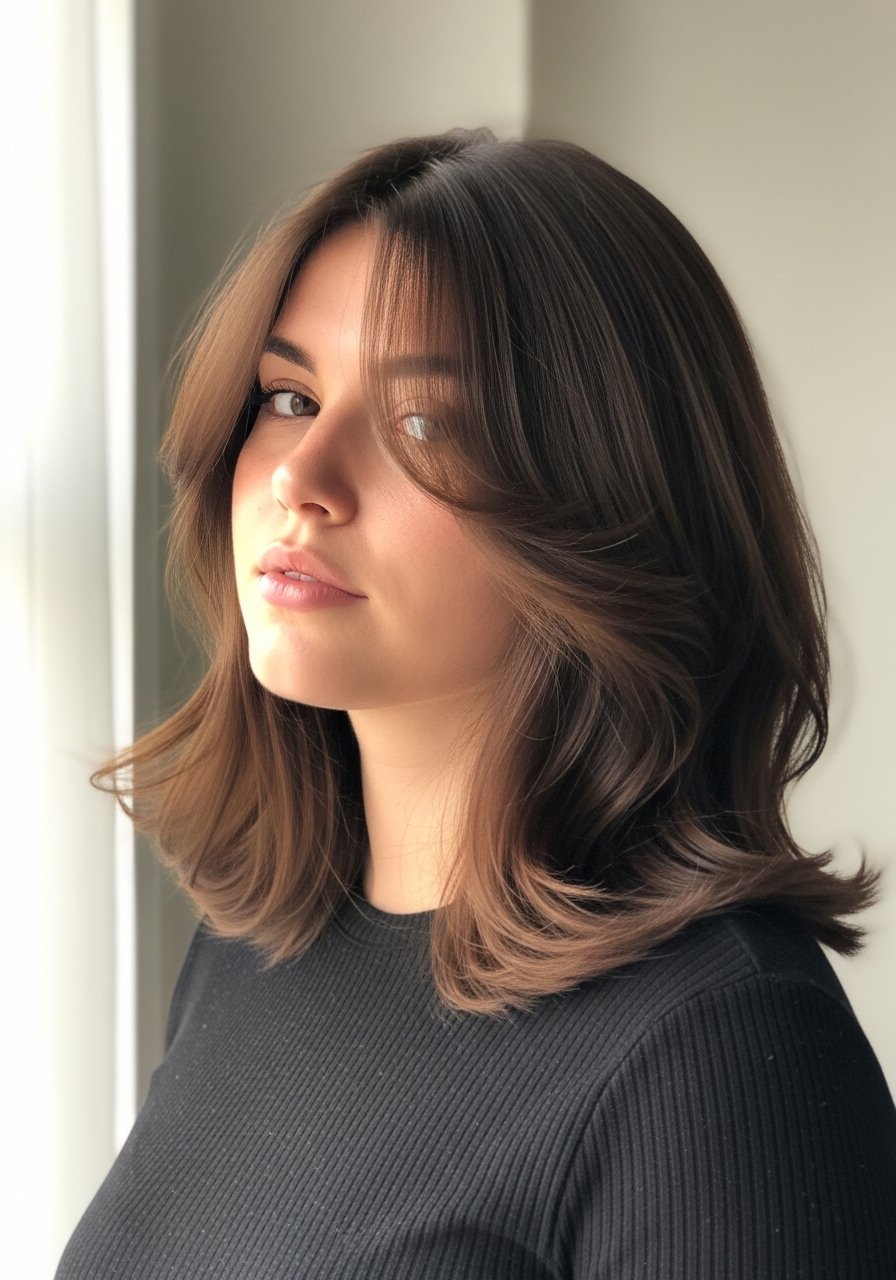
Curtain layers are the friendliest way to add movement while giving cheekbones a lift. Ask for layers that start at cheekbone level and taper into the ends, with razor or slide cutting kept minimal if your hair is frizzy. For round faces, keep the length a finger below the collarbone so the vertical line elongates the face. A common mistake is cutting the bangs too short, which creates a forehead gap. Styling is simple, two passes with a round brush on medium heat, or twist front pieces with a 1 inch iron at 325 to 350F for a soft curtain bend. If you have scalp sensitivity, test any new styling cream behind the ear first.
Long Layers That Remove Bulk Without Losing Shape
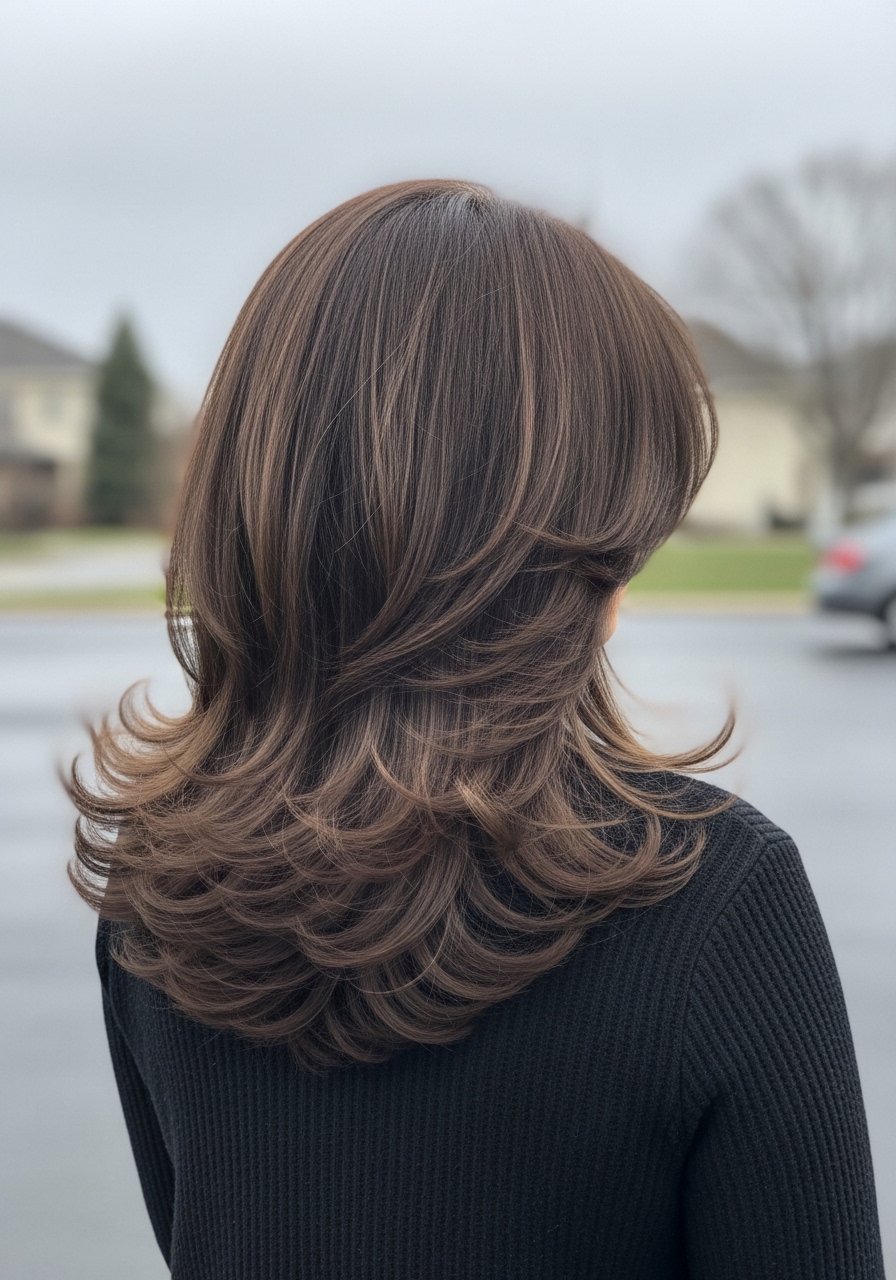
Thick hair can end up boxy if the layers are too short. This cut uses long, graduated layers that start lower, near the shoulder blades, and are thinned with slide cutting toward the ends. It takes a patient stylist to balance enough removal of weight without creating a frizzy triangle. On wash day, work a cream conditioner through from mid-lengths to ends, leave for three to five minutes, then detangle with a wide-tooth comb in the shower. For heat styling, keep your blow dryer on medium heat and use 2 to 3 pumps of smoothing oil on the ends only. If you are tempted to DIY, thinning shears can easily create visible gaps if you do not know tension and sectioning, so see a pro for major changes.
Layered Medium Cut for Defined Curls
Curly hair needs layers to breathe, but too many short layers make a helmet. This cut starts with 3 to 4 top layers around crown level and keeps length at the perimeter. Request that the stylist cut dry or at least shape the curl while it is dry to see the actual pattern. After the cut, I do a low-porosity routine, warm towel over products for five minutes to encourage penetration, then let it air dry or diffuse on low. A common mistake is using only gel. I switched from a gel-only routine and added a leave-in cream underneath, and my second-day texture went from zero to actually wearable. If you color your curls, ask for low-contrast money piece highlights placed sparingly so the curl pattern reads, not breaks up.
Stacked Back Layers for Instant Volume

Stacked layers at the back give instant lift for people with flat crowns. The trick is short internal stacking, roughly three to five vertical sections graduated up to the crown, and longer outer lengths to keep balance. Ask the stylist to point-cut the stacking with soft texturizing so it does not look like a mullet. Blow dry with a round brush, lifting at the roots for 10 to 15 seconds per section on medium heat, then finish with an anti-humidity spray to hold the shape. Overdoing texturizing at the ends is the mistake that makes slices visible in photos. This is a salon cut, not a DIY fix.
Modern Wolf Cut With Controlled Layers
The modern wolf cut has edge but it can go wrong fast. Ask for controlled layering where the top is textured and the underlayers are kept longer to avoid a mullet silhouette. For those with 2B to 3A texture it creates natural volume and movement, and for straight hair it reads as edgy shape when styled with a flat iron bend. Use a light paste or clay, no more than a pea size for short layers, and work it through the roots and crown for separation. If you plan to color this, keep low-contrast tones so the layers do not look stripy. Bleaching over existing dark color is risky, talk to a colorist and expect multiple sessions rather than attempting aggressive lift at home.
Face-Framing Layers With Money Piece Highlights
A money piece is a front highlight that draws attention to the face and works on almost every medium cut. Keep the money piece narrow, about one to two finger widths, and place it where your natural part will fall. For low-maintenance brightness ask the salon for a baby-light hand-paint and a glaze rather than a hard foil. If you are doing a DIY touch-up, use a lower volume developer and a mixing ratio of 1:2 for glosses to avoid overprocessing. Watch for root banding and do an allergy patch test for new color formulas. I find a glaze after every other color visit keeps the tone fresh without extra lift.
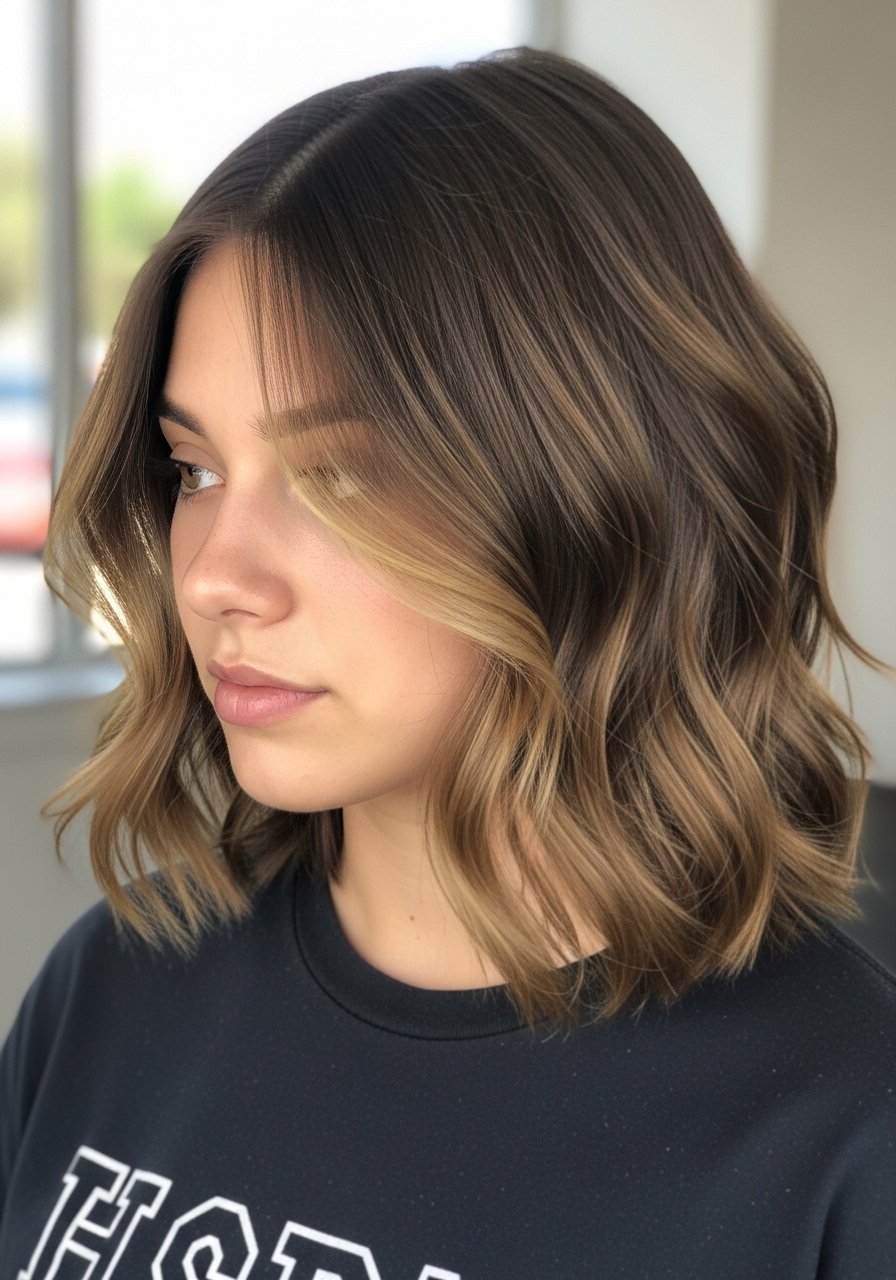
Blended Layers to Grow Past Shoulder Length

Growing out choppy layers is the slow version of patience, but a blended cut buys you time. Ask for long, soft layers that are slide-cut to remove hard lines and keep the silhouette smooth. Trim every 10 to 12 weeks to remove snapped ends and preserve the blended look while you grow length. For styling, a one-inch iron at 340F used sparingly on outer layers smooths the look and a dime-sized amount of bond-building leave-in helps ends not look like straw between appointments. If you are tempted to layer more at home with consumer scissors, do not. The wrong hand tension creates visible steps in the hair that only a pro can fix.
Soft Razor Layers for Thick Coarse Hair

Razor cutting can be a magic tool for thick, coarse textures when used by someone who knows how to control the bar of the razor. The approach here is long internal razor layers, kept away from the perimeter so the outer shape remains dense. The result is movement without a wispy, see-through finish. If your hair is color-treated, be cautious because razoring can expose previously damaged ends. A weekly deep conditioning treatment for five to ten minutes will help maintain elasticity. If the stylist suggests heavy razoring through the perimeter, ask them to show you with a small section first so you can see the movement before they commit.
My Little Shelf Picked for Medium Layered Cuts
- Honestly the one product I keep grabbing when my ends feel fried is Olaplex No. 3 Hair Perfector, used once a week for 10 to 30 minutes. Buy from the official Olaplex store on Amazon or pick it up at Sephora to avoid counterfeits.
- For smoothing and humidity defense, Color Wow Dream Coat anti-humidity spray (~4 oz) gives three to four days of reduced frizz after blow drying.
- A compact round brush, 1.5 inch ceramic, is worth the $25. I use it when I need the blunt lob to sit right on second-day hair. Ceramic round brush 1.5 inch
- For curls that need shaping after a layered cut, a microfiber hair towel cuts drying time and frizz. Microfiber hair towel wrap under $15.
- When I need temporary hold that does not crunch, sea salt spray gives texture without stiffness.
- A small clay or paste for separation, use no more than a pea-sized amount on short layers. Styling clay small jar
- For color care after face-framing highlights, a 10 oz purple shampoo used once a week keeps brassiness at bay without drying when you follow with a conditioner. Purple shampoo 10oz
- If you splurge on one tool, a quality mid-size blow dryer with a nozzle is the tool that outperformed my expensive gadgets. Dyson and the Shark FlexStyle are options, but buy from the brand or authorized retailer to avoid counterfeits.
What I Wish Someone Had Told Me About Layered Medium Cuts
- Heat protectant goes on damp hair, not dry. The cuticle is more open and the product actually absorbs. Color Wow heat protectant is one I use when I am styling for photos.
- Grab a microfiber hair towel for $12. It cuts your blow dry time by a third and stops the frizz before it starts.
- Hair grows about half an inch a month at most, regardless of what biotin gummies promise you. The thing that helps length retention is reducing breakage with a silk pillowcase and weekly bond treatments.
- Drugstore shampoo is fine. Where you actually need to spend money is the conditioner and bond builder. Olaplex No. 5 Bond Maintenance Conditioner does more for damaged hair than a $40 shampoo ever will.
Frequently Asked Questions
Q: Can I get layers if my hair is very fine without making it look thinner?
A: Yes, but the approach matters. Long, face-framing layers and internal texturizing create movement without removing weight from the perimeter. Ask for point cutting and limited slide cutting at the mid-lengths. Keep heavy texturizing away from the ends and use lightweight styling products so the hair does not collapse.
Q: How often should I trim medium layered hair to keep the shape?
A: Every 10 to 12 weeks is a good rule for most layered medium cuts. If you are growing out a choppy style, trimming every 8 to 10 weeks helps blend the layers smoothly. Trimming more often avoids broken tips and keeps the silhouette as intended.
Q: Is a dry cut better for layered curls?
A: Most stylists shape curls dry because it shows how the curl sits. For type 3 curls ask for a dry shaping so the stylist can see shrinkage and place layers where they fall naturally. If your stylist insists on wet cutting, ask them to dry and fine-tune the shape before finishing.
Q: The layers I asked for poof up at the sides, how do I fix that?
A: Poof usually means the layers are too short or texturizing was overdone in the wrong spots. A fix can be a small reshaping session to lengthen the problematic layers or smoothing with a cream and low heat. If it is a styling technique issue, blow dry the sides with the head slightly tilted down and use a medium round brush to smooth the join.
Q: Can I bleach my hair at home on top of previous color to create face-framing highlights?
A: Lifting bleach over previous dye is the single most common reason hair breaks off in the shower. If you are committed, book a color correction with a professional and expect multiple sessions over months. If you attempt a DIY, use low-volume developer and test a single small section first, but the safer route is the salon.
Q: Will a razor cut fix split ends?
A: No cut prevents the need to trim, but razor-cut layers can smooth how the ends look. Split ends are physically split and trimming is the only long-term fix. Bond-building treatments and serums smooth the appearance between trims but they do not permanently repair splits.

