
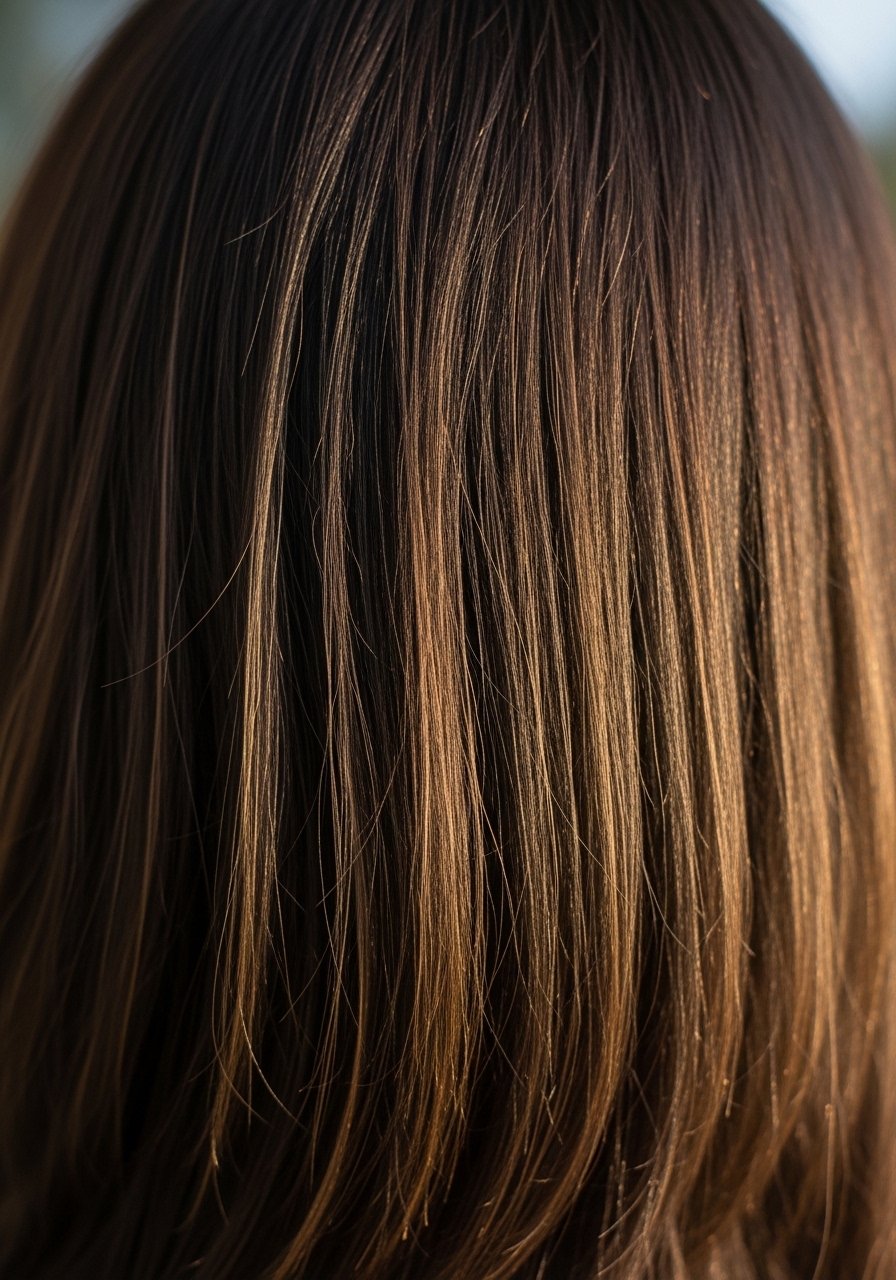
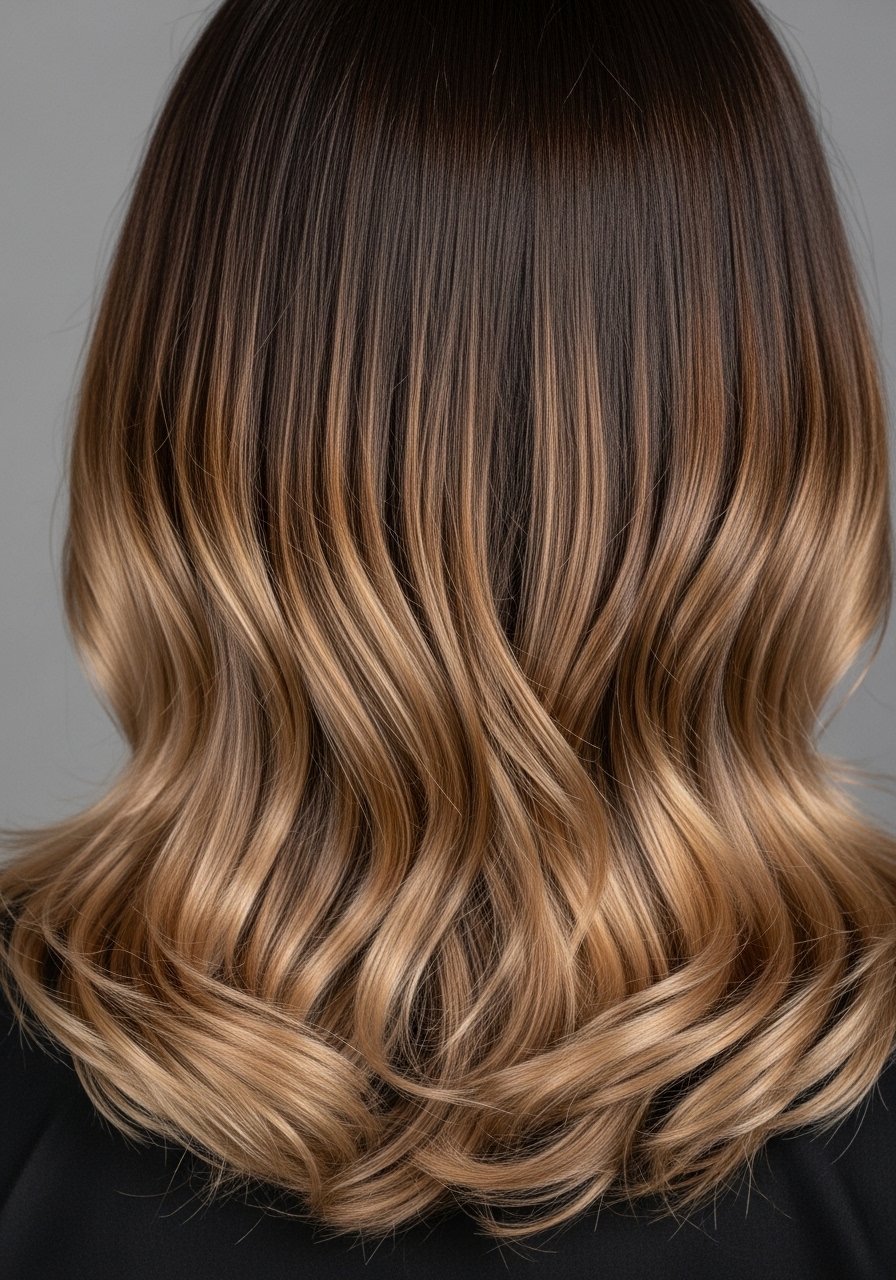
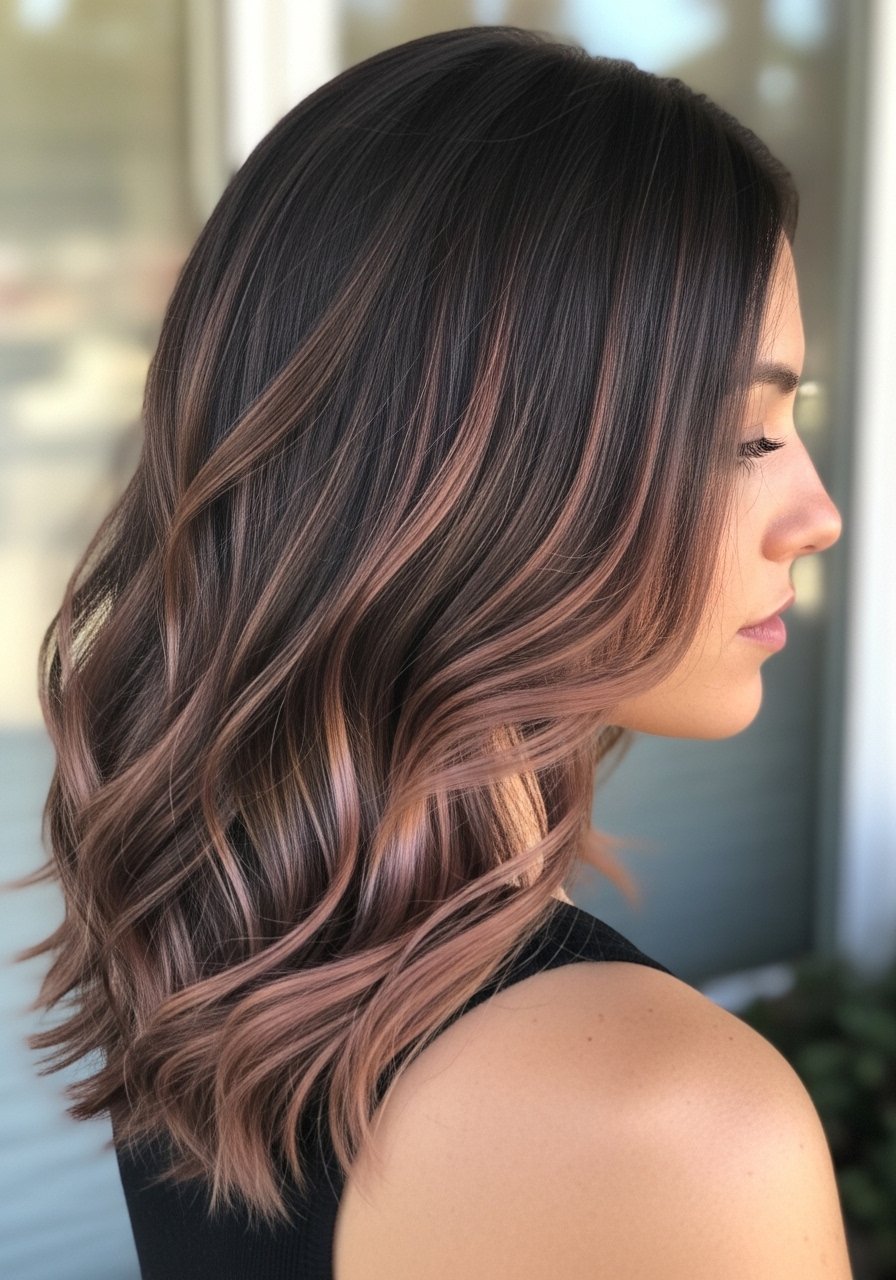
I bleached my own hair last winter trying to save $200. Three months later I paid $400 to fix it. Olaplex No. 3 saved what was left. If you have dark brown hair and want believable dimension without wrecking your ends, balayage for dark brown hair for brunettes is the trick that actually ages well. Below I share looks I have tried, fixes after salon mishaps, and techniques you can safely attempt at home.
These ideas are aimed at natural and color-treated brunettes with fine to medium 3A waves up to thick 4C textures, shoulder length and longer. Skill ranges from at-home touch ups to low-commitment salon services. Most looks can be kept under $60 for maintenance, with a few splurges worth a salon booking or a tool purchase. I note when you should see a colorist.
Subtle Caramel Face-Framing For Office-Friendly Dimension
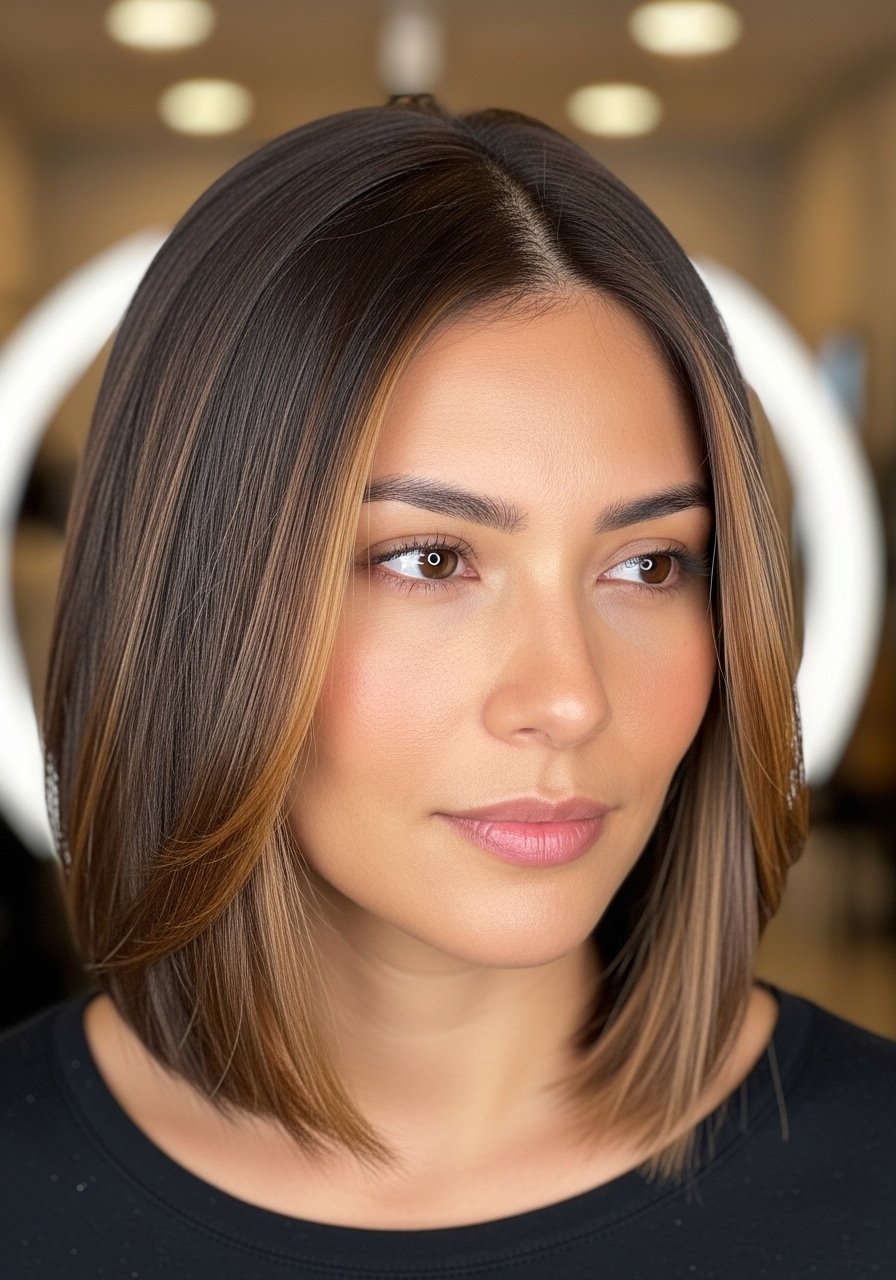
If you want contrast that reads natural on camera and in person, paint the pieces around the face lighter by two to three levels and feather the paint out at the ends. On my fine, slightly porous hair I sectioned into 1-inch slices and painted about 1.5 inches from the root, left the product on for 20 minutes with a 10-volume developer and checked every five minutes. The result is bright but not brassy. Use a gentle toner for five minutes if the highlights pull warm. A common mistake is over-painting into the crown, which makes grow-out obvious. This is salon-friendly but doable at home if you stick to small sections and a 10-volume lift. Try Olaplex No.3 weekly if you lighten at home, and buy from the official seller to avoid counterfeits.
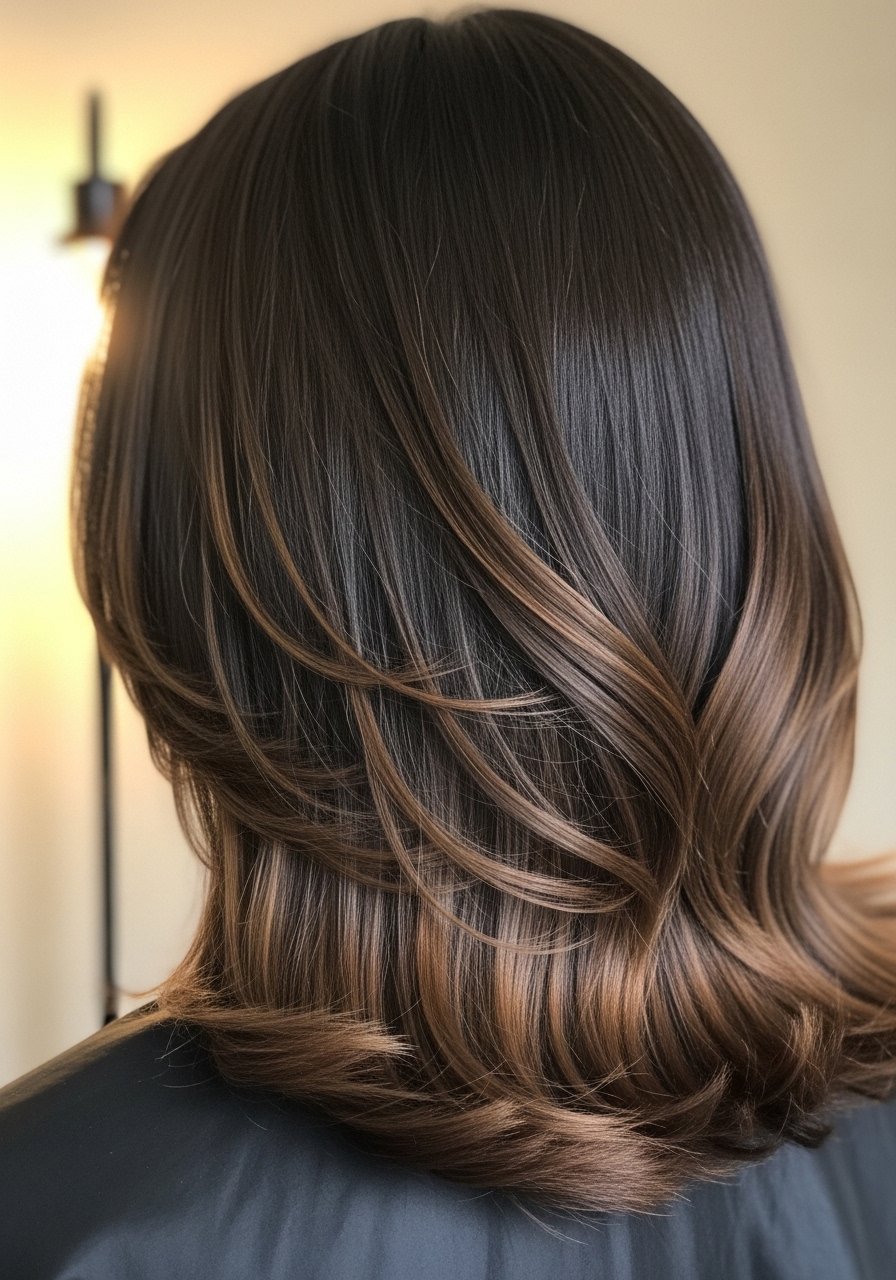
Mocha Shadow Root For Longer Time Between Touch-Ups
If you hate bright regrowth lines, a shadow root buys you weeks. I ask for a darker mocha painted within the first inch of the root, feathered into lighter mid-lengths. Technically you use a demi-permanent glaze on the root and balayage lightener below. On my friend with medium density hair this cut maintenance from four weeks to eight weeks. A common mistake is making the root too dark, which creates a heavy top. Ask your colorist for a 50/50 blend and for them to avoid hard lines. This pairs well with a gloss at the bowl to tune tone. For at-home maintenance, a sulfate-free color shampoo like Redken Color Extend Shampoo 8oz stretched color life without stripping.
Money Piece Brighteners For Lifted Face Light
The money piece is for brunettes who want a quick face-lift without committing to full lightening. Paint two 1-inch sections at the front, lift them one to three levels, and tone with a cool gloss for two to three minutes. On my 3A waves I get the biggest bang for my buck with this alone. Common error, especially DIY, is using too high a developer and frying the front pieces. If you are lifting more than three levels, see a pro. Styling wise, low heat and a round brush smooth the front. Heat protectant before any iron over 300F is non-negotiable, and I like adding Color Wow Dream Coat travel size after drying to keep the pieces laying flat.
Ashy Mauve Balayage For Cooler-Undertone Skin
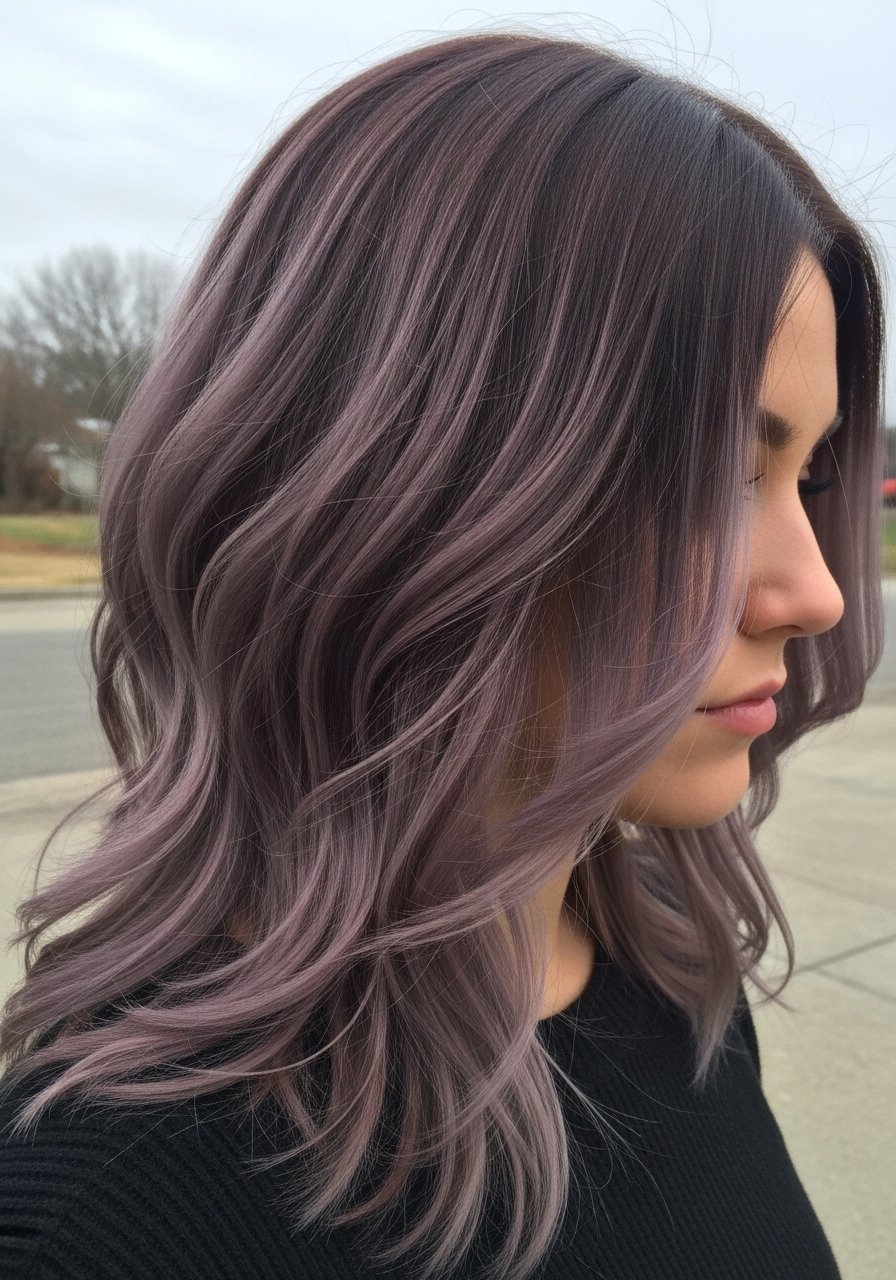
If your skin has cool undertones and you fear warmth, try a low-key mauve ash glaze over a lightened base. You only need to lift the sections by one to two levels, then apply a demi-gloss diluted 1:2 with conditioner for a softer deposit. I did this once on my friend who usually looks brassy after every salon trip, and it canceled the yellow in two washes. The mistake is leaving a pigmented toner on too long, which can make hair look muddy. This is best done in a salon unless you are comfortable timing toners to the minute.
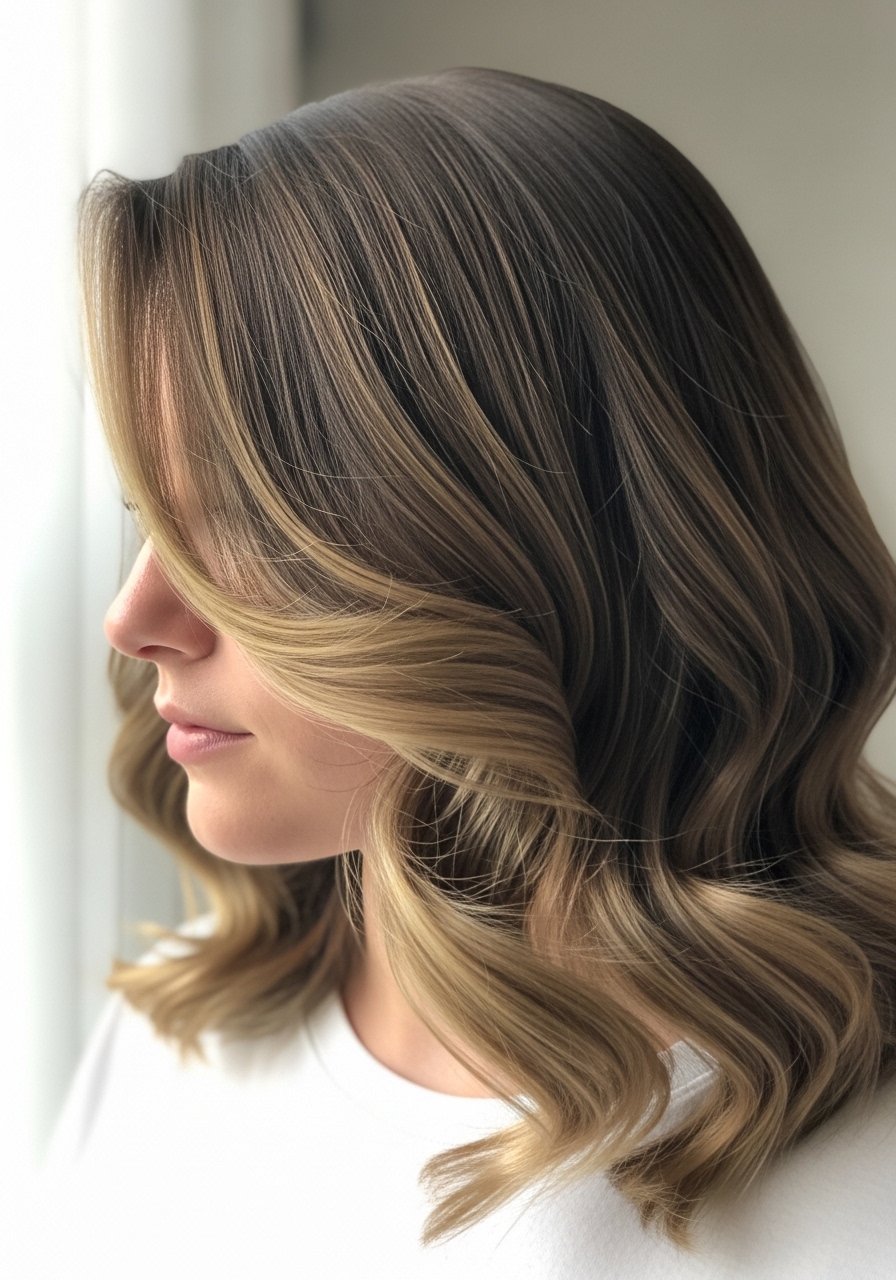
Babylights Through Thick Hair For Soft, Even Warmth
People assume babylights are only for fine hair. Wrong. On thick hair you work in smaller 1/8-inch slices, weave the lights through the top layer only, and stagger placement so they do not all line up. Expect a two-hour process in the chair. On my thicker-haired client, this approach avoids chunkiness and gives movement under direct light. Most DIYers make sections too large and get striping. If you do this at home, use foils to isolate the thin slices and monitor lift every seven minutes. A post-color gloss for 10 minutes smooths cuticle reflection.
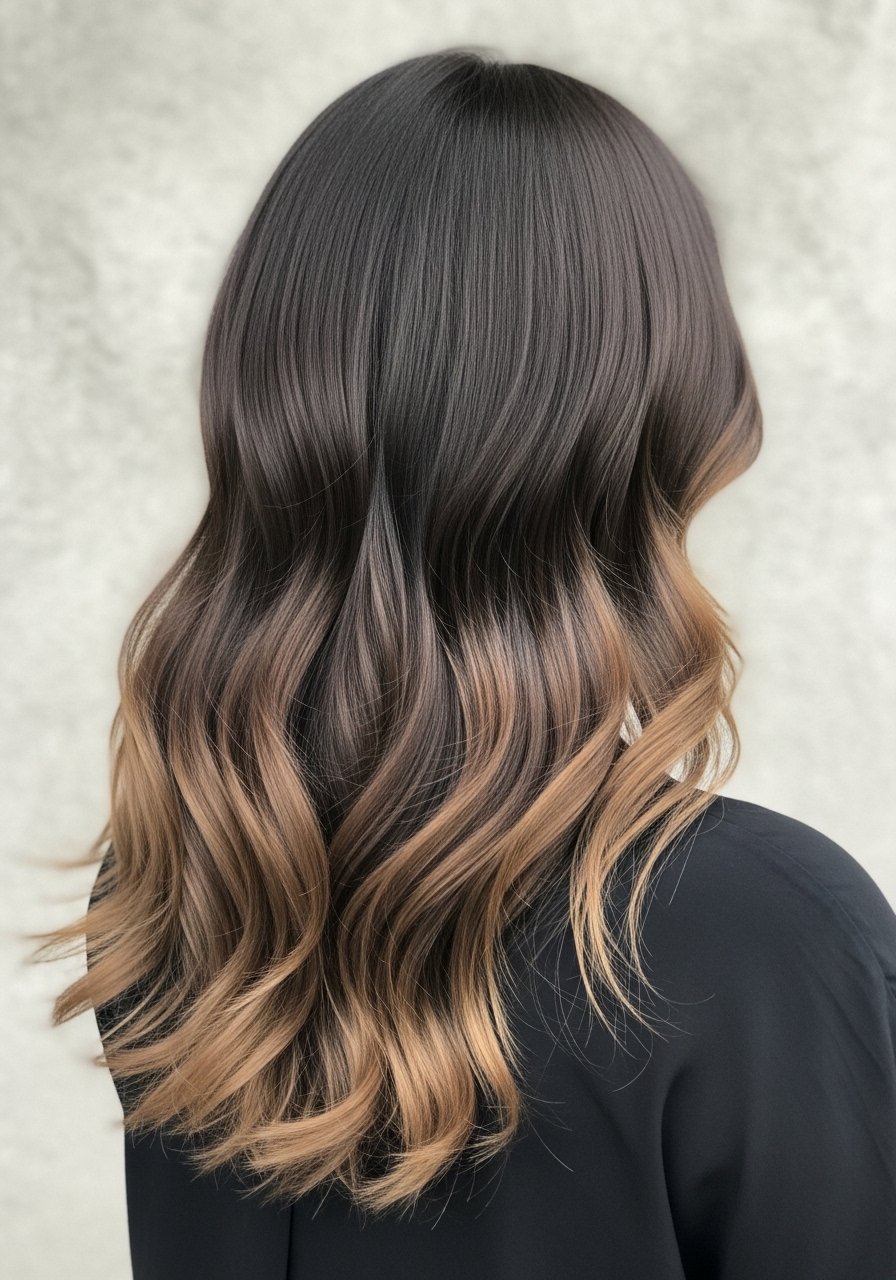
Espresso Melt For Low-Maintenance Richness
Espresso melt keeps the color deep and wearable while still adding dimension. Technically you paint warmer mid-lengths but leave most roots untouched, then blend by feathering with a dry brush. This is for brunettes who want depth without frequent salon visits. I had this done after over-lightening and it made my hair look thicker and less patchy while I grew it out. A common pitfall is adding too much warmth which can look orange on certain skins. Ask for a glaze that cools a hint if that worries you.
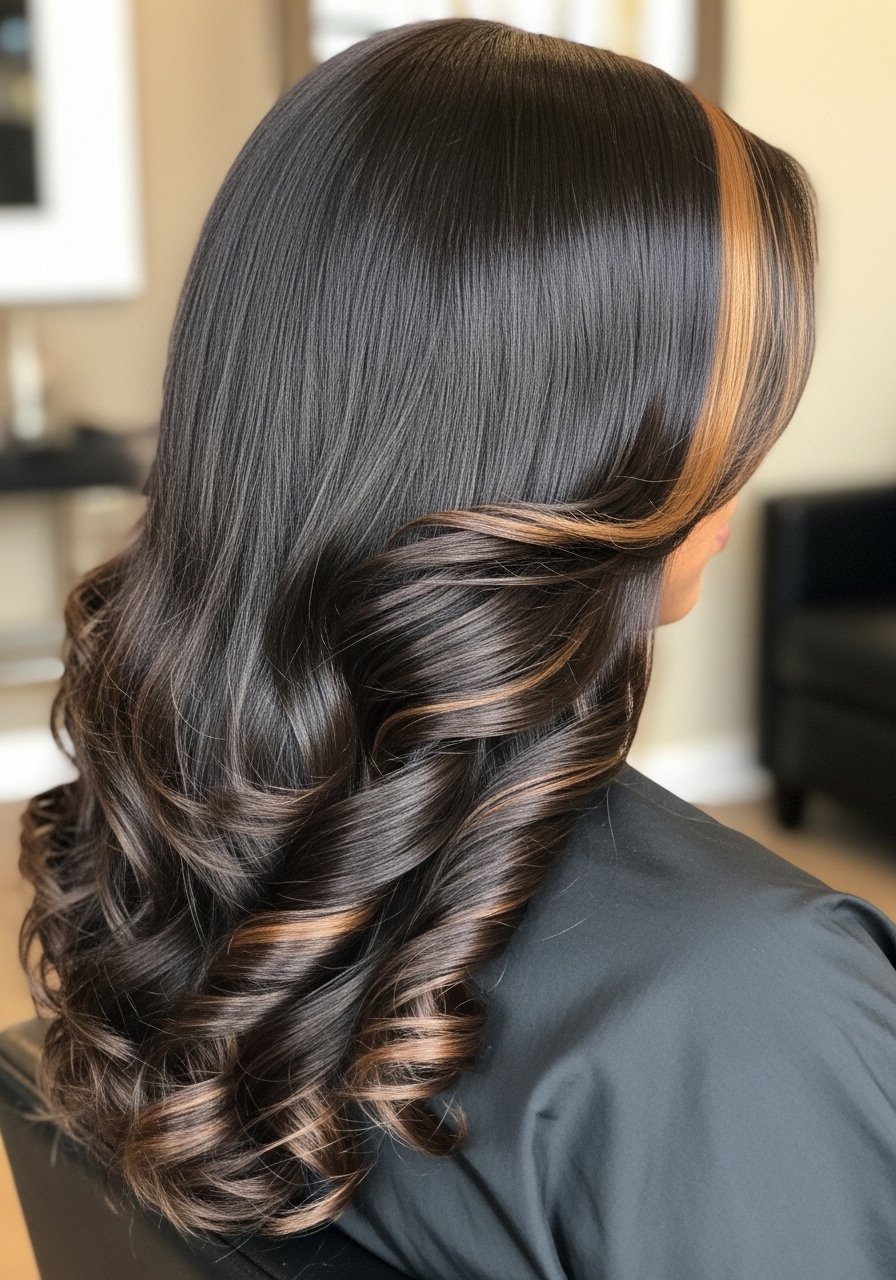
Copper Peekaboo Panels For Subtle Statement Color
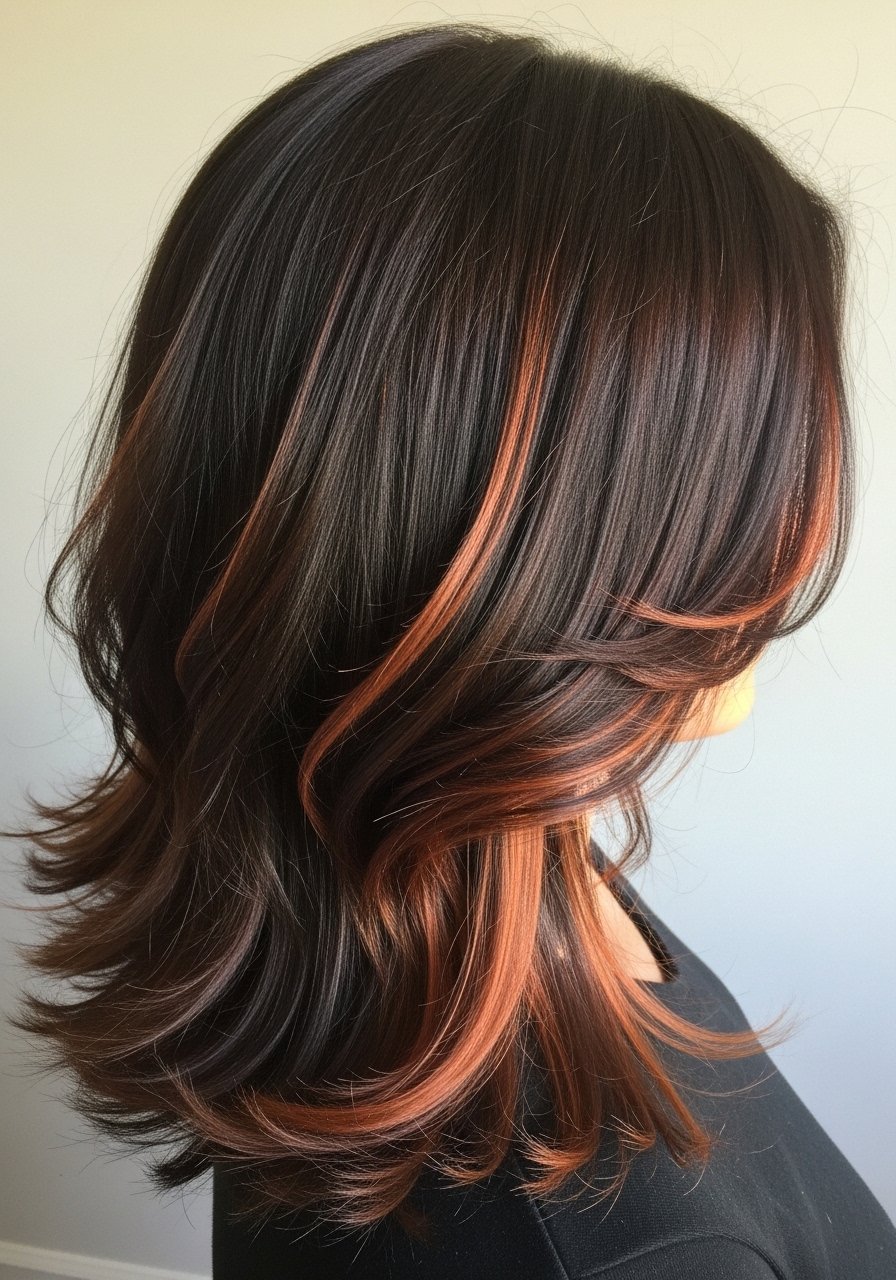
Peekaboo panels are fun when you want color that hides under your top layer. Paint panels starting from three inches below the part line to the ends, lift with 20-volume developer for about 25 minutes depending on how vivid you want it, then tone. This suits medium density hair and shoulder length or longer. The mistake is placing panels too close to the part so they show even when you do not want them. For vivid copper, expect faster fading and plan weekly color-safe conditioning. If you are DIYing, do a strand test and do not use 30-volume unless you know your hair is strong.
At-Home Gloss For Brassy Tone Rescue
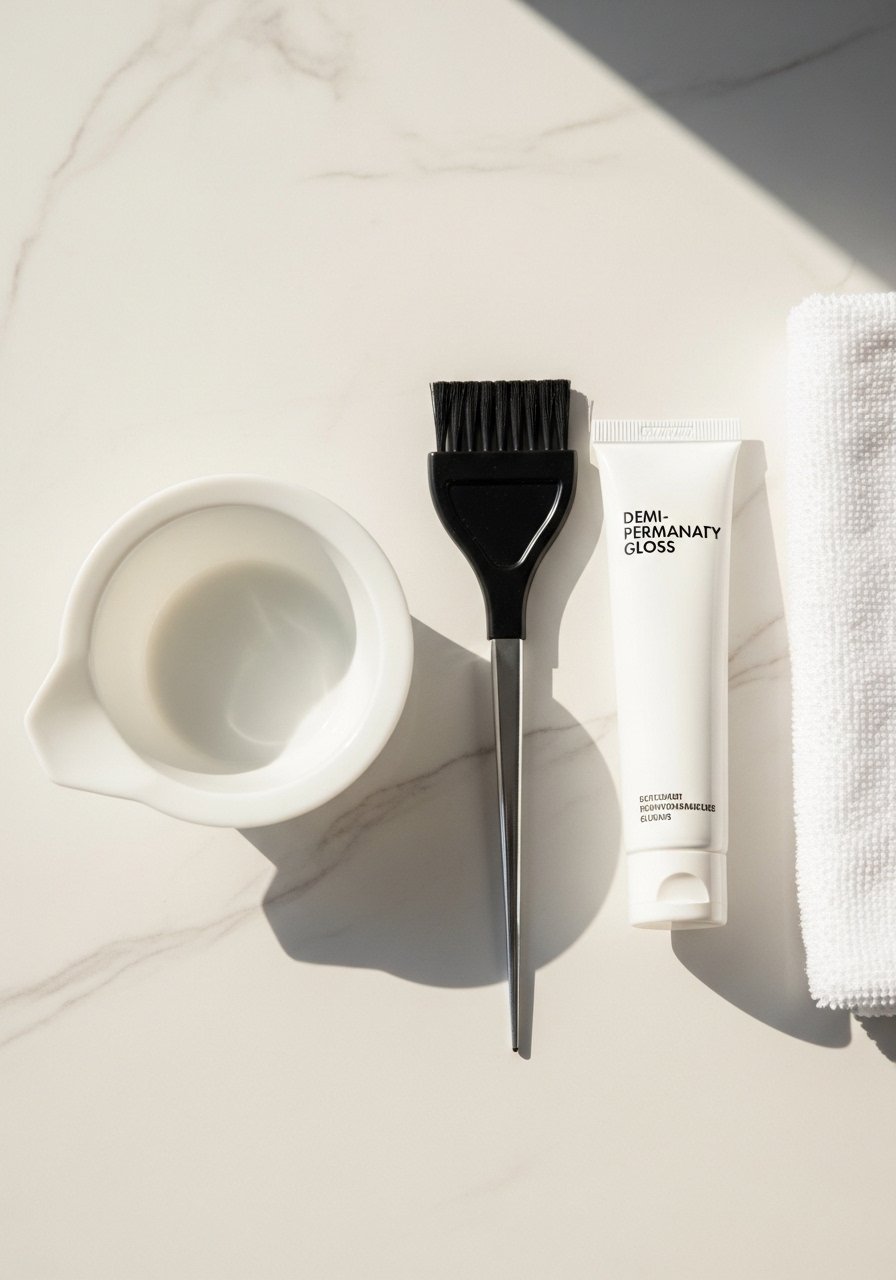
I keep a demi-permanent gloss in my shower kit for weeks when the color goes warm. Use a 1:1 mix with clear gloss and apply to damp hair for 10 minutes. It smooths tone without lift. One mistake is leaving a pigmented gloss on like a permanent dye; follow the minute counts on the bottle. For brunettes, a cooler brown glaze will take brass out and add shine. If you are allergic to hair dye, do a patch test. Try a salon gloss for the toughest brass or use Wella Color Charm gloss 2.54oz for a reliable at-home option.
Creamy Caramel Balayage on Fine Hair For Fuller End Appearance
Fine hair shows foiling mistakes faster. For a fuller look, paint color on the mid-lengths only and keep the ends slightly darker to imply density. I use wider sections, about 1.25 inches, and avoid feathering right at the root. The real detail people skip is drying technique. I blow dry with a low heat brush to tuck the color under and create movement. Too many people over-process the ends trying to lighten them, which creates breakage. A weekly bond builder treatment like Olaplex No.0 and No.3 combo can mitigate that risk, but trims are still the real fix for split ends.
Deep Chocolate With Subtle Slices For Coarse Hair
Coarse hair needs broader, fewer slices to read as intentional. I typically do 1.5 to 2-inch slices placed around the face and framing the crown. Lift slowly, check at 15-minute intervals, because coarse hair can go from neutral to warm faster. The result is depth without a sun-bleached look. A mistake is placing too many thin slices, which vanishes under volume. For coarse textures, ask for toner and a smoothing leave-in cream to keep the highlights visible. Use heat sparingly and add a leave-in before styling.
Golden Face Melt For Mid-Length Waves
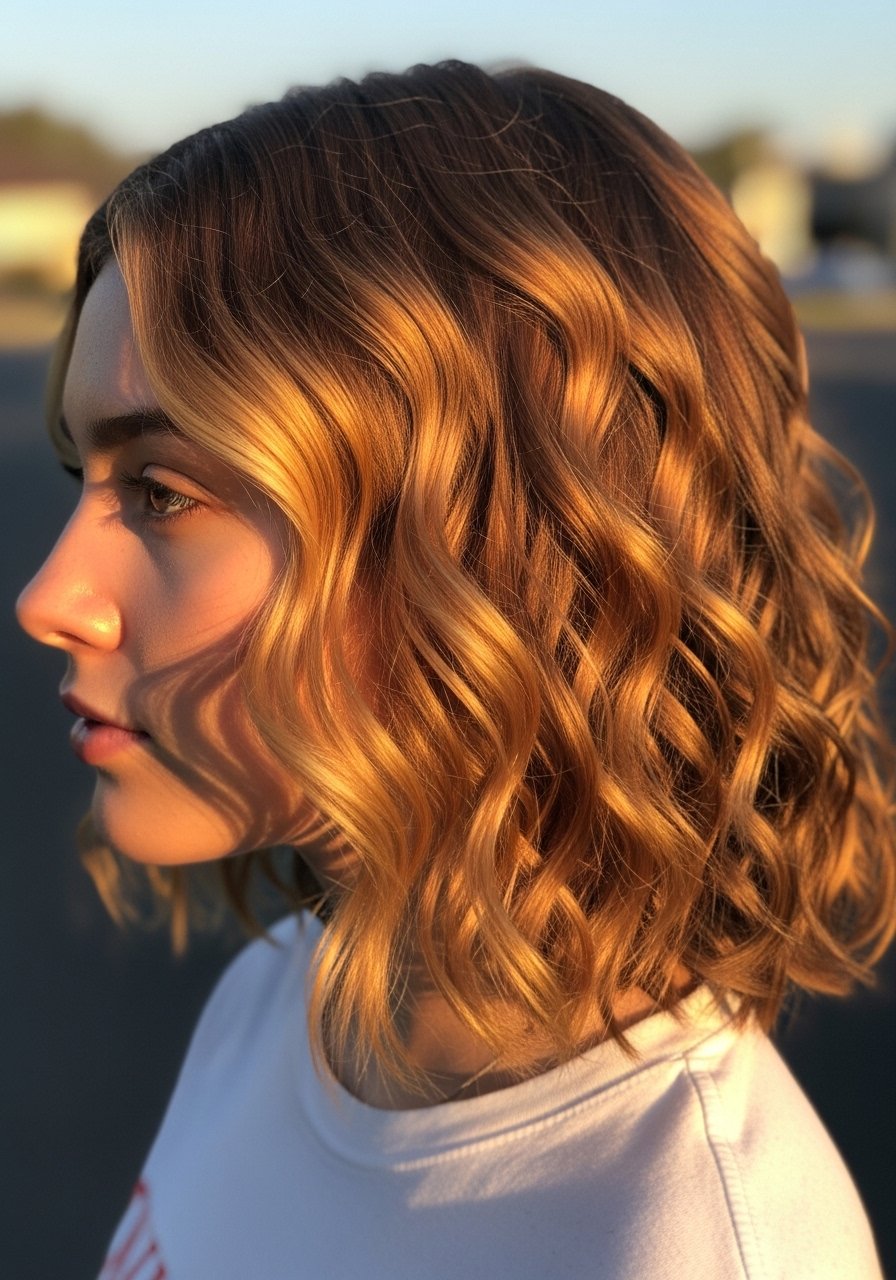
Face melts are softer than money pieces. Paint the front three inches and feather down 2 to 3 inches into the mid-lengths so the lightness melts into the base. On my 2C waves I noticed the look becomes more flattering after a few washes as the glassy shine fades slightly. Common mistake is making the melt too abrupt. At home, paint thinner layers and use foils sparingly. Finish with a gloss for five minutes to unify tone.
Low-Maintenance Bayalage For Busy Schedules

If you do not want salon visits every six weeks, ask for balayage with a soft, two-tone grow-out. Keep the lightest pieces below ear level so roots look blended as you grow. I had this done when I knew I would be traveling and it lasted through three months without obvious lines. The mistake is asking for too much lift upfront, which forces frequent toning. Maintenance is one glaze every eight to ten weeks and a clarifying shampoo once in a while. For daily upkeep, a dry oil keeps ends looking smooth.
Short Bob Balayage For Added Shape
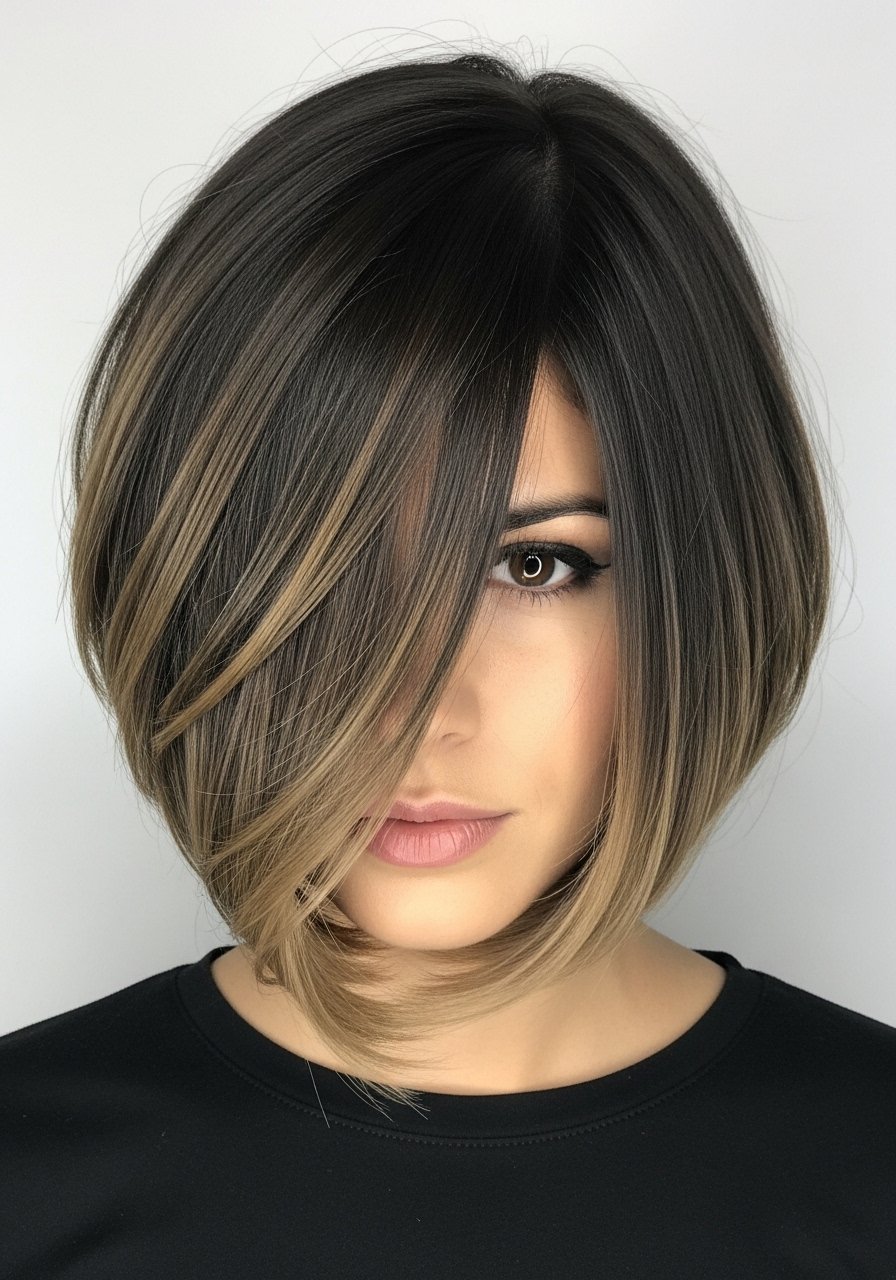
Balayage on short hair is tighter painting and more deliberate placement. I paint the hair in smaller panels, focusing on the ends and the forward face-framing sections. The result is instant shape and the illusion of weight without adding product. The typical DIY error is using broad strokes that overwhelm a bob. If you have very short layers, this is a salon job unless you have color experience. Use a gloss after to avoid any banding.
Soft Rose Bronze For Brunettes Wanting Warmth Without Orange
Rose bronze is a warmer direction that does not read orange. Lift the mid-lengths a level or two and gloss with a 1:3 mix of rose-brown tone to clear gloss for five minutes. On my friend with medium porosity hair, this smoothed out brass at wash two. People confuse warm with orange and pile on cooling toners that kill warmth. Go lighter on the developer and use short toner times to keep the rose-tinge subtle. Patch test the pigment if you have scalp sensitivity.
Gloss + Bond Combo For Color That Holds
After a heavy lift, I combine a bond builder and a clear gloss in the bowl, mix them 1:1, and apply for five to ten minutes. The bond builder helps elasticity while the gloss sets tone. Hair grows about half an inch a month at most, regardless of what biotin gummies promise you, so protecting what you have matters more than chasing faster growth. The practical mistake is skipping a bond builder because it adds cost. If you are lifting more than two levels, this combo will save you time and trims later.
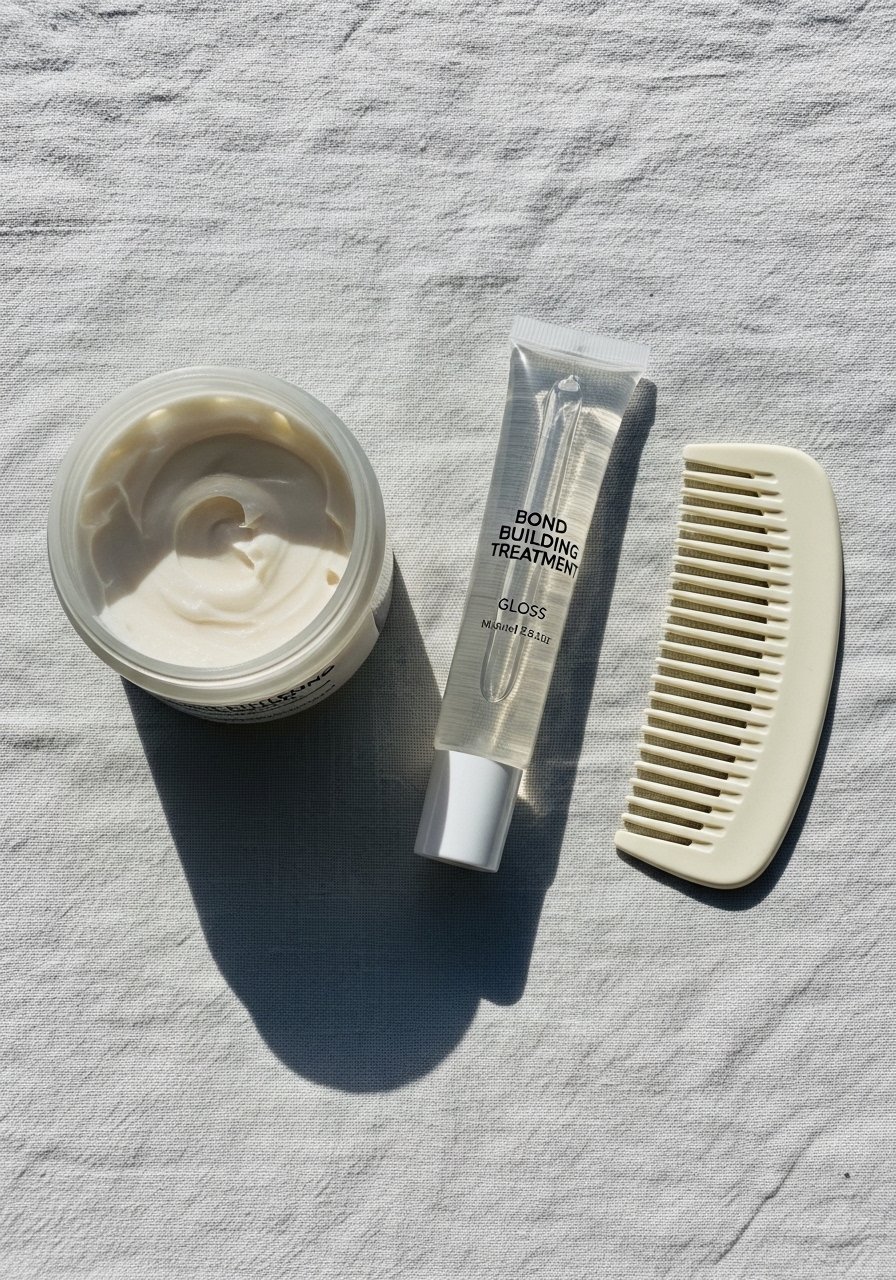
What I Keep On My Balayage Shelf
For brunettes who want low-effort color upkeep, this is what I actually buy and reach for when a salon visit is not possible.
- Honestly the best $30 I spend in any year, Olaplex No.3 hair perfector 3.3oz weekly keeps processed ends cohesive. Buy from the official seller on Amazon or grab it at Sephora to avoid counterfeits
- For toning between glosses, Wella Color Charm gloss clear 2.54oz is cheap and easy to use
- For heat protection, Color Wow heat protectant 4oz applied to damp hair prevents flat-iron frizz
- Low-cost brush I actually recommend, boar bristle paddle brush spreads oil and smooths ends
- A gentle clarifying option, sulfate-free clarifying shampoo 8oz once every 3-4 washes helps remove product buildup without stripping
- For glosses at home, demi-permanent gloss kit that includes developer and clear gloss
- For styling and hold, lightweight curl cream 6oz layered under gel keeps waves defined
- For sleeping on colored hair, silk pillowcase queen size cut my morning frizz substantially
- For fine hair that needs body, root lift mousse 6oz used at the roots before blow drying helps
- A mirror tool, lighted handheld mirror is worth it when you are checking back sections at home
The Bond Builder Routine That Keeps Balayage From Looking Ragged
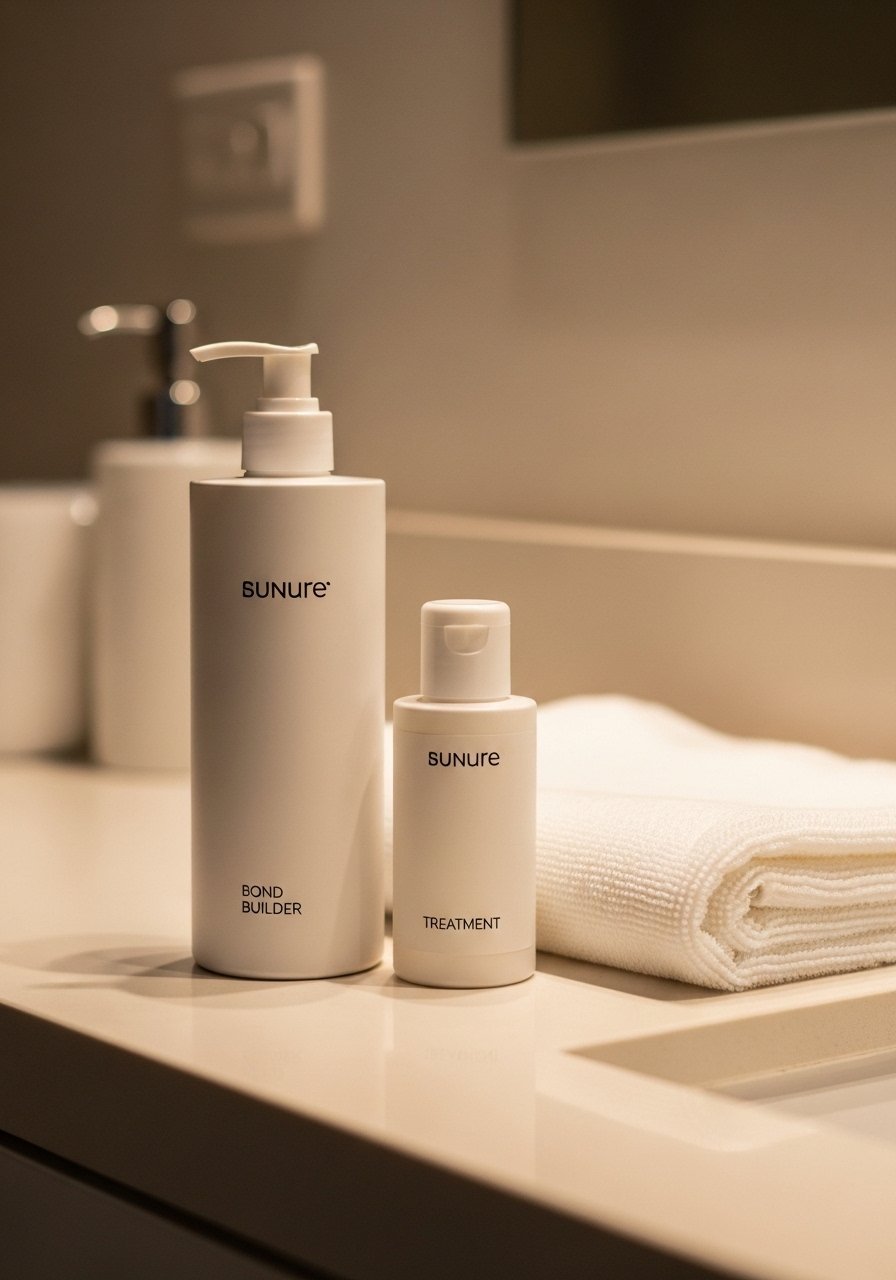
After any lift, I do a two-step bond routine at home. First apply a concentrated bond builder to damp hair, leave for 10 minutes, rinse, then follow with a repair mask for five minutes. The specifics matter. I avoid leaving bond products on for longer than recommended because over-saturated hair can feel limp. The common mistake is doing a bond builder once then expecting miracles. Consistent weekly use, combined with trims every 8-10 weeks, preserves ends and color. If you have scalp sensitivity, patch test first and skip the scalp.
Styling With Balayage For Better Dimension
Balayage looks better with movement. For waves, I work in the LOC method: leave-in, oil, cream. That sequence gives slip and hold without crunch. Start with a leave-in on damp hair, add a pea-sized oil through mid-lengths, then a light cream to define. When heat styling, use a medium barrel wand at 300F for 8 to 12 seconds per section to avoid banding. Most heat protectants you spray on dry hair before flat ironing barely work. They need to absorb into damp or just-dried hair to actually shield the cuticle. Try a root lift on fine hair to show color contrast at the crown.
How I Stretch One Salon Appointment Into Three Months
To avoid frequent salon time, I schedule a gloss the week after a lightening service and then alternate glosses with a clarifying shampoo every three to four washes. That keeps brass in check and the balayage looking intentional. The mistake is washing daily with clarifying shampoo when you color at home. Wash every other day and use dry shampoo on day two. If you swim in chlorinated water, wet hair and apply a leave-in before entering the pool. For major lifts or corrections, book a colorist. Lifting over existing color without consultation often ends badly.
Frequently Asked Questions
Q: Can I balayage dark brown hair at home without a salon disaster?
A: Yes if you stick to small, thin slices, use 10-20 volume developer for subtle lift, and do strand tests. Avoid overlapping bleach on previously lightened hair. If you need more than three to four levels of lift, see a pro.
Q: How often should I tone balayage on dark brown hair to avoid brass?
A: For most brunettes, a demi-gloss every 6 to 10 weeks keeps brass down. Use a purple or blue dilute gloss only until the shade looks neutral. Over-toning can make brown shades look muddy.
Q: Is a bond treatment actually necessary after balayage?
A: Bond builders reduce breakage risk and help elasticity, they do not undo past damage. Use a bond treatment after heavy lifts and weekly for three to six weeks to see practical improvement.
Q: Will balayage make fine hair look thinner?
A: If you place highlights at the roots or use heavy chunking, yes. For fine hair, keep color on mid-lengths and ends and use subtle, thin slices to create the illusion of density.
Q: How do I avoid orange after lightening dark brown hair?
A: Lift slowly, check every five to ten minutes during processing, and use a cool or ash toner for short timing. If orange appears, do not double process at home, go to a colorist.
Q: Can I use Olaplex No.3 if my hair is not damaged, or will it make it worse?
A: Olaplex No.3 will not harm undamaged hair. It helps maintain bond integrity during color processes. Buy from the official seller on Amazon or Sephora to avoid counterfeits.
Q: How often should I clarify colored hair without stripping the balayage?
A: Once every 3 to 4 washes is a safe rhythm. If you use heavy styling products, clarify more often but follow with a deep conditioner to restore moisture.
Q: What heat settings work best for finishing balayage on medium hair?
A: For loose waves use a wand at 300F, hold sections 8 to 12 seconds. For smoothing blow dry use a round brush on medium heat and finish with a gloss for shine.

