
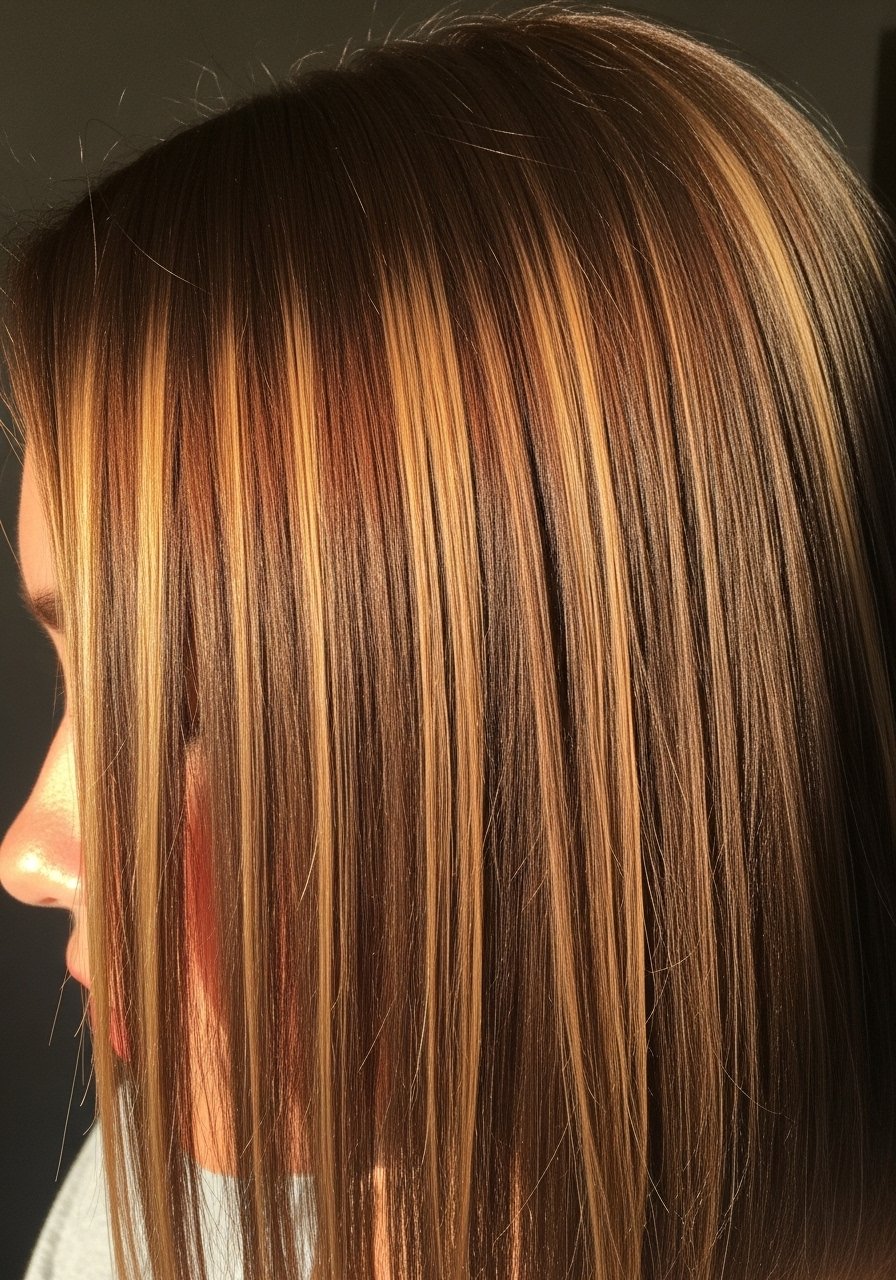
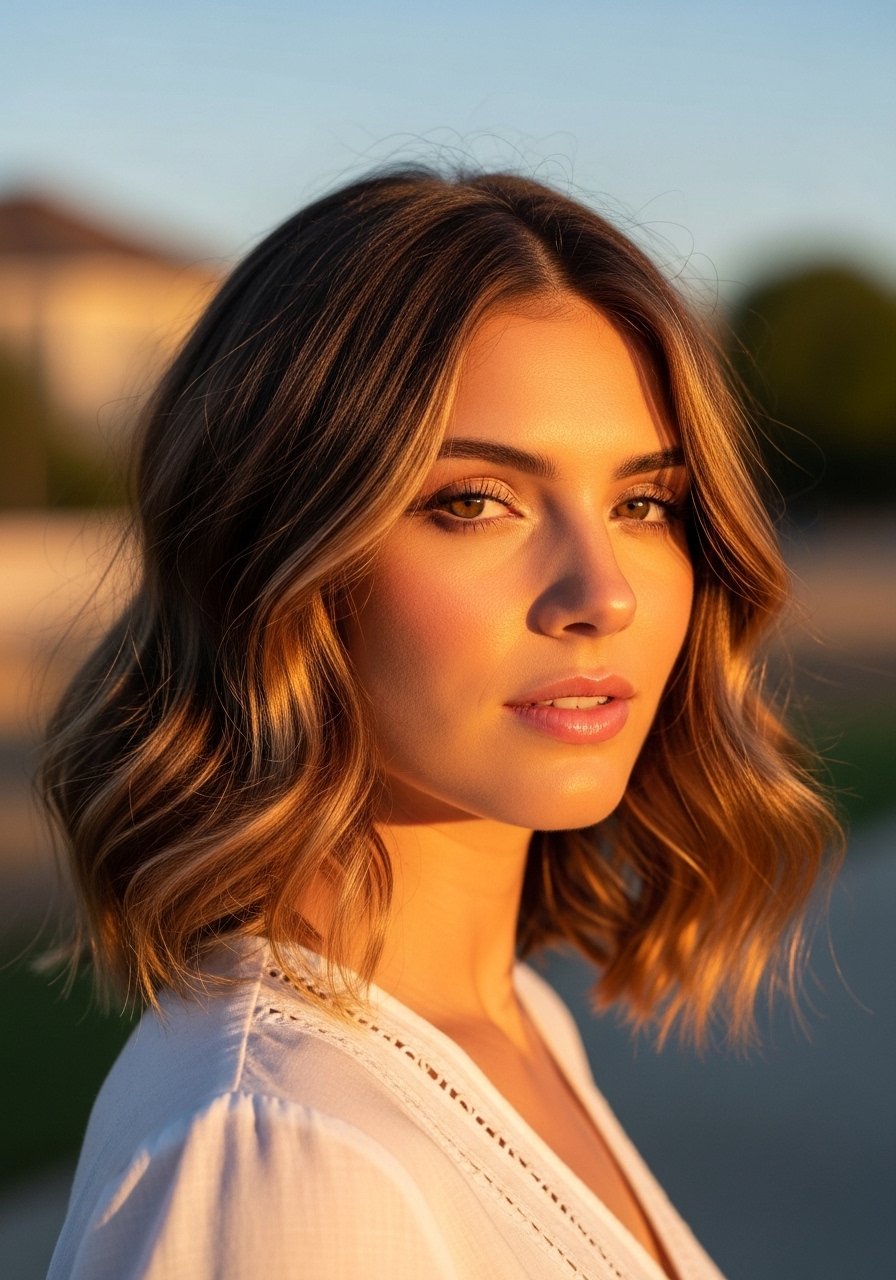
I ruined my own highlights once trying to save money, then paid a salon to fix the banding and paid more to cut off the fried ends. Since then I only do low-lift caramel on myself, and I learned which techniques actually look natural on dark hair. These ideas are aimed at dark brown to natural black hair, straight to curly textures from 1B straight through 3B curls, and most work on shoulder length or longer. Expect most looks to take 20 to 90 minutes, most options are under $50 at home, and three of the ideas are best left to a salon.
Understated Face-Framing Babylights For Dark Brown Hair
Babylights are the easiest way to get subtle warmth without obvious strips of color. On dark brown hair I ask for 1 to 2 levels of lift only, painted in very thin 1/8 inch slices, roughly 10 to 14 foils total for shoulder length. The result is soft brightness that reads warm in sunlight but disappears close up. For fine to medium straight hair this adds dimension without losing density. Common mistake is using chunky panels that look two-toned. If you try at home do a single strand test with 10 volume developer and check every five minutes. If your hair has previous color, do not lift over old color at home. Always patch test for allergy.
Money Piece Soft-Weave For Shoulder-Length Straight Hair

That front light framed my face without screaming. Instead of a heavy bright chunk, ask your colorist for a soft-weave money piece, where the color is feathered into the rest of the hair. This is excellent for straight 1B to 1C hair and takes about 20 to 40 minutes extra in the chair. If you do it at home, use a hand-painted technique with thin sections and 10 volume developer to avoid stark contrast. Mistake people make is lifting the front too high, which looks like a stripe. Also consider a root melt afterward so the regrowth blends; a single gloss session can make the piece sit naturally next to dark roots.
Root Melt With Low-Lift For Curly 3A To 4A Texture
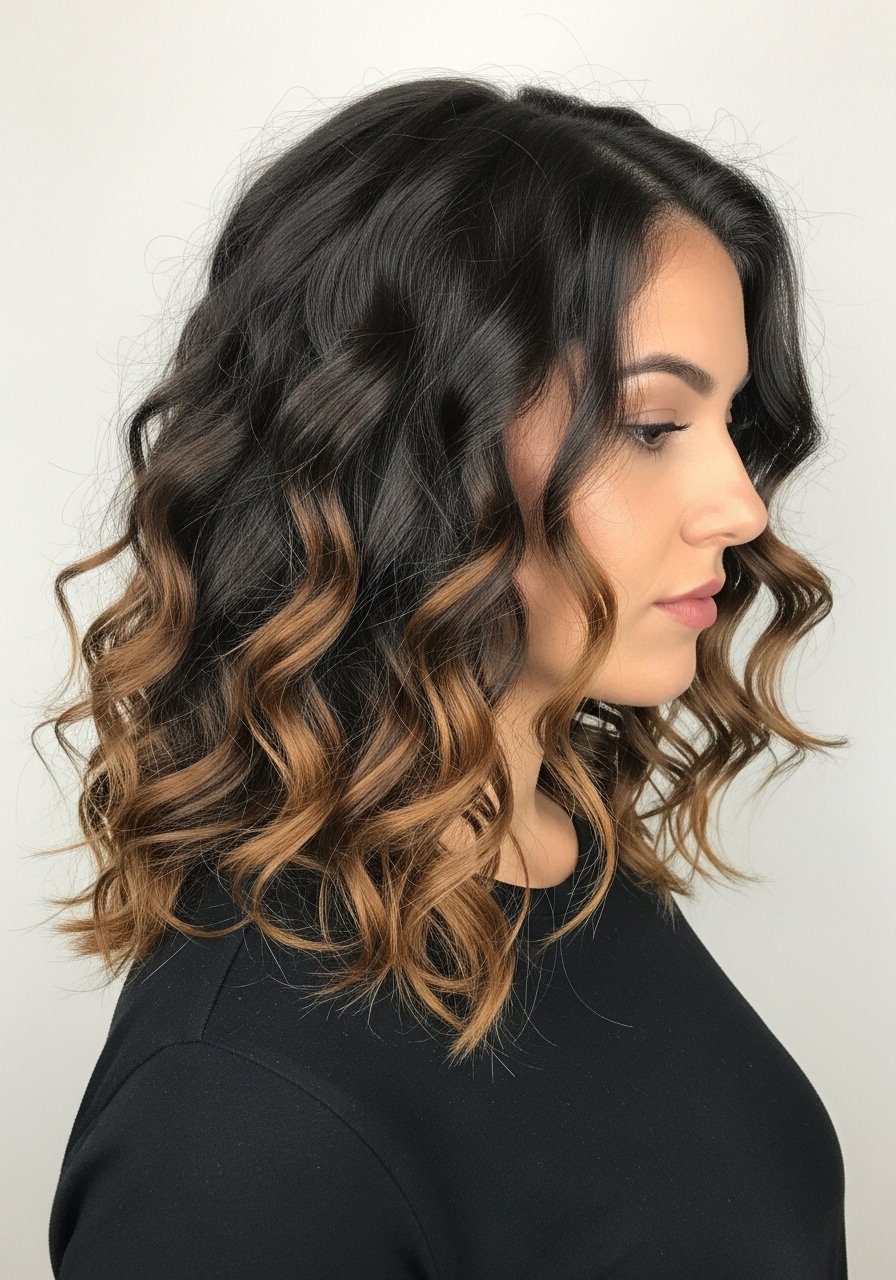
On curly textures a hard line at the root kills the shape. A root melt, using a low-lift formula blended with a toner, keeps the base dark so curl pattern stays defined. For 3A to 4A hair I recommend lifting at most one level around fragile curl clumps and focusing color on the outer layers where sunlight hits. The salon vs DIY note is big here. Lifting over previous color or on high-porosity curl clumps can cause patchy lift, so book a color consult or plan multiple small sessions. As always, avoid bleach-over-bleach at home. Deep condition the next day and use heat protectant before any iron over 300F.
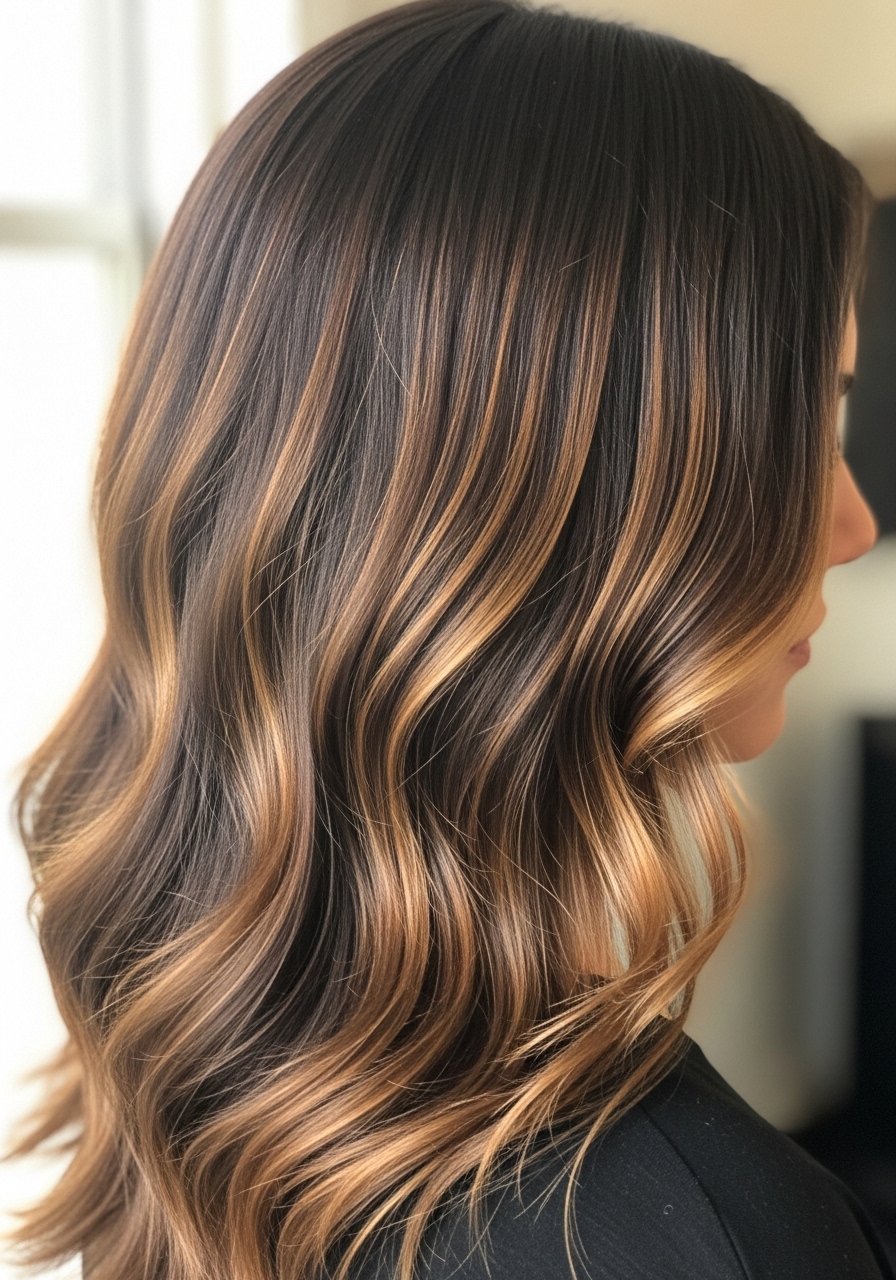
Subtle Balayage For Mid-Back Thick Hair
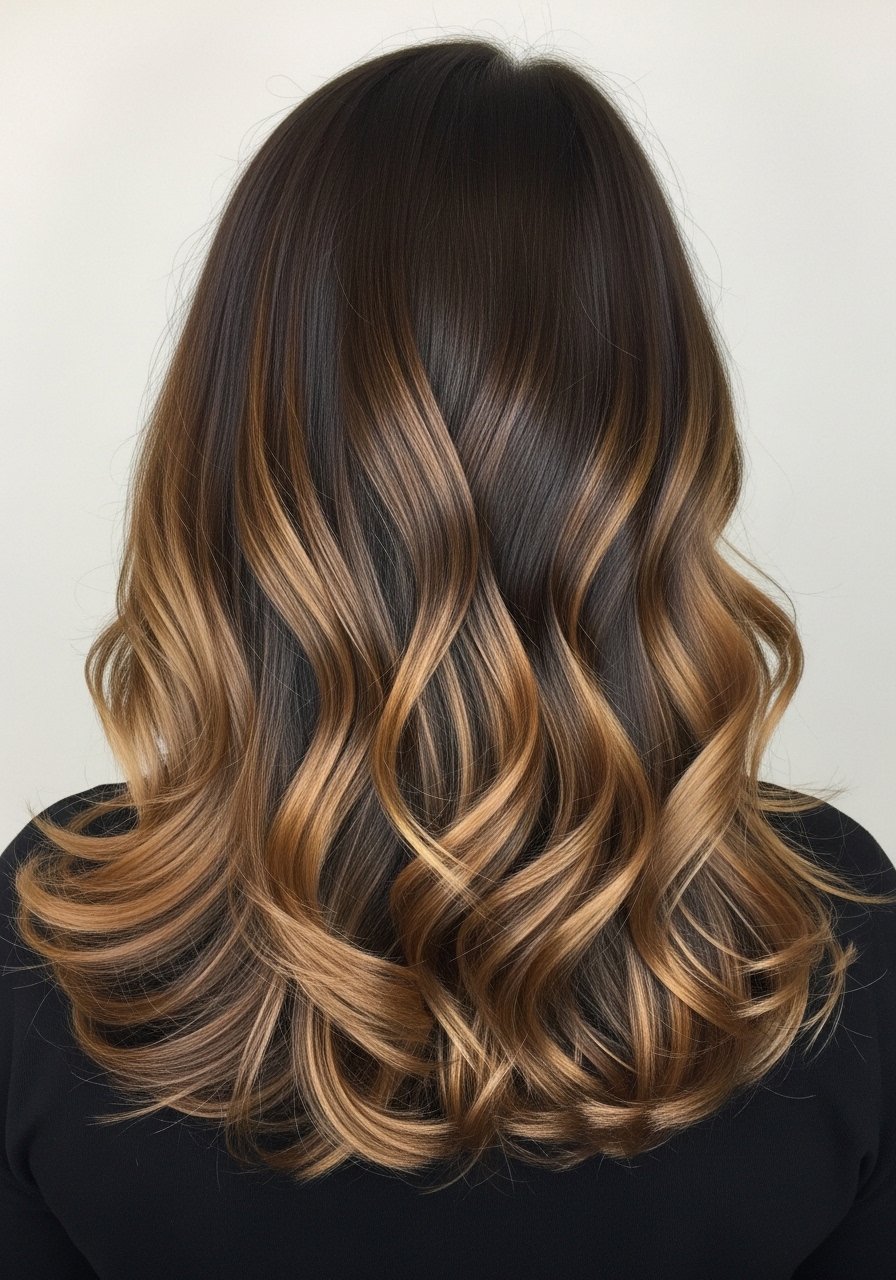
Balayage gives the most natural sunlit look on dense hair because the painter avoids foils and works in graduated layers. For mid-back thick hair expect a 60 to 90 minute salon session for a subtle result, or two shorter sessions if you want to preserve integrity. A common oversight is painting too evenly. I ask stylists to leave more depth at the nape and add warmth around the temples, roughly a 60 to 40 ratio of lowlights to highlights. Use a gloss after to seal warmth and reduce brass. This method stretches appointments since the regrowth is forgiving.
Peekaboo Caramel Lowlights For Short Bobs
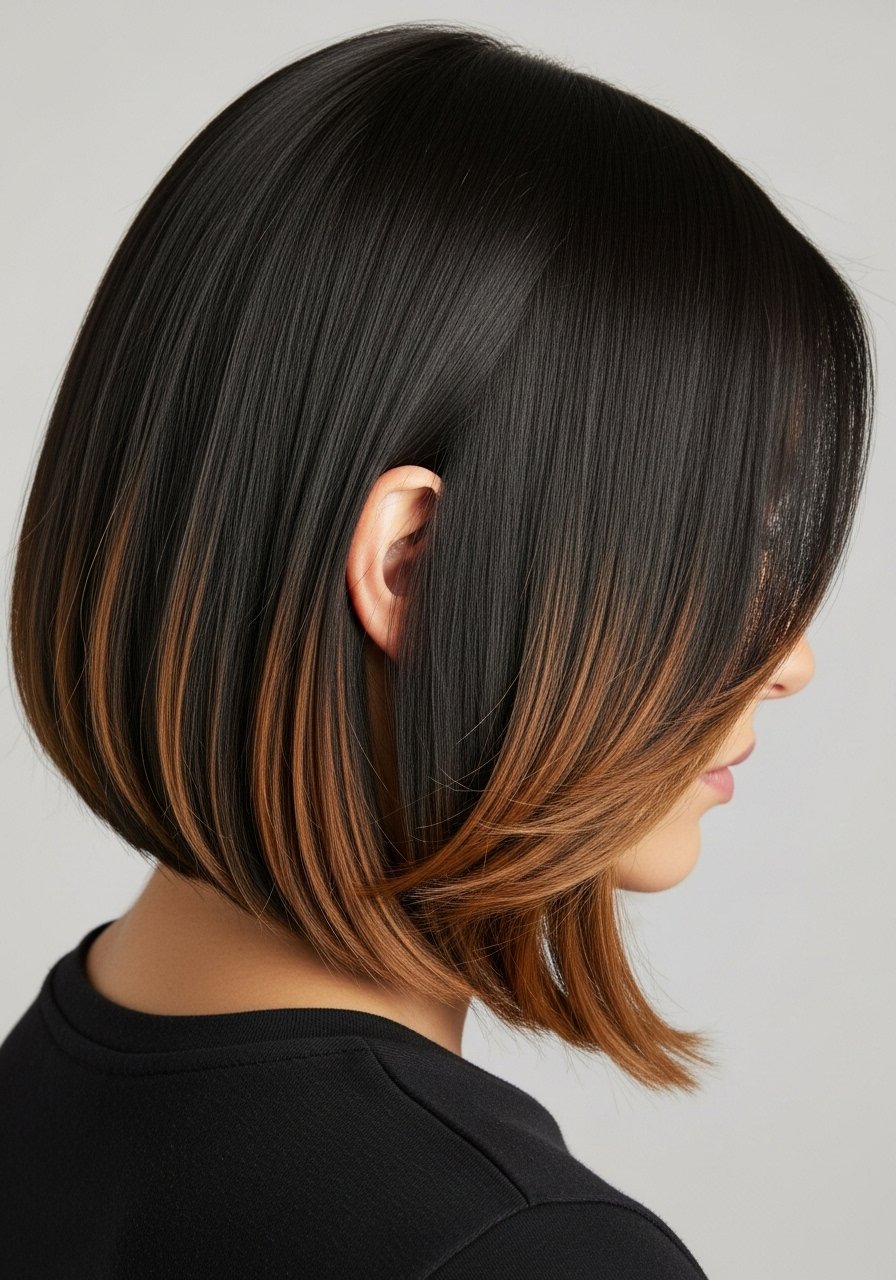
If you want warmth without a full commitment, hidden caramel lowlights are perfect for bobs. They live underneath, so movement reveals warm contrasts while the top stays close to natural. Great for office-friendly short hair. At-home attempts work if you slice thin horizontal sections and paint only the underlayer, but watch for overprocessing at the ends. One realistic detail I use when doing this on myself is to leave the front underlayer 1 inch lighter than the back so the face gets a soft glow when I turn my head.
Foil-Painted Caramel Pieces For Fine Hair That Need Dimension
Fine hair can look flat when dark, so painted foil highlights in 1/4 inch sections create the illusion of thickness by adding contrast. The trick is spacing the foils: about every 1 to 1.5 inches across the crown and temples. Use 10 to 20 volume developer depending on how much lift you need. Avoid heavy saturation at the roots or the pieces will look sparse. This costs less than a full head and takes about 40 minutes in salon. If you are DIYing, limit to three to five pieces at the front and watch development closely to avoid brassy ends.
Glossing Toner To Warm Without Lifting
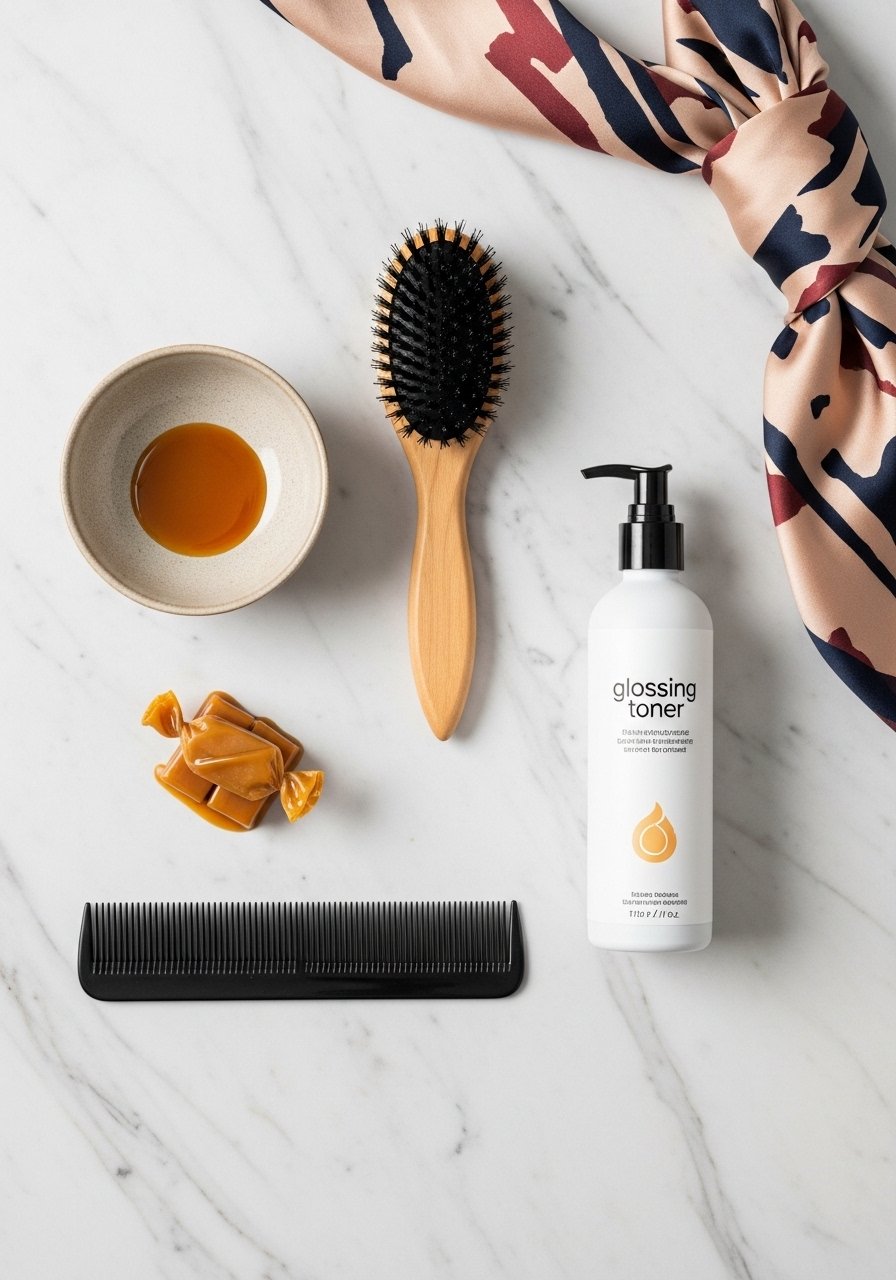
A gloss is the easiest way to add caramel warmth without bleaching. It deposits tone and shine and usually lasts four to six weeks. I use a glaze after any low-lift highlight to warm and unify the pieces, especially on darker bases where lifts can read as ash. Common mistake is skipping the patch strand test for toners. If you have scalp sensitivity, a quick patch test behind the ear 48 hours before is smart. For color longevity, rinse gloss with cool water and skip clarifying shampoo at least twice a week.
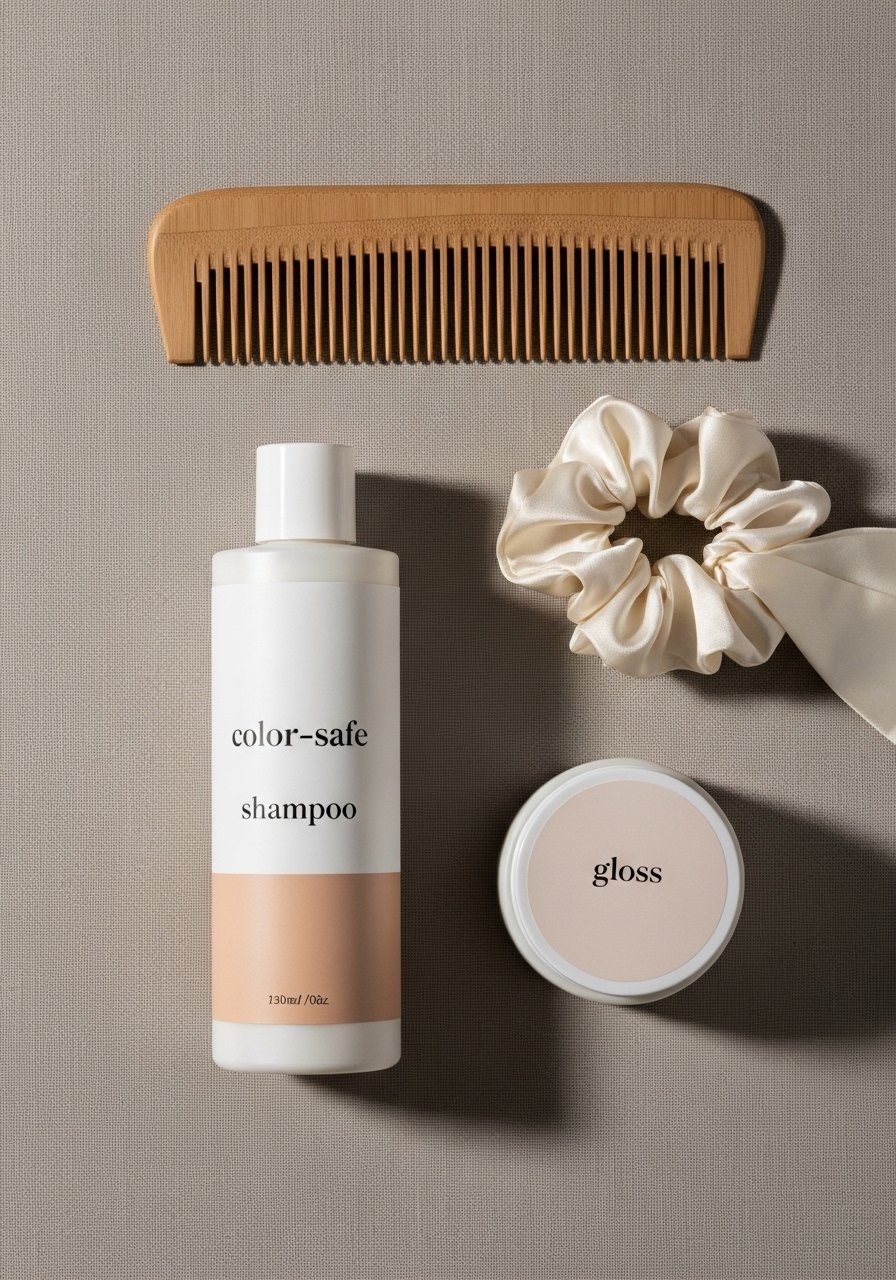
What To Buy If You Are Trying Caramel Highlights At Home
- Honestly, this is my condensed kit for subtle caramel on dark hair. Olaplex No. 3 hair perfector 3.3 oz. Use once a week after any lightening to keep ends smooth. Buy from the official Olaplex store on Amazon or Sephora to avoid counterfeits
- For at-home low lift, a reliable lightener brush and bowl set I trust is a pro-looking color brush set under $15. It helps you paint thin slices precisely
- Color Wow Dream Coat anti-humidity spray 6 oz. One light layer before blow drying keeps the tone from looking dull
- A sulfate-free 8oz clarifying shampoo for one wash before coloring if your hair has heavy product buildup
- A silk pillowcase queen size under $25. It reduces friction and protects glossed highlights overnight
- A microfiber hair towel for gentle drying if you plan to blow dry after glossing
- Olaplex No. 5 bond maintenance conditioner 8.5 oz. Better to spend here than on a costly shampoo. Also available at Ulta and Sephora
DIY At-Home Sliced Highlights With A Strand Test
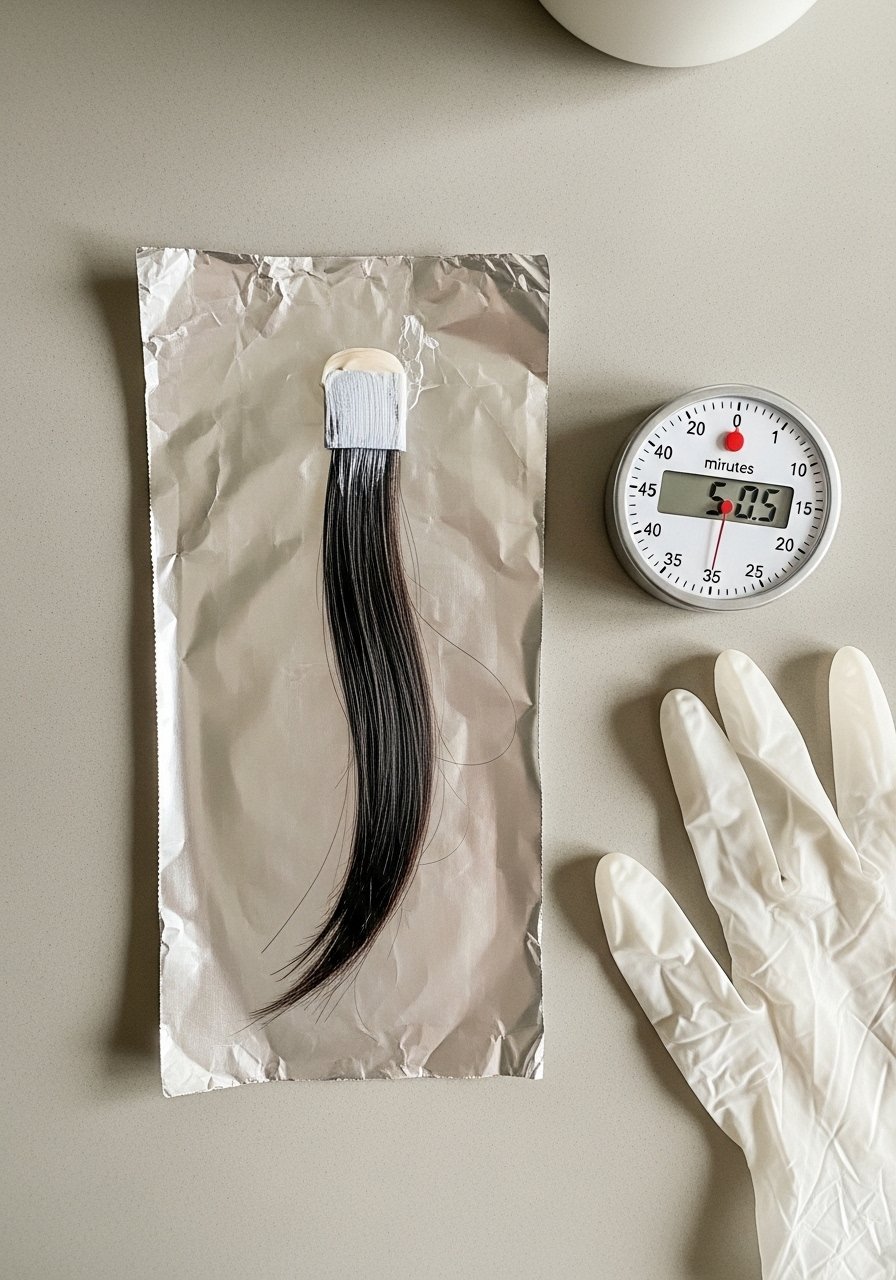
If you insist on doing highlights at home, always start with a strand test. Pull a 1 inch section from the underside, apply your chosen low-volume developer mix, and time the lift in five minute checks. For subtle caramel on dark bases, expect 10 to 20 minutes for a soft warm lift. Mistake people make is assuming the whole head reacts like the test strand. Hair porosity varies by section. If your hair has previous color or feels fragile, stop and see a salon. Remember, lifting over previous color can cause breakage. Leave-in protein treatments help if you are nervous about structural damage after lightening.
Bond Builder Before Lightening For Damaged Hair
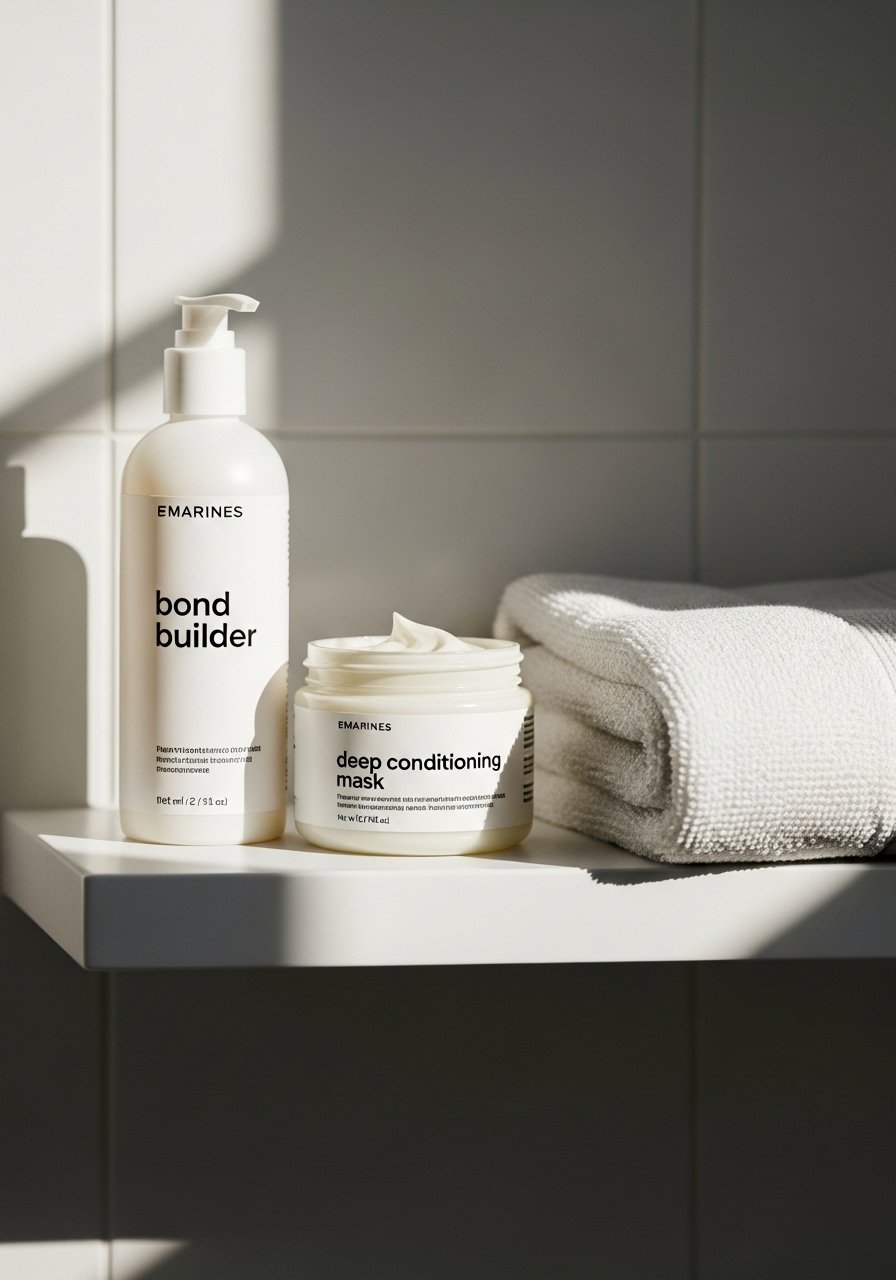
I paid $400 to fix what I tried to lift at home. Now I use a bond builder protocol a week before any lift and once after. Bond products do not undo damage history but they reduce breakage during the process by strengthening weak sites. For seriously damaged hair, plan two to three sessions spaced four to six weeks apart. Warning, applying lightener immediately after another bleach is risky. If you have chemical history, see a salon pro. Also, watch for counterfeit bond brands on Amazon and buy from the brand store unless you prefer Ulta.
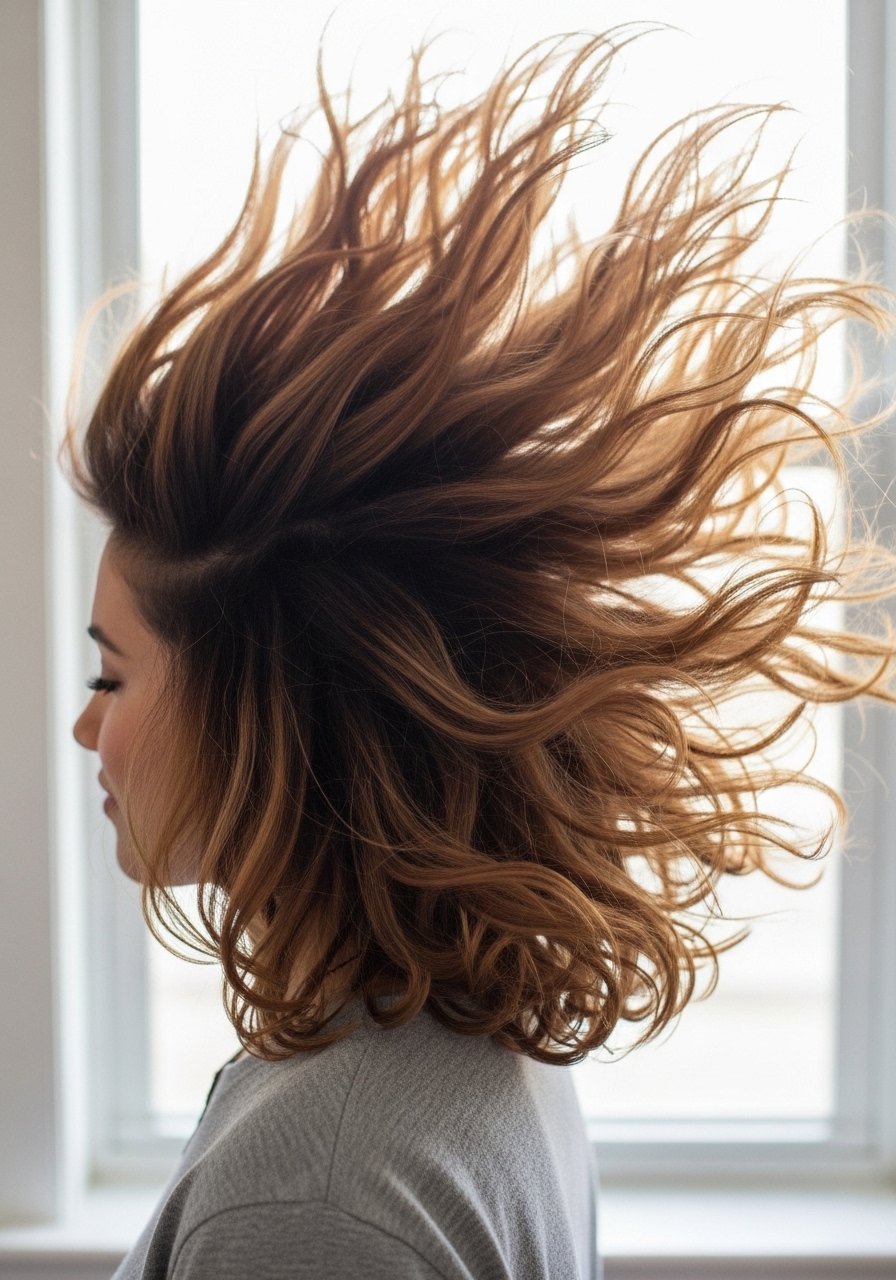
Baby-Safe Heat Styling To Preserve Tone For 2A Waves
Heat styling can make caramel highlights look cleaner, but too much heat fades tone. For 2A to 2C waves, use a blow dryer on medium with the nozzle and finish with a round brush. Heat protectant goes on damp hair, not dry. The cuticle absorbs it better and it actually shields when you need an iron over 300F. Keep flat iron temperature at 300 to 350F for quick passes and never hold in one spot. Mistake is repeating high heat passes to get shine. Try one pass per section and finish with a drop of light oil on the ends.
Color-Safe Routine To Stretch Time Between Appointments
If you want subtle caramel to last, cut down on hot tools and swap to color-safe shampoos. I use a sulfate-free shampoo once every other wash and a gloss or color-depositing conditioner on wash day to nudge warmth back in. Hair grows about half an inch a month at most, regardless of what biotin gummies promise you. That means length and color stretch are about maintenance, not speed. For curly hair, stretch washes to keep tone from fading. A small weekly gloss session will keep caramel looking fresh and avoid salon touch-ups.
What I Wish I Had Known Before Adding Caramel To Dark Hair
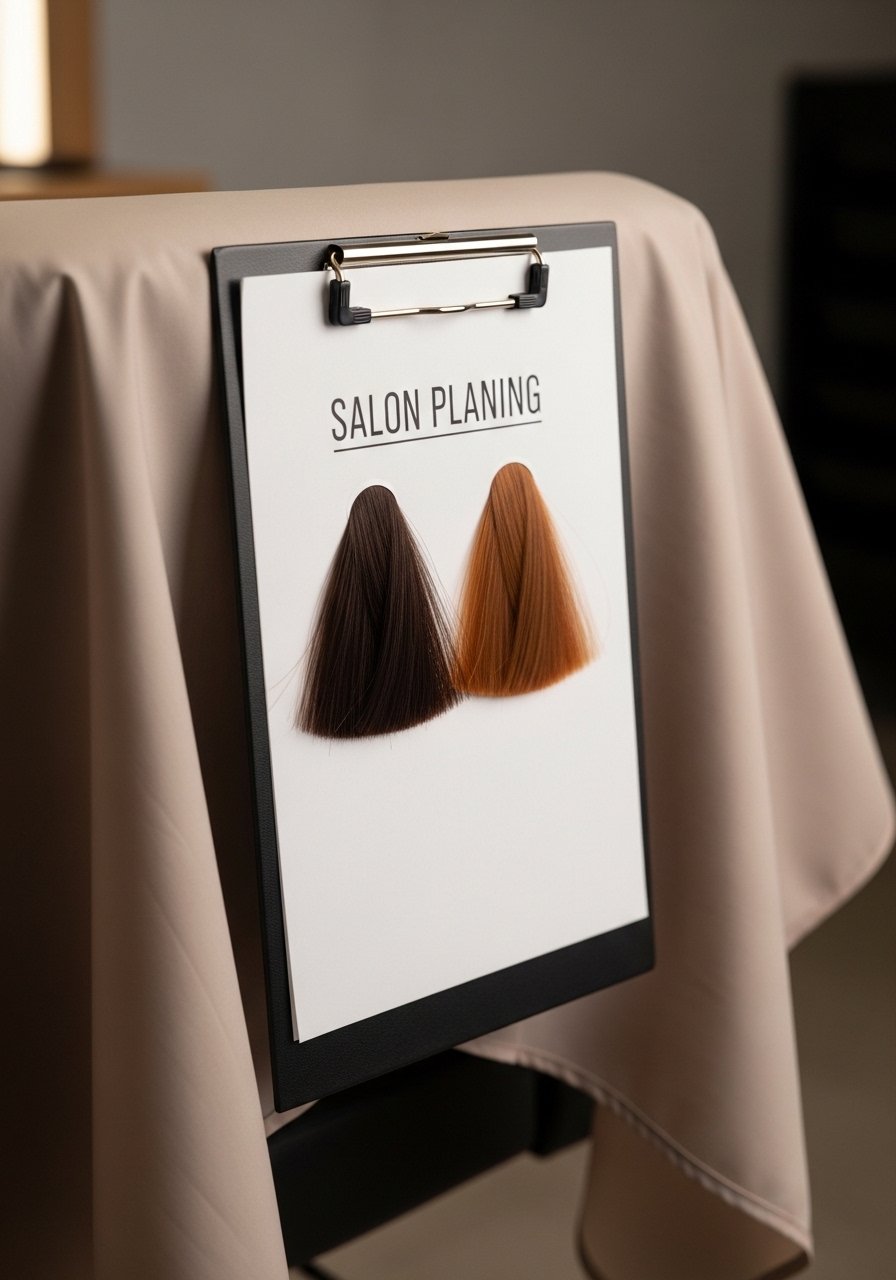
Most stylists will tell you subtle caramel on dark hair reads differently in sun versus indoor light, so bring reference photos in natural light. A common complaint I heard from friends is that highlights looked brassy at week two. Use a gentle purple or blue toner only when brass appears, not preemptively. Swap chunky, supermarket foils for thinner painted slices to avoid a striped look. If your hair is coarse or highly textured, expect to need more color to show and plan the spacing accordingly. Lastly, always do a scalp patch test 48 hours before any new color product.
The Honest Tricks I Use To Keep Warm Highlights Natural
Most heat protectants you spray on dry hair before flat ironing barely work. They need to absorb into damp or just-dried hair to actually shield the cuticle. For second-day curls I use a leave-in cream on damp sections, then two pumps of a lightweight gel and a scrunch. For straight hair, a tiny pearl of oil on the ends after styling keeps highlights from looking dry. If your color fades quickly, reduce clarifying washes to once every two to three weeks and use a gloss after every third wash.
Frequently Asked Questions
Q: Can caramel highlights look natural on black hair?
A: Yes, when they are done as low-lift babylights or a root melt and lifted only one to two levels. The key is fine slices and a gloss finish so the highlights read warm instead of orange.
Q: How often should I use a gloss to keep caramel tones?
A: Every four to six weeks is common, but if you shampoo a lot, consider a quick at-home gloss touch every two to three washes. A salon gloss lasts longer because of professional formulation.
Q: Is it safe to bleach over previous dark dye at home?
A: Lifting over previous color is the single most common reason hair breaks. If your hair has been colored, book a salon consult. Multiple salon sessions spaced weeks apart are safer than a kitchen experiment.
Q: What is the best way to avoid brassy caramel tones?
A: Tone with a gloss or a demi-permanent color that cancels warm orange. Only tone after checking a strand test. Over-toning can make hair look flat, so small adjustments are the trick.
Q: Can I use Olaplex before and after lightening?
A: Using a bond builder before and weekly after helps reduce breakage and smooth the feel. If buying on Amazon, buy from the official Olaplex store or Sephora to avoid counterfeits. It does not undo past damage but it reduces future breakage.
Q: How do I pick a shade of caramel that flatters my skin?
A: Try a warmer golden caramel near olive and tan skin tones, and a cooler caramel with slight beige undertones for fair skin to avoid looking too yellow. Bring photos and ask your colorist for a soft-weave test strand so you see the tone in natural light.

