
Most heat protectants you spray on dry hair before flat ironing barely work. They need to absorb into damp or just-dried hair to actually shield the cuticle, which I learned the hard way after a weekend of at-home blowouts. Below are 15 partial brown hair balayage looks and routines I have tried or fixed for friends, with timing, product notes, and the realistic upkeep each one requires.
These picks mainly suit medium to thick brown hair, from 2A waves through 3B curls, shoulder length to mid-back. Skill ranges from quick salon touch-ups to careful DIY foil painting that takes an hour. Budgets run from $15 products to a couple of salon visits. Where bleach is involved I note developer strength and safety steps.
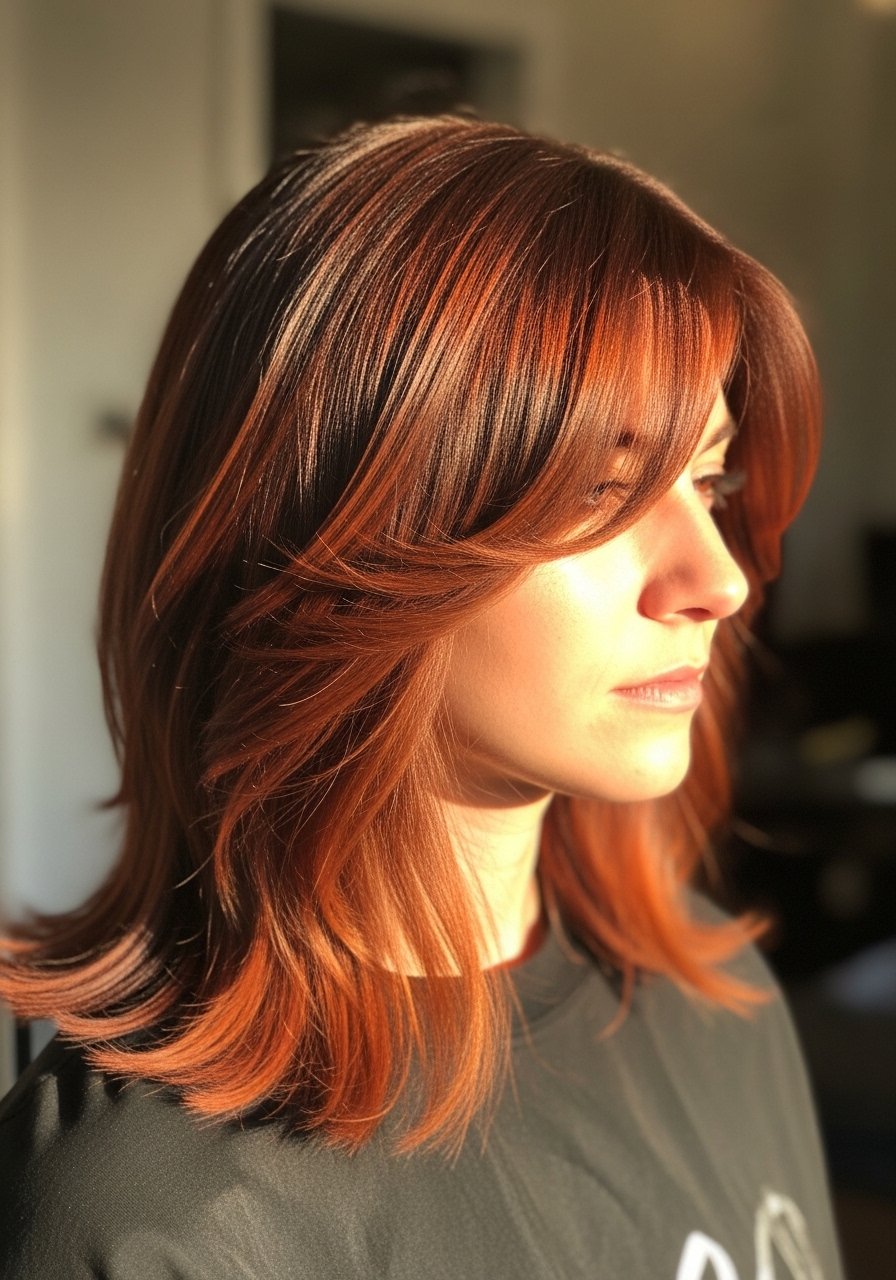
Sun-Kissed Face-Framing Balayage for Shoulder-Length Brown Hair
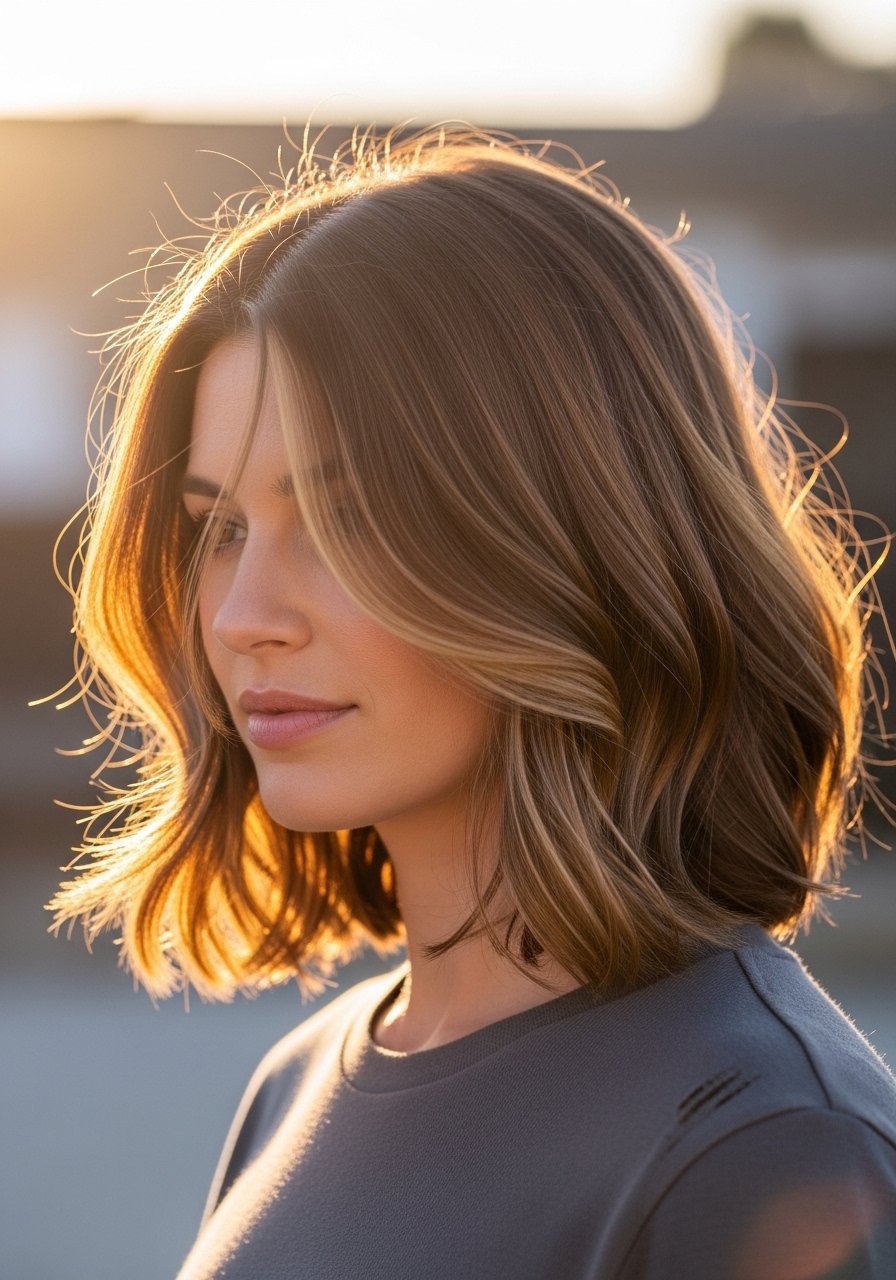
This is the easiest partial balayage to ask for at the salon and the easiest to DIY badly. The trick is painting a narrow triangle of lightener along the face and sweeping a few thinner strokes through the mid-lengths. On my shoulder-length hair I used 10 volume developer with a 1:2 bleach to powder mix and checked lift every 5 minutes, stopping around 10 to 12 minutes when warm gold showed. It gives a fresh face lift effect for 2A to 3A textures and costs one quick salon glaze every 8 to 12 weeks. Common mistake, going too heavy in one pass and ending with banding. If you try at home, do a patch allergy test and have Olaplex on hand, and buy from the official store to avoid fakes: Olaplex No. 3 hair perfector.
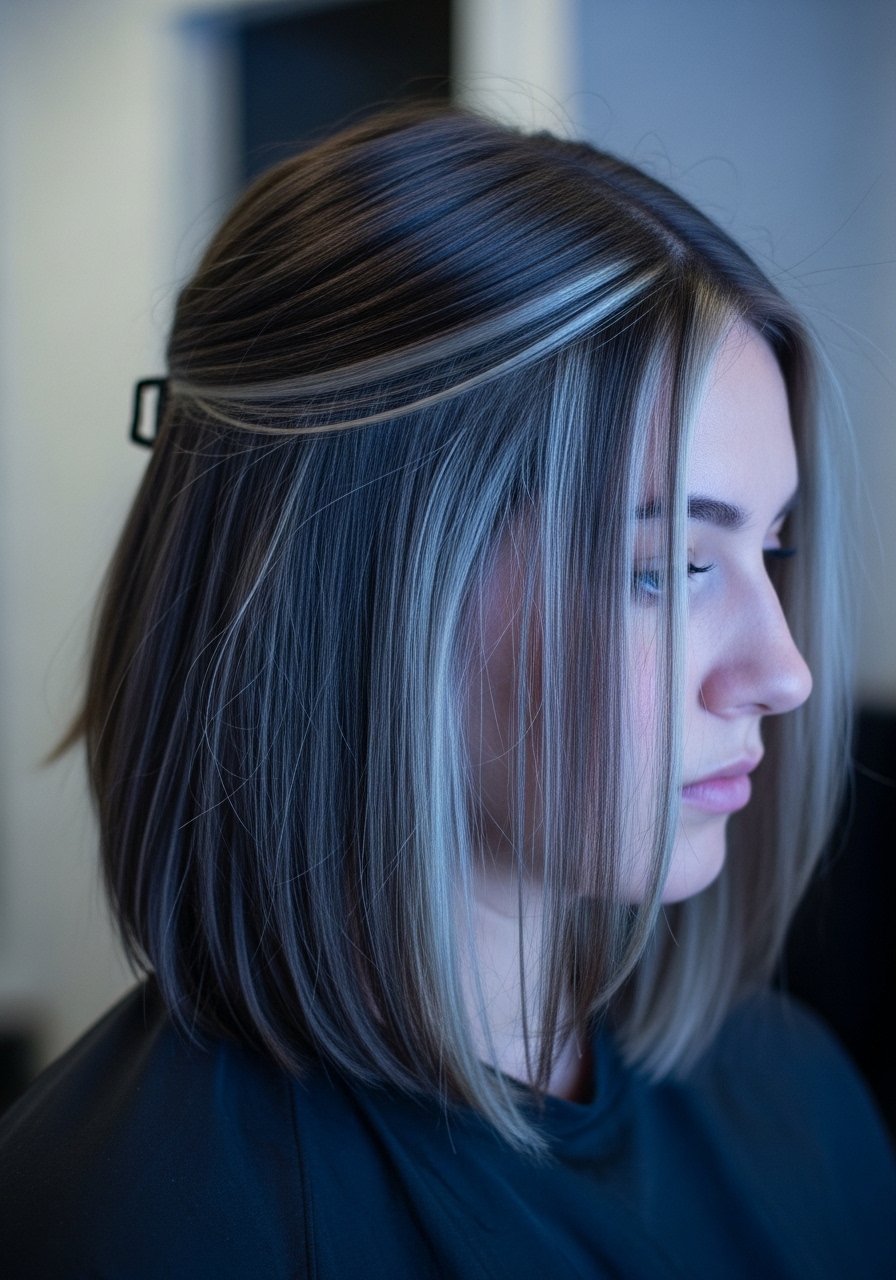
Subtle Peekaboo Balayage for Dark Brown to Chestnut
Peekaboo balayage lives under surface layers and is perfect when you want brightness without commitment. I had a client with dark chestnut who wanted brightness visible only in braids. We painted 1-inch panels with 20 volume developer for 15 minutes, then toned with a demi gloss. It suits medium density hair and the upkeep is low, a tone or glaze every 10 weeks. DIYers should section into 6 to 8 panels, paint the under sections, and avoid overlapping previously lightened hair. For at-home toning, a demi-gloss like Wella Color Fresh keeps brass down for 4 to 6 washes.
Soft Money Piece Balayage for Round Faces
Money pieces are those face-framing lighter strands and they do wonders on round faces by creating vertical lines. I ask for a thin, blended money piece painted with 10 volume developer for 8 to 12 minutes on warm brown bases to avoid harsh contrast. Works for 2A through 3B hair. Most people ask for a thick slice and then wonder why regrowth looks like a stripe. Keep sections thin, feather the ends, and plan for a glaze every 6 to 10 weeks to avoid brass. If you want DIY control, mix your lightener in a 1:2 ratio and test a single strand first.
Low-Maintenance Partial Balayage for Short Styles

Short hair can still have partial balayage and it ages well because there is less regrowth to see. I recommend babylight-style strokes around the face and on the ends only, using a paste consistency bleach so it does not drip. For short cuts try 10 to 20 volume depending on existing color, and check after 7 minutes, then every 3 minutes. The upside, you save on salon time and cost. The downside, mistakes are obvious, so if you are nervous book a 45-minute salon mini session. Keep a sulfate-free color-safe shampoo like Pureology Hydrate Shampoo 8oz in rotation to protect tone.
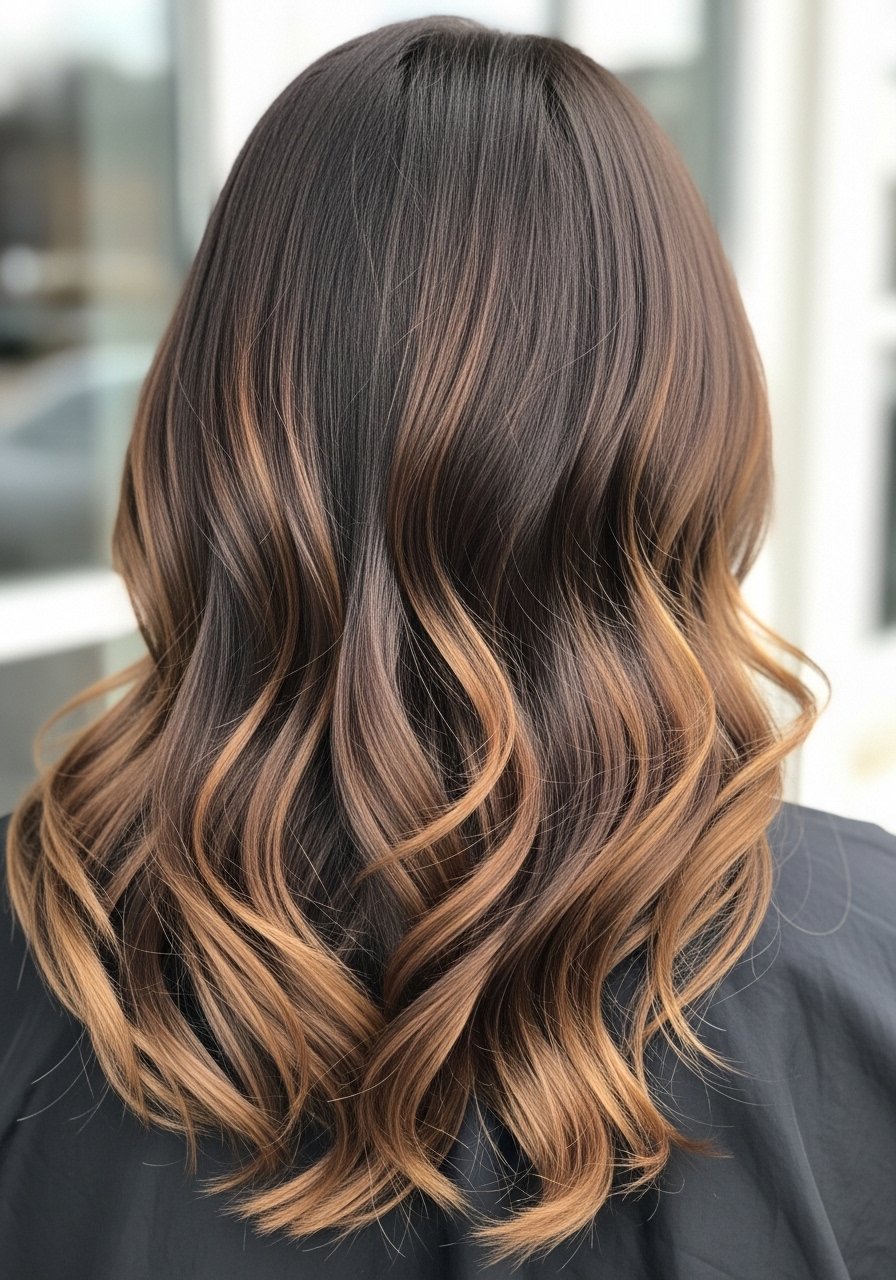
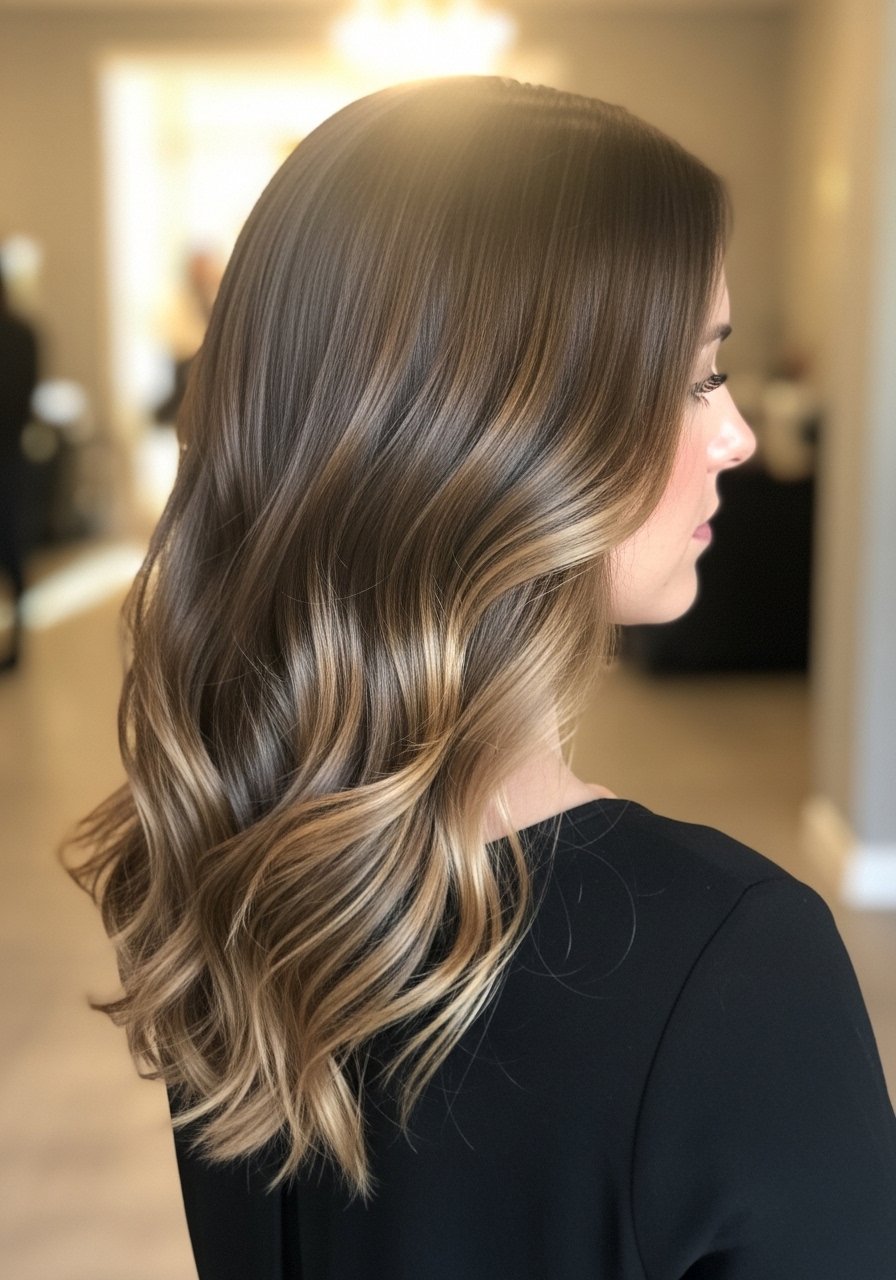
Warm Caramel Balayage Melt for Medium Waves
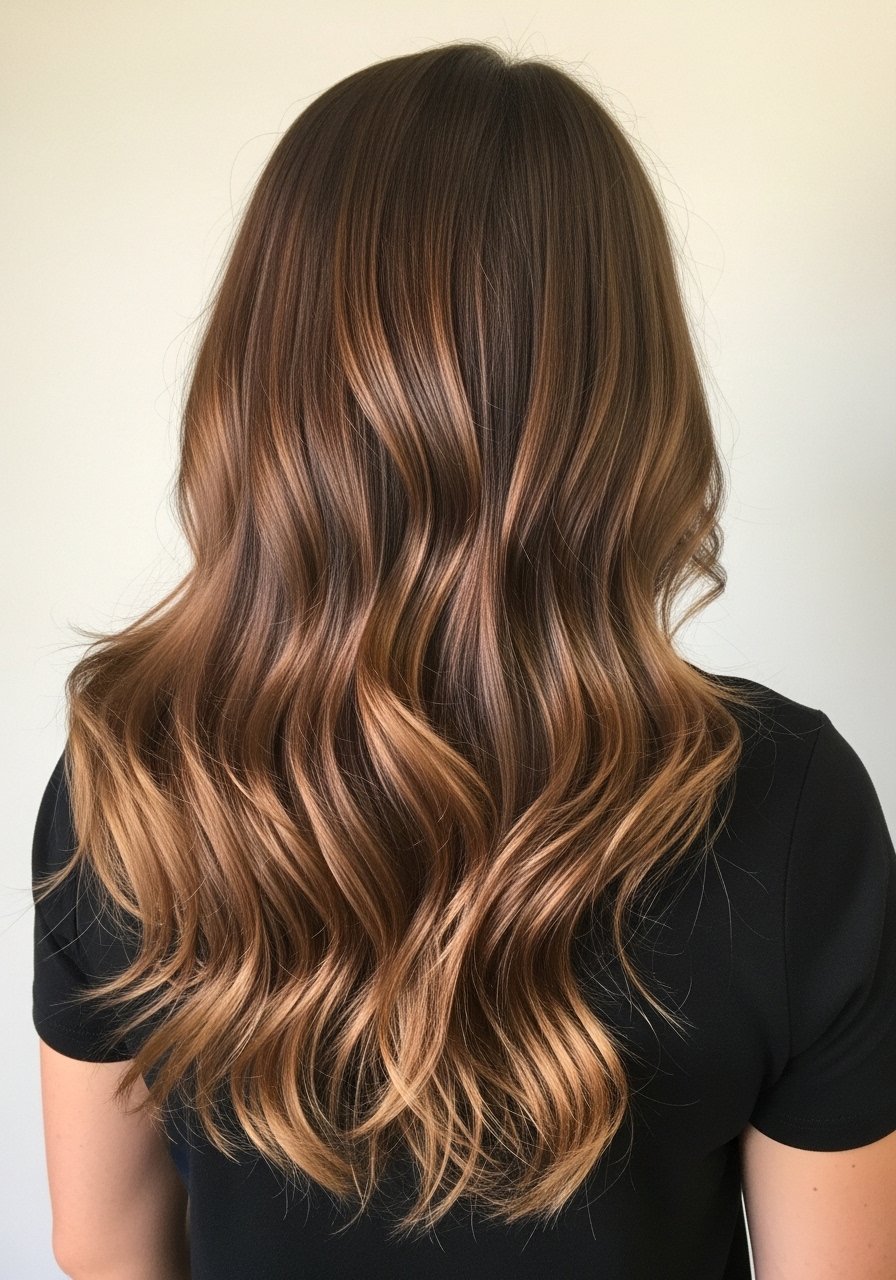
A melt means the highlights blend into the base without harsh lines. For warm caramel on medium waves I paint broad, diagonal strokes on long sections and soften the ends with finger painting. On my hair that meant a 1:1.5 bleach mix with 20 volume for 10 minutes, then a warm toner for 2 to 3 minutes. This style suits 2A to 3A waves and gives a sun-warmed look without heavy upkeep. A common mistake is pulling too much light through the ends which reads brassy. For upkeep, a glossing treatment every 8 weeks and a purple-free color-safe conditioner like Moroccanoil Color Continue Conditioner 8.5oz keeps warmth balanced.
Ash Brown Balayage Touch-Up for Greying Roots
When grey starts at the temples, a partial ash balayage painted along the part and around the face can blend regrowth without full coverage. For this I used a 5 volume toner glaze with a 10 minute processing time to deposit ash without lifting natural pigment. It works for straight to wavy textures, and the trick is to use thin, feathered strokes and a glaze every 6 weeks. Avoid overlapping permanent hair color onto greys with bleach unless you want brittle texture. If you need a stronger match, book a color correction consult.
Partial Balayage for Curly 3A to 3C Hair
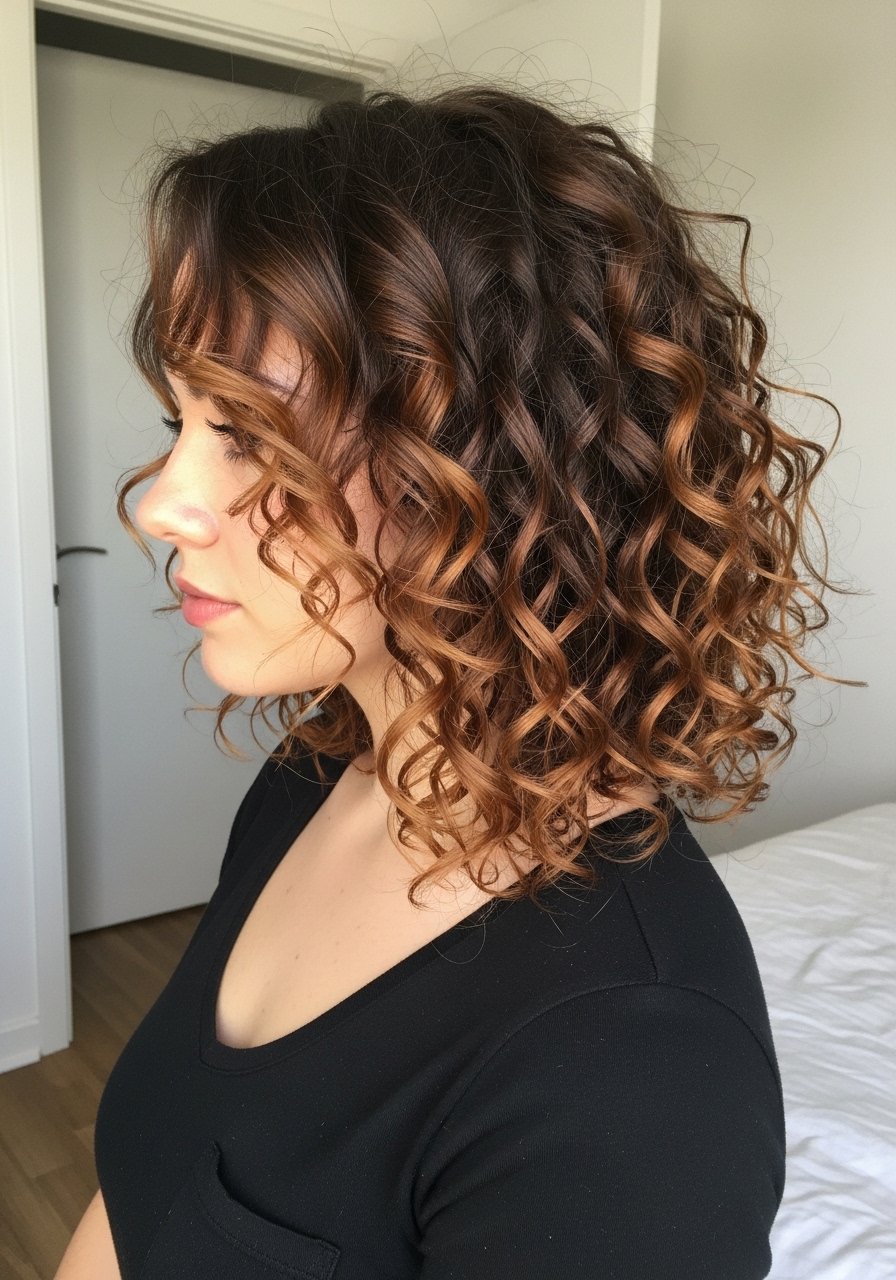
Curly hair shows balayage differently because curls tighten the lightened sections. I paint on dry, stretched curls in 8 to 10 thin vertical panels, keeping highlights on the outer layers that frame the face and move with the curl. Use 10 volume developer and process under a warm towel for even lift. For curl definition use the LOC method and layer a lightweight cream under gel. For damage control, once the balayage is rinsed, I do a 3-minute Olaplex No. 0 and No. 3 combo and let it sit 10 minutes. Buy Olaplex from the brand or official Amazon store to avoid counterfeits: Olaplex No. 3 hair perfector.
What I Keep in My Partial Balayage Kit
These are the items I reach for when I or a friend needs a quick partial balayage or in-between maintenance. I link what I buy most often.
- Honestly the one splurge I keep is Olaplex No. 3 hair perfector. Use once a week after color to keep ends from feeling brittle. Buy from the official seller to avoid fakes.
- For at-home lightening, a 20 volume developer 16oz is my go-to for subtle lifts.
- For toning brassy moments, Wella Color Charm toner in a demi gloss form lasts about 4 to 6 washes.
- For daily care, Pureology Hydrate Conditioner 8oz keeps color soft without weighing waves down.
- A budget-friendly detangling brush like a wet brush saves wet stretching and cutting into highlights.
- Color Wow Dream Coat anti-humidity spray gives three to four days of frizz-free shine when I blow dry after a gloss.
- A silk pillowcase queen size cut morning frizz in half on my balayage.
- For quick midweek tone, a clear gloss or demi gloss 3oz keeps edges shiny between salon visits.
- For safe at-home tools, a 1-inch ceramic curling iron with temperature control up to 400F is what I use. Remember, heat protectant before any iron over 300F.
Babylights-Style Partial Balayage for Fine Hair
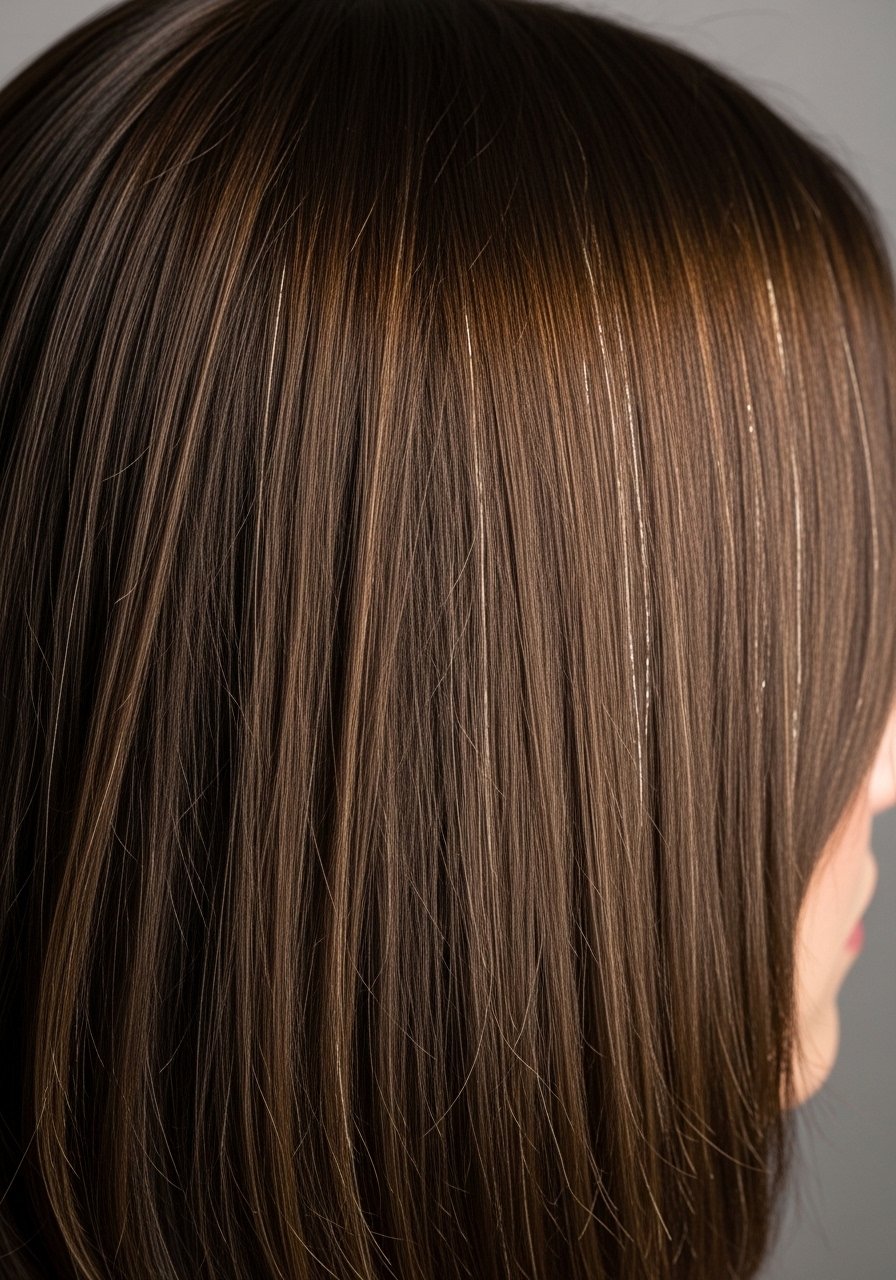
Fine hair benefits from thinner pieces painted for babylights rather than chunky highlights. I use a toothpick or a very fine brush to paint 1mm slices and a 5 to 8 minute lift on 10 volume developer, keeping processing minimal to avoid mushy ends. The result is a realistic, sun-kissed effect that reads natural when roots grow out. Most competition articles miss how much sectioning matters here. Use a glossing toner after rinsing and avoid over-washing, aim for two to three washes with a sulfate-free shampoo a week. For conditioning without weight, try Moroccanoil Treatment 0.85oz lightly on the ends.
Root Smudge with Partial Balayage for Grown-Out Color
A root smudge is a tiny follow-up that blends regrowth into your existing balayage with a soft glaze across the part. On clients who want to stretch appointments I tint a 1-inch band at the root with a demi permanent color and feather it into the lighter sections. This takes 10 to 15 minutes and extends salon time by several weeks. It is great for low-maintenance folks with 2A to 3A hair. If you try this at home, only deposit color at the root, do not lift, and always do a strand test for porosity.
Copper-Infused Partial Balayage for Warm Skin Tones
Copper tones over brown can read vibrant or brassy depending on base color. I paint the lower third and money piece areas with a warm copper glaze after a gentle lift, using a toner that deposits orange-red pigments for 3 to 5 minutes. It flatters warm skin tones and works on 2A through 3B textures. A common mistake is skipping a bond builder when using warm pigments on porous ends. I follow up with a weekly protein-light mask for two weeks. For color refreshes, grab a color-depositing conditioner like oVertone Color Depositing Conditioner.
Partial Balayage with Gloss Finish for Extra Shine
A salon gloss is not magic, but it does two things at once, tone and seal. After painting a partial balayage I always do a 10-minute clear or tinted gloss to smooth cuticle edges and lock pigment. On my medium density hair that gives four to six weeks of richer color. If you do this at home, use a demi-gloss and keep processing time to 5 to 10 minutes. The gloss will not repair broken hairs, but it smooths the appearance of frizz. For at-home options, a gloss like John Frieda Brilliant Brunette Glossing Serum 3oz helps extend a salon finish.
Money-Piece Peekaboo for Braids and Updos
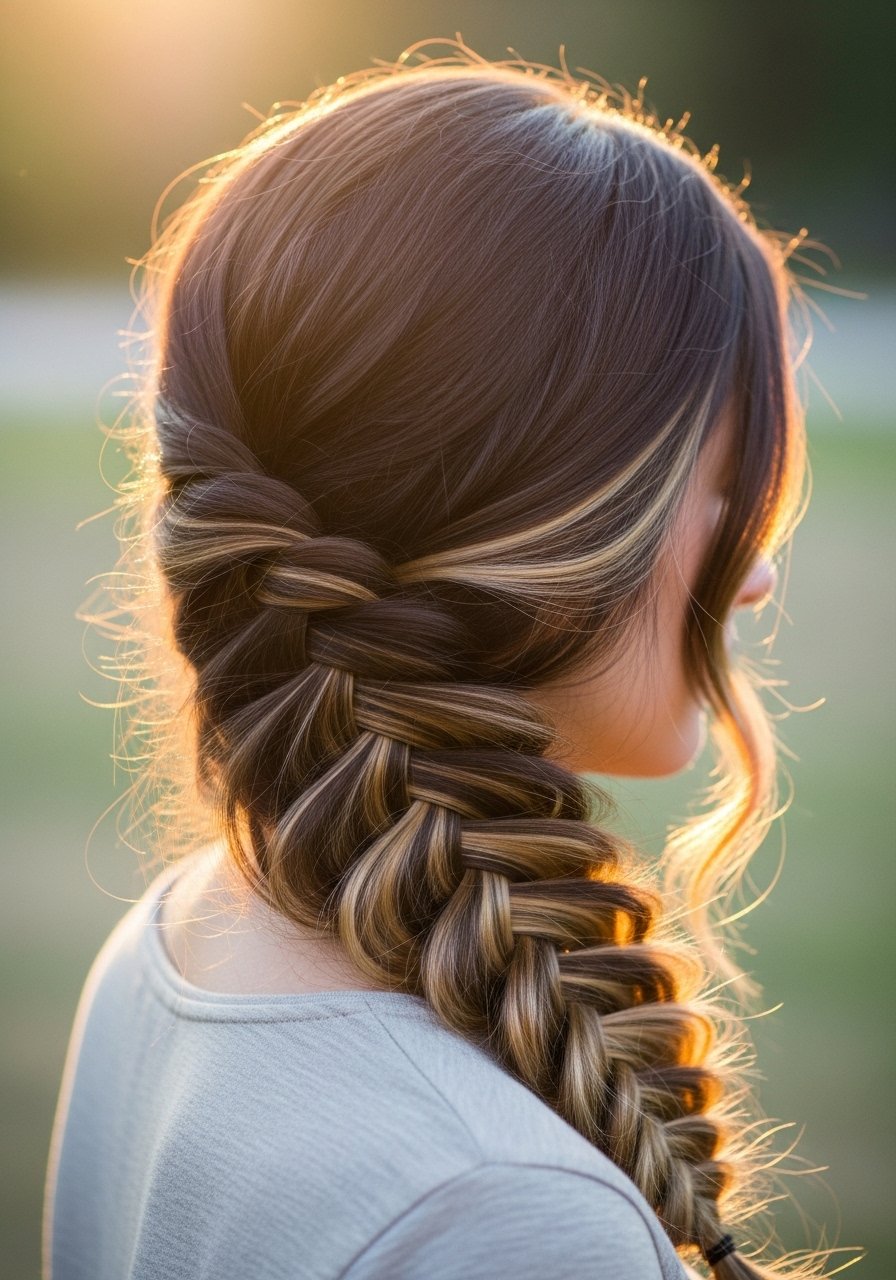
Face-framing money pieces also work as peekaboo accents for braids and half-up styles. I paint thin slices at the front and small underlayers that show when hair is braided. For festival season I used 10 volume for 6 to 8 minutes and then toned with a demi glaze. This gives impact without a full-head commitment and lasts with a weekly pigment-preserving conditioner. A common error is painting too thick a section that ghosts through on day two. Keep slices narrow and staggered.
Lived-In Balayage for Thick Mid-Back Hair
Thick hair needs more surface area painted to read blended. For mid-back lengths I work in larger 2 to 3 inch panels, backcomb slightly at the root to ensure soft transition, then paint heavier through the mid-lengths and ends. Use 20 volume with a paste consistency and process 12 minutes, then tone warmer to avoid mossy ash. Maintenance is one gloss every 8 weeks and regular trims to keep ends from looking dry. If you are DIYing, work in at least eight panels to avoid patchiness and always protect the scalp with barrier cream.
Face-Framing Balayage with a Bond Builder Routine
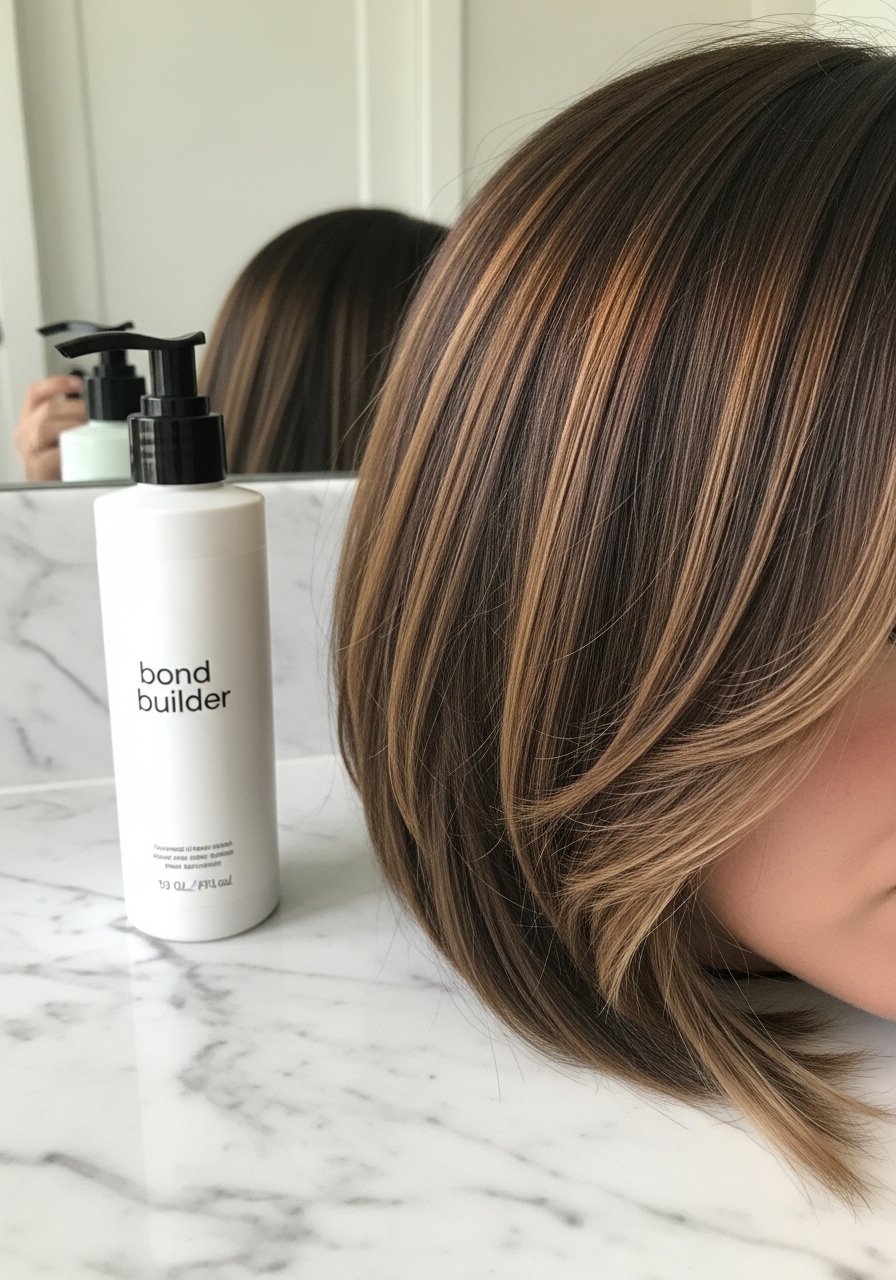
Partial balayage and bond builders are best friends when lightening is involved. After lightening I added a bond builder step, first a 5 minute pre-treatment, then a 10 minute leave-in similar to salon protocols. On previously colored hair it reduced porosity and kept ends from looking like straw. I used small amounts, about a pea-sized portion per 4-inch section, and let it sit 10 minutes. Bond builders help but they do not reverse a history of heavy damage. For home use consider Olaplex No. 0 plus No. 3 combo and buy from official stores to be safe.
DIY Partial Balayage Packet Method for First-Timers
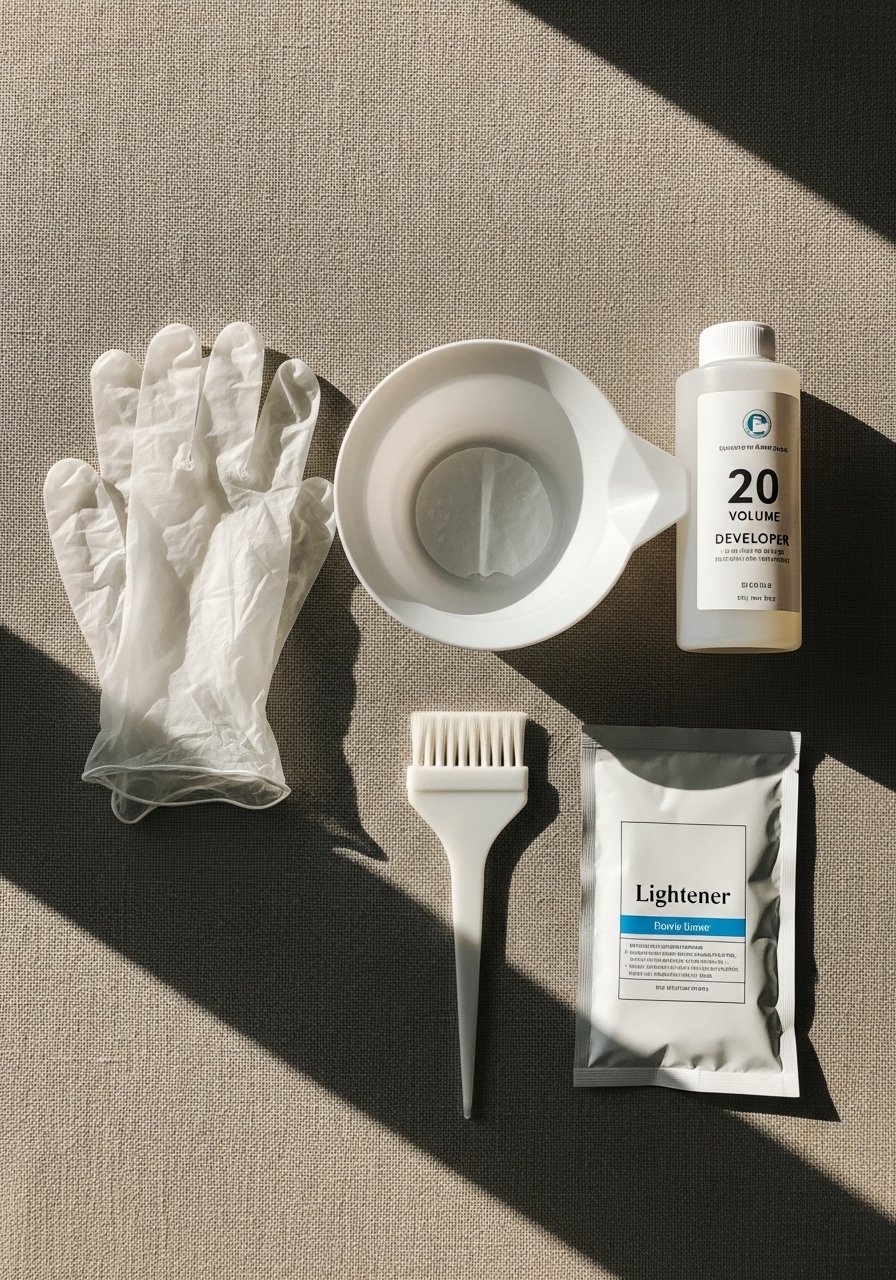
If you want to try one small partial panel at home, use the packet method to limit mistakes. Mix 1 part powder to 1.5 parts developer in the packet, snip a corner, and apply to one 1-inch section near the face. Check every 3 to 5 minutes. Keep total time under 12 minutes for medium brown bases. This is cheap and low-risk but only do one or two sections. Over-ambitious full-panel attempts from kitchen lighting are why people end up booking emergency salon fixes. Always patch test and have a neutralizing shampoo ready.
Little Rules That Keep Partial Balayage From Fading Fast
- Heat protectant goes on damp hair, not dry. The cuticle is more open and the product actually absorbs. Color Wow Dream Coat is a common pick for finishing after blow drying.
- Hair grows about half an inch a month at most, regardless of what biotin gummies promise you. The best way to keep a balayage looking lived-in is spacing salon glosses and doing small trims every 10 to 12 weeks.
- For curly balayage use the LOC method when styling, leave-in, oil, cream. Layering a cream under a gel keeps definition and stops highlights from drying crispy. SheaMoisture Curl Enhancing Smoothie 12oz works well under gel on my curls.
- If you buy Olaplex or K18 on Amazon, buy from the official store or grab it from Sephora or Ulta to avoid counterfeits. The brands have had fakes floating around.
- Use a microfiber towel or silk pillowcase to reduce friction on highlighted ends. A simple microfiber hair towel is under $15 and cuts drying time.
Frequently Asked Questions
Q: How long does partial brown balayage usually last before a touch-up?
A: Expect tone shifts in 6 to 12 weeks depending on sun exposure and shampoo frequency. A clear or tinted gloss every 6 to 10 weeks keeps the look fresh. If you have faster fading tones, swap to a color-safe sulfate-free shampoo and use a glossing conditioner between glosses.
Q: Can I lighten only around my face safely at home?
A: You can, but keep the sections thin and use 10 volume developer for short processing times. Do a strand test and watch the clock. If your hair has previous color, a salon consult is safer because lifting over darker dyes can cause uneven color and breakage.
Q: Will balayage make my curls drier?
A: Lightening opens the cuticle and increases porosity, which can make curls feel drier. Use bond builders and weekly deep conditioning for the first month after color. Trim any fragile ends and avoid daily heat. Products that smooth the cuticle temporarily include glosses and leave-in conditioners.
Q: How do I avoid brassy results on brown hair?
A: Tone immediately after lifting and maintain with a demi-gloss or a purple/blue toning product used once a week if brass appears. For warm caramel tones, don’t overuse purple products. Wella Color Fresh demi gloss is a good at-home option.
Q: Is it better to go to a salon for partial balayage or try DIY?
A: If you are aiming for subtle face-framing or a small peekaboo panel, DIY with careful timing can work. If you want multi-tonal blends, heavy lifts, or have previous color on hair, book a salon. Salon pros can blend and tonally match in ways that are hard to replicate at home.
Q: How often should I use Olaplex No. 3 after balayage?
A: Once a week for the first month helps strengthen strands and reduce breakage from lightening. It smooths the appearance of damage but does not undo past breakage. Use a pea-sized amount for short hair and more for long lengths.

