
If your mid-length straight hair looks shapeless two hours after styling, this list is for you. I used to chop layers too short and end up with a helmet effect. Over the years I learned which cuts and daily moves actually keep shape, which products lie, and which salon fixes are worth the price. Below are 11 layered medium straight looks and the how-to details that make them work in real life, not just on camera.
These ideas work best on Type 1A to 1B straight hair, fine to medium density, shoulder length to collarbone. I lean practical: most looks take 10 to 25 minutes daily, with one salon-only color tip. Budget ranges from $10 products to one tool splurge around $300. A few cuts are DIY-friendly with careful sectioning, but heavy color or major lifts should be booked.
Face Framing Soft Layers For Oval Faces

Soft, face-framing layers are the easiest way to add shape around the cheeks and jaw without losing length. On oval faces I ask the stylist to start the shortest pieces at cheekbone height and shave off about 1/2 inch in that front section only. The result is hair that moves when you turn your head and a visible frame without curtain bangs. Fine straight hair benefits because the cut creates the illusion of weight without bulk. Daily routine is simple: two pumps of a lightweight cream through damp roots to ends, then a 1-inch round brush blow-dry at 320 F for five to seven strokes per section. A common mistake is asking for too much layering in back which thins the shape. DIY trim? Only touch the face pieces, one quarter-inch at a time. If you color the front, do an allergy patch test first.
Blended Lob With Underlayer For Body
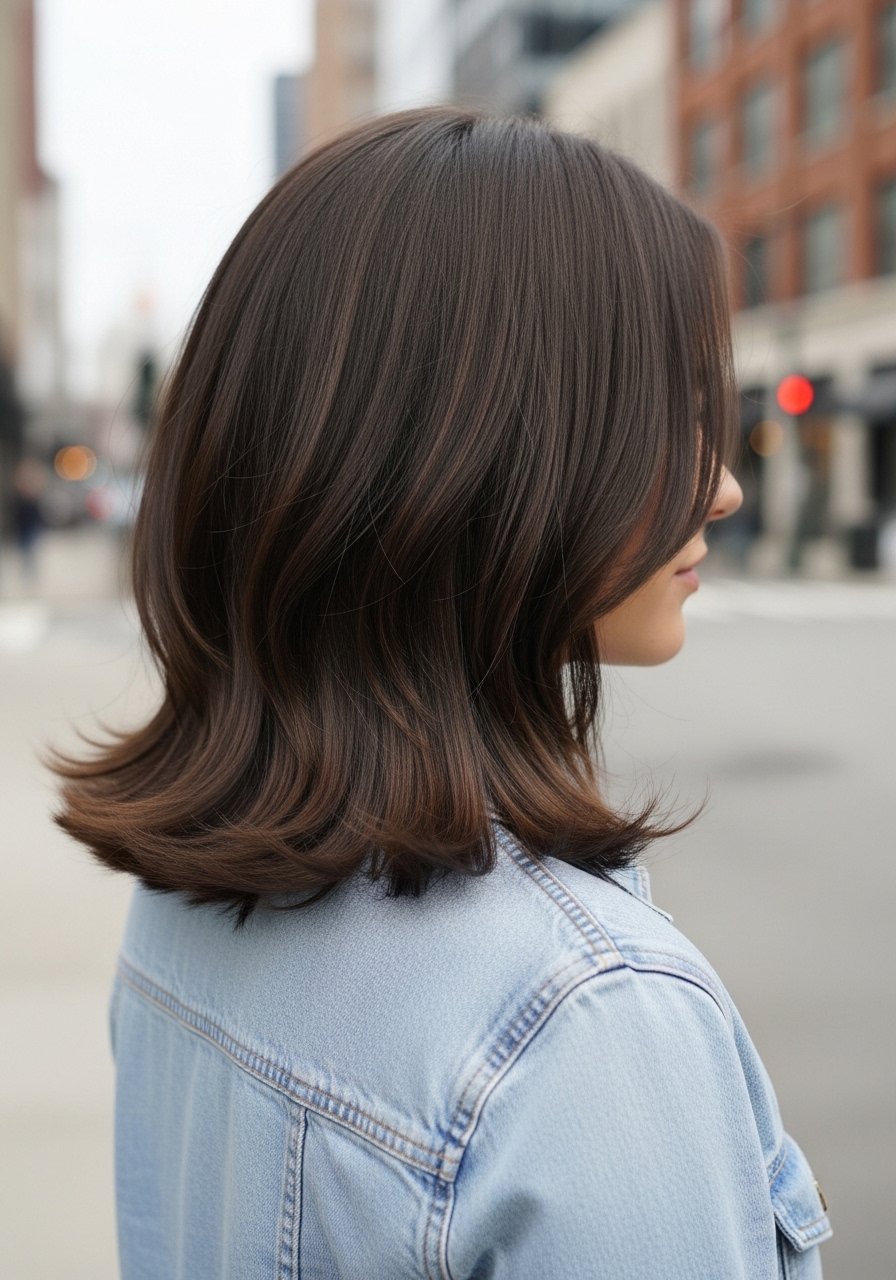
A blended lob with a longer underlayer gives medium straight hair lift at the crown while keeping movement. I had this cut for months when my hair went flat at midday. The trick is to ask for weight at the nape and soft blending through the sides so the top layers stack, not chop into each other. This works well for medium density hair and takes about 15 minutes to style with a paddle brush and a quick root blast of volume spray. For hold without crunch, mist Color Wow Dream Coat anti-humidity spray sparingly over mid-lengths. A mistake I see is over-thinning the underlayer at the salon. Tell them you want a stacked look, not texturized paper-thin ends.
Feathered Ends To Fake Thickness
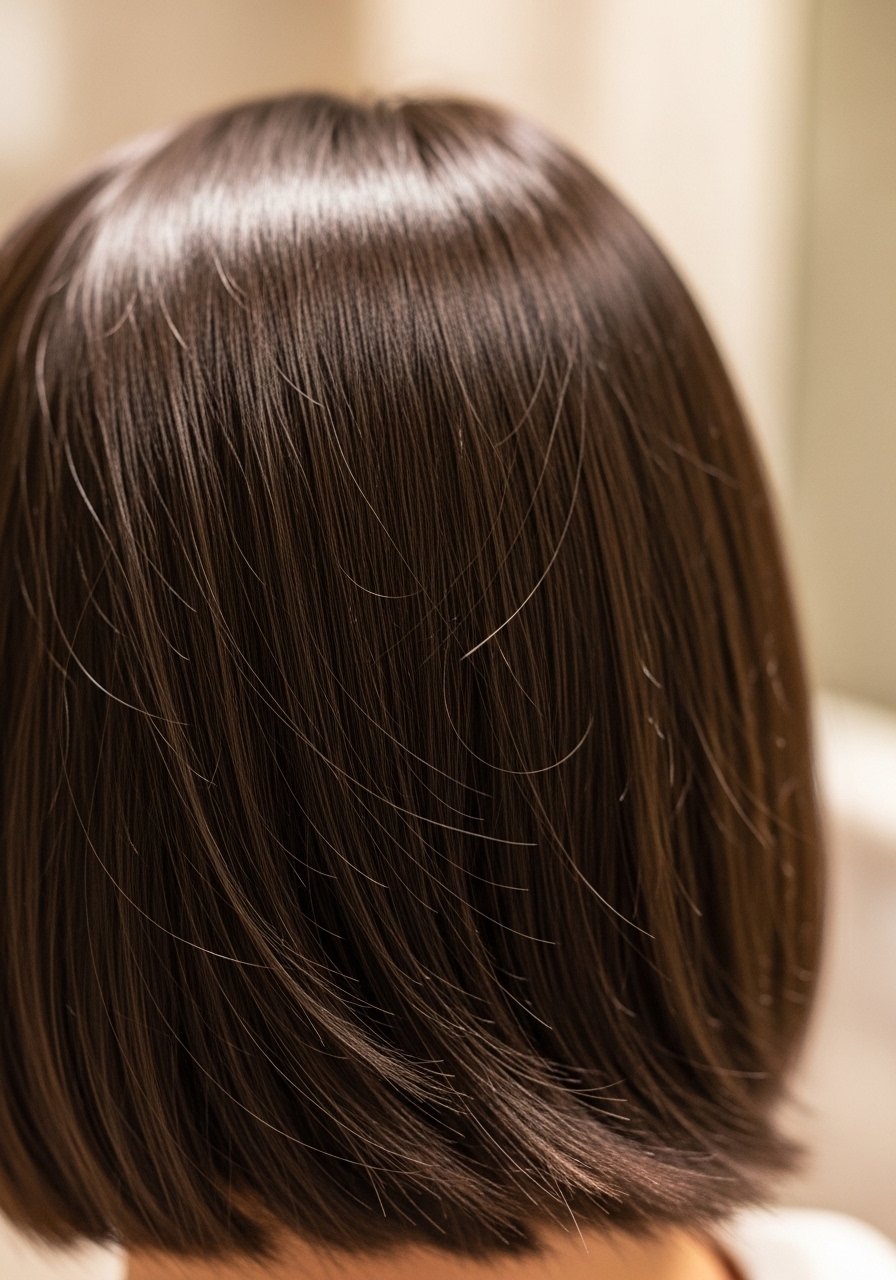
If your hair is fine and falls flat, feathered ends can fake density because they break light and create visible edge. Ask the stylist to point-cut the ends in 2 to 3 sections per side, about 1/4 inch vertical snips, not horizontal. In daily styling I towel-dry gently, apply one dime-sized amount of a light styling paste through the ends, then scrunch with the fingers. For heat styling, keep a flat iron at 300 F or lower and press for one second per 1-inch section. Heat protectant goes on damp hair before any iron over 300 F. Overdoing texture paste is the usual error, which adds grit and frizz instead of shape. If you have color-treated hair, use a bond builder once a week to keep ends from looking fried.
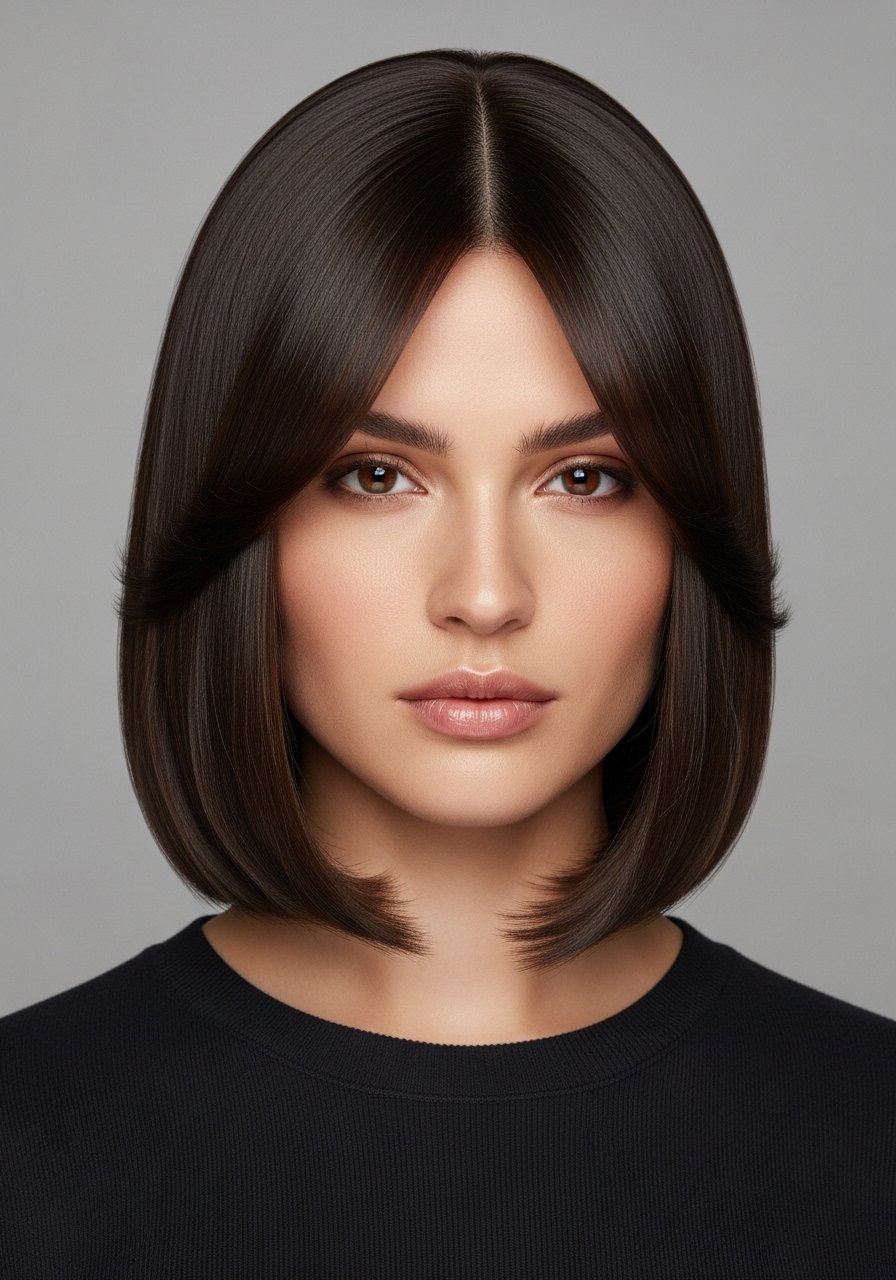
Curtain Bangs Tucked Into Layers For Heart Faces

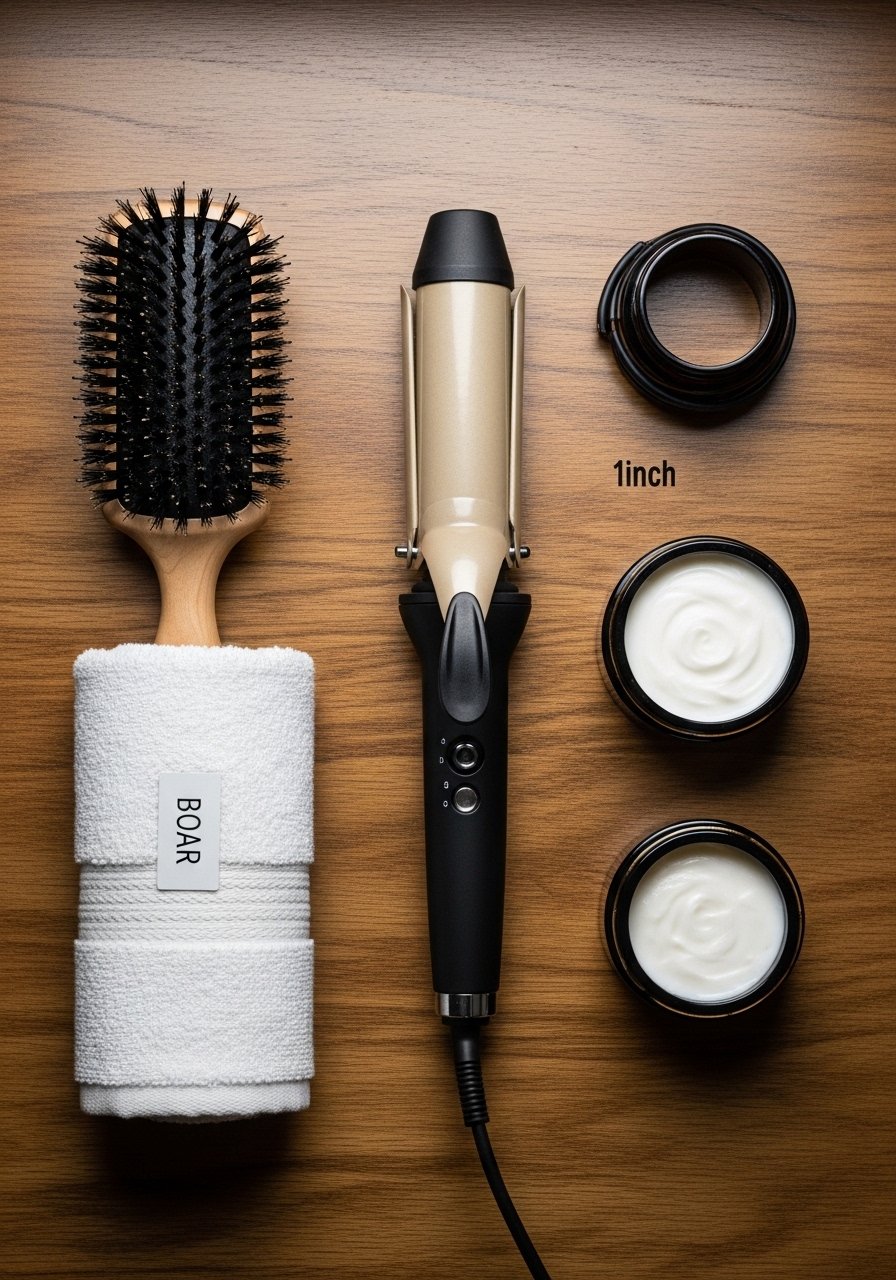
Curtain bangs that blend into layers are my go-to when I want forehead coverage without heavy bangs. For heart-shaped faces, keep the bang length between eyebrow and cheekbone so it blends naturally into the top layer. I trim mine every six to eight weeks, snipping in 1/8-inch increments while dry so they sit how I wear them. Styling is a quick tug with a 1-inch curling iron turned to 280 F, twisting away from the face for one to two seconds to create a soft bend. A common mistake is cutting curtain bangs too blunt; they should feather into the longer layers. If you color the bangs, remember they may fade faster from sun exposure, so protect them with a UV spray.
Sleek Face-Framing Finish With A Flat Iron
If you want the crisp, chic silhouette that face-framing layers promise, a 1-inch flat iron is the most reliable tool. Work in 1-inch subsections, clamp for one second at 320 F for fine hair and 360 F for medium density hair, then glide down once. Apply a thin layer of heat protectant to damp hair and let it air-dry or blow-dry until almost dry. One of my worst mistakes was ironing wet hair and frying the ends. Another is going over the same section multiple times. Aim for one clean pass where possible. After styling, smooth a drop of lightweight serum through the ends for sheen. If you plan to use a higher temperature, remember heat protectant before any iron over 300 F.
Root Lift Blowout For Layered Medium Hair
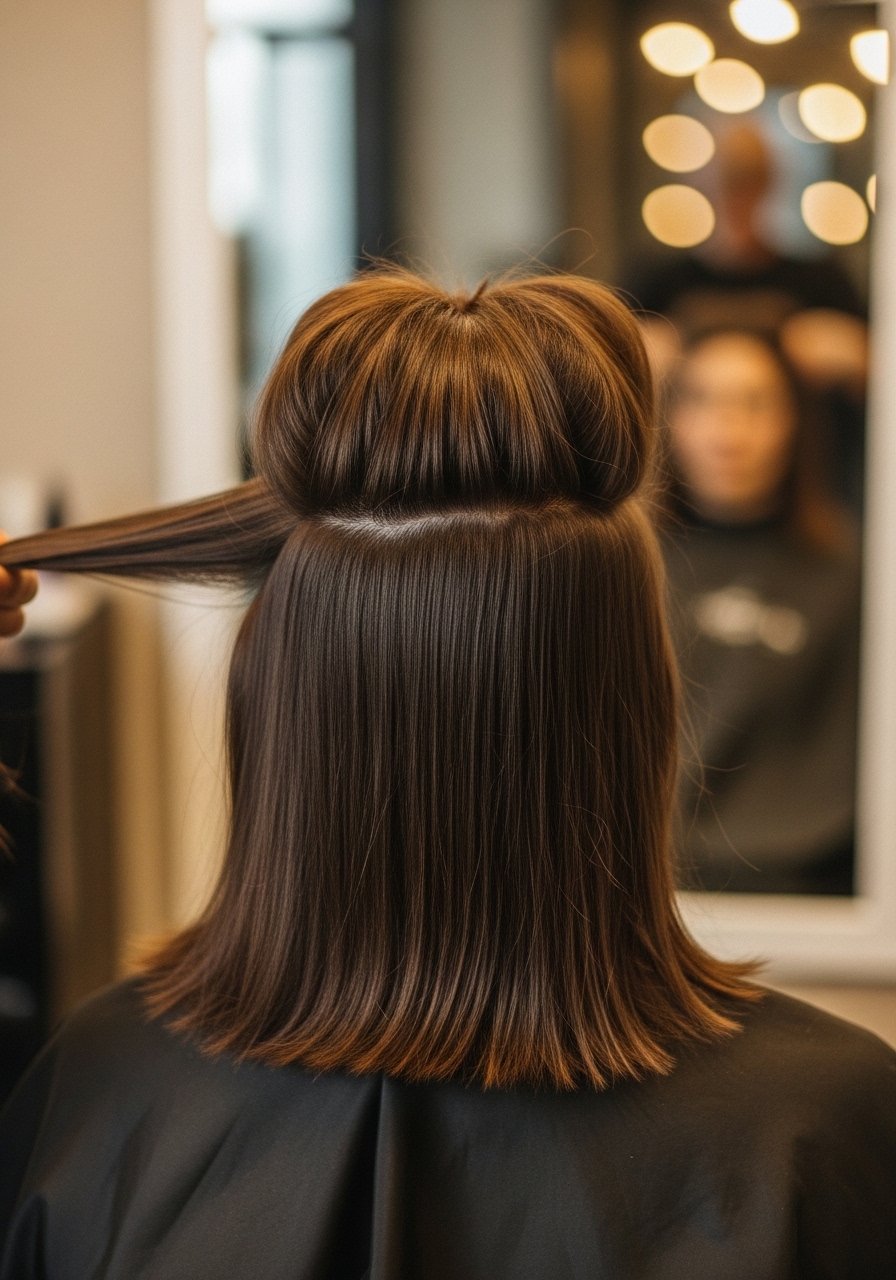
Blowouts are where layered medium hair truly shows shape. Section hair into four quadrants, take 1.5-inch sections at the crown, and use a round brush to roll the hair up and away from the part for eight to ten seconds each while blasting with warm but not hot air. I set my dryer on medium heat and finish with one cool shot per section to lock the bloom. For fine hair, a root pumping spray applied directly to the part in two short spritzes gives lift without stiffness. The frequent mistake is skipping a cool shot which causes root collapse within hours. If you color your roots, avoid daily heat at maximum. Book a salon blowout when you need the shape to last two or three days.
The Bond Builder Routine That Keeps Layers Smooth
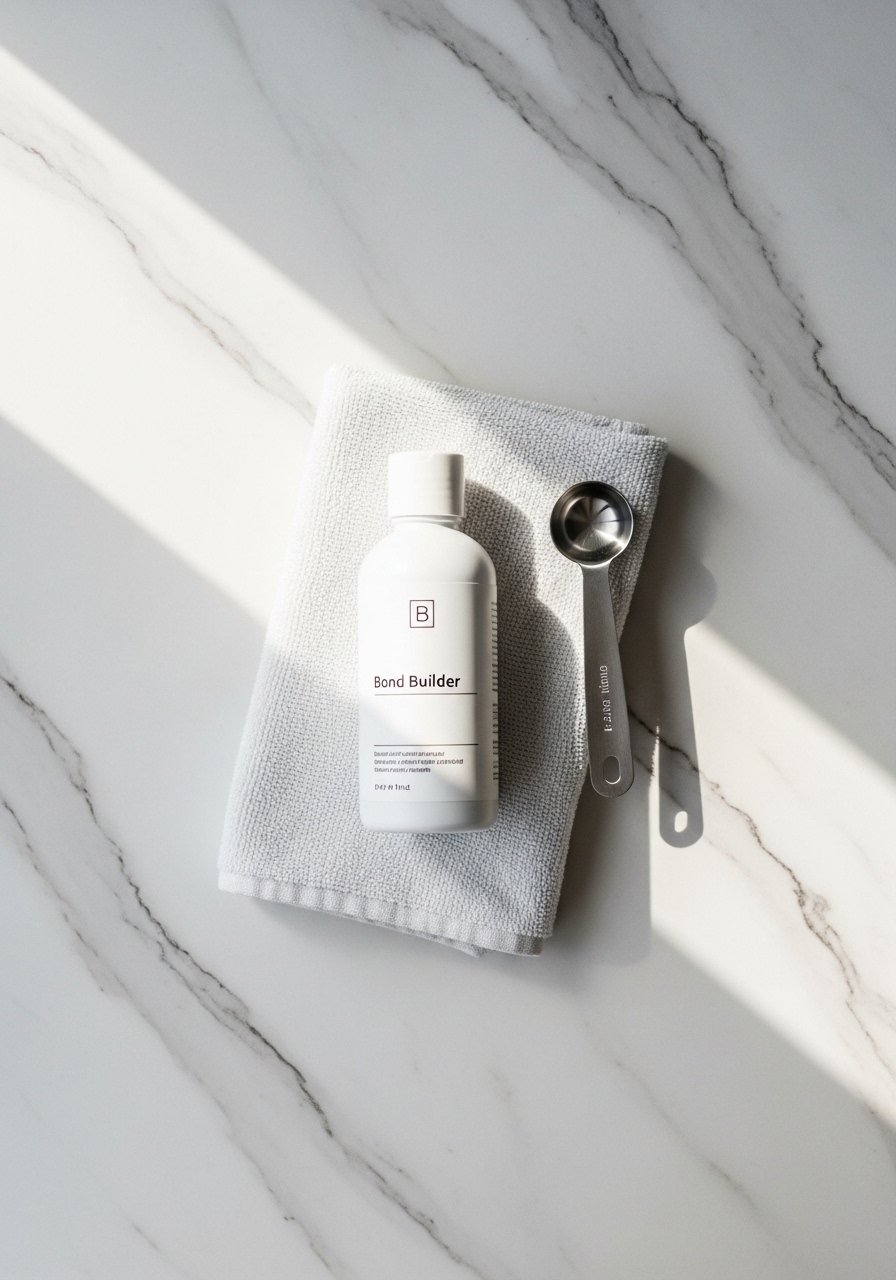
When my layers start fraying and the ends look shredded, weekly bond-building treatments stopped me from chopping more off. Use a bond builder like Olaplex No. 3 once a week on damp lengths for at least 10 minutes, two times if your hair is very porous. Apply about a quarter-sized dollop per 4-inch section, work through with fingers, and rinse. For salon-level options, K18 peptide treatment is powerful but buy only from verified sellers to avoid counterfeits. A common error is using bond treatments every day thinking it speeds repairs. Hair grows about half an inch a month at most, regardless of what biotin gummies promise you. Bond builders smooth the appearance of damage and reduce breakage, they do not undo history. If you have chemical work scheduled, tell your colorist you use bond builders so they can plan around them.
What I Keep On Hand For Layered Medium Straight Hair
- This Light Heat Protectant Mist 6oz. A spray before blow-drying or flat ironing, applied to damp hair.
- Olaplex No. 3 Hair Perfector 3.3oz. Used weekly for visible smoothing. Buy from the official store on Amazon or Sephora to avoid counterfeits.
- A 1-Inch Flat Iron With Ceramic Plates. The smaller plate makes face-framing smoothing easier.
- Color Wow Dream Coat Anti-Humidity Spray 3.4oz. One light pass after styling keeps frizz down for days.
- A Silk Pillowcase Queen Size. Saves ends and reduces morning frizz.
- A Boar Bristle Paddle Brush. Distributes natural oils for shine and easier blowouts.
- A Wide-Tooth Comb. Gentle detangling after conditioner prevents breakage.
- Microfiber Hair Towel. Cuts drying time and reduces friction.
- A Lightweight Styling Cream 4oz. One to two pumps for mid-length shaping.
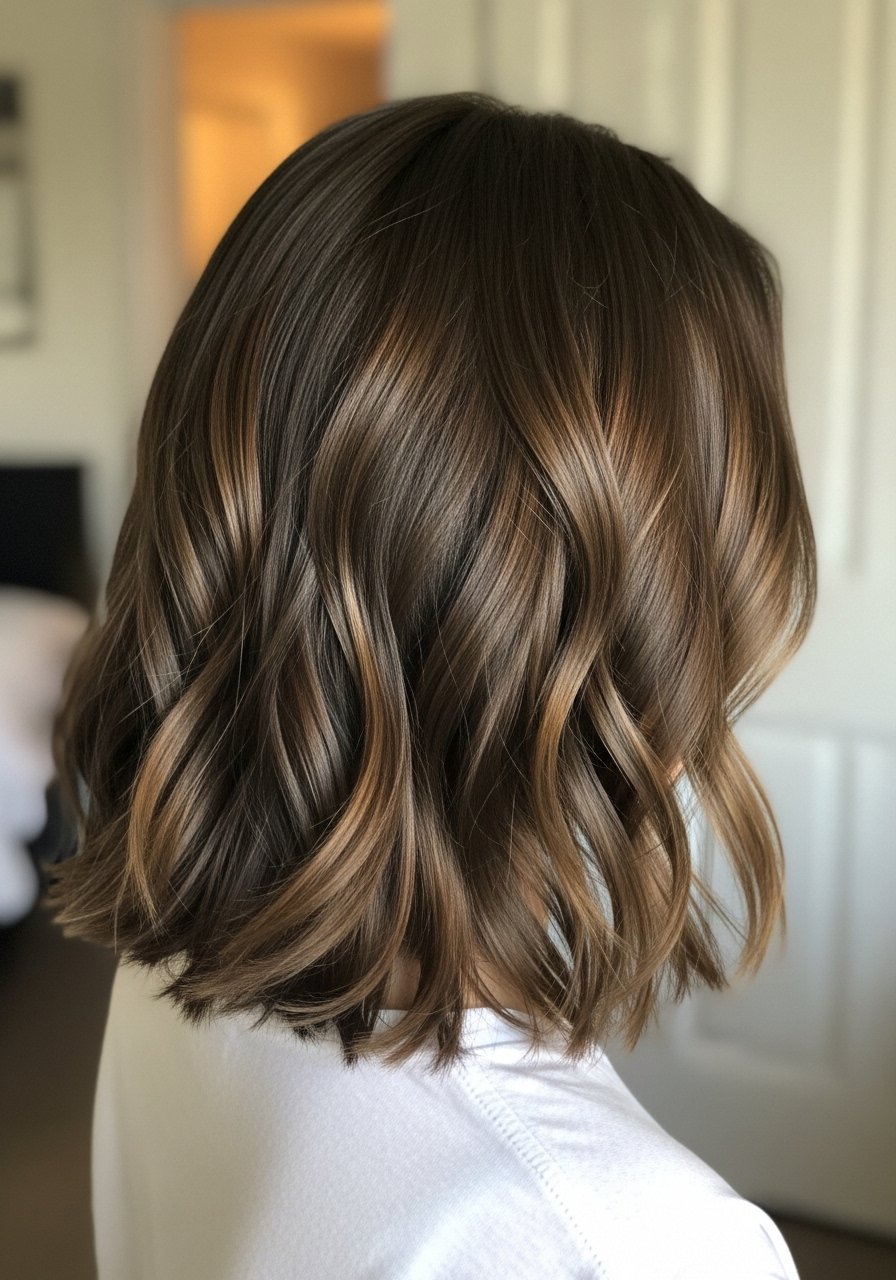
Money Piece Face-Framing Highlights Without Overdoing It

Money piece highlights make face-framing layers pop and brighten the complexion. Ask for thinner slices at the front, blended with a natural root shadow so the grow-out is forgiving. If you plan to touch them up at home, use a demi-permanent gloss rather than high-lift bleach on the first go. For a salon visit, expect 90 minutes and a higher bill, but the color lasts longer if the initial placement is strategic. A common DIY mistake is lightening too broadly which ruins the frame. Allergy patch test new color products 48 hours before use. If you need a cheaper refresher between appointments, a color-depositing mask can tone the highlights without lifting.
Heatless Bend For Layered Straight Hair
On days I do not want heat, a simple two-strand twist the night before gives a soft bend that reads like a subtle curl into layers. Split hair into four sections, twist each section into a loose rope, coil and secure with a soft claw clip. In the morning, undo and finger-comb the bends, then seal with a light mist of flexible hold spray. This works well on Type 1A to 1B hair that is slightly damp before sleeping. The mistake is making the twist too tight which creates a kink instead of a soft bend. If your layers are very short in front, twist those separately so they do not disappear into the bulk.
Gloss Treatment To Keep Face-Framing Shiny
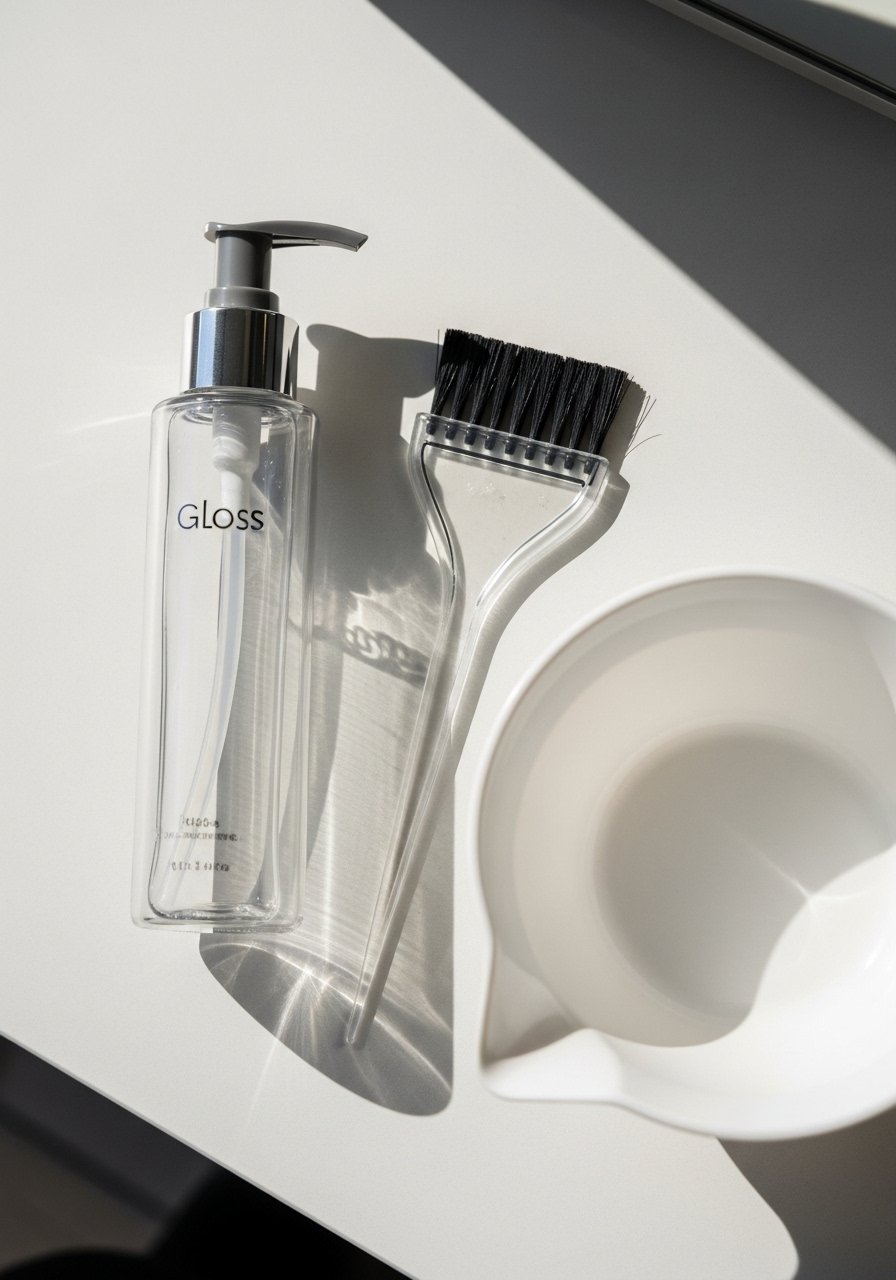
A gloss treatment brings together color and shape by smoothing cuticle reflection and adding slip to layered ends. I book an in-salon clear gloss every eight to ten washes if I have highlights or face-framing pieces. At home, a quick acidic gloss rinse after shampoo can refresh tone. One concrete practice: leave the gloss on for eight minutes, rinse with cool water, then style as usual. Too many people leave it on either too briefly or walk away for 20 minutes expecting miracle results. Glosses are salon-worthy if you want longer-lasting tone. If you have sensitive scalp, ask for a patch test because glosses have acids that irritate some scalps.
Nighttime Guard Routine To Preserve The Cut

Keeping layers in shape overnight is underrated. I switched to a silk pillowcase and found my face-framing pieces stayed where I trained them. For second-day styling, spritz dry shampoo at the root and smooth ends with a finger-sized dab of lightweight cream. If you sleep on cotton, the friction causes micro-breakage at layered ends. Another small trick is clipping the top layers loosely with a small claw so the underlayer keeps its length without being flattened. Hair grows about half an inch a month at most, regardless of what biotin gummies promise you. Trim every 8 to 12 weeks to keep your face frame sharp and prevent the layered effect from morphing into an uneven shape.
What Actually Helped Me Cut Styling Time And Frustration
Heat protectant goes on damp hair, not dry. The cuticle is more open and the product actually absorbs. This Color Wow heat protectant absorbs quickly and keeps my face-framing pieces from looking fried. Grab a microfiber hair towel for $12. It cuts your blow dry time by a third and stops the frizz before it starts. Drugstore shampoo is fine. Where you actually need to spend money is the conditioner and bond builder. Olaplex No. 5 Bond Maintenance Conditioner does more for damaged layered ends than an expensive shampoo. My curls looked great on TikTok and like wet noodles by 11am. Layered straight hair benefits from fewer heavy products and more targeted shaping passes.
Frequently Asked Questions
Q: How often should I trim face-framing layers to keep the shape?
A: Every 8 to 12 weeks if you want the frame to stay precise. If you are growing them out, you can stretch to 12 weeks but expect some reshaping. Small dry snips at home are fine for maintenance, but major restyles belong at the salon.
Q: Can I highlight just the money piece at home without damaging the rest of my hair?
A: You can, but use a demi-permanent on thin slices rather than full bleach for the first attempt. If you need lift beyond two levels, book a salon appointment. Lifting over previous color risks breakage and uneven tone.
Q: Is it safe to flat iron layered ends every day?
A: Daily heat stresses the hair. If you must, keep your iron between 300 F and 360 F depending on density, and always apply heat protectant to damp hair before you start. Try alternating with heatless bends or morning touch-ups to reduce daily exposure.
Q: Which styling product actually keeps face-framing pieces in place without stiffness?
A: A lightweight styling cream or a tiny amount of paste works best for most medium straight hair. Apply a pea-sized amount to the face pieces only, then smooth with fingers. Too much product weighs the frame down or makes it look greasy.
Q: Can bond-building treatments let me skip trims on damaged ends?
A: Bond builders smooth the appearance of split or damaged ends and reduce future breakage, but they do not replace a trim. Regular trims remove irreparable splits. Use bond builders weekly for maintenance and trims every 8 to 12 weeks.
Q: How do I avoid the helmet look when asking for layers?
A: Ask your stylist for soft layering with face-framing starting at cheekbone level and underlayer weight kept intact. Request point cutting at the ends and test how the hair falls dry in the chair before they finish. If they thin the underlayer excessively you will lose the intended shape.

