
I used to get the same cut at three different salons and leave feeling like my face looked wider, not slimmer. After a year of tweaks and one botched fringe that taught me to trust long, strategic shaping, I landed on techniques that actually make a round face read longer without sacrificing length.
These ideas work best on naturally straight to slightly wavy 1A through 2A hair, fine to medium density. Most take 10 to 30 minutes to style. Budget ranges from under $20 for a good brush to one splurge tool near $200 if you want it. Almost everything here can be done at home, though color pieces and heavy layering are worth a pro visit.
Long Layers To Slim A Round Face
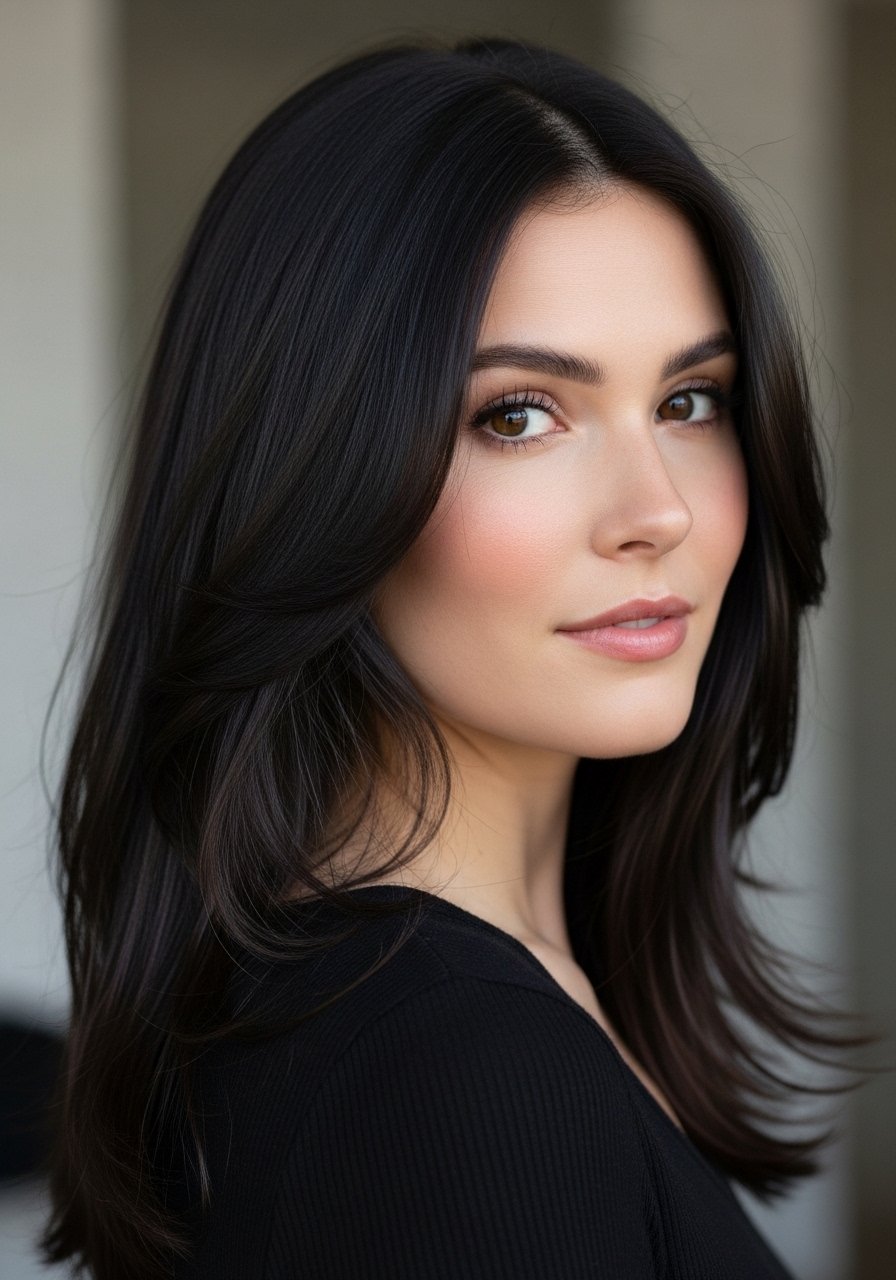
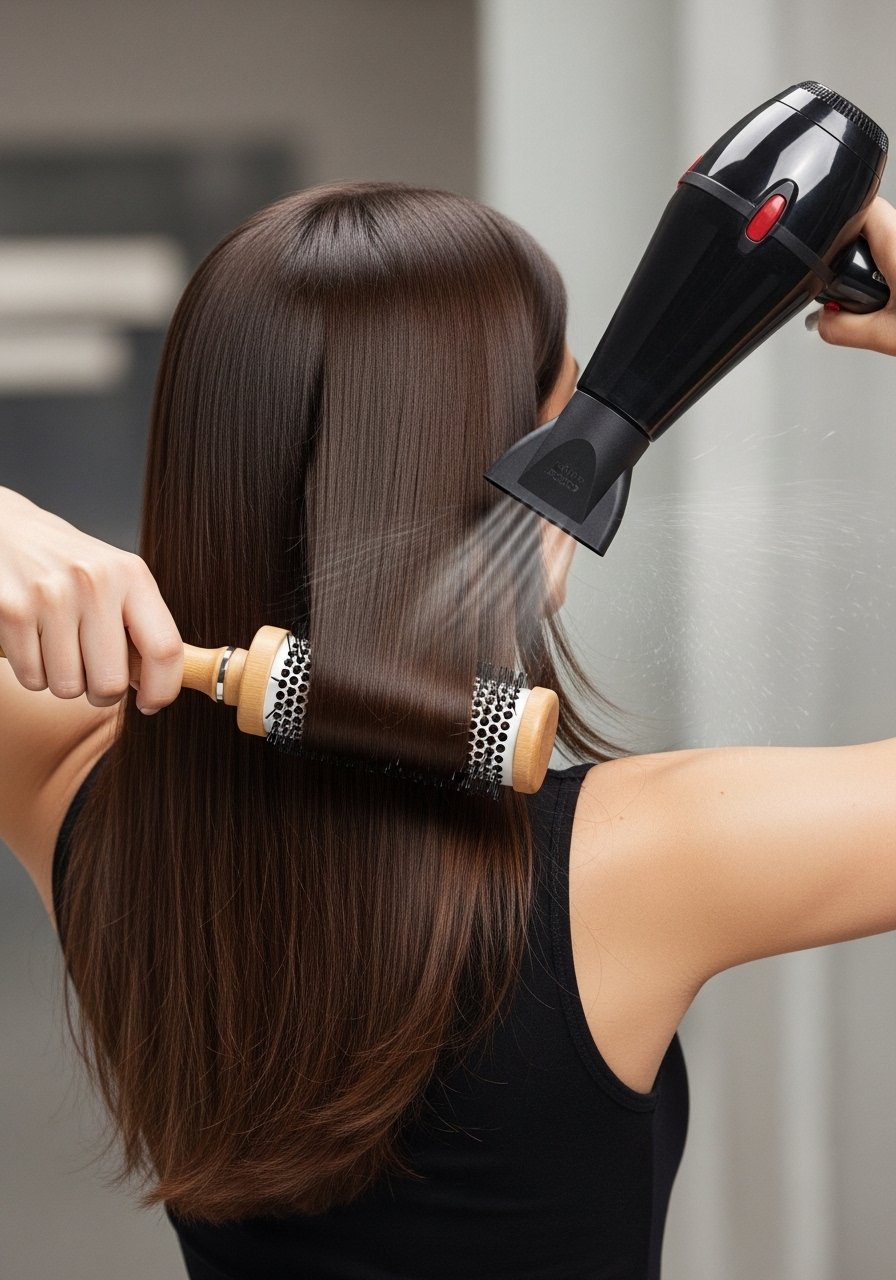
Long layers remove weight around the cheeks so the eye is drawn down the length of the hair, not across the face. For fine to medium straight hair, ask your stylist for layers that start two to three inches below the chin and are cut on a gentle slide, not chopped in. I say this because when stylists cut too short, it creates a horizontal line at cheek level that makes a round face read wider. DIY note, not everything needs a salon visit: a blunt long perimeter can be maintained at home with careful point cutting of the ends every eight to ten weeks.
A small tip when styling, lift at the crown with two 1-inch sections, back-comb lightly at the roots, and smooth the top layer over it for instant lengthening. For detangling before styling, I keep a paddle brush like the one in the shopping list handy, and for trimming split ends at home I use sharp hair shears only, not kitchen scissors. Be safe, keep cuts minimal if you are inexperienced.
Curtain Bangs That Soften Without Adding Width
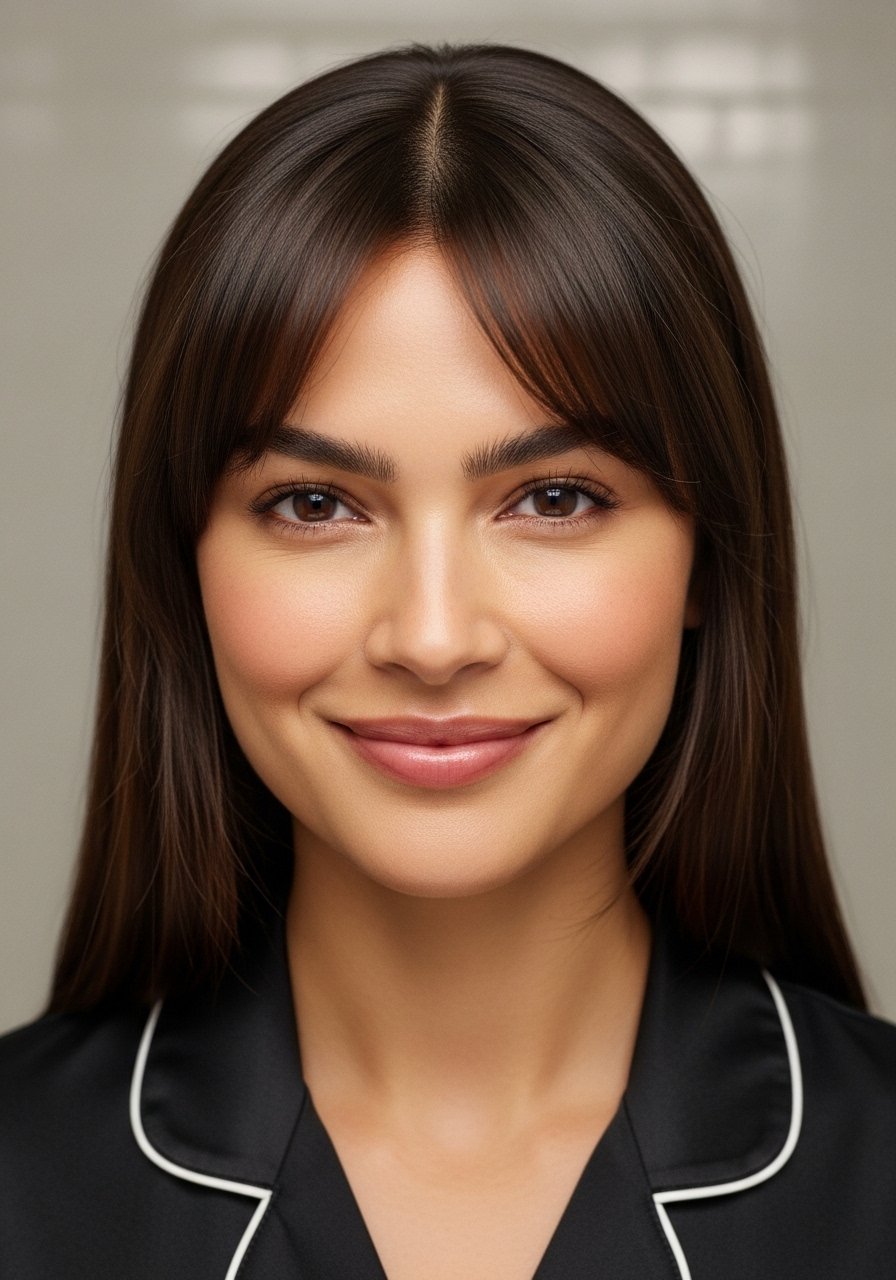
Curtain bangs can frame a round face without creating a heavy forehead band. The trick is length and taper. I had bangs once that hit at the cheekbone and they read as a horizontal stripe. The version that worked for me hit at cheekbone height but were feathered, so the ends thin out at the temples. For straight fine hair, use one-eighth inch sections and point cut the ends at a 45 degree angle so they taper into the rest of your hair. Blow-dry with a round brush, pulling the bangs outward and away from the face to create soft negative space at the temples.
Common mistake, growing curtain bangs out without a plan. If you want to skip frequent trims, ask for longer curtain bangs that can tuck behind the ears. Salon vs DIY, curtain bangs are worth a first-time salon cut. If you attempt it yourself, cut less than you think and work slowly.
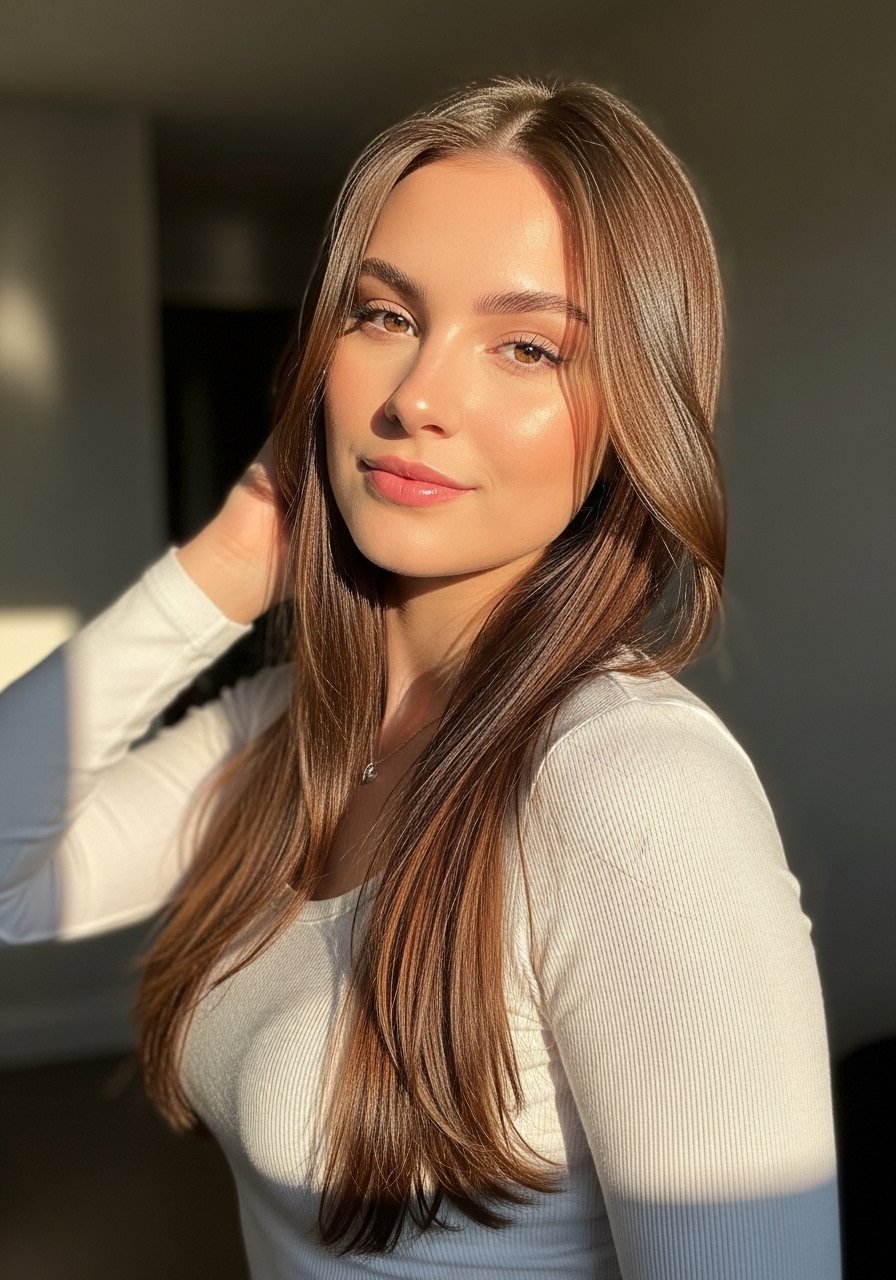
Center Part With Soft Waves To Add Vertical Lines
A clean center part and small, loose bends at the ends draw the eye vertically. For straight 1A to 1C hair, I use a 1-inch curling iron on 300 degrees Fahrenheit for one to two second wraps, then finger-comb the bends to keep the hair long and sleek with movement. Heat protectant must be used before any iron over 300F to avoid extra damage. I learned this after flattening my ends at a higher setting and paying months to recover them.
If your hair is fine, use two sections per side rather than lots of small ones so volume stays natural instead of fluffy. For thicker straight hair, one-inch sections create a more subtle bend. A common frustration is limp hair at the roots. Lift at the crown with a clip while the lower lengths set, then release for lasting vertical shape.
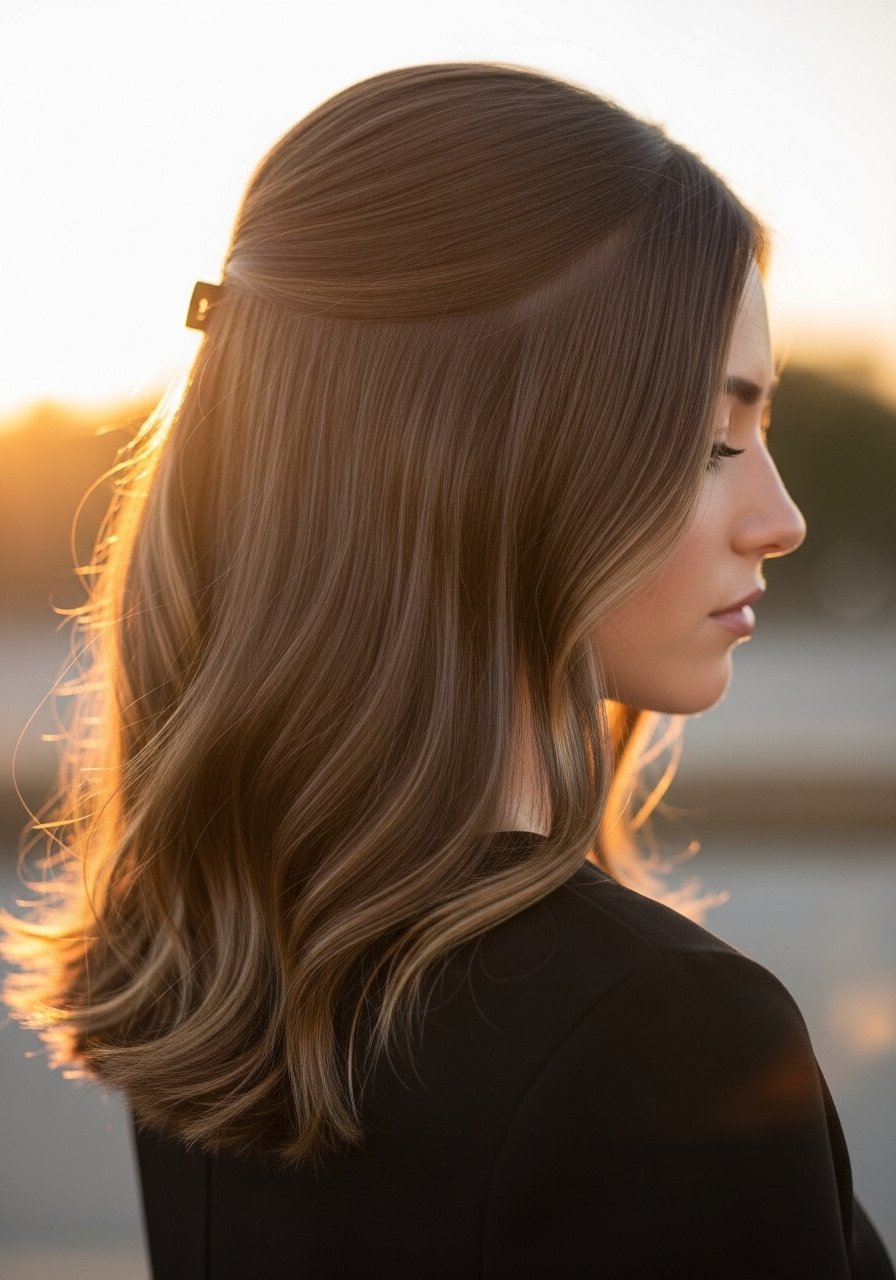
Deep Side Part For Instant Asymmetry
A deep side part is the fastest salon-free trick to break facial symmetry and make a round face feel slimmer. I switch between center and side parts depending on how round my face is looking in photos. On day one after washing, I set the part by blow-drying hair flat with a medium round brush while directing the roots opposite the intended part. This creates a natural swoop.
If your hair is oily at the crown from roots touching the pillow, dry shampoo at the part roots, then smooth the top layer with two light strokes of a paddle brush. DIY note, if you want a more dramatic look, a flat iron on 320 degrees for one pass along the top layer keeps the part crisp. Watch out for overstraightening the ends, it can read heavy and shorten the visual length.
Low Sleek Ponytail With Slight Crown Lift
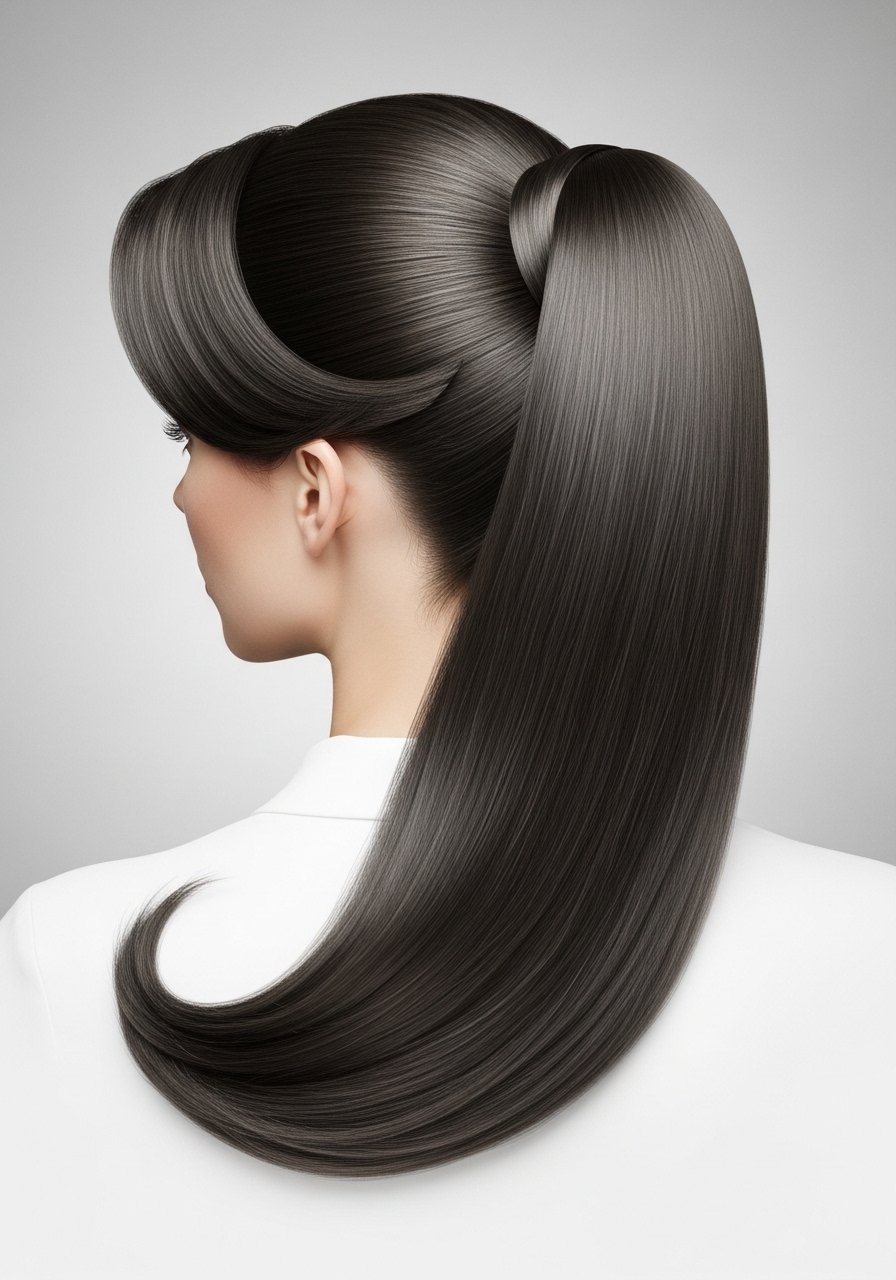
A low ponytail keeps length visible while a small lift at the crown creates the illusion of height. My go-to is to clip up the top half, lightly back-brush two 1-inch sections at the crown for volume, then smooth the top layer and tie everything low. For fine hair, two bobby pins cross at the base of the lift to hold it without flattening.
To finish, wrap a small section of hair around the elastic. If your hair is frizzy at the ends, a pea-size of a lightweight serum smoothed through the tail tames flyaways. Avoid applying heavy oil at the roots, it makes the face appear heavier. Salon vs DIY, a quick pony is totally home-friendly. If you want it extra sleek, one pass of a flat iron on low heat will do it, remember to put heat protectant on first.
Blunt Ends With Micro-Texture For Weight Control
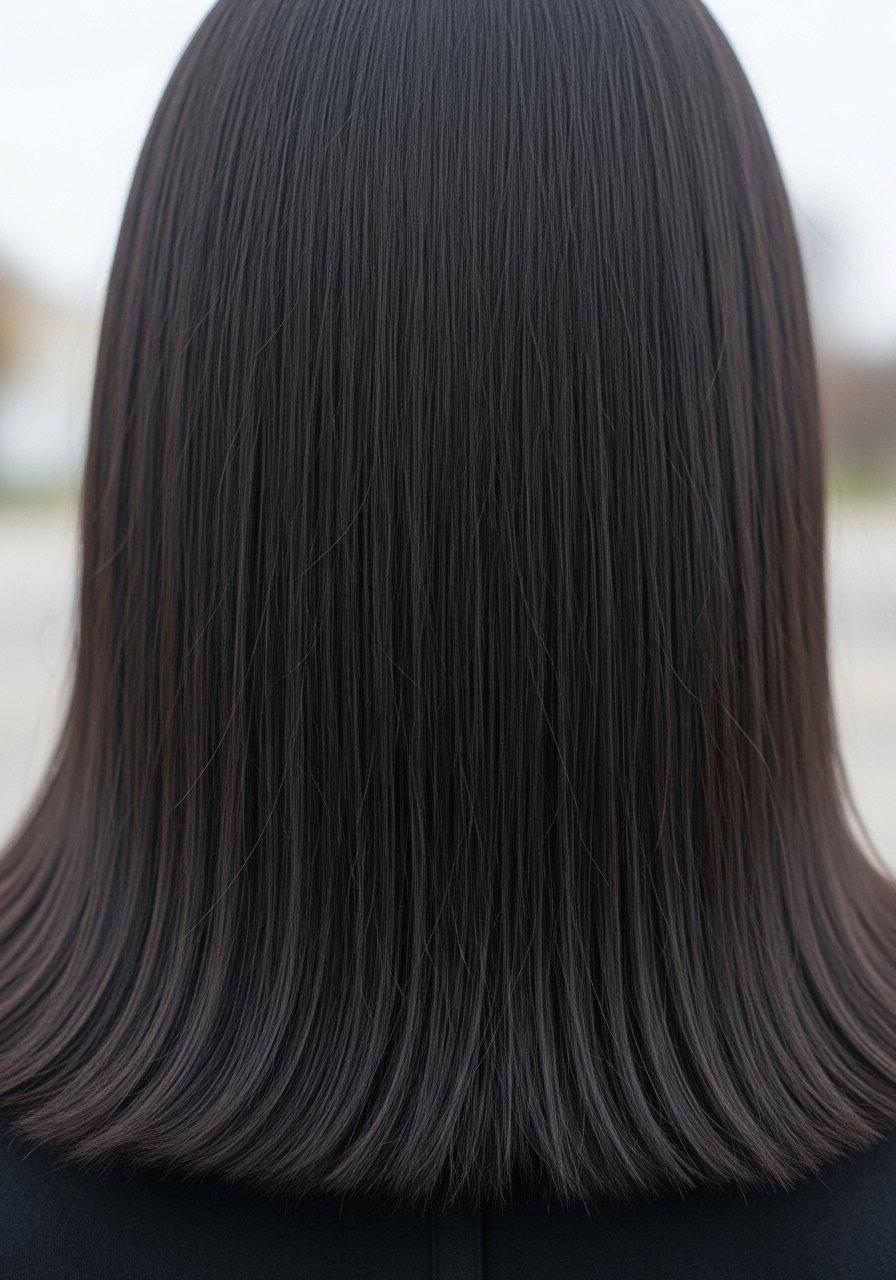
Blunt ends read longer because they create a single downward line, which helps elongate a round face. But blunt can look blocky on very fine hair, so micro-texture at the last half inch softens the line. After a bad layered cut that kept feathering out in the wrong place, my stylist did subtle micro-texture with point cutting and it made a huge difference.
If you are trimming at home, cut the blunt line first with hair wet and detangled, then dry and remove tiny slices only where needed for texture. Mistake to avoid, over-texturing around the chin. That brings the eye back to the width of the face. Schedule a perimeter trim every eight to ten weeks to keep the line precise.
Face-Framing Color Pieces To Create Vertical Edges
Strategic lighter pieces at the front, often called money pieces, draw attention along the face length instead of across the cheeks. I tested this with one foil-applied slice on each side, placed to accentuate the cheek-to-jaw vertical line. For brunettes, a warm caramel two shades lighter works well on medium skin tones, while ash or neutral tones suit cooler complexions. If you touch this up at home, use a low-volume developer and strand tests, and always do an allergy patch test for color.
Budget note, a pro appointment is worth it for placement. A rushed DIY highlight can land at cheek level and make the face look wider. If you do want an at-home option, use a piece of highlighting tape and process for no longer than the product instructions. After coloring, use a bond builder weekly to keep hair intact.
What I Pack For Long Straight Hair On Round Faces
- For daily smoothing, a small amount of a silicone-free serum. A lightweight silicone serum is what I spritz on the ends when humidity spikes
- For bond maintenance, using an at-home treatment once a week kept my ends behaving. Olaplex No. 3 Hair Perfector 3.3 oz, used weekly, saved multiple salon repair trips. Buy from the brand store on Amazon or Sephora to avoid counterfeits
- For brushing and detangling, a wide paddle brush that glides through long straight hair, cheap but durable. A boar bristle paddle brush works for distributing oils
- For heat styling safety, a reliable heat protectant spray is non-negotiable. A heat protectant spray that lists film-forming ingredients is ideal
- For root lift without crunch, a lightweight root volumizer mousse that you apply at the crown when hair is damp. A root lift mousse keeps the base airy without weight
- For sleep protection, a silk pillowcase or silk scarf to reduce friction and keep the hair lying straight. A silk pillowcase queen is under $30 and worth it
- For clean ups between washes, dry shampoo that does not leave white cast. A transparent dry shampoo helps extend blowout days
Heat Protectant Rules And Iron Settings That Actually Work
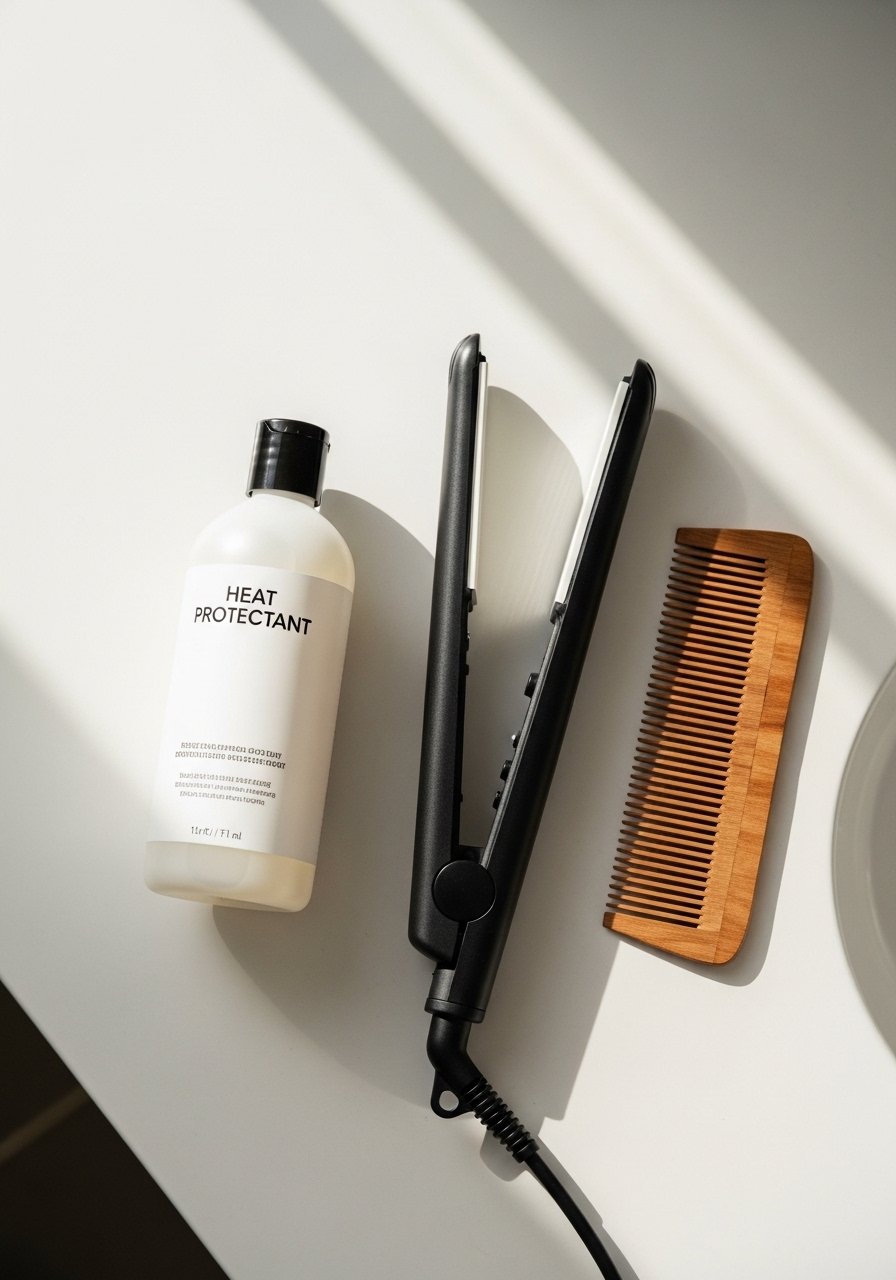
One thing I learned the hard way, heat protectant goes on before the hair gets hot, not after. Most stylists will tell you to apply it to damp or just-dried hair so the formula can absorb into the cuticle. For flat irons and curling irons above 300 degrees Fahrenheit use a protectant that forms a thin film. I use two light sprays for mid-back length hair and distribute with a wide-tooth comb.
Iron settings matter. For fine straight hair 300 to 330 degrees Fahrenheit is plenty. For medium to coarse hair up to 360 is sometimes necessary, but do more passes at lower heat if you can. A frequent mistake is cranking the temperature and blasting one pass for speed. That saves time but shortens your hair life. If you are unsure which setting to try, start at 300 and raise by 10 degrees only if the style does not hold after a test section.
Blow-Dry Technique For Sleek Long Lengths
I used to rough-dry and then iron, which cost me weeks of dryness and split ends. The method that worked is sectioning into four to six panels depending on thickness, clipping the top two panels up, and working from the nape upward. Aim the dryer nozzle down the hair shaft and keep the brush tension firm as you pull hair straight. Finish each section with a cool shot to set the cuticle.
A common frustration is puffiness at the crown. For that, lift only two 1-inch sections at the crown and dry them with the head tipped forward to create root lift, then smooth the top layer back over. If you have very thick hair, work in more sections to get heat evenly distributed and reduce the need for high iron temps later.
Overnight Silk Wrap For Less Morning Bulk
If your pillow is a battle zone for straight hair, wrapping it at night keeps the length sleek and reduces morning bulk. I use a silk scarf to wrap the hair into a loose low knot and sleep on a silk pillowcase to minimize friction. This routine cut my morning brush-through time from 15 minutes to under five.
Mistake to avoid, wrapping too tight at the roots. That can create a weird indent or kink where you least want it. Keep the wrap loose around the crown and secure at the nape. This approach is cheap, under $20 for a scarf, and works for fine to medium straight hair. For very thick hair, a wide silk bonnet is more comfortable.
Trim Frequency And At-Home Bonding For Longer Lengths

If you want to keep long straight hair looking fresh on a round face, trims and bond treatments are not optional. I aim for a small perimeter trim every eight to ten weeks, and if the hair is color-treated or heat-styled I add a bond builder once a week. In one season, weekly bond treatment plus trims kept my ends from looking stringy even after heavy styling.
When using at-home bond builders, follow the timing on the package and rinse as instructed. Overuse can make hair feel gummy. If your hair has seen multiple lightening sessions, consult a salon before doing heavy lifting at home. A simple rule, trims remove irreversible broken ends, bond builders smooth and temporarily strengthen, they do not undo breakage history.
What I Wish I Knew About Styling Long Straight Hair For Round Faces
- Heat protectant goes on damp or just-dried hair, not after the iron. A reliable heat protectant makes a real difference
- If you want a slimmer face, start with long layers that begin below the chin, not at it. That small change avoids creating a horizontal line at the cheeks
- Hair grows about half an inch a month at most, so patience matters. Reducing breakage with a silk pillowcase queen and weekly bond treatment helps retain length
- Save money on tools, spend on a good shave proof flat iron if you use it daily. For occasional styling a mid-range iron is fine
- When coloring face-framing pieces, place them slightly forward of the cheekbones, not at cheek level, to lengthen the face visually. Buy color from the brand store on Amazon or Ulta to avoid counterfeits
Frequently Asked Questions
Q: Can long straight hair make a round face look slimmer?
A: Yes, when cut and styled to emphasize vertical lines. Long layers that start below the chin, a center or deep side part, and subtle face-framing pieces all pull the eye downward. Avoid heavy horizontal bangs that end at cheek level.
Q: How often should I trim to keep the long blunt line that slims a round face?
A: Every eight to ten weeks for most people. That keeps the blunt perimeter sharp and prevents split ends from marching up the hair shaft. If you are growing out, you can stretch to twelve weeks but expect a less crisp line.
Q: Are curtain bangs safe for people with round faces and fine hair?
A: Yes, when they are tapered and longer. Cut slightly longer than you think you need, and point cut the ends so they thin at the temples. A salon cut is recommended for first timers, because overzealous DIY bangs are notoriously hard to recover from.
Q: Does color around the face help or hurt a round face shape?
A: It helps when placed to create vertical edges. Lighter slices that start near the temple and travel downward frame the face. Avoid full-width highlights that hit the cheeks and create a horizontal visual line.
Q: Can I do these looks at home or should I see a stylist?
A: Many styling ideas here are home-friendly, like part changes, ponytails, and overnight silk wraps. Cuts that change the weight line, and precise face-framing color, benefit from a professional. If you try at home, do small adjustments and watch for damage warnings like lifting over previous color without a salon consult.

