
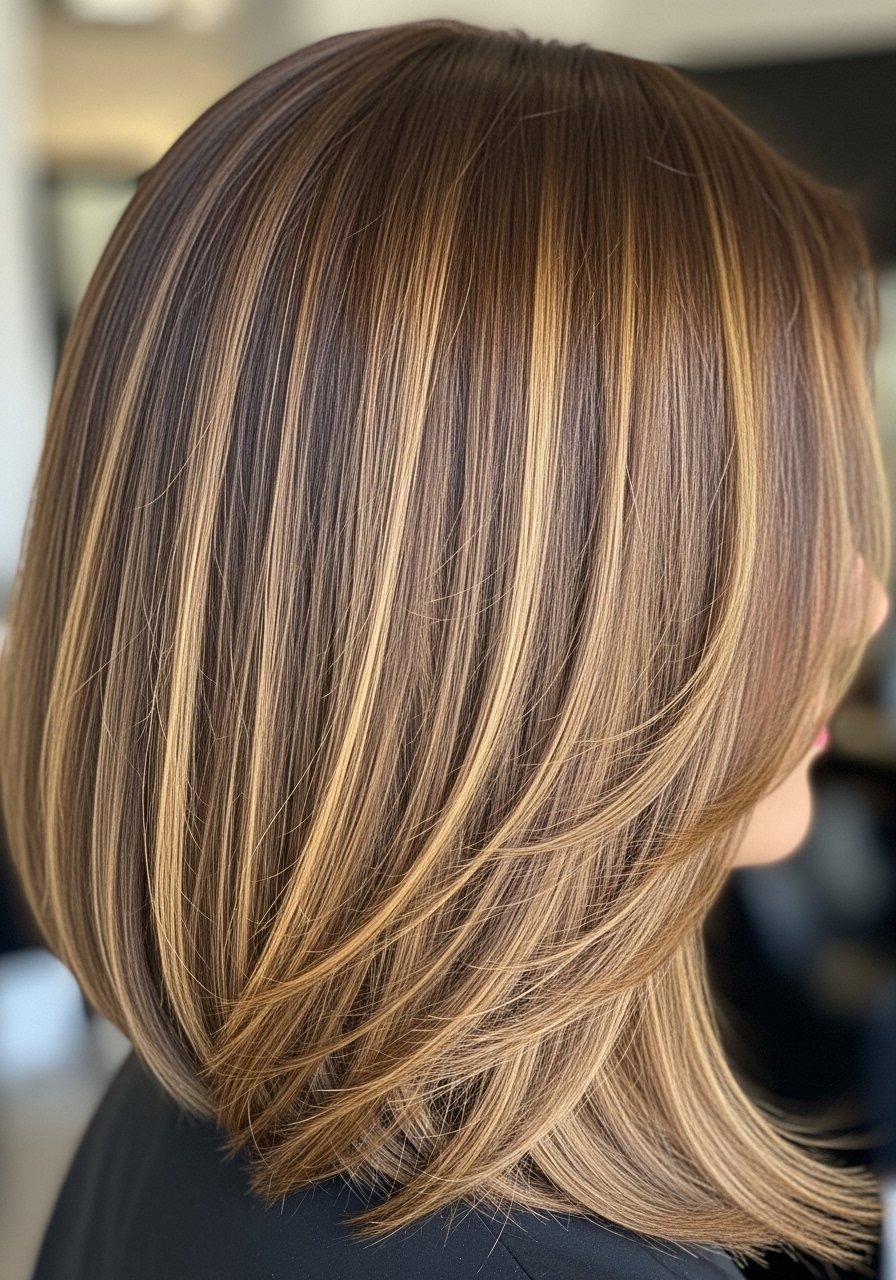
I sat in a chair once while my stylist mixed three different warm browns to get my balayage to read natural in sunlight and not orange in office fluorescence. If you want golden brown hair balayage that looks like it belongs on your head and not a poster, these nine real-world ideas cover fades, upkeep, and what to skip.
These picks mostly serve fine to medium 2A through 3B textures, with a few options for curlier 3C through 4A hair described. Skill level ranges from simple salon asks to cautious DIY touch-ups, and time runs from a 20 minute gloss to a 3 hour salon session. Budget spans drugstore color-safe shampoo to a splurge gloss, and I flag which ones I would leave to a colorist.
Soft Face-Framing Golden Brown Balayage for Fine Waves
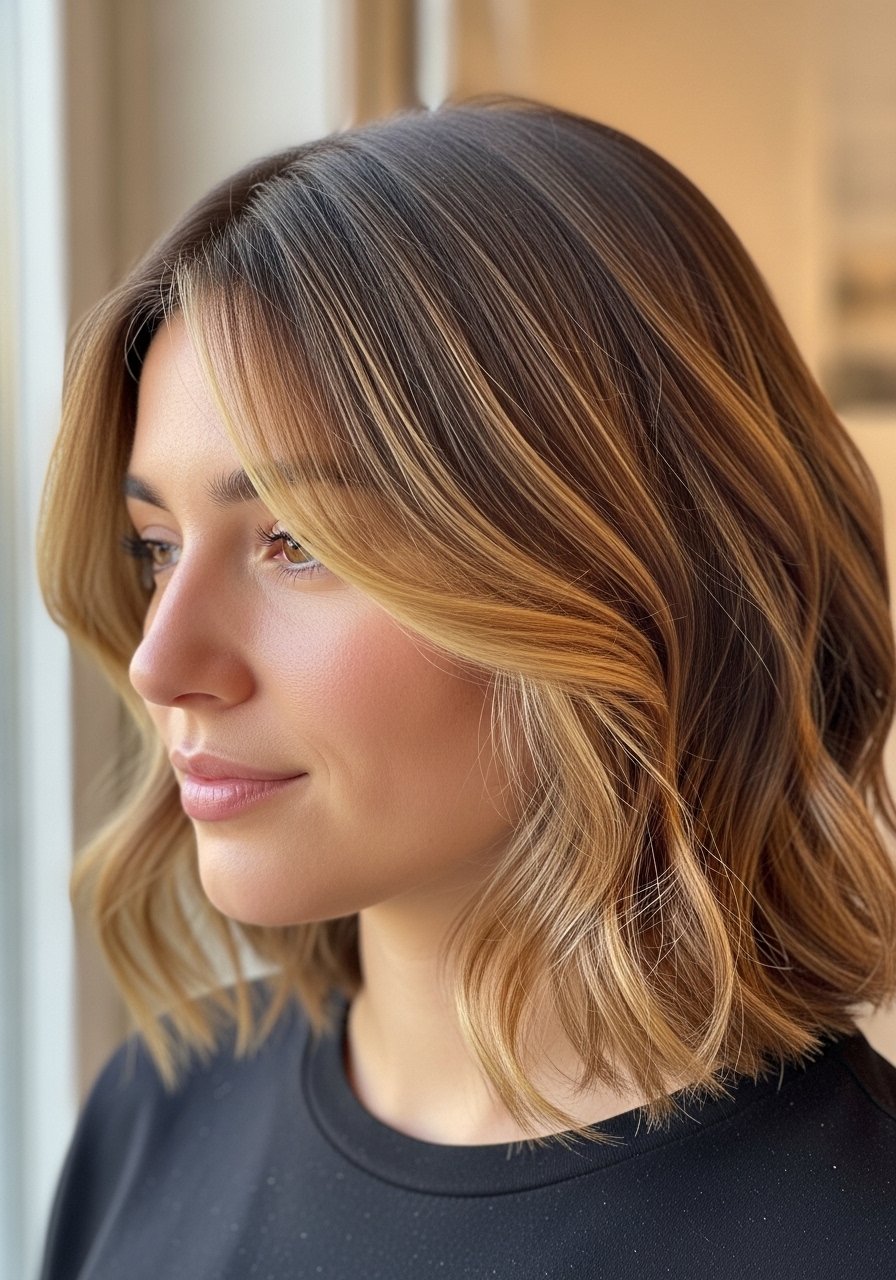
The first thing I ask for at the salon is soft face-framing balayage, not chunky streaks that age me. For fine wave patterns, ask for thinner, feathery strokes painted with a 70/30 placement favoring the ends so the color adds dimension without weight. This costs less than a full head foil session and usually takes 45 to 75 minutes in salon time. At home, keep the tone with a once-a-week 8oz color-depositing conditioner and wash every other day if you can. One mistake people make is overusing clarifying shampoo thinking it will keep the color bright, when it actually strips tones. If you get a slightly brassy band, a purple shampoo used once a week fixes it without drying, not every wash. For damaged ends, a weekly Olaplex No. 3 treatment usually smooths the appearance until your next trim Olaplex No. 3 Hair Perfector. Buy from the official seller on Amazon or Sephora to avoid counterfeits.
Money Piece Balayage With Warm Golden Fronts
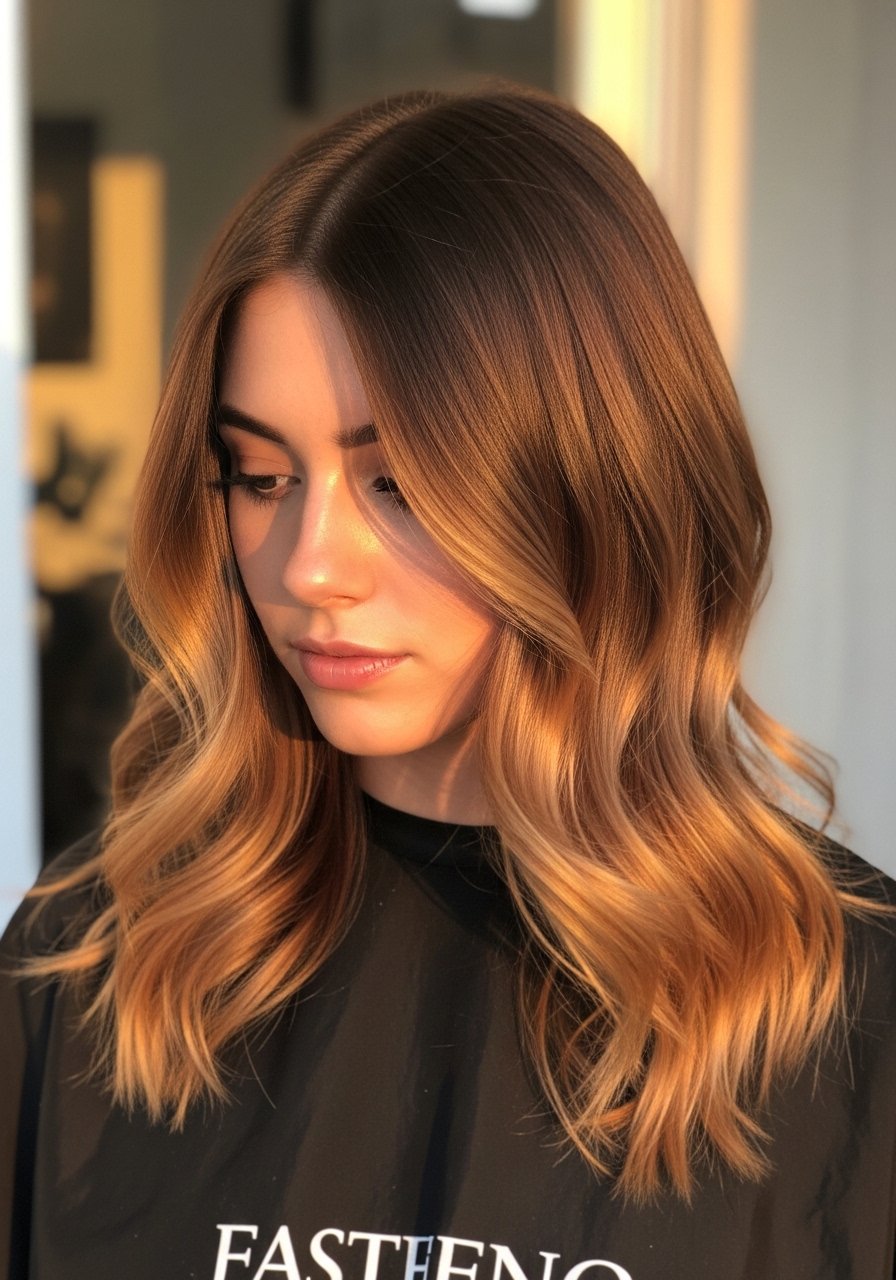
If you want immediate brightness without full-lightening upkeep, request a warm golden money piece. It frames the face and tends to be the only part people notice in photos. For straight to wavy hair, ask your colorist to lift those front sections with a 10 to 15 minute bleach window using a 10 or 20 volume developer if your base is virgin or only mildly dyed. A common error is asking for a high lift and expecting no regrowth lines. The trick I learned is to leave the root shadow about one finger width, and blend with soft balayage painting every 1.5 to 3 months. To keep the front pops shiny, run a dime-sized gloss through the face frame after heat styling [Redken Acidic Bonding Concentrate glosses are also salon options]. Heat protectant goes on before any iron above 300F and I set my flat iron at 320F for a glossier press. If you are coloring your own money piece, do a strand test and a patch test for scalp sensitivity.
Low-Maintenance Root Melt for Busy Schedules
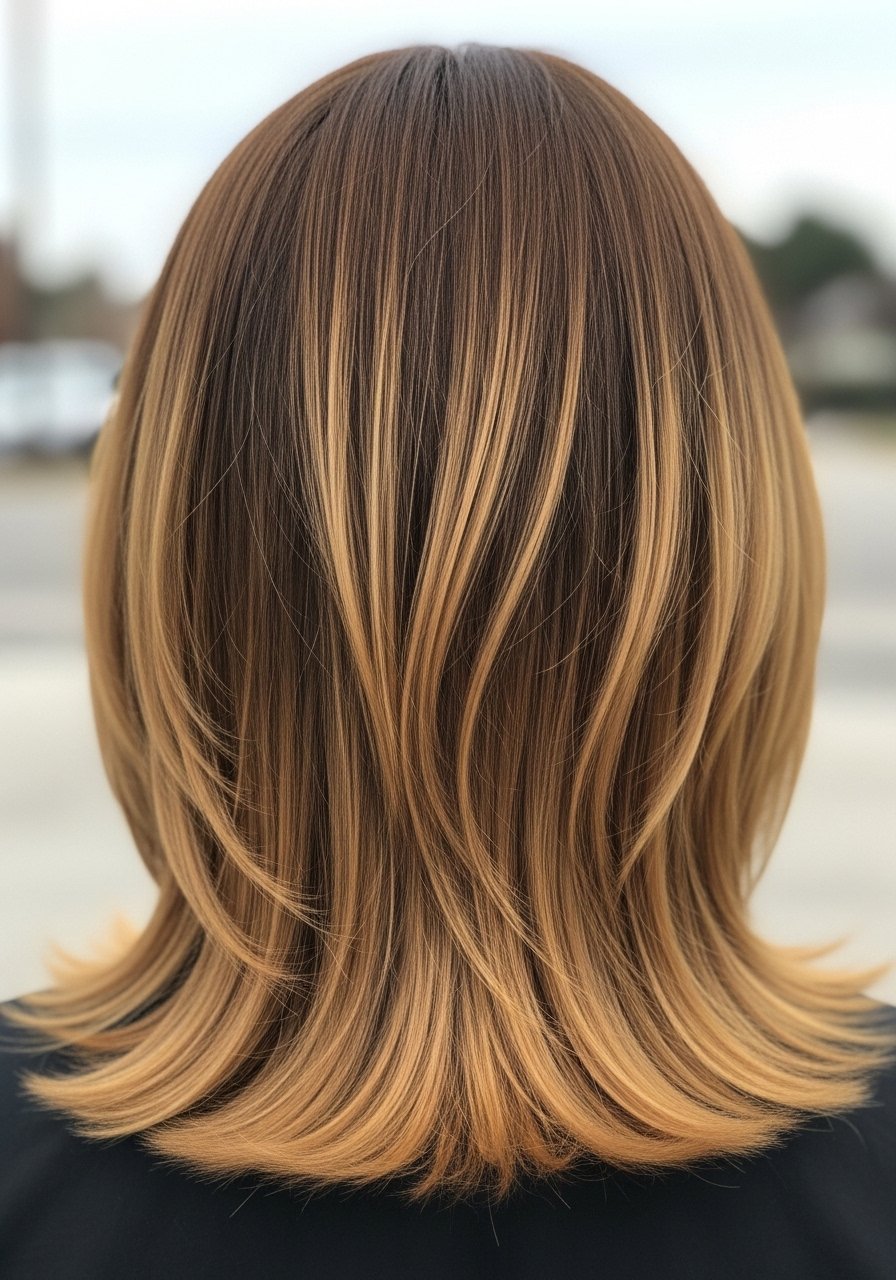
I stretch salon appointments by asking for a root melt paired with golden brown balayage, and it has saved me money and time. The salon paints the mid-length transition zone with a soft feathered brush, so the roots can grow out for four to six months without a stark line. If your hair is naturally darker and you do not want frequent touch-ups, this is the best route. At home, shampoo less often and use a 12oz sulfate-free clarifying only once every three to four washes to avoid fading the painted mid-lengths. A mistake I see is trying to re-blend roots with a box dye. Lifting over a dyed root is risky and can cause breakage. If you must DIY a quick fix, use a color-depositing root touch-up powder and book a salon appointment for any bleach work. For warmth retention, a weekly gloss at the salon or a glossing mask at home keeps the golden brown from leaning muddy.
Beachy Sliced Balayage for Thick 2C to 3B Hair
Thick hair eats color if you let your stylist paint wide panels. Sliced balayage uses thin vertical slices across the crown so the highlights peek through without one flat chunk of color. For denser textures I ask for slices every one inch across the top and every 1.5 inches on the sides, then a heavier hand toward the ends. It takes longer, about 90 to 150 minutes, but it saves you from overprocessing. At home, use a heavier conditioner on the mid-lengths and ends because the lighter pieces dry faster. One common mistake is trying to refresh slices with at-home toner kits without sectioning, which creates spotty color. For styling, two spritzes of a sea salt spray on damp hair before diffusing gives the slices separation, and I finish with a pea-sized glossing serum to keep the golden brown looking sun-kissed without frizz. If your stylist suggests a second lightening session, ask about a bond builder during service.
Gloss and Tone Refresh for Golden Brown Balayage
A gloss is the single quickest way to make balayage read fresh, and it is salon-friendly for budget reasons. I book a 20 to 30 minute clear gloss between full appointments and it adds shine while toning any brass that creeps in. If you prefer at-home, use a demi-permanent gloss once every six to eight weeks, mixing one ounce of gloss with one ounce of 10 volume developer, applied for 10 to 15 minutes. Do a patch test for scalp sensitivity first. People often overdo purple products when their hair gets warm. Swap purple shampoo every wash for once a week to avoid drying out your mid-lengths. For color-safe maintenance, a weekly Olaplex No. 0 primer and No. 3 follow-up has saved my ends during heavy styling months Olaplex No. 0 Intensive Bond Building Treatment. If you want deeper tone changes, book a salon gloss so they can adjust pigment without overlifting.
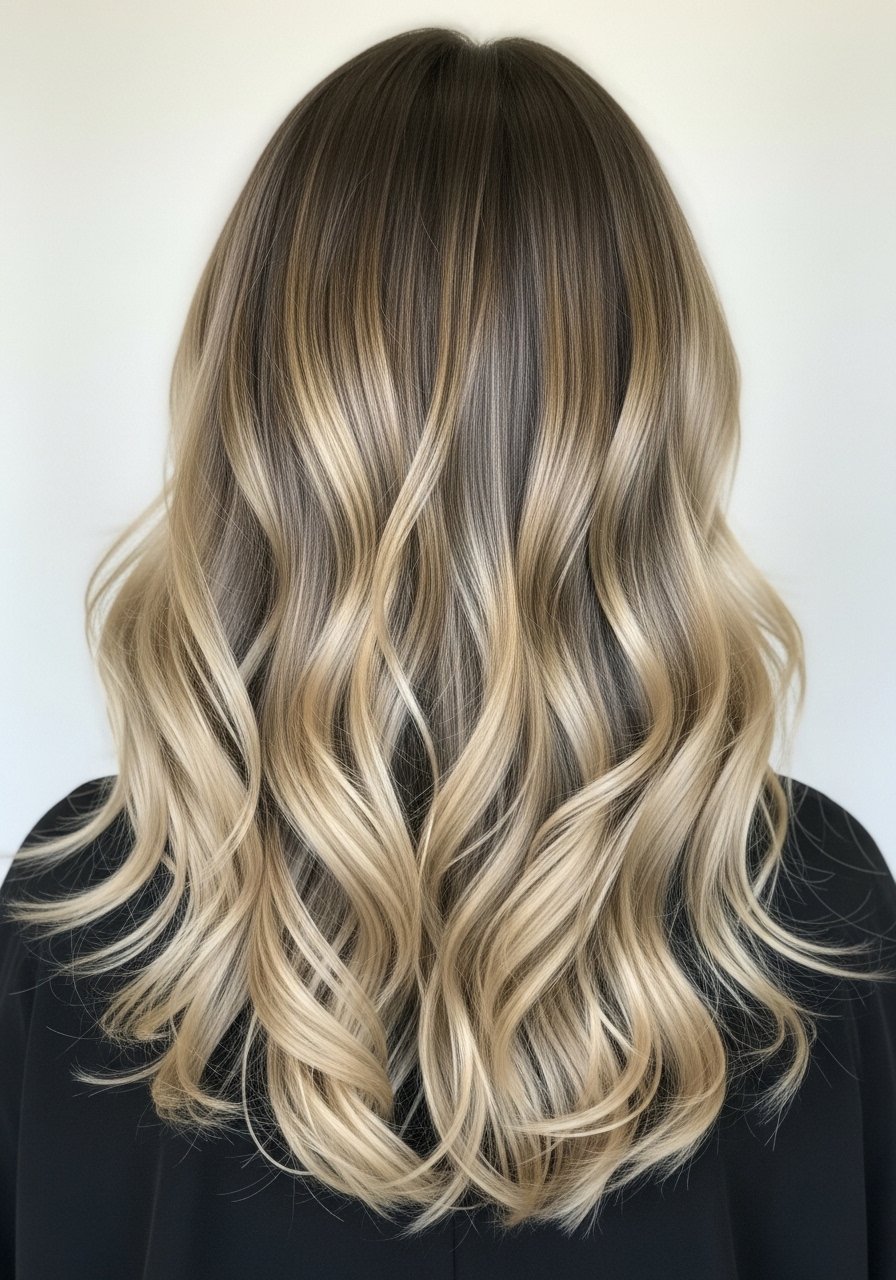
Babylights for Subtle Golden Brown Dimension on Straight Hair
Babylights are the answer when you want very subtle warmth that still reads natural, especially on straighter hair. The technique uses thin, fine slices woven through the front and crown, placed every half inch, so the overall effect is soft brightness rather than obvious streaks. For straight 1B to 1C hair you can expect 60 to 90 minutes of foiling in salon time. The upkeep is low, but if you love contrast, ask for slightly warmer ends so the pieces show in sunlight. One mistake is assuming babylights mean no upkeep. They look best with a trim every 8 to 12 weeks and a gloss every 8 weeks. If you try a DIY lightener, work in small sections and never lift over previously lightened hair without a salon consult, because double-processing causes breakage. I press my straight sections at 320F with a heat protectant beforehand for a glassy finish.
Heat Styling Formula for a Glassy Golden Brown Finish
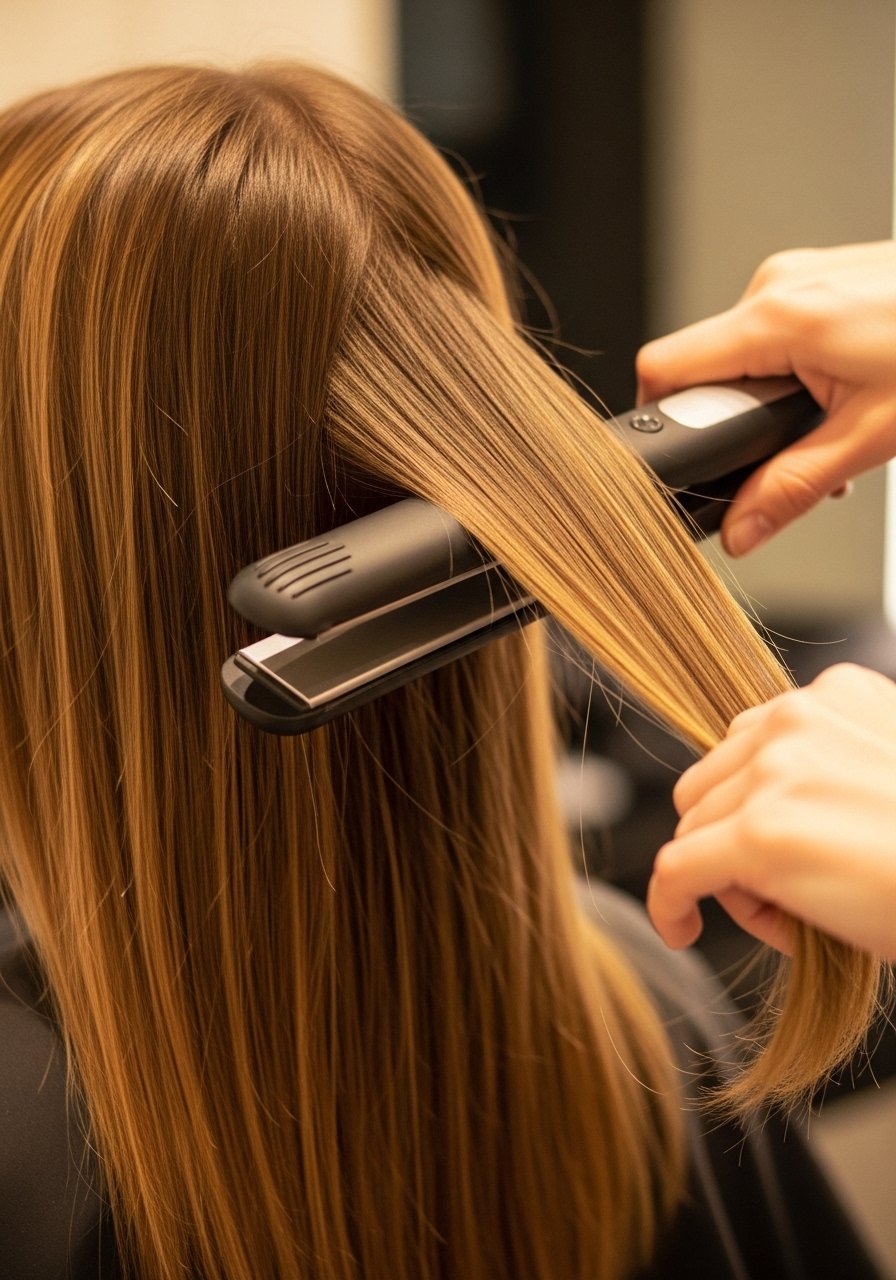
There is a clear formula for getting salon-glass finish on golden brown balayage without frying the hair. Start with a leave-in cream on damp hair, then apply a heat protectant that absorbs for two to three minutes. Blow dry on medium heat until almost fully dry, then set your styling iron to 320F for straight presses and 300F for curls. Use narrow 1 inch sections for a smoother seal. A common mistake is blasting a too-hot iron over damp sections, which causes steam damage. If you have lighter balayage pieces, always use protectant and keep each iron pass under six seconds per section. For extra sheen, finish with a micro-dime amount of a silicone serum mid-lengths to ends. Pair this with the gloss routine above and your golden brown color will photograph less flat. If you use a Dyson or similar, buy from the brand or Best Buy to avoid counterfeits.
What I Keep in My Golden Brown Balayage Kit
- Honestly the best $30 I spend most months, a weekly bond booster like Olaplex No. 3 Hair Perfector. Buy from the official Amazon store or Sephora to avoid counterfeits
- For color preservation, a sulfate-free shampoo in an 8oz size, and a color-depositing conditioner for golden tones, Color Depositing Conditioner for Brown Hair (~$18)
- For heat styling, a ceramic 1-inch flat iron that holds 320F, under $70 for a reliable option
- A weekly salon gloss or an at-home demi kit, I keep a small demi-permanent gloss on hand Demi-Permanent Gloss Kit (~$20)
- For quick root blending between appointments, root touch-up powder that matches your base brown
- A silicone serum for ends, pea-sized per use, Lightweight Hair Serum (~$12)
- Heat protectant spray that absorbs on damp hair, Heat Protectant Spray (~$15)
- A silk pillowcase in queen size to reduce friction, Silk Pillowcase Queen (~$25). Hair grows about half an inch a month at most, regardless of what biotin gummies promise you, so protection matters for length retention
Balayage for Curly 3B to 4A Hair That Holds Shape
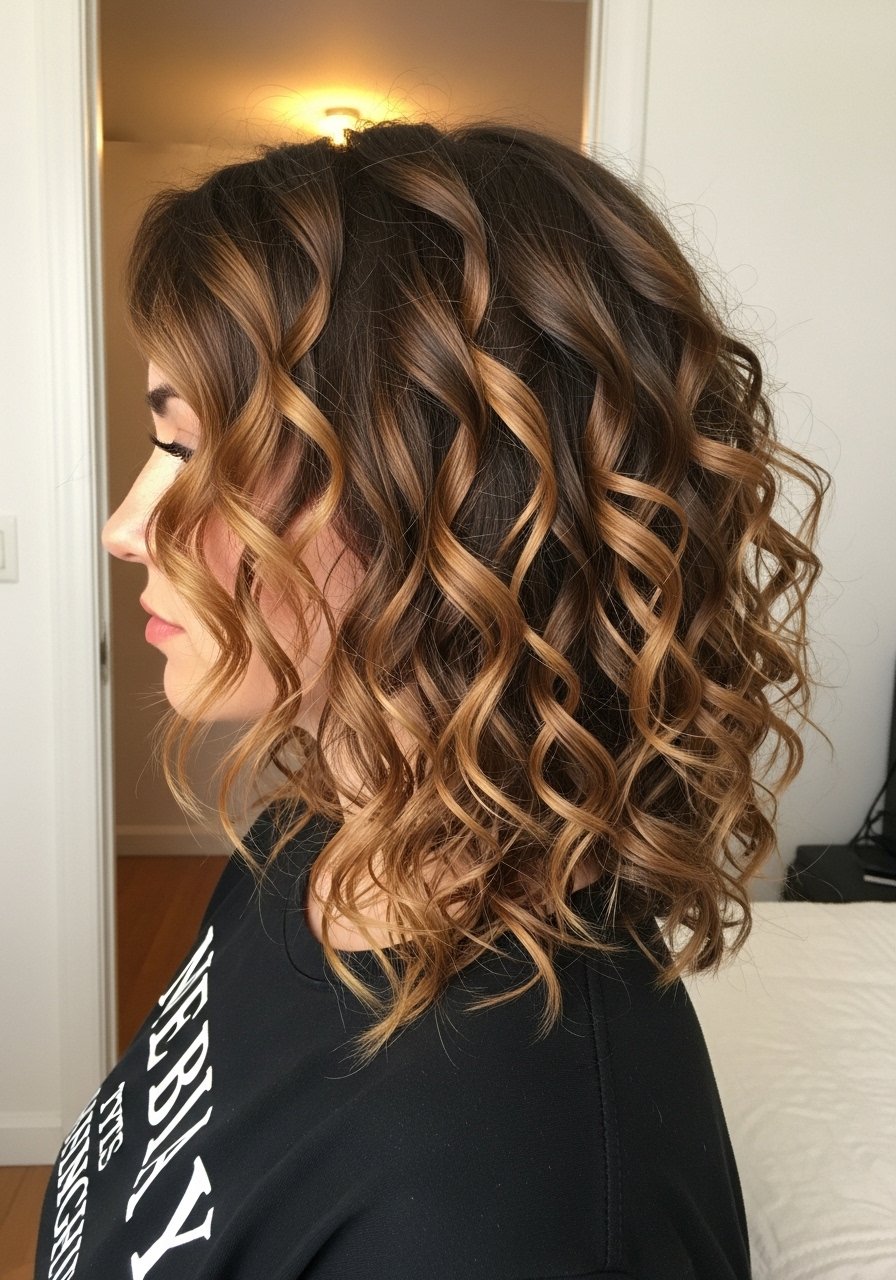
Curly hair needs a different paint method so the highlights do not read patchy when the curl clumps shrink. For 3B to 4A textures ask for balayage applied to the outer loops of the curl rather than buried at the roots. Stylists I trust section curls into 6 to 8 vertical panels and paint only the outermost 30 to 40 percent of each curl coil. This protects the integrity of your curl pattern and prevents a mottled look. Home toning mistakes are common, because curl porosity varies. If your curls feel dry after a purple shampoo fix, back off to once every two washes and layer a leave-in cream under any gel. My curls looked great on TikTok and like wet noodles by 11am, until I started layering a light cream under the gel. For heavy lift on very dark hair, book a salon session over multiple visits to avoid breakage.
DIY Touch-Up Kit for Stretching Salon Appointments
If you want to stretch salon trips, a careful at-home touch-up kit can buy you time. I keep a root powder for two to three weeks of camouflage, a demi-permanent gloss for a 10 to 15 minute tone refresh, and a quality clarifying once every three washes. Never try to lift roots with high volume developer at home over previously lightened mid-lengths. Lifting over color without salon strand testing is the single fastest path to breakage. For safe DIY gloss, mix one ounce gloss with one ounce 10 volume developer and apply only to mid-lengths and ends, avoiding new growth. A mistake I made is assuming a box toner would match my salon blend. It rarely does. If your goal is to delay a full touch-up by a month or two, focus on glossing and root camouflage, not lift.
What My Colorist Should Have Told Me About Balayage
- Heat protectant belongs on damp or just-dried hair, not sprayed on bone-dry sections. Try a lightweight heat protectant spray that absorbs in two to three minutes
- If your balayage feels brassy, swap purple shampoo every wash for once a week, and use a 3 minute purple mask as needed Purple Toning Mask
- Hair grows about half an inch a month at most, regardless of what biotin gummies promise you. Trims and breakage control keep length visible
- For curly hair, small sections and painting the outer curl loop avoids patchiness. Bring photos of your actual curl pattern to the consultation
- Bond builders help strengthen the hair while lightening, but they are not a one-visit miracle for long-term damage. Use weekly treatments like Olaplex No. 3 Hair Perfector and book a salon bond treatment if you plan heavy lift
Frequently Asked Questions
Q: How often should I refresh a golden brown balayage gloss?
A: Every six to eight weeks is typical if you want sheen and tone control. If you spend a lot of time in chlorinated pools or high-UV environments, refresh every four to six weeks. A demi gloss takes 10 to 15 minutes and is the lowest risk option.
Q: Can I balayage my hair at home safely?
A: You can do subtle work like face-framing money pieces at home with a strand test and a small developer, but lifting darker hair is risky. Avoid lifting over previously lightened sections. If you must DIY, do one small hidden section first and use a low volume developer.
Q: How do I stop my balayage from going brassy without overdrying it?
A: Swap purple shampoo every wash for once a week and use a color-depositing conditioner in between. Use a 3 minute purple mask only on the sections that show brass, and follow with a deep conditioner if your hair feels dry.
Q: Will bond builders fix split ends from over-bleaching?
A: Bond builders smooth and temporarily seal the appearance of split ends, but they do not permanently fix splits. The long-term fix is a trim. Use bond builders weekly to reduce breakage while you grow healthier ends.
Q: What heat settings should I use on balayaged hair?
A: For presses set irons around 320F, for curls 300F. Always put heat protectant on damp or just-dried hair, and keep each iron pass under six seconds. If your hair is fragile, use lower temps and smaller sections.
Q: How do I choose between babylights and sliced balayage?
A: If you want subtle, even brightness, choose babylights for straight or fine hair. If you want dimension and separation in thicker hair, sliced balayage creates movement with less processing. Ask your stylist to assess porosity and suggest the least damaging path.

