
I bleached my own hair in my kitchen last January and watched a chunk break off in the shower three days later. Here are long haircuts that actually add volume to thin hair, the cuts I asked my stylist for after learning what damages and what lifts. Most are low maintenance, some need a touch-up at the salon every 8 to 16 weeks.
These ideas work best on fine straight to fine wavy hair, about shoulder length to mid-back. Skill level ranges from easy styling at home to a salon redraw for cutting techniques. Budgets go from under $30 to a salon session around $120. A few are DIY-friendly but I note where you should book a pro.
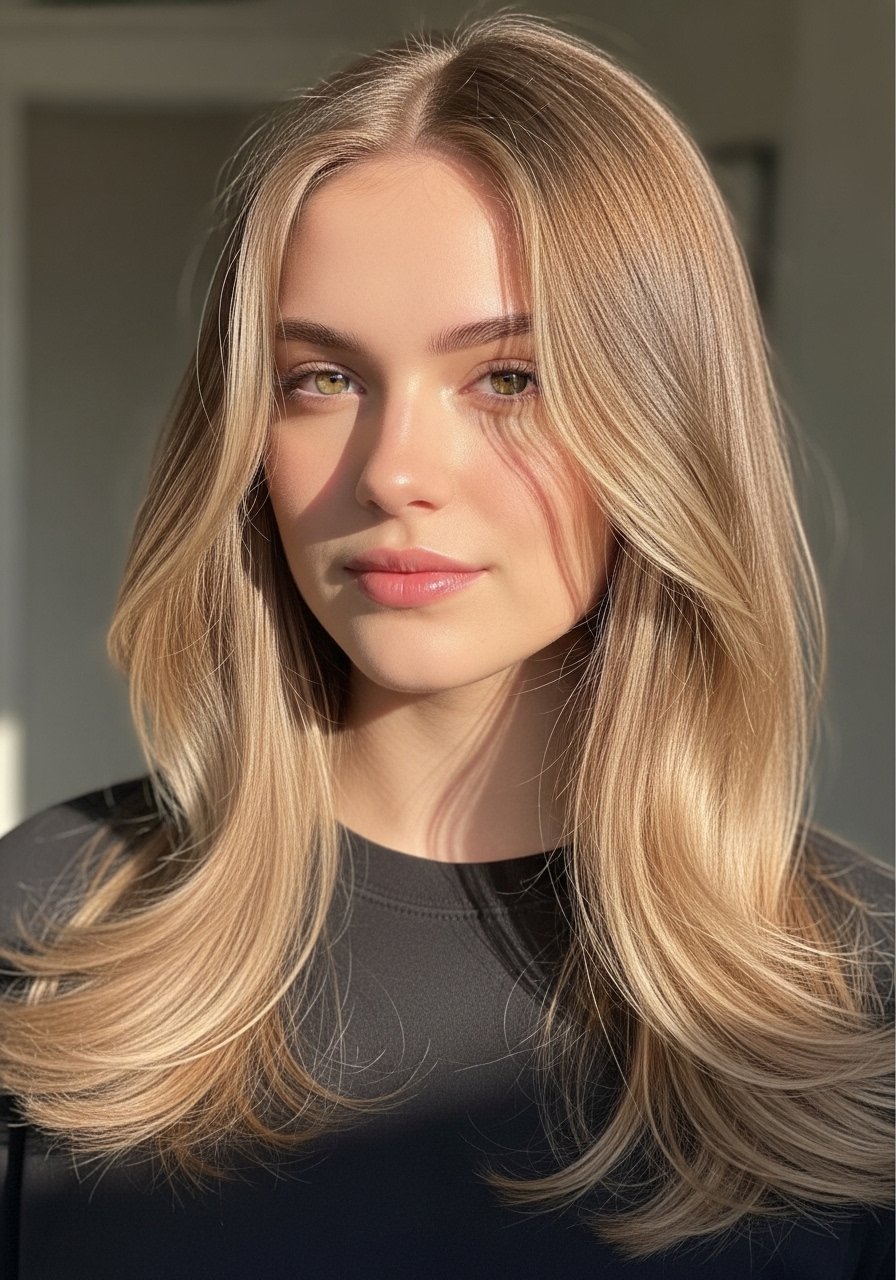
Blunt Long Cut With Micro Layers At The Ends
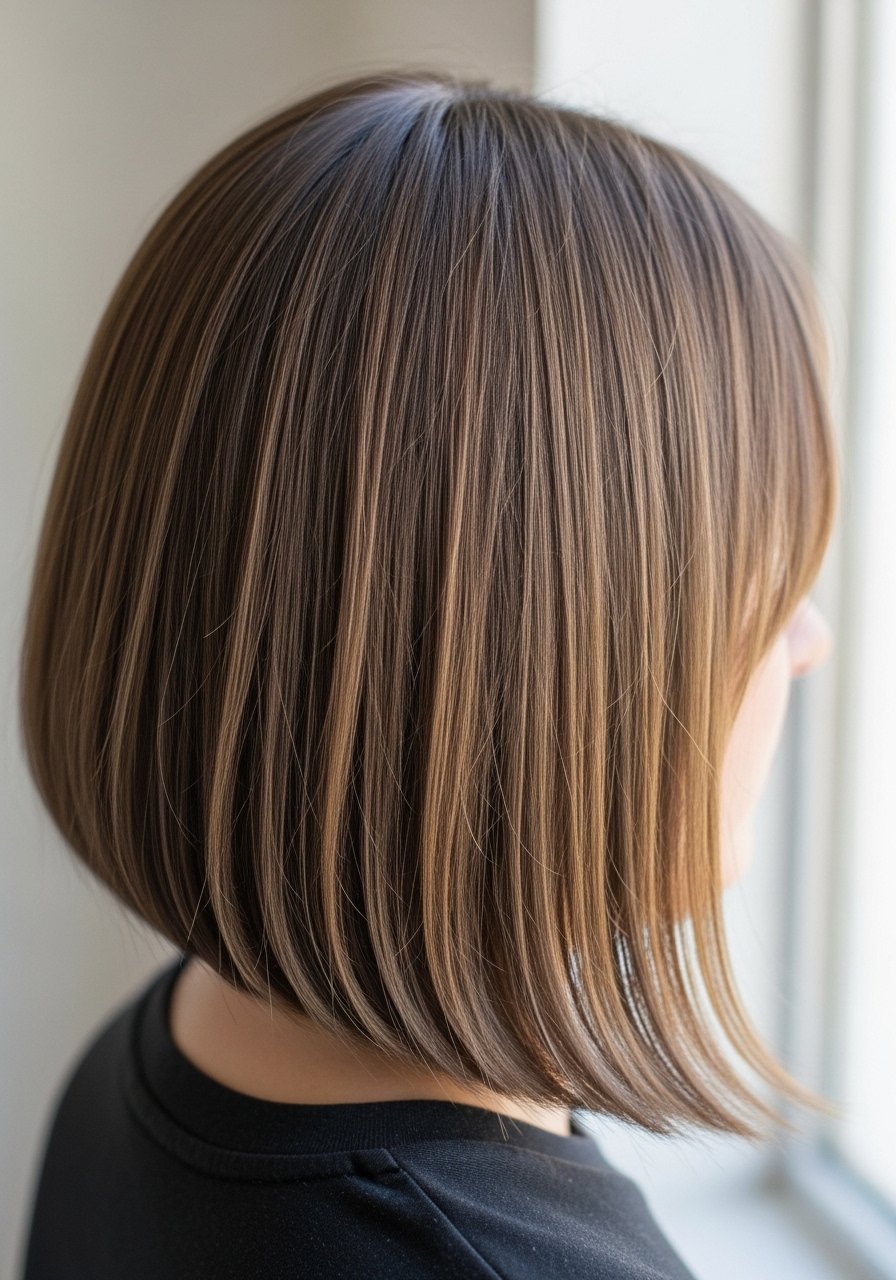
A blunt base keeps weight that gives the appearance of density, while tiny internal micro layers at the ends prevent a helmet effect. This works especially well on fine straight hair and 2A waves that need body without losing length. Ask your stylist for 1/8 to 1/4 inch of internal layering, not face-framing pieces. Styling is simple, two to three minutes: rough dry with a paddle brush and two pumps of a lightweight mousse through roots for lift. I use two spritzes of dry shampoo at the root on day two to fake a salon blowout. Common mistake, over-layering the length, which makes the hair look thinner. Salon cut only for the first chop, trims at 10 to 14 weeks keep the blunt line crisp.
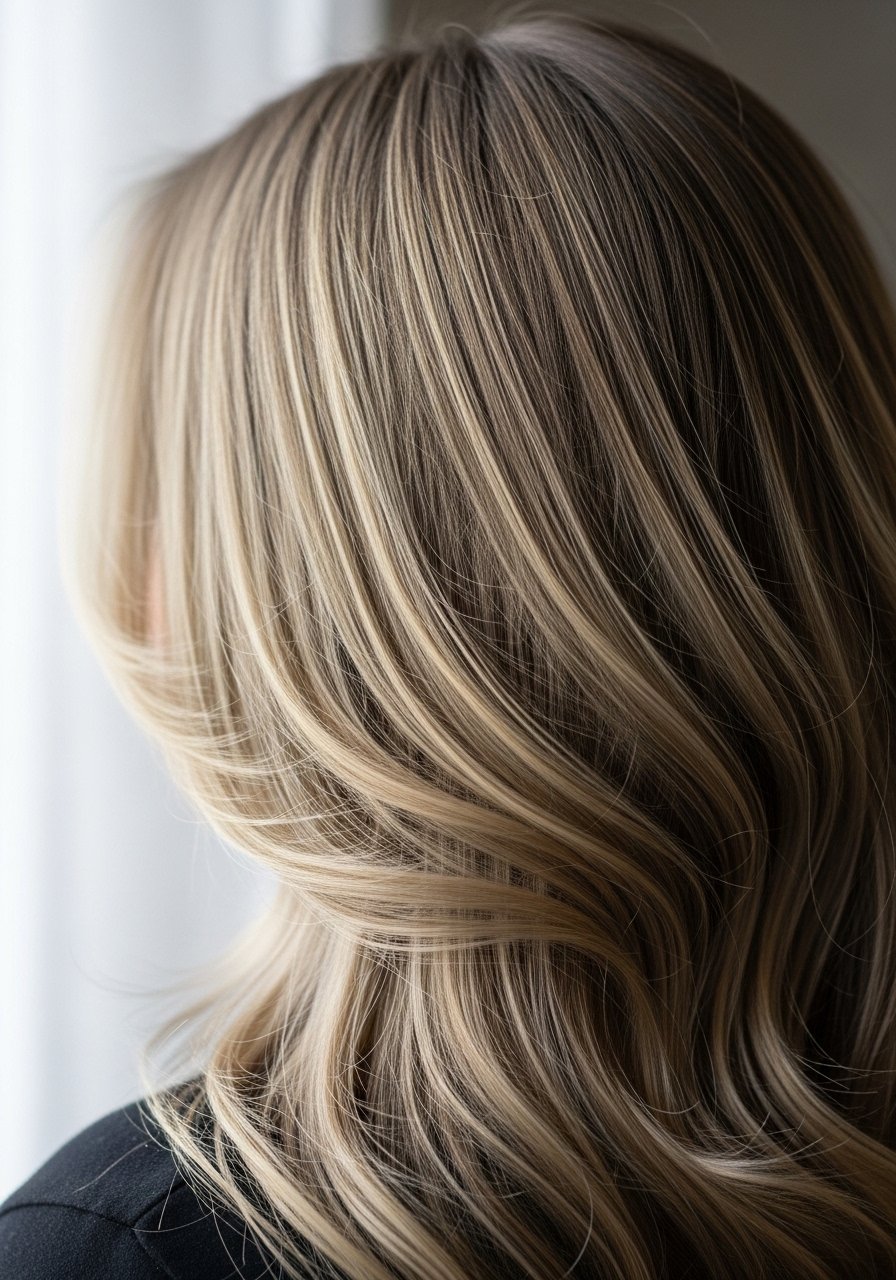
Long Shag With Short Top Layers For Lift
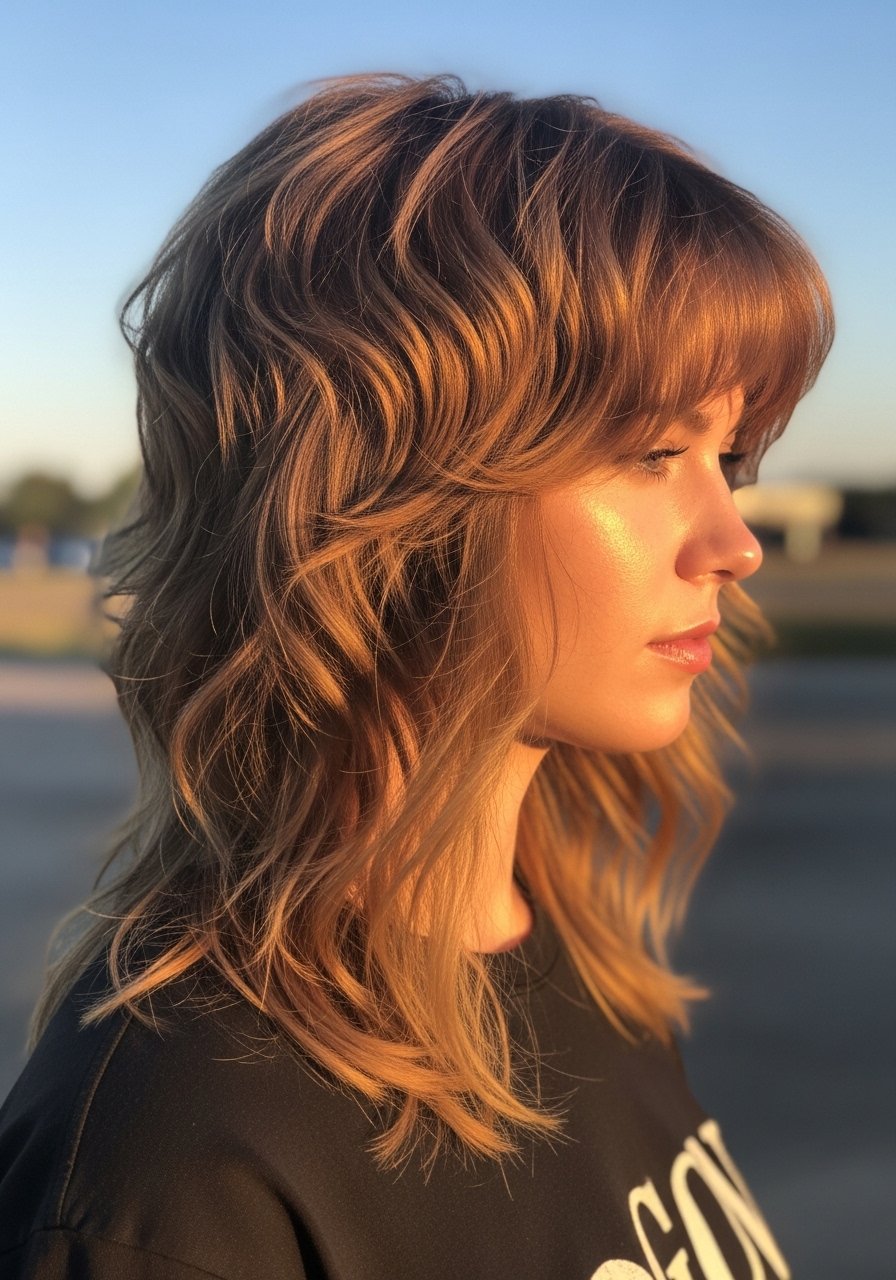
The long shag adds volume by stacking shorter pieces at the crown and leaving longer length below. This is a go-to for fine 2A through 3A hair that wants lift without losing length. Tell the stylist you want shorter layers only in the top two inches, cut with point cutting to avoid harsh lines. At home, rough dry with a 30-second blast at 300F on the crown, then finger-comb in a small amount of sea salt spray to create separation. Most heat protectants you spray on dry hair before flat ironing barely work. They need to absorb into damp or just-dried hair to actually shield the cuticle. Salon styling helps the first time so you can copy the sectioning at home.
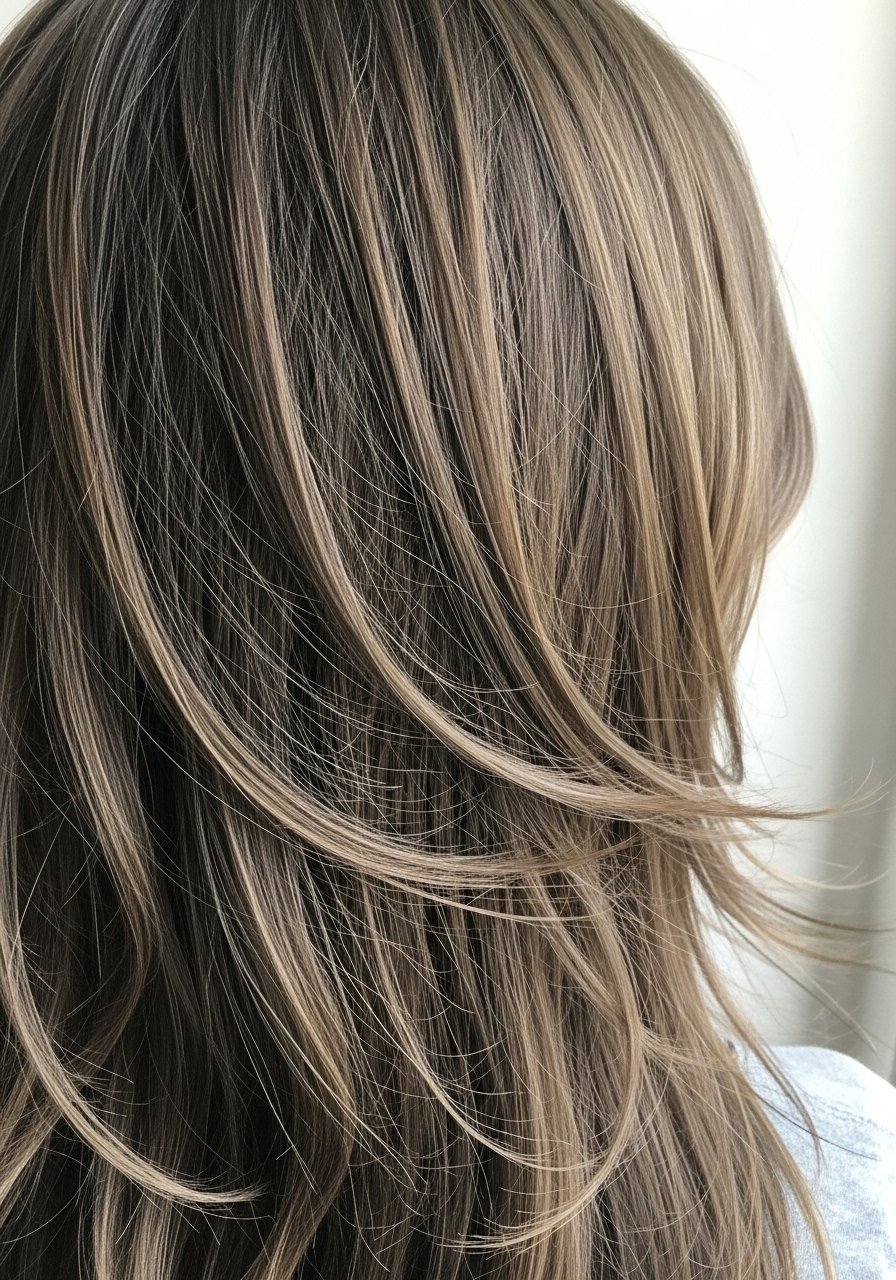
Feathered Long Layers For Root Movement
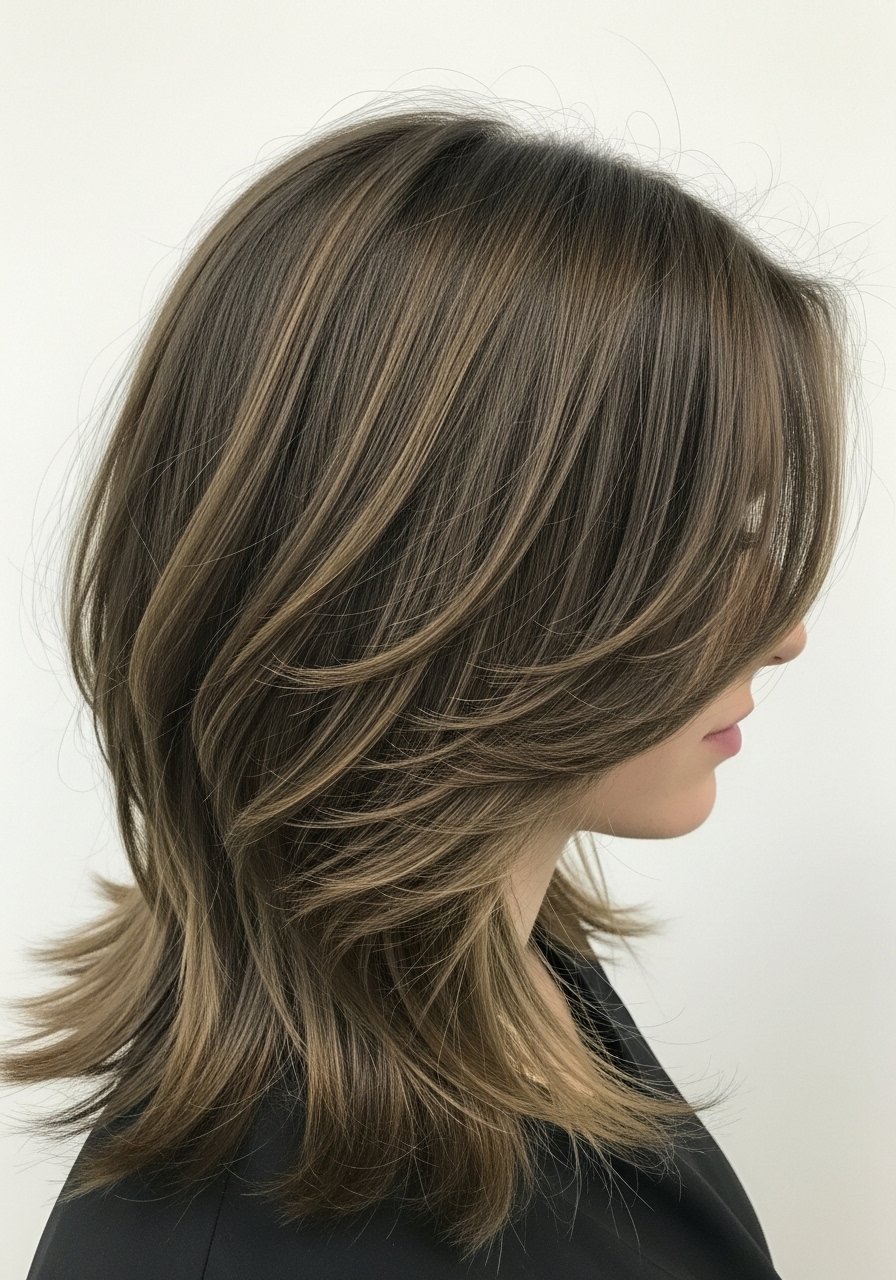
Feathered layers are cut with a slicing technique that removes weight without chopping length, which creates airy movement right at the crown. It fits fine straight and fine wavy hair that falls flat at the roots. Ask for layers that begin at cheekbone height and are sliced toward the ends, about 3 to 5 sections at the crown for natural lift. At home, blow dry the crown on a round brush sectioned into 1-inch rows, and use the 80/20 product placement rule, putting most product in the mid-lengths and ends, not the roots. A common mistake is slathering heavy creams at the scalp. Use a volumizing foam in the roots and a tiny dab of serum at the ends to avoid weight.
U Shaped Long Cut With Subtle Graduation
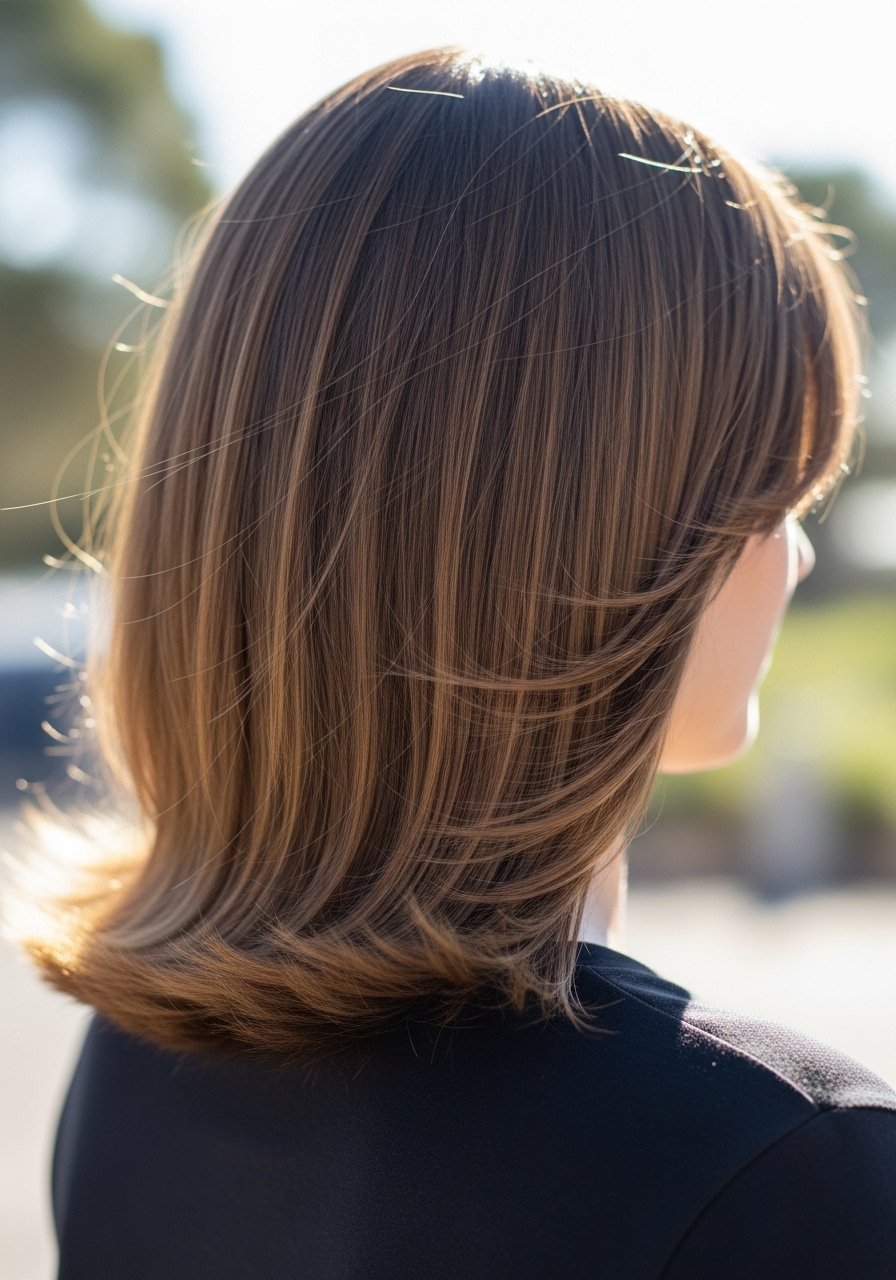
A U-shaped long cut keeps length while adding a gentle silhouette that reads thicker from a distance. This suits fine straight hair and relaxed waves that need mass at the back. Graduation should be soft, not stacked. Ask for two to three degrees of graduation so the hair keeps its length but gains visual depth. At home, use a wide-tooth comb and a boar bristle brush when blow drying to maintain that rounded shape. The mistake I see is too much stacked graduation, which makes the crown look sparse. This is a salon cut best done with a stylist who knows how to balance weight.
Long Cut With Money Piece Framing Without Heavy Color
Face-framing money pieces lift the face and give the illusion of density at the front without full-head color. For thin hair, use a demi-permanent glaze one to two shades lighter than your base to avoid damaging lifts. If you tackle color at home, do an allergy patch test first and expect touch-ups every 8 to 12 weeks. I learned the hard way that frequent lightening dries fine hair out, so keep the sections thin and low-volume. Swap heavy foil work for hand-painted babylights to minimize damage. A salon appointment is worth it for placement, but a gloss refresh every six to eight weeks helps maintain shine between visits.
Curtain Bangs Blended Into Long Layers
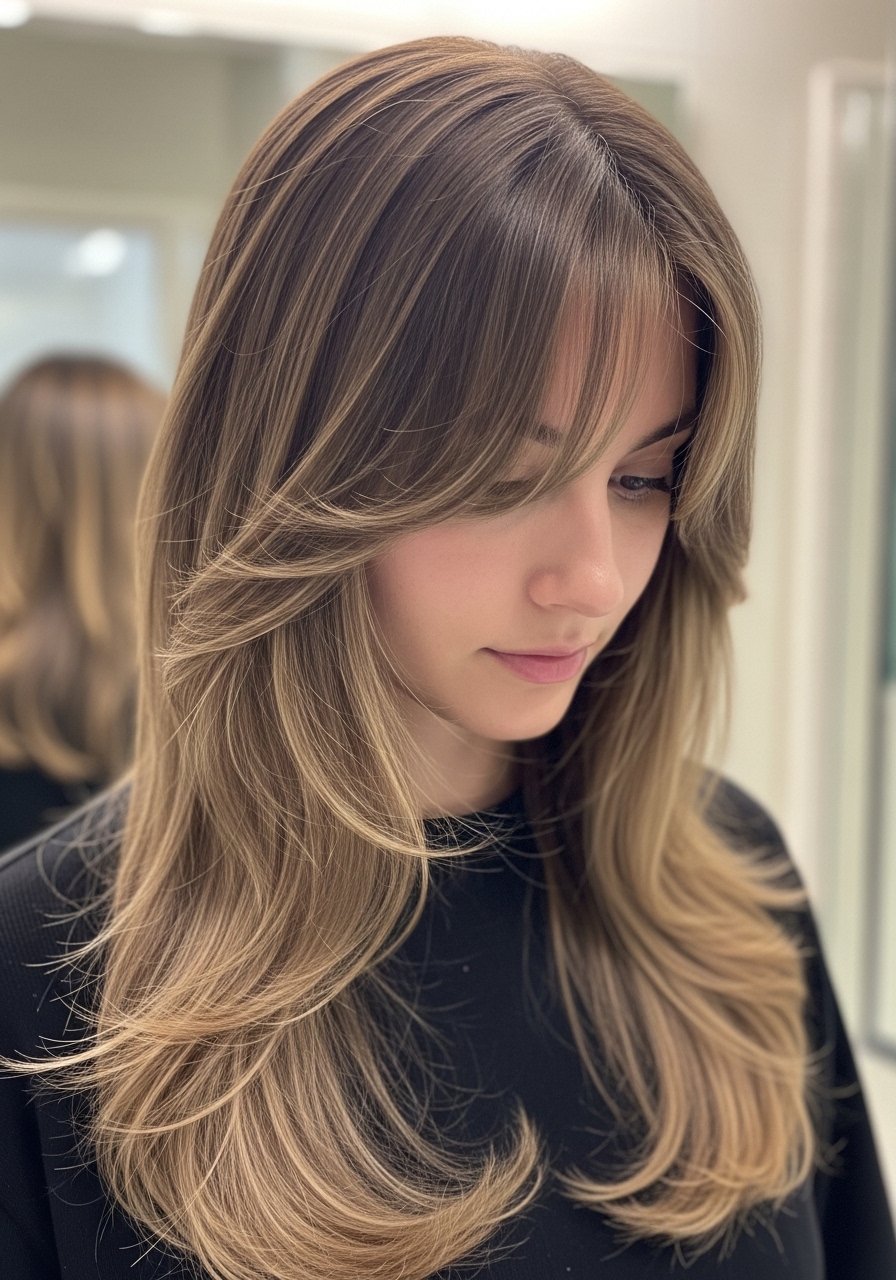
Curtain bangs add instant root lift and frame the face so thin hair reads fuller at the front. For fine hair, ask for bangs that are 1 to 1.5 inches longer than you think you want, cut dry and blended into long layers. I recommend a stylist to cut them the first time because the angle matters and trimming later is easy. At home, blow dry bangs with a round brush on a medium setting and finish with a 300F quick blast if needed. One common mistake is chopping curtain bangs too short. They should graze the cheekbone for volume and low maintenance. If you sleep on them, pop a silk scarf or pillowcase under them to reduce morning flattening.
Long Graduated Layers With Crown Packing
This cut concentrates subtle internal layering only at the crown to pack volume where thin hair needs it most. It fits fine straight and wavy textures that thin at the scalp. Ask for discrete internal graduation limited to the top 2 to 3 inches, and request the stylist notch the layers so they fan out when dried. At home, set the crown in three 1-inch sections, lift with a round brush, and cool each section for five seconds to lock lift before releasing. The mistake people make is scattering layers all over the head which thins the ends. Salon shaping is recommended to get the right internal architecture.
What I Actually Keep In My Long Thin Hair Kit
- Honestly, the simplest lift tool for me is dry shampoo at the root. A budget dry shampoo usually runs under $10 and brings day two life back.
- For smoothing ends, Olaplex No. 3 hair perfector 3.3-ounce. Buy from the official store on Amazon or grab it at Sephora to avoid counterfeits.
- For styling the crown, a medium 2-inch ceramic round brush. A 2-inch round brush (~$15) gives predictable lift.
- For lightweight hold, a flexible styling mousse keeps hair airy without residue.
- To protect hair from heat when I flat iron or curl, a leave-in heat protectant spray is non-negotiable. Heat protectant before any iron over 300F.
- A silk pillowcase under $20. Silk pillowcase queen cut my morning frizz in half.
- A boar bristle paddle brush to distribute scalp oils down the length, which helps thin hair look fuller. Boar bristle paddle brush (~$20).
- If you are into color face-framing, a small demi-permanent gloss is the low-damage option. Demi-permanent color kit is a salon alternative if you want to touch up between visits.
- For weekly repair without overloading, a lightweight weekly bond builder helps smooth ends and reduce breakage.
Razor-Textured Long Ends For Airy Movement
Razor texturing removes blunt weight and creates tiny wisps that catch the eye, which is perfect for fine straight and fine wavy hair that looks flat when the ends stick together. A stylist should do this cutting technique because too much razoring will leave frayed, damaged-looking tips. Ask for light razoring only on the bottom 2 to 3 inches, and avoid it if your hair is chemically compromised. At home, two gentle pumps of styling oil on the ends after towel drying gives controlled movement without grease. The common mistake is razoring all the way up, which makes hair look stringy. Salon only for razoring unless your stylist taught you the technique.
Deep Side Part With Long Face-Framing Layers
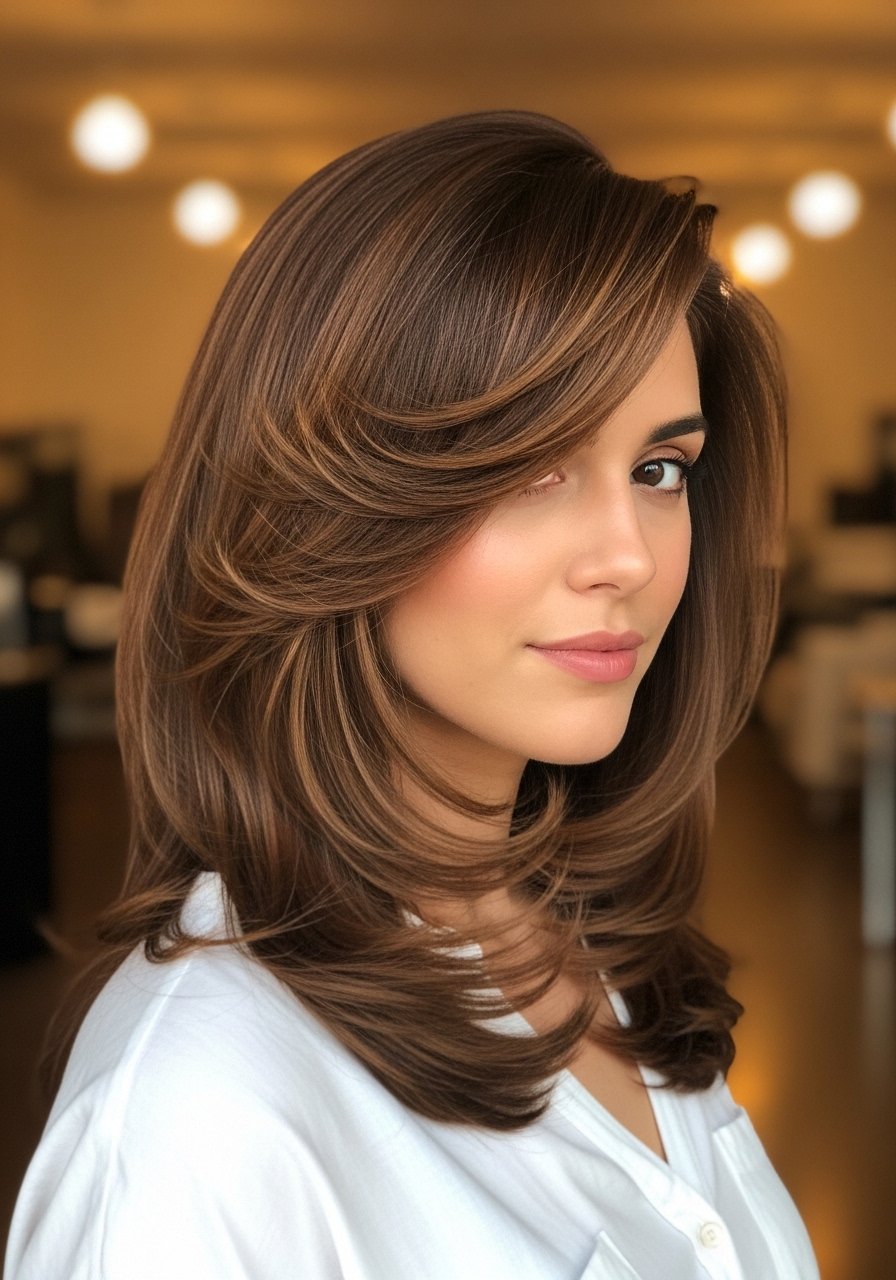
A deep side part redistributes volume to one side, instantly making thin hair appear fuller at the crown. Combine this with long, soft layers that start at chin height to sweep the hair away from the face. This suits fine hair that wants a simple daily lift with minimal styling time. Flip the part after washing and pin it overnight to train the hair, or blow dry the crown with your head upside down for 60 seconds for immediate oomph. A mistake is setting the part too heavily with heavy products. Use a light volumizing spray at the roots and a dab of texture spray through the mid-lengths.
Soft V Shape For Weight Distribution

A soft V shape concentrates weight toward the center back, which tricks the eye into fullness on either side. This is good for fine straight hair that still wants length but needs a better-maintained silhouette. The stylist should keep the V subtle, not angular, and avoid chopping the sides short. At home, brushing the central panels toward the middle when styling makes the V read as thicker. The most common error is over-layering the sides, which defeats the purpose. This cut is a low-risk salon change and keeps trims simple.
Invisible Layers For Fine Curly Long Hair
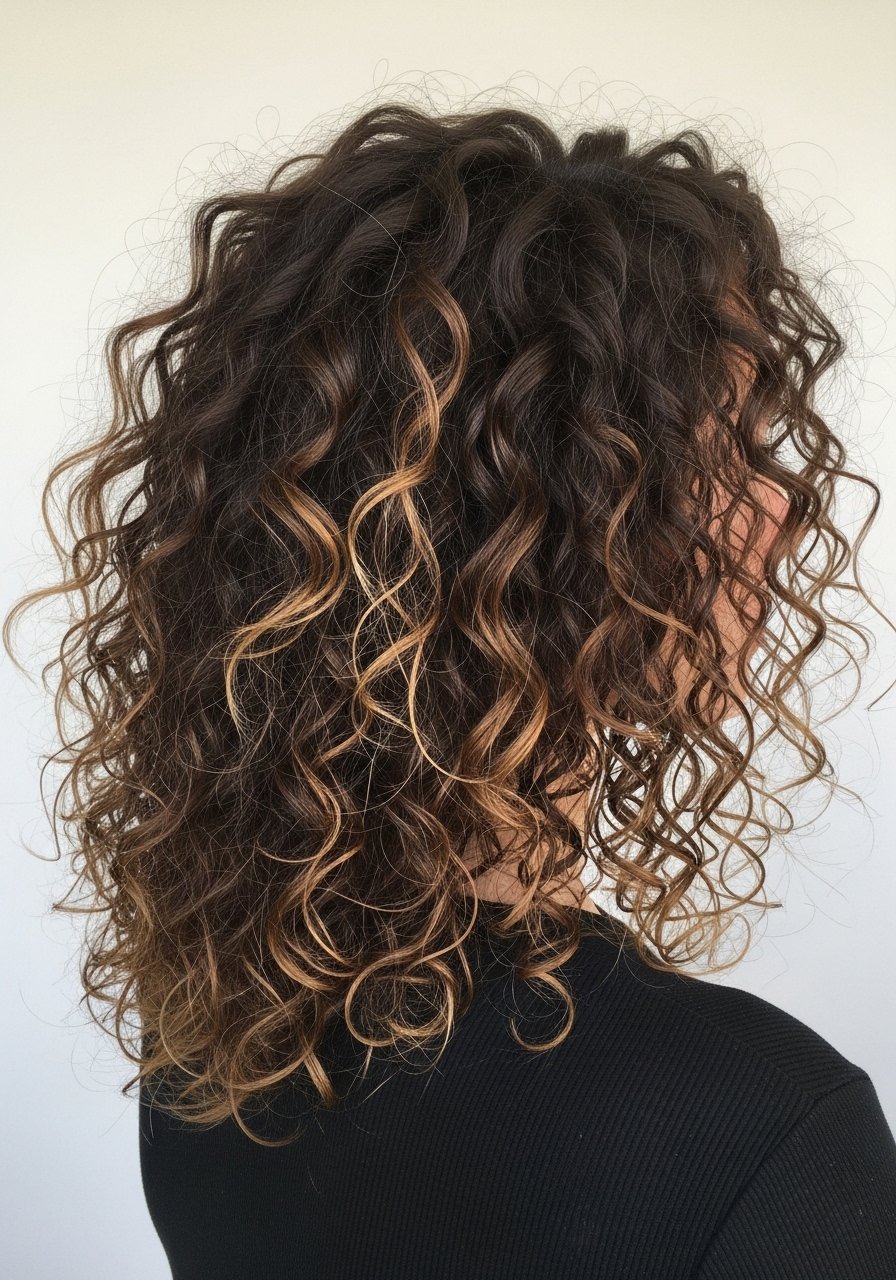
For fine curly hair, invisible internal layers mean the curls have room to spring at the roots without losing overall length. This is a technique cut where the stylist thins the interior in small, hidden sections so the outer shape stays long and uniform. If you have 3A curls that flatten on top, ask for 3 to 4 tiny internal sections removed at the crown, not face-framing layers. At home, I use the LOC method, applying leave-in, oil, then a light cream to define curls without weight. A common mistake is layering the outside, which shortens the visual length. This cut is best done in the salon on dry or partially dry hair so the stylist can see curl pattern.
Small Habits That Keep Long Thin Hair From Looking Flat
- Heat protectant goes on damp hair, not dry. The cuticle is more open and the product actually absorbs. A reliable heat protectant spray is worth the $15.
- Grab a microfiber hair towel for $12. It cuts your blow dry time by a third and stops the frizz before it starts. This is one of the easiest swaps that actually helps volume.
- Hair grows about half an inch a month at most, regardless of what biotin gummies promise you. Trimming every 10 to 12 weeks and reducing breakage is the real way to keep length looking full.
- Layering products matters. If you are trying a styling mousse, put it in damp hair, then follow with a light salt spray after drying for texture. The 80/20 product placement rule helps here, keep heavier creams on ends only.
- I used to do a gel-only routine and my curls looked like wet noodles by 11am. Finally figured out it was the gel-only routine. Added a leave-in cream underneath and it changed everything. That same layering idea applies to fine long hair for volume without stiffness.
Frequently Asked Questions
Q: How often should I trim long thin hair to keep the cut from looking stringy?
A: About every 10 to 14 weeks. If you are trying to grow length, aim for small dusting trims of a quarter inch. If ends are visibly split, trim more frequently because products can only smooth the appearance, they do not fix split ends.
Q: Can I ask for these cuts if my hair is color treated or highlighted?
A: Yes, but mention color history. If you have repeated lightening, avoid heavy razoring and ask for salon-safe texturing. Also consider a weekly olive or protein-based bond builder as part of your routine and buy from authorized sellers when possible.
Q: Will curtain bangs or face-framing layers make thin hair look thinner after a few weeks?
A: Not if they are cut with the right weight. For fine hair, bangs should be longer and blended. Pay attention to styling, blow dry bangs on a round brush and use light root lift products. If they cool flat overnight, a silk pillowcase reduces morning collapse.
Q: Is it okay to try any of these cuts at home?
A: Small trims like dusting the ends are okay at home, but layering, razoring, and precise face-framing are best left to a stylist. Cutting over previous color can also lead to uneven lines, so book a pro for major reshapes.
Q: What product will add the most noticeable lift without weighing my hair down?
A: A lightweight root mousse or a volumizing foam applied at damp roots and rough-dried for 30 to 60 seconds usually gives the best lift. Pair it with a dry shampoo on day two for extended volume.

