
I bleached my own hair last winter trying to save $200. Three months later I paid $400 to fix it. Olaplex No. 3 saved what was left. If you have short, thin hair and feel like every style either collapses at the roots or looks like a flattened helmet, these are the quick, real-life fixes I actually use on myself and friends. Most of these take under 15 minutes once you get the motions down and cost under $40, with a couple of tool splurges worth borrowing from a friend first.
These ideas serve fine to medium density 1A through 3A hair, cropped to collarbone length or shorter. Skill level is mostly beginner to confident at-home stylist. Expect 3 to 15 minutes per style for daily looks, and one or two options that are worth a weekend practice session. About half are DIY and the rest are salon-adjacent, I note when a pro touch is safer.
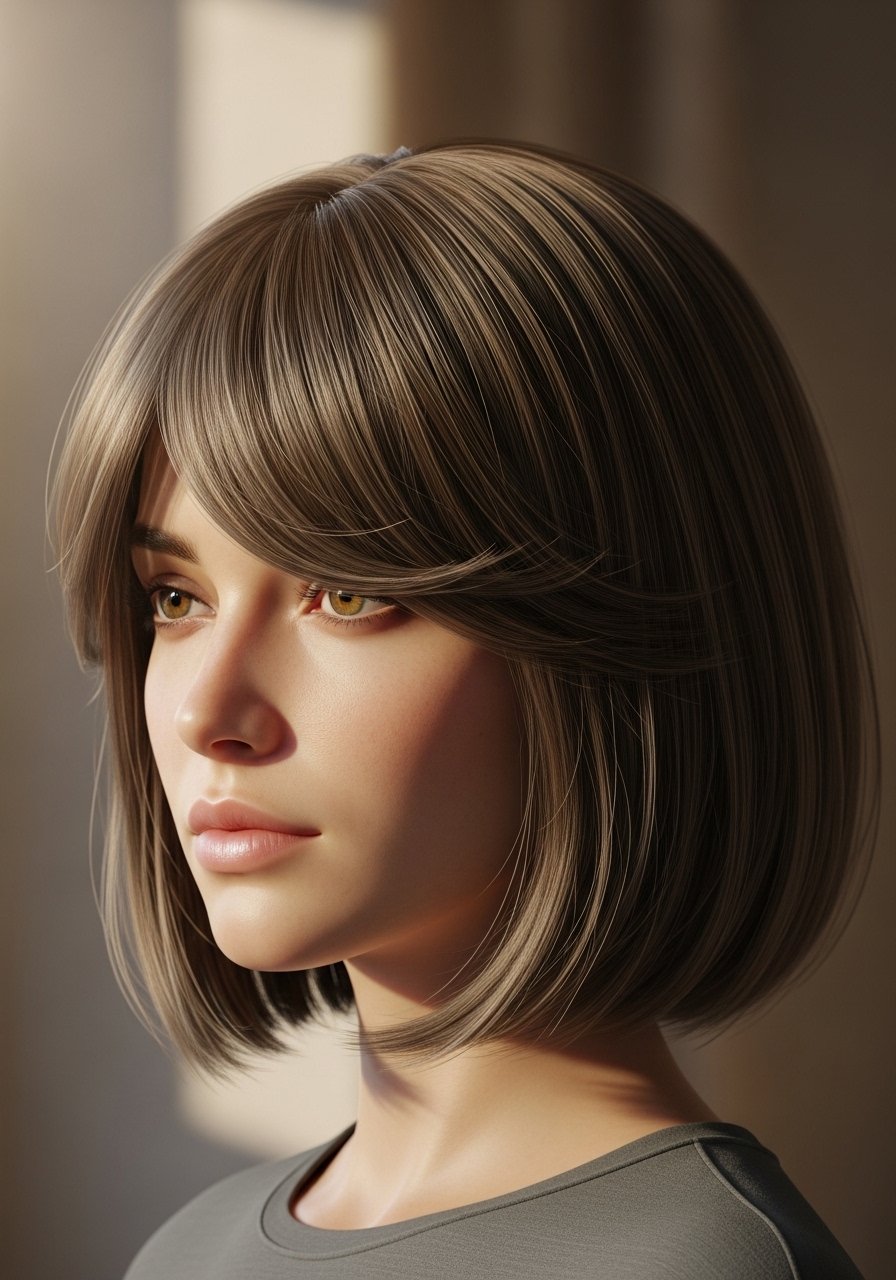
Blunt Bob With Soft Face-Framing Pieces
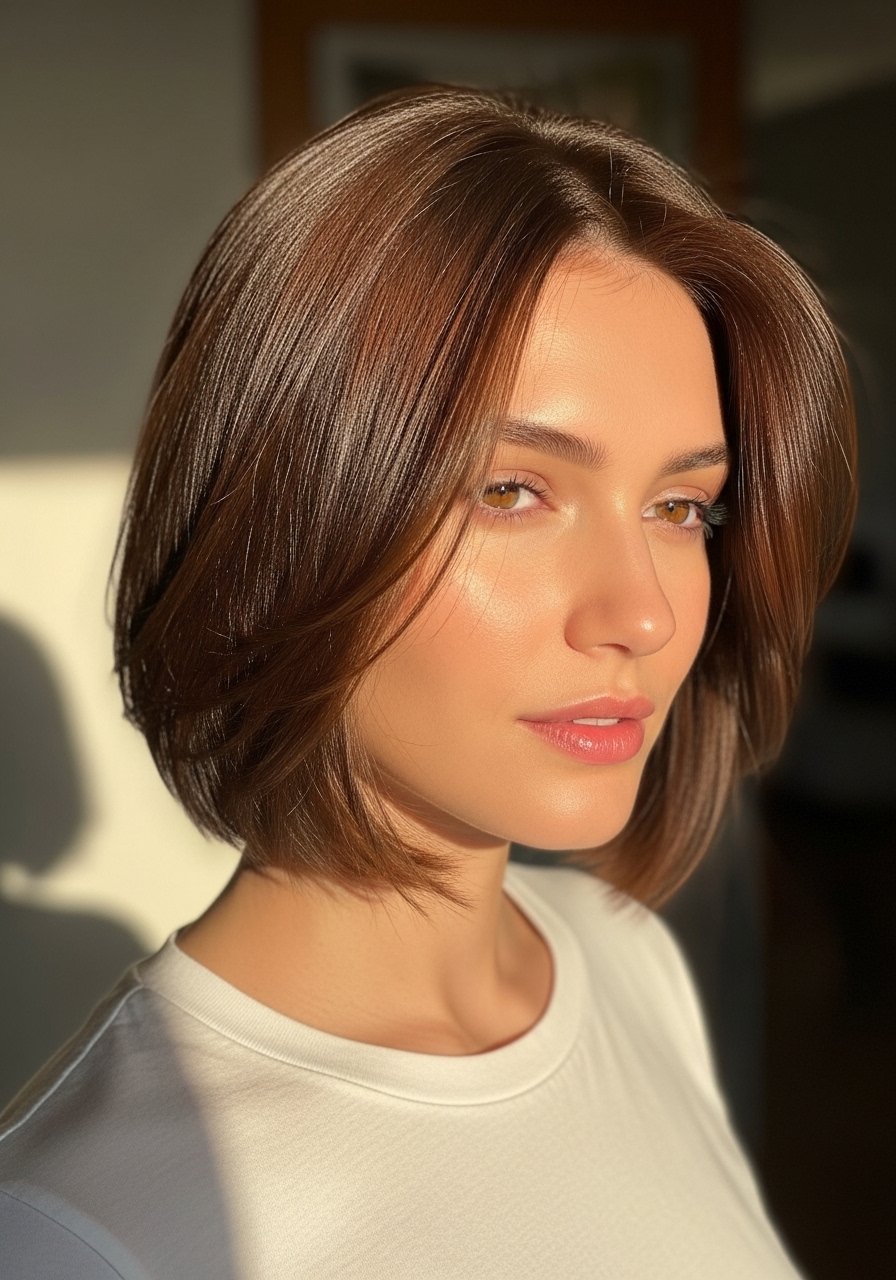
A blunt bob trimmed to sit just at the jaw gives the illusion of density, while tiny face-framing slices stop the cut from looking boxy. For fine 1A to 2A hair I ask for a clean blunt baseline and only two thin slices at the front. At home, a light texturizing spray saved on weight works well. Two spritzes of a lightweight sea salt spray at the roots and a 30-second rough dry with your fingers lifts the base without frizz. The common mistake is over-thinning with a razor at the wrong angle, which makes short hair look wispy and sparse. If you want a salon fix, bring photos and ask your stylist for "weight retention" at the back.
Messy Pixie With Root Lift

If your hair is very fine, a pixie with a slightly longer top gives you styling options without adding weight. I work in two dime-sized pumps of a lightweight mousse through towel-damp hair, then blow dry the roots upward with a small round brush on medium heat for about 60 seconds focused on each side. Most people overuse product at the ends and forget root placement. For heat safety, always spray a heat protectant on damp hair before directing hot air at the crown. A little matte paste at the ends, no more than a pea-size, creates separation and keeps the cut from looking flat. Salon note, ask for internal point cutting and not too many razor-thinned layers.
Low Textured Ponytail That Looks Fuller
A low ponytail for thin hair works if you fake bulk at the base. Backcomb three 1-inch sections at the crown with a gentle hand for 6 to 8 strokes each, smooth the top with a brush, then anchor with a small elastic and hide it with a wrapped strand. If your ponytail slips, switch to a soft foam donut or add one clip-in 1-inch extension for the tail only. For hold without crunchy buildup, finish with one quick mist of a flexible hairspray from 10 inches away. The usual mistake is over-smoothing and losing all the volume you created. For a quick DIY fix, a dry shampoo at the roots before styling gives grip and instant lift.
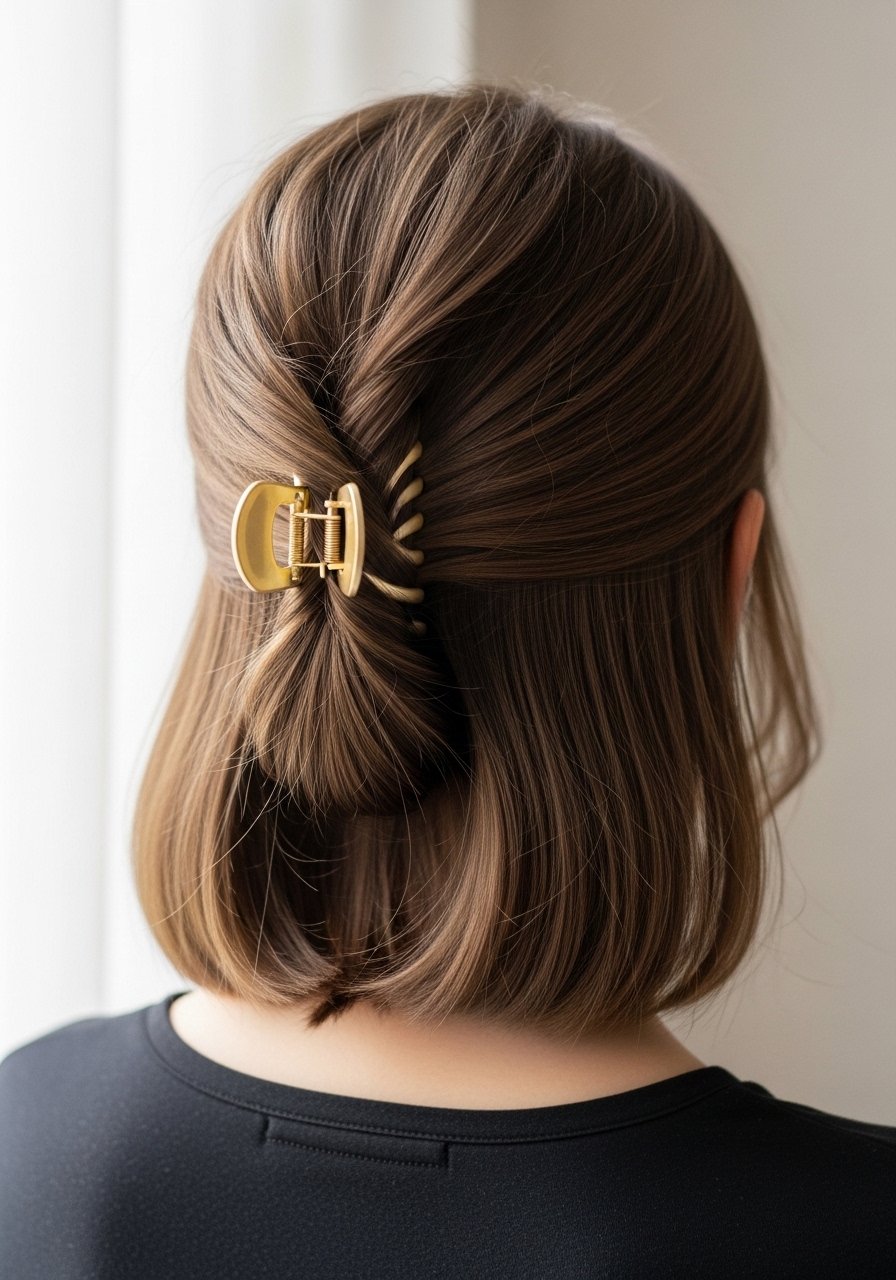
Half-Up Twist With Bobby Pin Detail

Half-up looks are a short-haired best friend because they remove weight from the face while keeping real volume in the back. Take two 1-inch sections from each temple, twist them toward the back, and secure with two bobby pins placed in opposite directions for lock. One tip I learned from a stylist friend is to slide the pins in at a 30-degree angle for better bite. A pea-sized amount of texturizing cream worked through the top halves before twisting keeps the pieces from falling, especially on 2A to 3A waves. Avoid clipping too close to the scalp which flattens the crown. This is fully DIY and takes under five minutes once you get the hand placement.
Banana Clip Volume Boost
Banana clips are a low-effort way to create a gathered look that reads as thicker hair from the side. For short hair start with slightly damp hair and two quick spritzes of a hold mousse through the mid-lengths, then bend the clip open and gather hair loosely so the curve follows the head. The mistake is forcing every strand into the clip which looks flat and creates pressure points. Keep a few wisps out front to soften the shape. If you are allergic to metal clips, choose a plastic one and test for scalp irritation first. This is a cheap buy under $15 and perfect for quick salon-escape mornings.
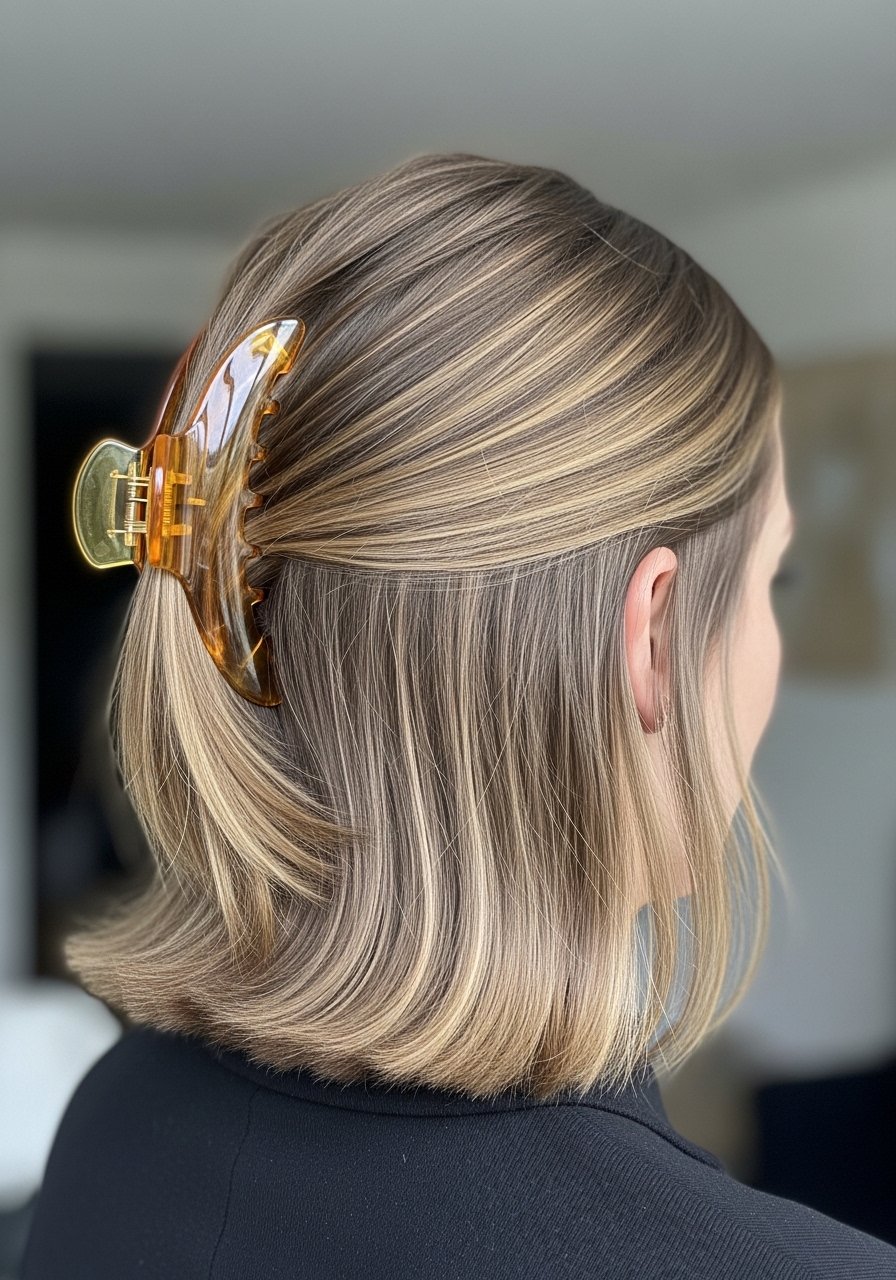
Claw Clip Tuck For Lazy Mornings
Claw clips are underrated for short hair because they let you fake a gathered bun without heat. For fine hair, fold the ends up toward the nape and slide a medium clip in, then gently pull small face-framing pieces out to break up the shape. A sprinkle of dry shampoo at the roots before clipping helps with grip and makes the tuck last through a commute. Common mistake, clipping wet hair can slip and pull; allow hair to be just slightly damp or dry. This one is full DIY and you can swap a medium clip for two small ones if your hair is more fragile near the ears.
Soft Finger Waves For Short Lengths
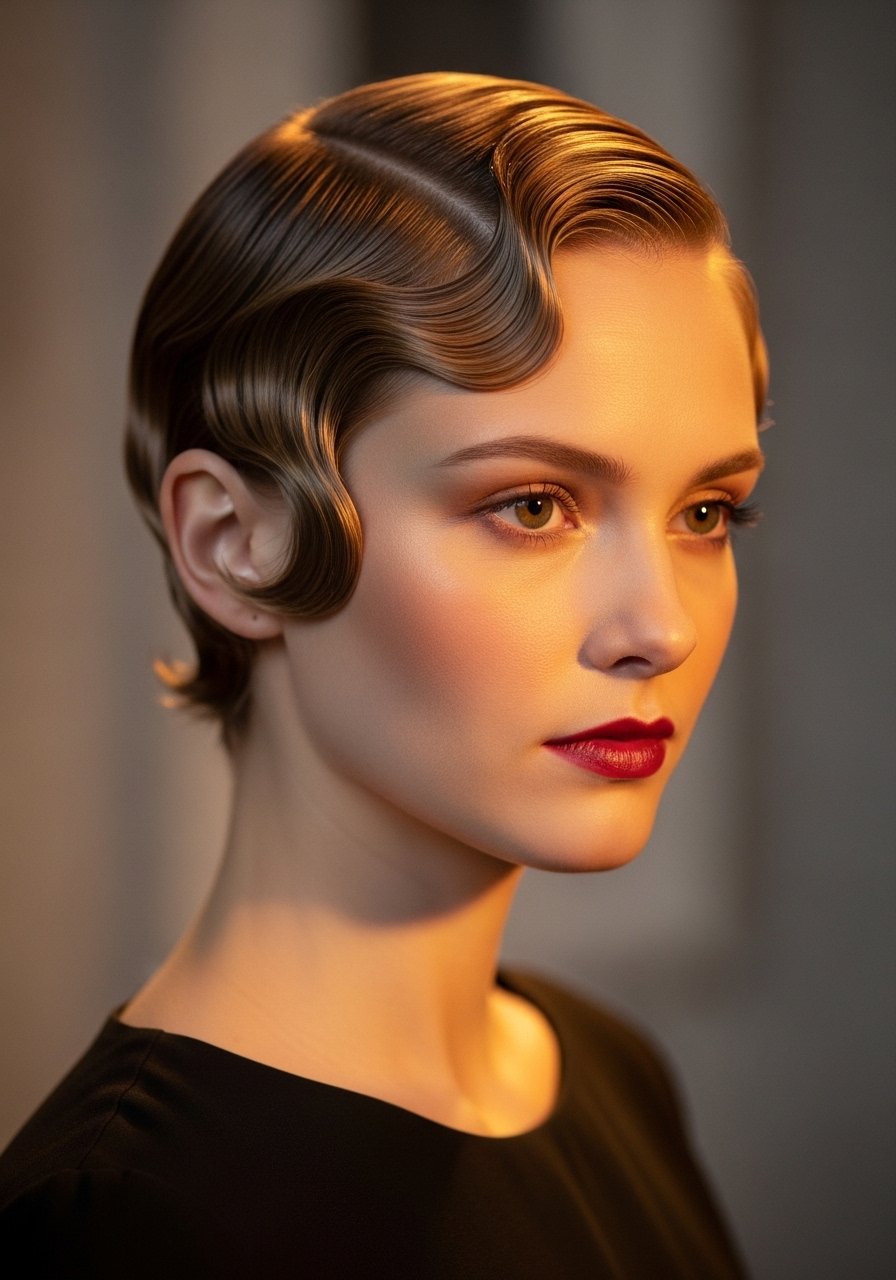
Finger waves read as denser texture and work especially well on short bobs. Work on damp hair and set two 1-inch sections at a time using a lightweight setting lotion and clips. I use a comb to shape the 'S' pattern and let each section set for about 20 minutes under a hood dryer or 45 minutes to air dry. Most people skip the setting lotion and get limp waves. For a modern take, loosen with fingertips and finish with a soft mist of shine spray. This one benefits from practice and patience. If you have scalp sensitivity, test products first and avoid strong-hold gels on exposed skin.
What I Actually Buy For Styling Short, Thin Hair
- Honestly cheap and useful, a microfiber hair towel cuts blow dry time and reduces frizz. I keep two.
- For bond maintenance, Olaplex No. 3 Hair Perfector 3.3oz. Buy from the official Olaplex store on Amazon or Sephora to avoid counterfeits.
- A daily dry shampoo, something light like volumizing dry shampoo for root grip on 2A-3A hair.
- For texture without weight, a small sea salt spray travel size under $12.
- A compact 1-inch curling iron with adjustable temp, I use one set to 300F for soft waves. 1-inch curling iron options under $60.
- A silk pillowcase standard size to cut morning frizz and breakage. Silk pillowcase queen under $30.
- A small box of neutral bobby pins and medium claw clips for quick fixes. Claw clips 3-pack
- Light hold flexible hairspray for movement and a heat protectant spray for hot tools. Heat protectant spray is non-negotiable.
- A boar bristle cushion brush for smoothing without losing volume. Boar bristle brush
- A small pack of root concealer powder for visible parting or scalp showing. Root touch-up powder
Braided Headband To Fake Thickness

If your hair looks thin at the crown, a small braid across the hairline creates the illusion of density. Use a 1-inch section to French braid from temple to temple, then tack it behind the ear with two pins. For fine hair, one braid is enough. The trick is to pancake the braid gently after pinning to widen it, but do not over-pancake or it will slip. I like adding a tiny dab of texturizing powder into the braid for hold and width without weight. This is DIY friendly and emergency-salon-proof. Avoid heavy oils before braiding or the braid will not hold.
Wet Look Slick Back For Sleek Days
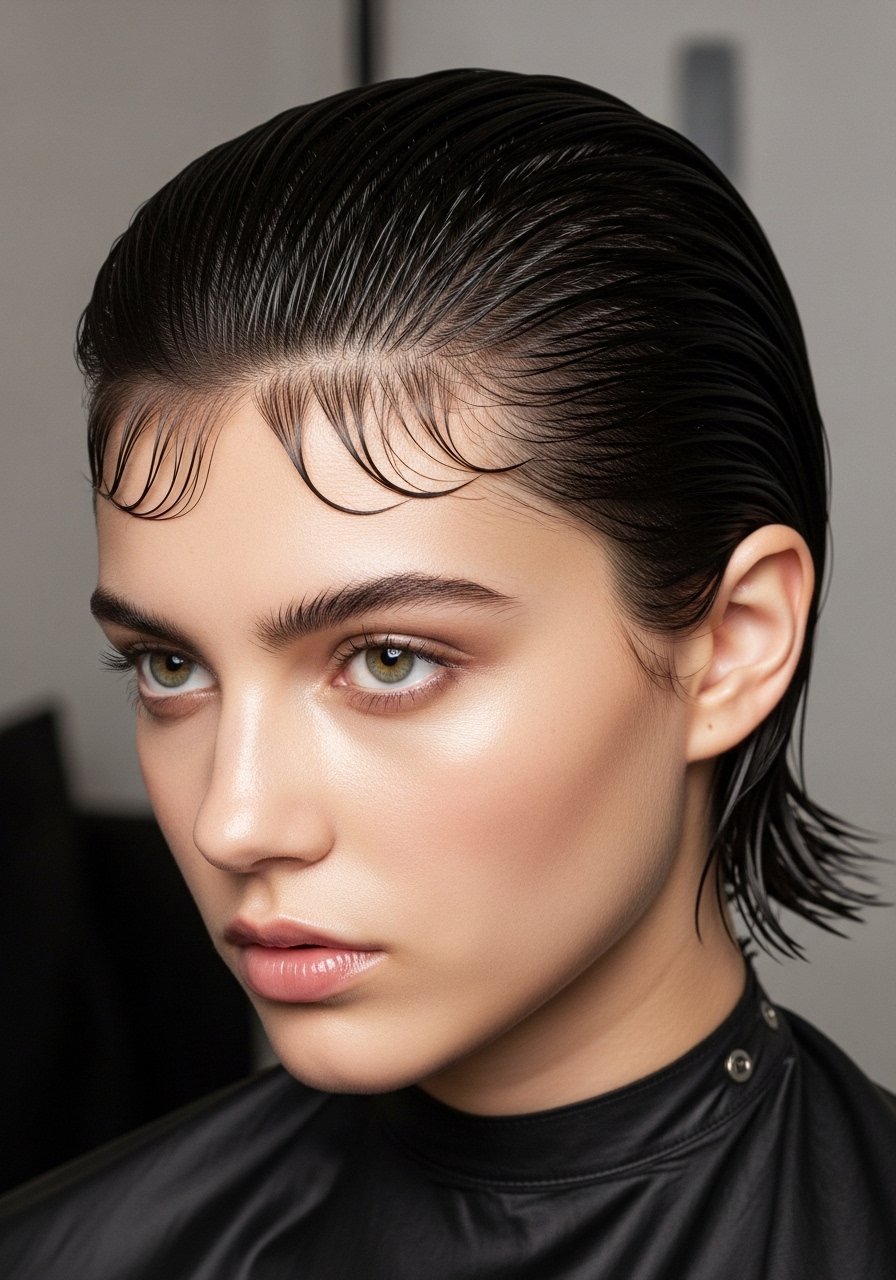
A wet-look slick back reads high-fashion and makes thin hair look purposefully sleek instead of limp. Use a dime-sized amount of gel through damp hair and comb straight back, then lock with a spritz of flexible spray. Most people overapply gel which causes flaking. If you want sheen without stiffness, mix a few drops of a lightweight oil with the gel and smooth with a fine-tooth comb. For short hair, work in small doses and avoid the hairline if you are prone to breakage. This is a quick at-home look that pairs well with bold earrings.
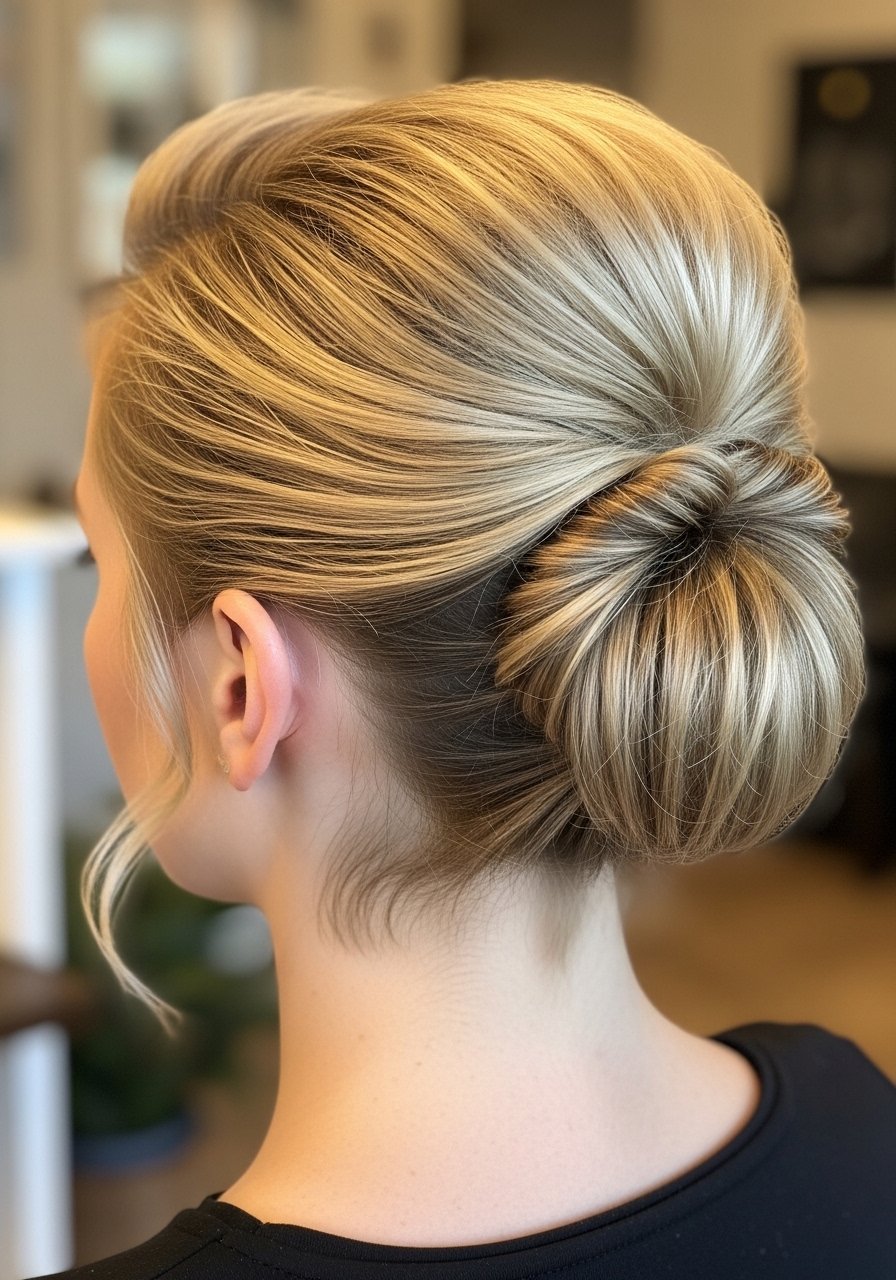
Mini Top Knot With Subtle Volume
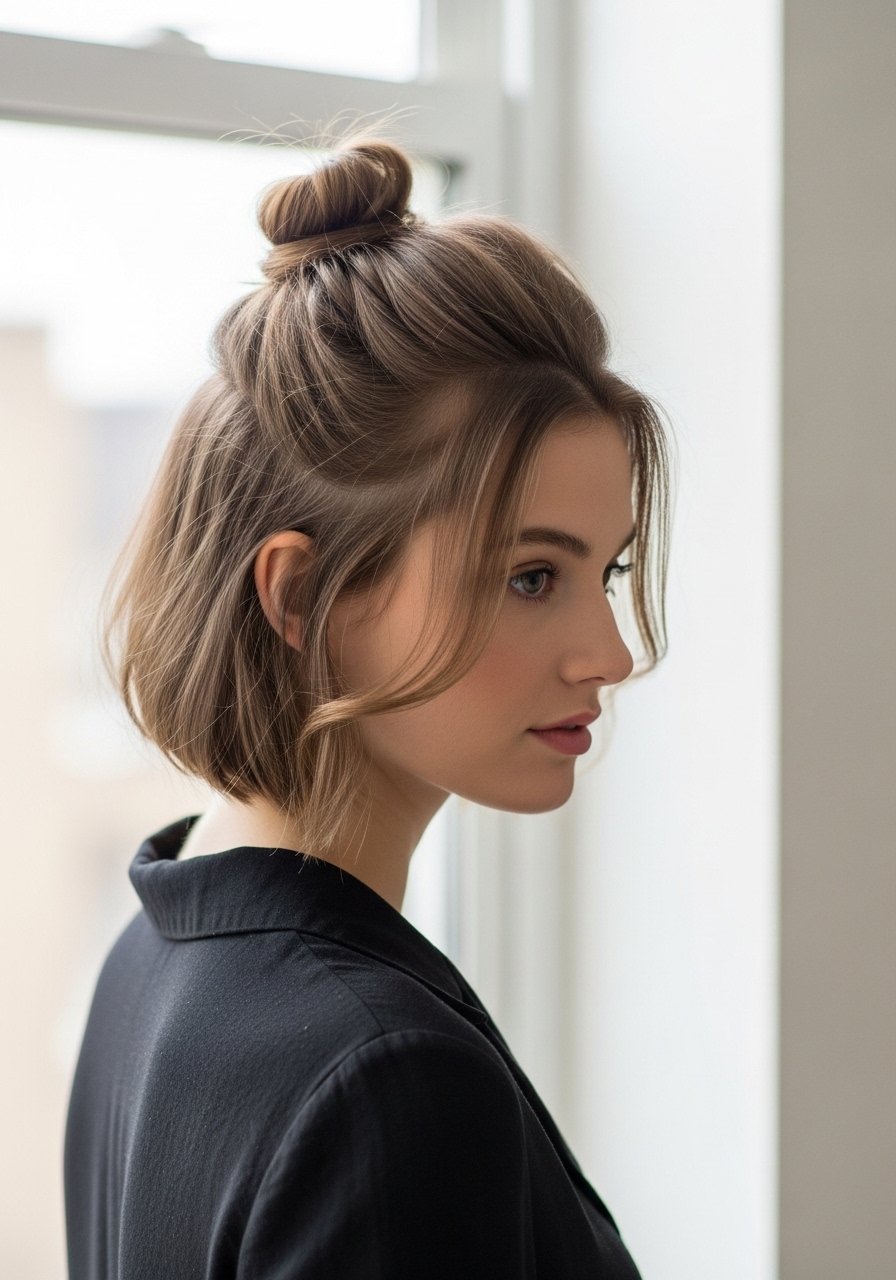
A mini top knot lifts the silhouette and keeps hair out of your face without cutting length. Tease a 1.5-inch section at the crown, smooth the surface lightly, then twist into a small knot and secure with a small elastic and one pin. If your hair is very fine, add a 1-inch clip-in bun insert to fake volume. The common mistake is making the knot too tight which creates tension at the crown and causes headaches. Keep it loose and cushioned. This style is a fast at-home win for mornings when you skipped a blowout.
Heatless Robe-Tie Curls For Second-Day Bounce
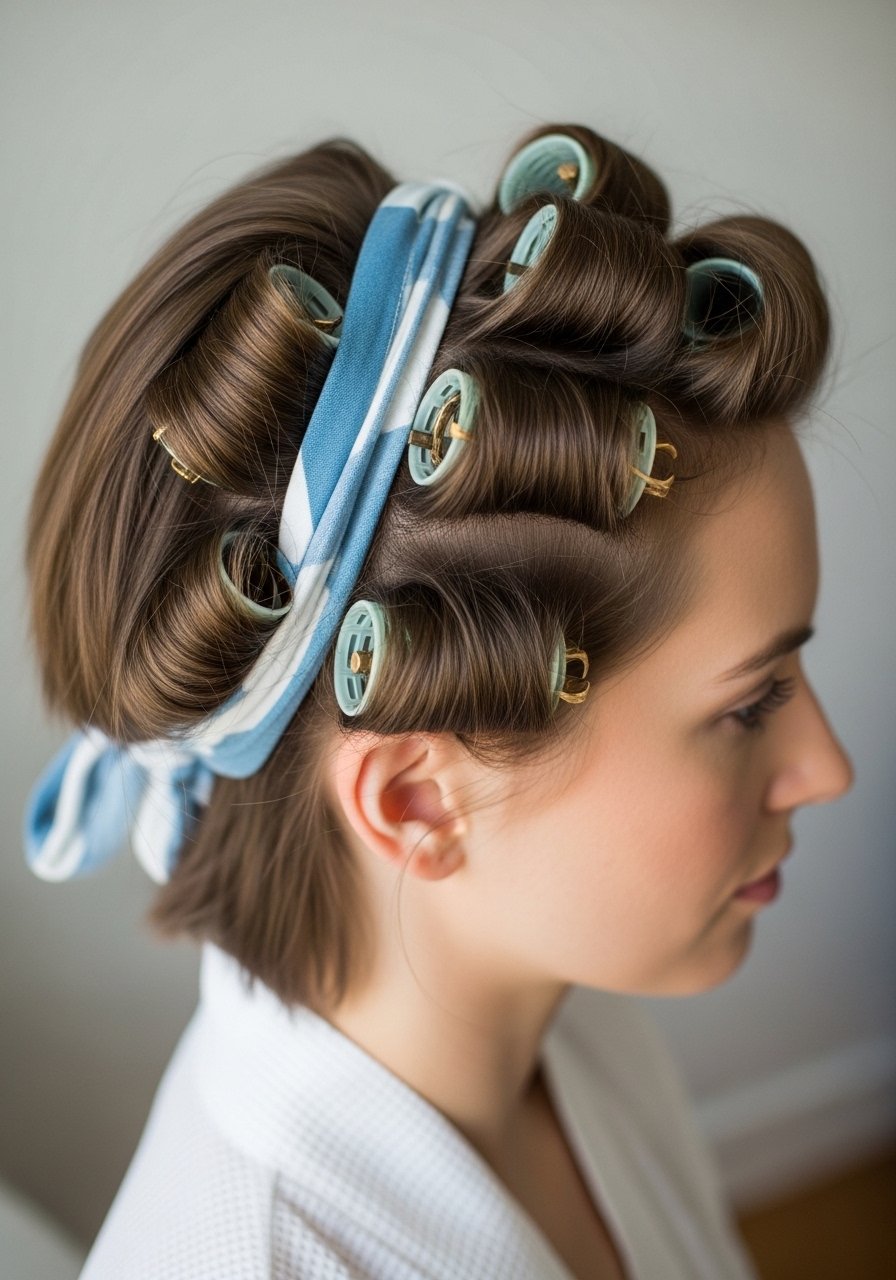
I learned this trick from a friend who swore by it for second-day texture. Section hair into 8 to 10 pieces, wrap each around a robe tie and secure the ends under the tie. Sleep on it and release in the morning, shake gently and finger comb. Most people wrap too tight which leaves dents near the roots. Keep the wrap snug but not pulling. This method adds natural movement without heat and is perfect for fine 2A-3A hair that loses shape quickly. Use a small spritz of light hairspray after unraveling. It takes practice but pays off for low-damage styling.
Micro Braids At The Hairline For Texture
Tiny micro braids at the hairline create texture and trick the eye into thinking the part is fuller. I usually braid four to six small sections along the front, tie them with elastic, and remove after a day or two. The micro braid method is great for 1A to 2A hair, but do not leave them in more than 48 hours if your scalp is sensitive. A mistake I see is brushing through the braids immediately which frizzes and destroys the shape. Tame flyaways with a light mist and avoid tight braiding that stresses follicles.
Side-Swept Curtain Bangs That Sit Flat
Curtain bangs can add face-framing breadth without weight if cut correctly. For fine hair, ask for slightly longer curtain pieces that hit at cheekbone level and minimal interior thinning. I blow dry bangs with a small round brush and finish by pressing them flat for five seconds with a cool shot. Most people over-dry bangs which makes them puff. If your bangs separate by midday, a tiny dab of styling cream at the roots usually reads polished and not greasy. Salon note, avoid heavy texturizing through the bangs.
Root Concealer Touch-Up For Visible Scalp
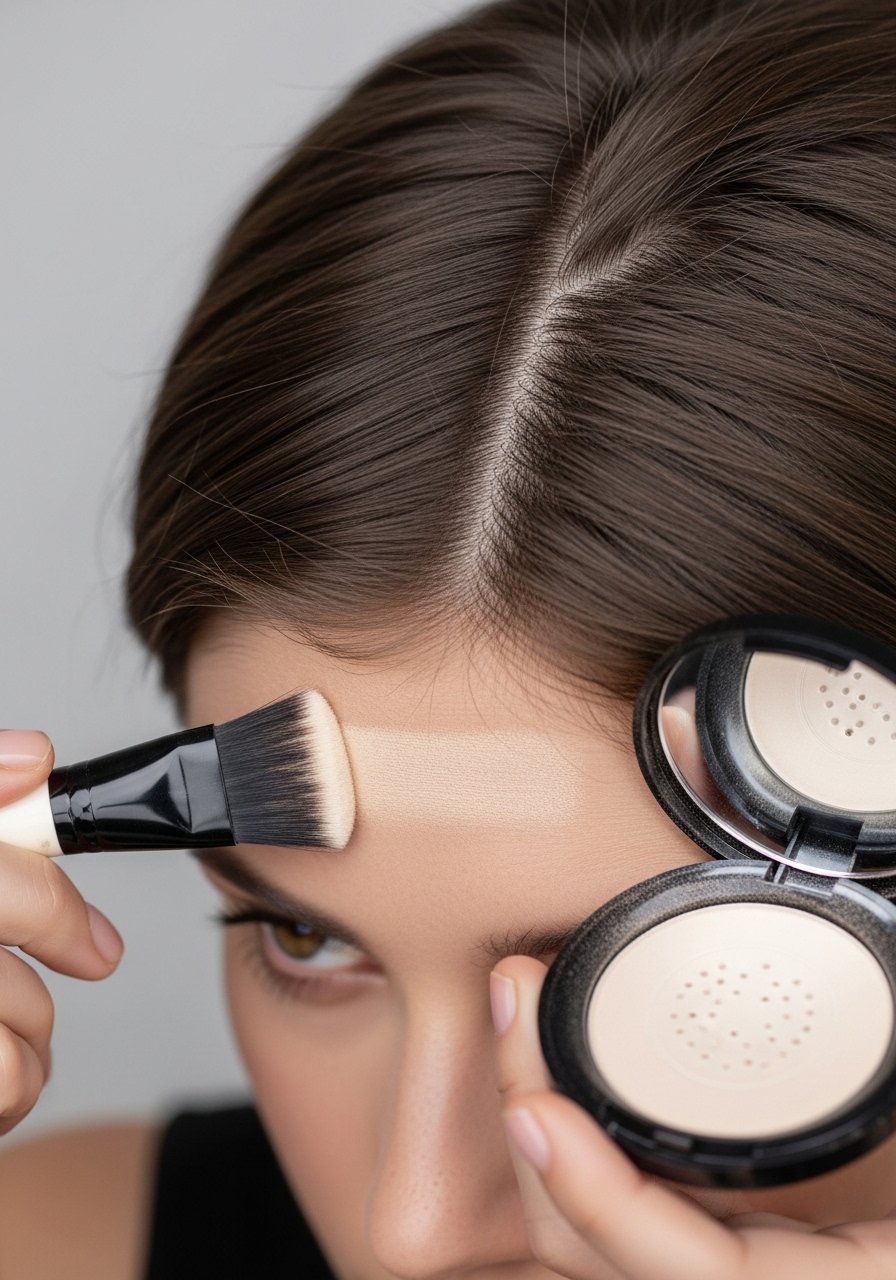
When hair is short and thin, the scalp shows first. A root concealer powder or touch-up stick makes parting look denser in seconds. Apply with a small brush to the exposed area and blend outward with your fingers. The error most people make is applying too heavy a stripe which reads obvious in photos. Light layers are key. For best results do a quick patch test if you have sensitive skin and avoid scalp irritation. This is a budget-friendly trick worth keeping in your bag for quick fixes.
Loose Waves With A Small Iron At 300F
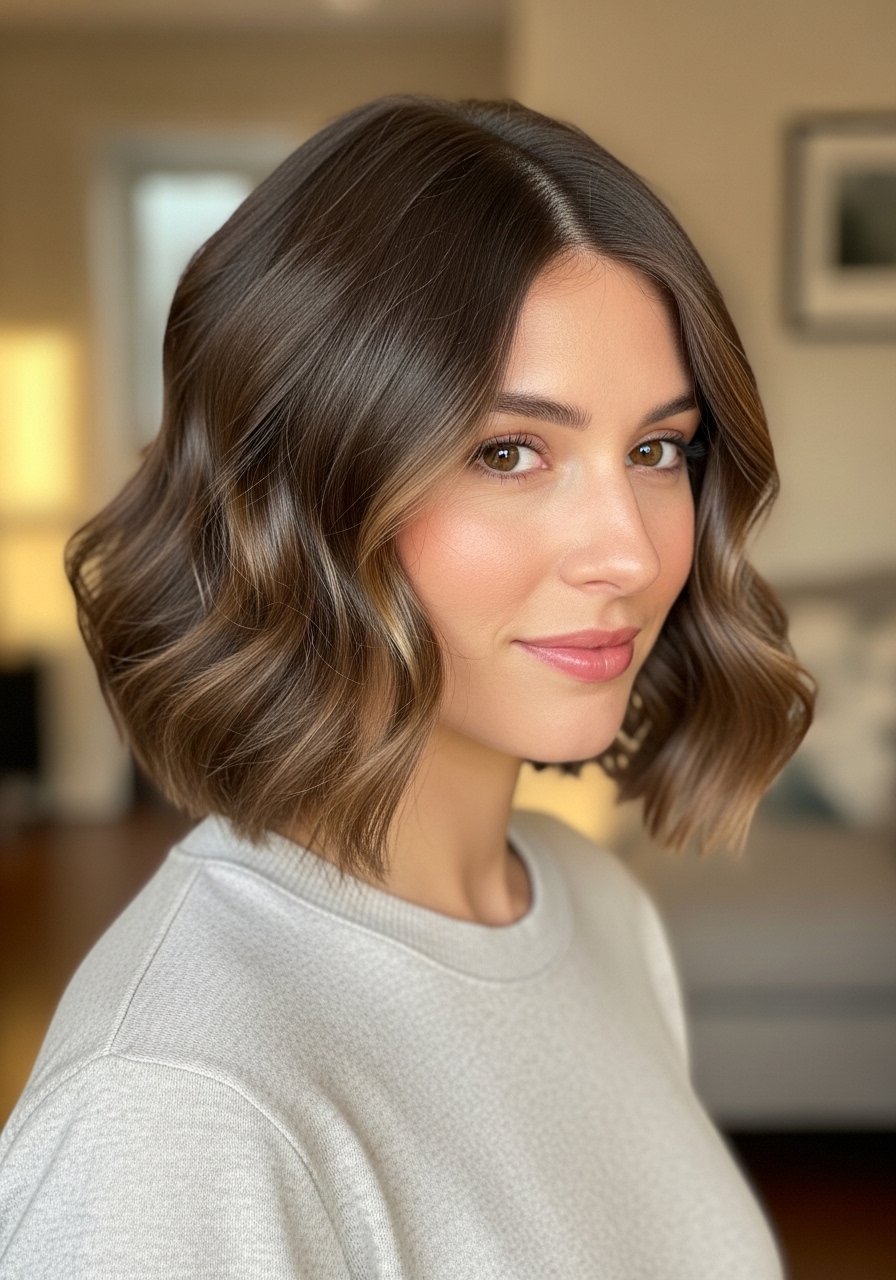
For short hair I use a 1-inch barrel and work in 12 small sections, wrapping the hair away from the face and holding each section for 3 to 5 seconds. Heat protectant goes on damp hair, not dry. The cuticle is more open and the product actually absorbs. Set the iron to around 300F for fine to medium hair and avoid over-clamping the ends, which makes short styles look jagged. A common mistake is curling every strand the same way. Alternate directions and leave the last inch out for a lived-in effect. Finish with one quick mist of flexible spray and a finger rake.
What I Wish Someone Had Told Me About Styling Short, Thin Hair
- Heat protectant goes on damp hair, not dry. The cuticle is more open and the product actually absorbs. A reliable heat protectant spray is worth the shelf space.
- Hair grows about half an inch a month at most, regardless of what biotin gummies promise you. Focus on less breakage and a silk pillowcase to actually keep length.
- The cheapest rescue is a good root spray and a set of medium bobby pins. Root touch-up spray and matte pins will carry you through photos and events.
- If your hair looks straw-like after any color, stop using purple shampoo every wash. I swapped to once a week and it came back.
- For any bond-building product, buy from the authorized seller on Amazon or Sephora. Counterfeits exist for popular formulas like Olaplex and K18.
Frequently Asked Questions
Q: How often should I use Olaplex No. 3 on short, thin hair?
A: Once a week is enough for most color-treated or heat-stressed hair. Use it on damp hair, leave 10 minutes at minimum, longer if you can. If your hair is healthy, monthly maintenance is fine. Buy Olaplex from the official store on Amazon or Sephora to avoid counterfeits.
Q: Can I use a 1-inch curling iron on very short hair without frying it?
A: Yes, but keep the temperature around 300F and use a heat protectant first. Work in small 10 to 12 sections and only hold for 3 to 5 seconds. If you need the look for photos, practice the motion on one side before doing the whole head.
Q: My ponytails always feel limp at the roots, what helps?
A: Dry shampoo at the roots for grip and backcombing one or two small sections at the crown for support. Also avoid heavy conditioners at the root during wash day. A texturizing powder can extend hold all day.
Q: Will tiny braids or tight styles cause breakage on thin hair?
A: Tight styles can stress hair follicles. Micro braids for texture are fine short term, but avoid leaving them in longer than 48 hours and do not braid tightly at the scalp. If you notice soreness or thinning, stop and see a professional.
Q: How often should I trim a blunt bob to keep the density illusion?
A: Every 6 to 8 weeks if you want a sharp line. If you prefer softer edges, 8 to 12 weeks is fine. Short cuts show growth fast so a little maintenance keeps the shape and the "fullness" effect.
Q: Is there a no-heat method that actually holds on short, thin hair?
A: Yes, the robe-tie wrap and overnight pin curls both work well. Section into 8 to 10 pieces for short hair, wrap lightly, and sleep on it. The results are softer than heat but much kinder to fragile strands.

